Introduction
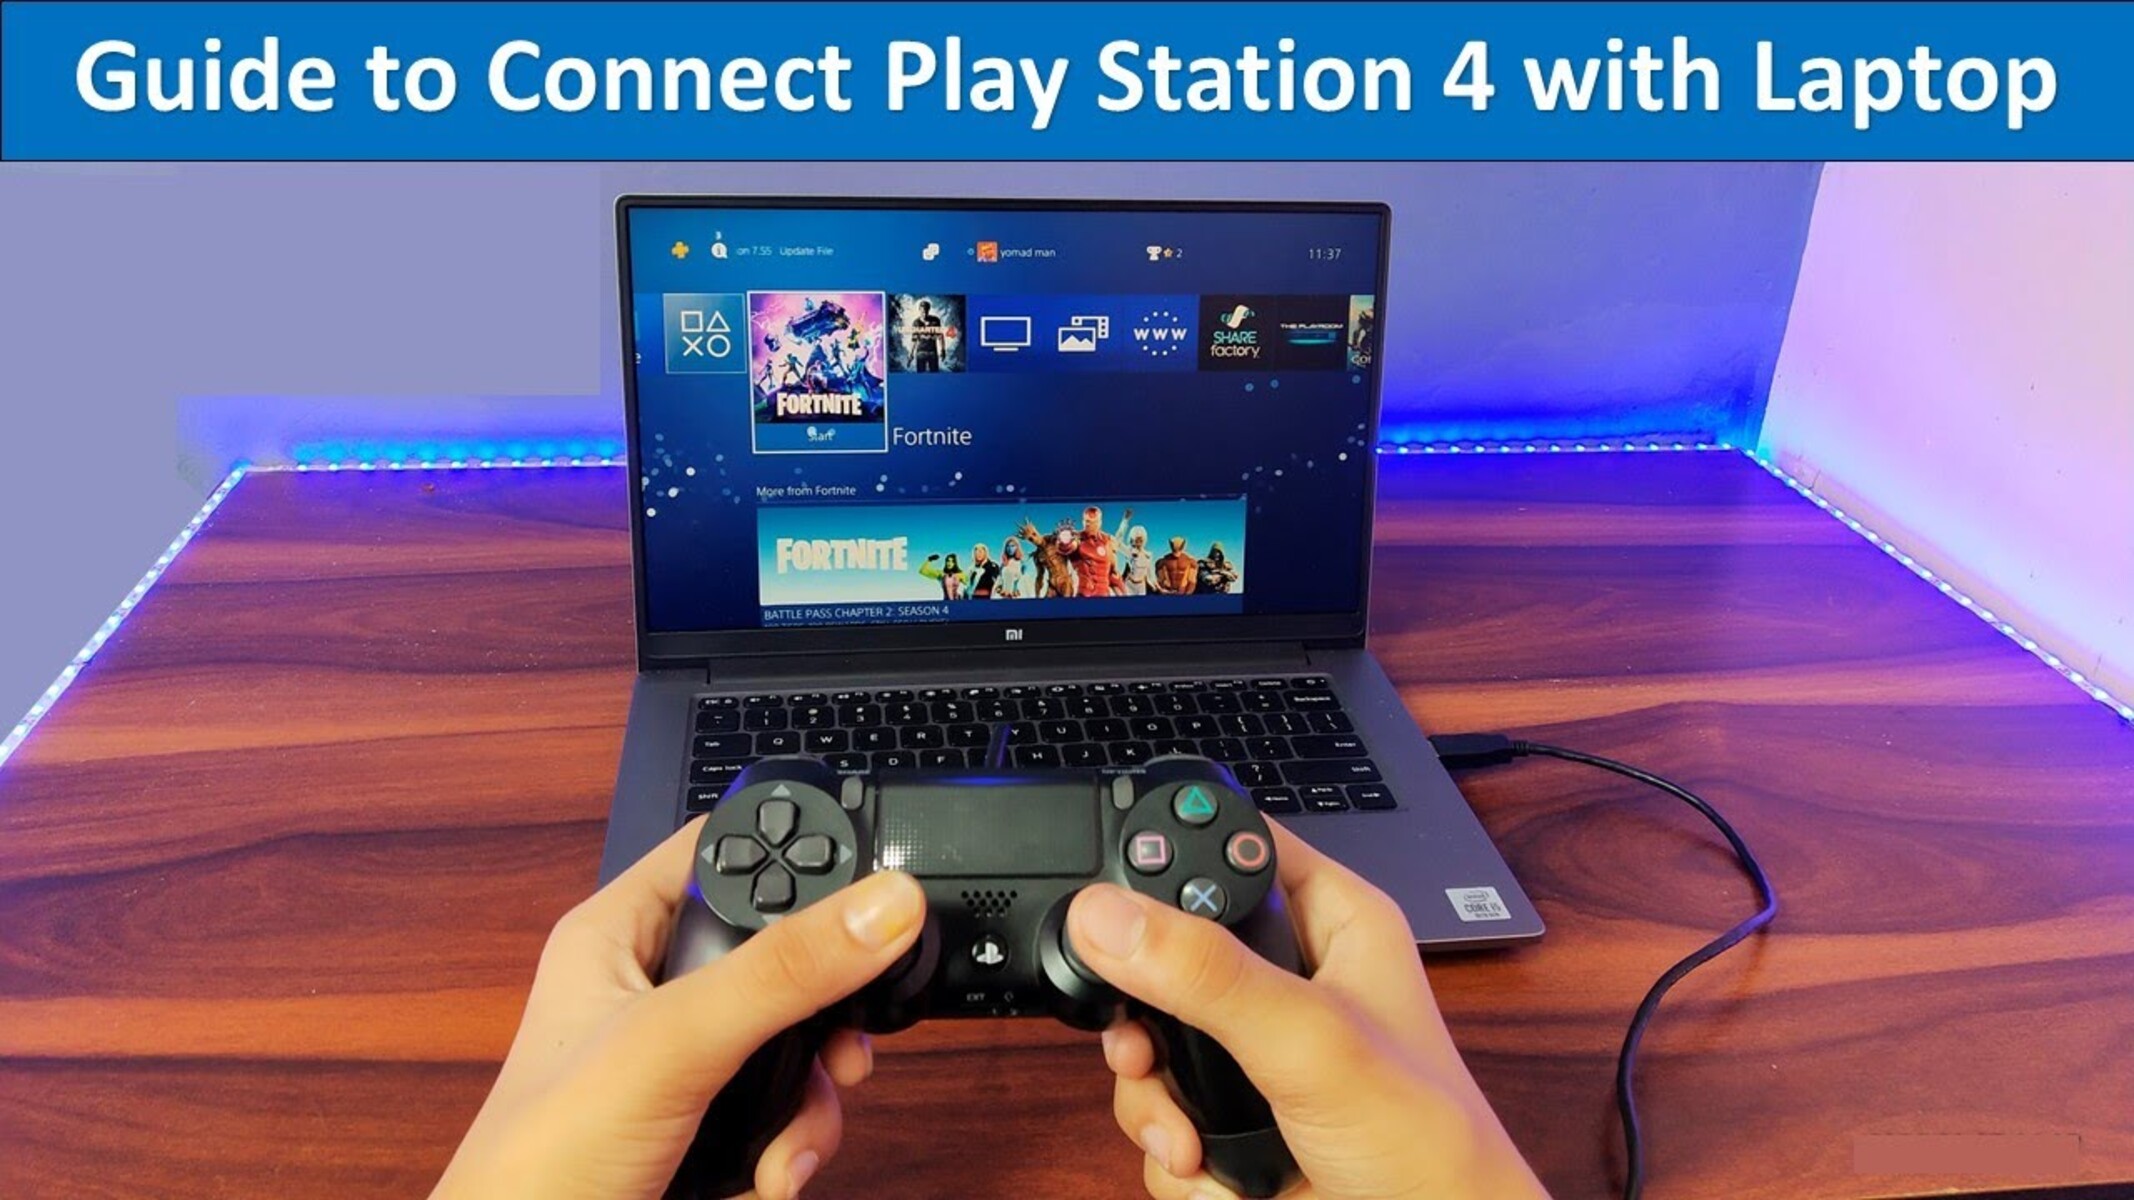
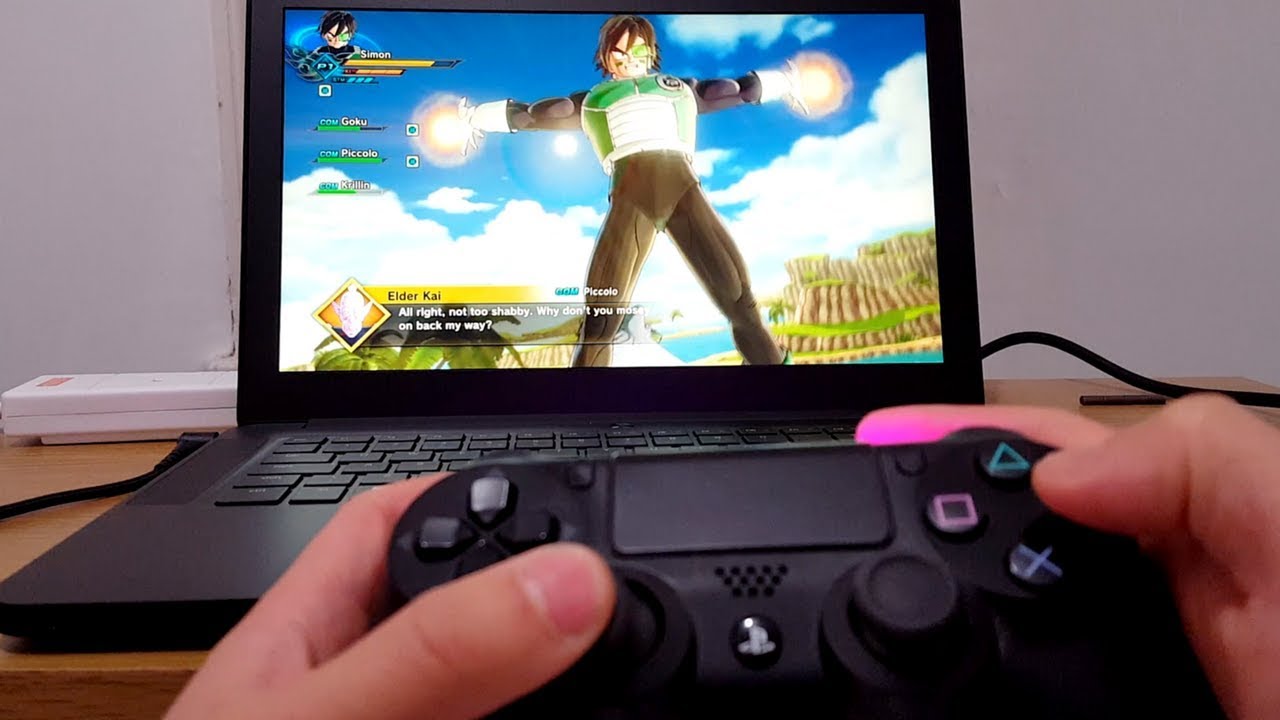
Playing video games on a gaming laptop is a thrilling experience, but if you’re a PlayStation 4 (PS4) owner, you might be wondering how you can connect your console to your laptop for an even more immersive gaming session. Whether you want to take advantage of the laptop’s bigger screen, superior graphics, or portability, connecting your PS4 to your gaming laptop is easier than you might think.
In this guide, we’ll walk you through the step-by-step process of connecting your PS4 to your gaming laptop. By following these instructions, you’ll be able to enjoy your favorite PS4 games on a larger display, with enhanced graphics and audio. So, get ready to take your gaming experience to the next level!
Before we dive into the steps, it’s important to note that the instructions provided in this guide assume that you have a gaming laptop with an HDMI port, as well as the necessary cables and accessories. Additionally, please ensure that both your PS4 and gaming laptop are turned off before proceeding with the connection process.
Now, let’s get started on connecting your PS4 to your gaming laptop and get ready for an immersive gaming experience like never before!
Step 1: Check the System Requirements
Before connecting your PS4 to your gaming laptop, it’s crucial to ensure that your laptop meets the necessary system requirements. This step is essential to ensure smooth gameplay and avoid any compatibility issues. Here’s what you need to do:
- Check the laptop specifications: Take a look at your laptop’s specifications, including the processor, RAM, and graphics card. These components play a vital role in determining whether your laptop can handle running the PS4 smoothly. If you’re unsure about your laptop’s specifications, you can usually find this information in the system settings or by referring to the laptop’s documentation.
- Verify available storage space: Make sure your laptop has enough available storage space to accommodate the PS4 games and any additional downloads or updates. Ideally, it’s recommended to have a significant amount of free space to avoid performance issues.
- Confirm the HDMI port: Check if your laptop has an HDMI port. Most gaming laptops come equipped with an HDMI port to connect external displays or devices such as gaming consoles. The HDMI port is essential for establishing the connection between your PS4 and laptop.
- Ensure power supply: It’s vital to have your laptop connected to a power source during the gaming session to ensure uninterrupted gameplay. Make sure that your laptop battery is charged, or connect it to a power outlet using the charger.
Now that you have checked the system requirements and verified that your gaming laptop meets the necessary specifications, you’re ready to move on to the next step: connecting the HDMI cable.
Step 2: Connect the HDMI Cable
To connect your PS4 to your gaming laptop, you’ll need an HDMI cable. Follow these simple steps to establish the connection:
- Locate the HDMI ports: Identify the HDMI ports on both your gaming laptop and the PS4. Typically, the HDMI ports are labeled as “HDMI” or display the HDMI symbol.
- Plug in one end of the HDMI cable: Take one end of the HDMI cable and insert it into the HDMI port on your PS4. Ensure that it is securely connected.
- Connect the other end to your laptop: Take the other end of the HDMI cable and insert it into the HDMI port on your gaming laptop. Again, make sure it is firmly connected.
- Switch on the devices: Turn on your PS4 and your gaming laptop. It’s important to power on both devices to establish the HDMI connection.
- Switch the laptop display: Once the laptop is powered on, you may need to switch the display to the HDMI input. To do this, press the “Windows” key on your laptop keyboard and the letter “P” simultaneously. This will bring up the display options. Select the option that extends or duplicates the display to your laptop’s HDMI input.
- Adjust screen resolution if necessary: Depending on your laptop’s settings, you may need to adjust the screen resolution to match the PS4 output. To do this, right-click on your laptop’s desktop, select “Display Settings,” and modify the screen resolution as needed.
Once you have successfully connected the HDMI cable and adjusted the display settings, you’re one step closer to enjoying your PS4 games on your gaming laptop. The next step is to connect the power cable for both devices.
Step 3: Connect the Power Cable
Now that you have connected the HDMI cable and adjusted the display settings, it’s time to connect the power cable for both your PS4 and your gaming laptop. Follow these steps:
- Connect the power cable to your PS4: Take the power cable that came with your PS4 and plug one end into the power input on the console. Ensure that the cable is securely connected.
- Plug the power cable into a power outlet: Locate a nearby power outlet and insert the other end of the power cable into it. Make sure that the power outlet is switched on.
- Connect the laptop charger: If your gaming laptop is not already connected to a power source, now is the time to do so. Plug the charger into the laptop’s power input and connect it to a power outlet. Ensure that the charger is securely connected at both ends.
- Switch on the devices: Turn on both your PS4 and your gaming laptop. This will allow the devices to receive power and boot up properly.
- Verify the power indicators: Check for power indicators on both the PS4 and the gaming laptop to confirm that they are receiving power. Typically, the power indicators will be illuminated or display a light to indicate that the devices are turned on.
By connecting the power cables to your PS4 and gaming laptop, you have completed an essential step in the connection process. The next step involves adjusting the display settings on your laptop to ensure optimal visuals and gameplay.
Step 4: Adjust Display Settings
Once you have connected the HDMI cable and ensured that both your PS4 and gaming laptop are receiving power, it’s time to adjust the display settings on your laptop to optimize the visuals for your gaming experience. Follow these steps:
- Access the display settings: Right-click on your laptop’s desktop and select “Display Settings” from the context menu. This will open the display settings window.
- Choose the correct display: In the display settings window, you will see a section labeled “Display.” Here, you should see two display options – one for your laptop’s built-in display and another for the external display (your PS4 connected via HDMI). Select the external display option.
- Adjust the screen resolution: Under the selected display option, you can modify the screen resolution. It’s recommended to set the resolution to the native resolution of your laptop’s display or a resolution that matches the capabilities of your PS4. This will ensure the best visual quality.
- Configure other display settings: Explore other settings in the display settings window, such as brightness, contrast, and color calibration. Adjust these settings according to your preferences to enhance your gaming experience.
- Apply the changes: Once you have made the necessary adjustments, click the “Apply” button to save the changes. You may be prompted to confirm the changes, so make sure to verify and proceed.
- Test the display: To ensure that the display settings have been applied correctly, launch a game or video on your PS4 and check if the visuals appear crisp and vibrant on your gaming laptop’s screen.
By adjusting the display settings on your gaming laptop, you have optimized the visuals for the PS4 gameplay. The next step involves setting up the audio settings to ensure an immersive auditory experience while gaming.
Step 5: Set Up Audio Settings
Now that you have adjusted the display settings, it’s essential to configure the audio settings on your gaming laptop to ensure an immersive and high-quality sound experience while playing PS4 games. Follow these steps:
- Access the sound settings: Right-click on the volume icon in the taskbar of your gaming laptop and select “Open Sound Settings” from the menu. This will open the sound settings window.
- Choose the correct audio output: In the sound settings window, locate the “Output” section and select the audio device or speakers that you want to use for the PS4 audio output. Ensure that you choose the audio output device that is connected to your gaming laptop.
- Adjust the volume: To set the volume level, move the volume slider in the sound settings window or use the volume keys on your laptop’s keyboard. Make sure that the volume is at a comfortable level for your gaming experience.
- Test the audio: To verify that the audio settings are correctly configured, play a video or audio file on your PS4. Ensure that the sound is coming from the desired audio output device, and the volume is clear and audible.
- Configure additional audio settings: If your gaming laptop has advanced sound settings, such as equalizers or surround sound options, you can explore these settings to further enhance the audio experience. Adjust these settings according to your preference for the best sound quality.
- Apply the changes: Once you have made the necessary adjustments, click the “Apply” or “OK” button in the sound settings window. This will save the changes and ensure that your gaming laptop is ready to deliver immersive audio during your PS4 gameplay.
By setting up the audio settings on your gaming laptop, you have completed the necessary steps to ensure a captivating sound experience while playing PS4 games. The next step involves connecting the PS4 controller to your laptop for seamless control and navigation during gameplay.
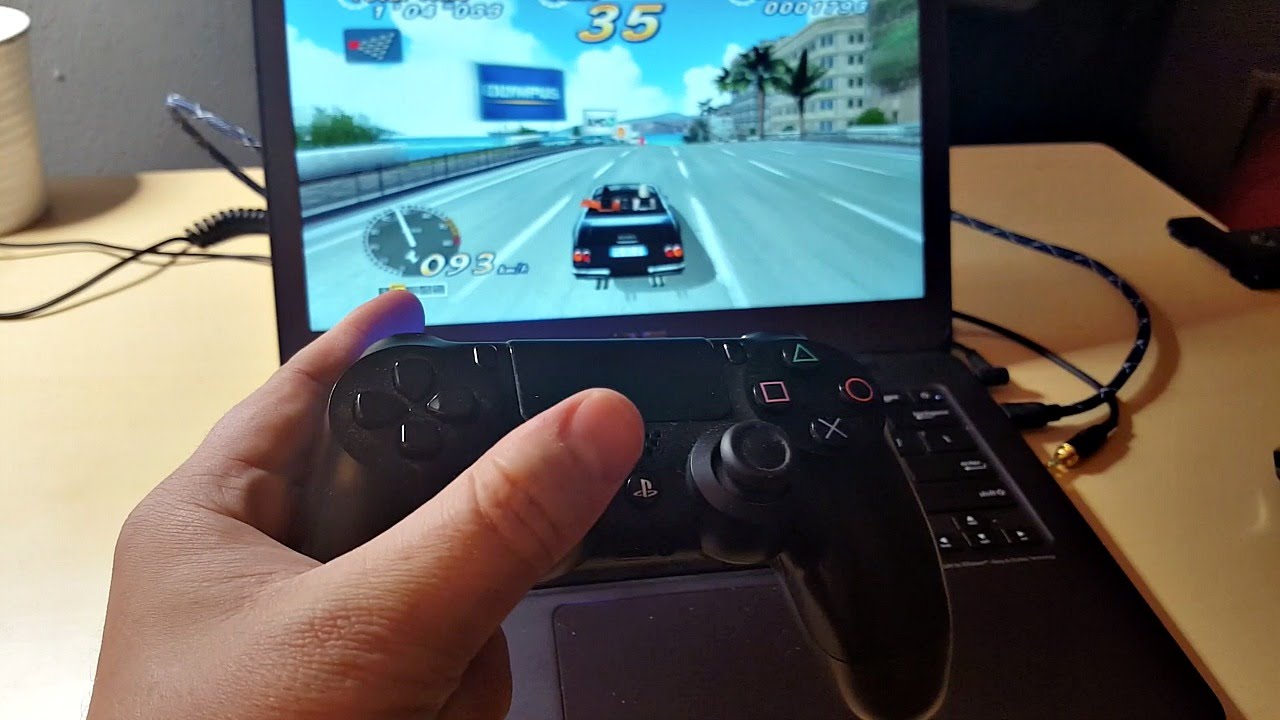
Step 6: Connect the Controller
To fully enjoy PS4 gaming on your laptop, you’ll need to connect a controller for seamless control and navigation. Follow these steps to connect your PS4 controller to your gaming laptop:
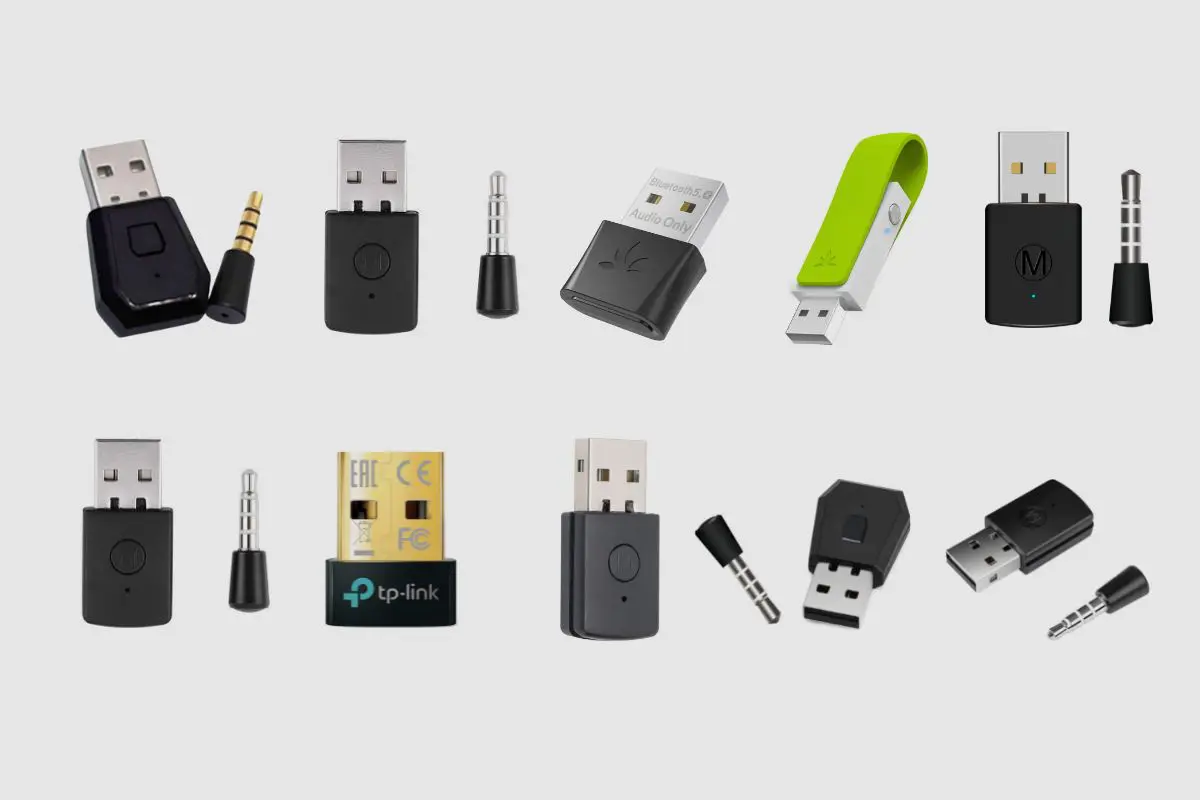
- Turn on the PS4 controller: Press and hold the PlayStation button located in the center of the controller until the light on the controller starts flashing.
- Enable Bluetooth on your laptop: On your gaming laptop, turn on the Bluetooth functionality. This can usually be done by accessing the Bluetooth settings in the system preferences or through a dedicated button or key combination on your laptop’s keyboard.
- Pair the controller with your laptop: In the Bluetooth settings on your laptop, look for available devices or an option to add a new Bluetooth device. Select the option to pair a new device.
- Put the controller in pairing mode: While your laptop is scanning for available Bluetooth devices, hold down the Share button on the PS4 controller until the light on the controller starts flashing rapidly. This puts the controller in pairing mode.
- Select the controller on your laptop: In the Bluetooth settings on your laptop, you should see the PS4 controller appear in the list of available devices. Click on the controller to initiate the pairing process.
- Complete the pairing process: Follow any on-screen prompts or instructions to complete the pairing process between your PS4 controller and your gaming laptop. Once the pairing is successful, the light on the controller will become steady or stop flashing.
- Test the controller: Open a game or application on your gaming laptop that supports controller input and test if the controller is functioning correctly. Try navigating through menus and performing actions in the game to ensure that the controller is responsive and working as expected.
By connecting your PS4 controller to your gaming laptop, you have unlocked the full control capabilities for your PS4 gaming experience. The next step involves configuring the network settings on your laptop to enable online gameplay.
Step 7: Configure Network Settings
In order to enjoy online gameplay and access the full range of features on your PS4 while connected to your gaming laptop, you need to configure the network settings. Follow these steps to set up your network connection:
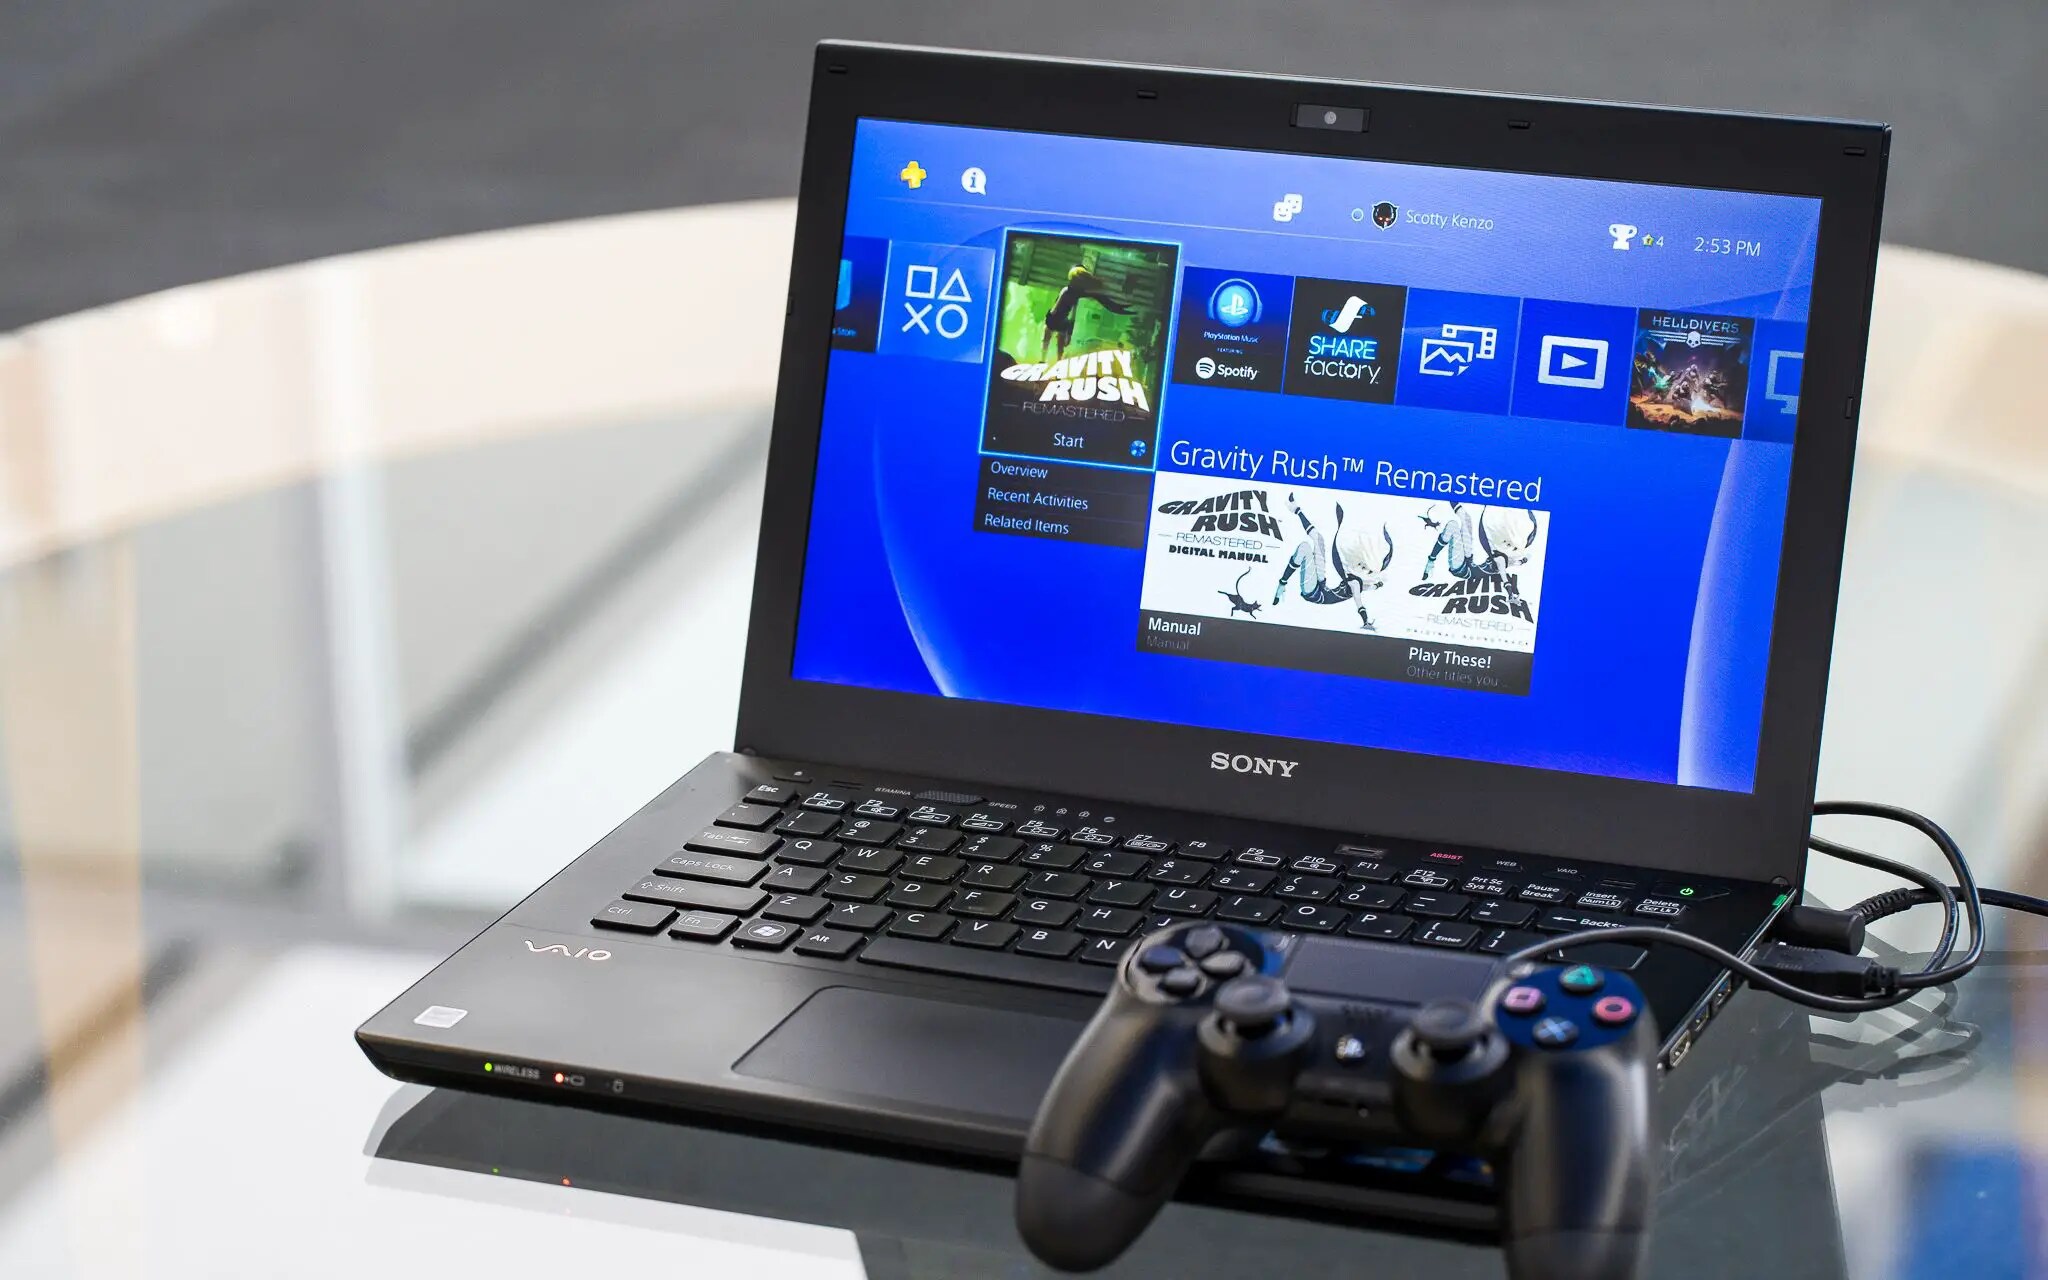
- Connect to a Wi-Fi network: Ensure that your gaming laptop is connected to a Wi-Fi network. You can do this by clicking on the network icon in the taskbar and selecting the appropriate Wi-Fi network from the available options.
- Access network settings: Open the system settings on your gaming laptop and navigate to the network settings. This can usually be found under the “Network & Internet” or “Connections” section of the settings menu.
- Select your network connection: In the network settings, you should see a list of available network connections. Choose the Wi-Fi network you are connected to by clicking on it.
- Configure IP settings: Depending on your network setup, you may need to configure the IP settings to ensure a stable connection. In most cases, leaving the settings to obtain an IP address automatically (via DHCP) should suffice. However, if you have specific network requirements, you can manually assign an IP address, subnet mask, gateway, and DNS information.
- Test the network connection: Once you have saved the network settings, perform a network connection test on your gaming laptop to ensure that it is online and able to access the internet. This can usually be done by selecting the “Test Connection” or “Check Network Status” option in the network settings menu.
- Verify network connectivity on the PS4: With your gaming laptop connected to the internet, power on your PS4 and access the network settings on the console. Follow the on-screen instructions to connect the PS4 to the same Wi-Fi network as your laptop. This will enable the PS4 to access online features and multiplayer gameplay.
By configuring the network settings on your gaming laptop and connecting your PS4 to the same Wi-Fi network, you can fully utilize online features and enjoy multiplayer gaming. The final step involves ensuring that your PS4 has the latest system software updates.
Step 8: Update System Software
To ensure optimal performance and access to the latest features on your PS4, it’s crucial to keep the system software up to date. Here’s how you can update the system software:
- Access the settings menu: Power on your PS4 and navigate to the settings menu. This can be done by selecting the “Settings” option from the main menu.
- Select “System Software Update”: In the settings menu, scroll down and select the “System Software Update” option. This will take you to the system software update screen.
- Check for updates: On the system software update screen, choose the “Check for Update” option. The PS4 will then search for any available updates.
- Download and install updates: If there are any available updates, the PS4 will prompt you to download and install them. Follow the on-screen instructions to initiate the update process and wait for it to complete.
- Restart your PS4: After the update installation is complete, the PS4 will automatically restart. Allow the console to complete the restart process.
- Verify the system software version: Once the PS4 has restarted, go back to the settings menu and select the “System Software Update” option again. Check if the system software version matches the latest available version.
- Repeat the update process if necessary: If there are any further updates available, follow the same steps to download and install them. It’s important to keep your PS4 up to date to enjoy the best performance and access all available features.
By updating the system software on your PS4, you ensure that your console is running the latest version and accessing the newest functionalities. With these steps completed, you’re now ready to dive into an incredible gaming experience on your gaming laptop with your PS4 connected. Enjoy immersive gameplay, stunning visuals, and enhanced audio like never before!
Conclusion
Connecting your PS4 to your gaming laptop opens up a whole new world of gaming possibilities. By following the step-by-step instructions outlined in this guide, you can seamlessly connect your PS4 to your laptop and enjoy immersive gameplay with enhanced visuals and audio.
We began by checking the system requirements of your gaming laptop to ensure compatibility. Then, we proceeded to connect the HDMI cable, enabling you to display the PS4 output on your laptop’s screen. We also discussed the importance of connecting the power cables for both devices to ensure uninterrupted gameplay.
Adjusting the display settings on your laptop allows you to optimize the visuals for your PS4 games, while setting up the audio settings enhances the immersion with high-quality sound. Next, we covered the process of connecting the PS4 controller to your laptop, ensuring seamless control and navigation during gameplay.
Configuring the network settings enables you to access online features and multiplayer gameplay, adding another level of excitement to your gaming experience. Lastly, keeping the system software of your PS4 up to date ensures optimal performance and access to the latest features.
Now, armed with the knowledge of how to connect your PS4 to your gaming laptop, you can enjoy hours of immersive gaming, whether at home or on the go. So, grab your gaming laptop, connect your PS4, and get ready to embark on an unforgettable gaming journey!