Introduction
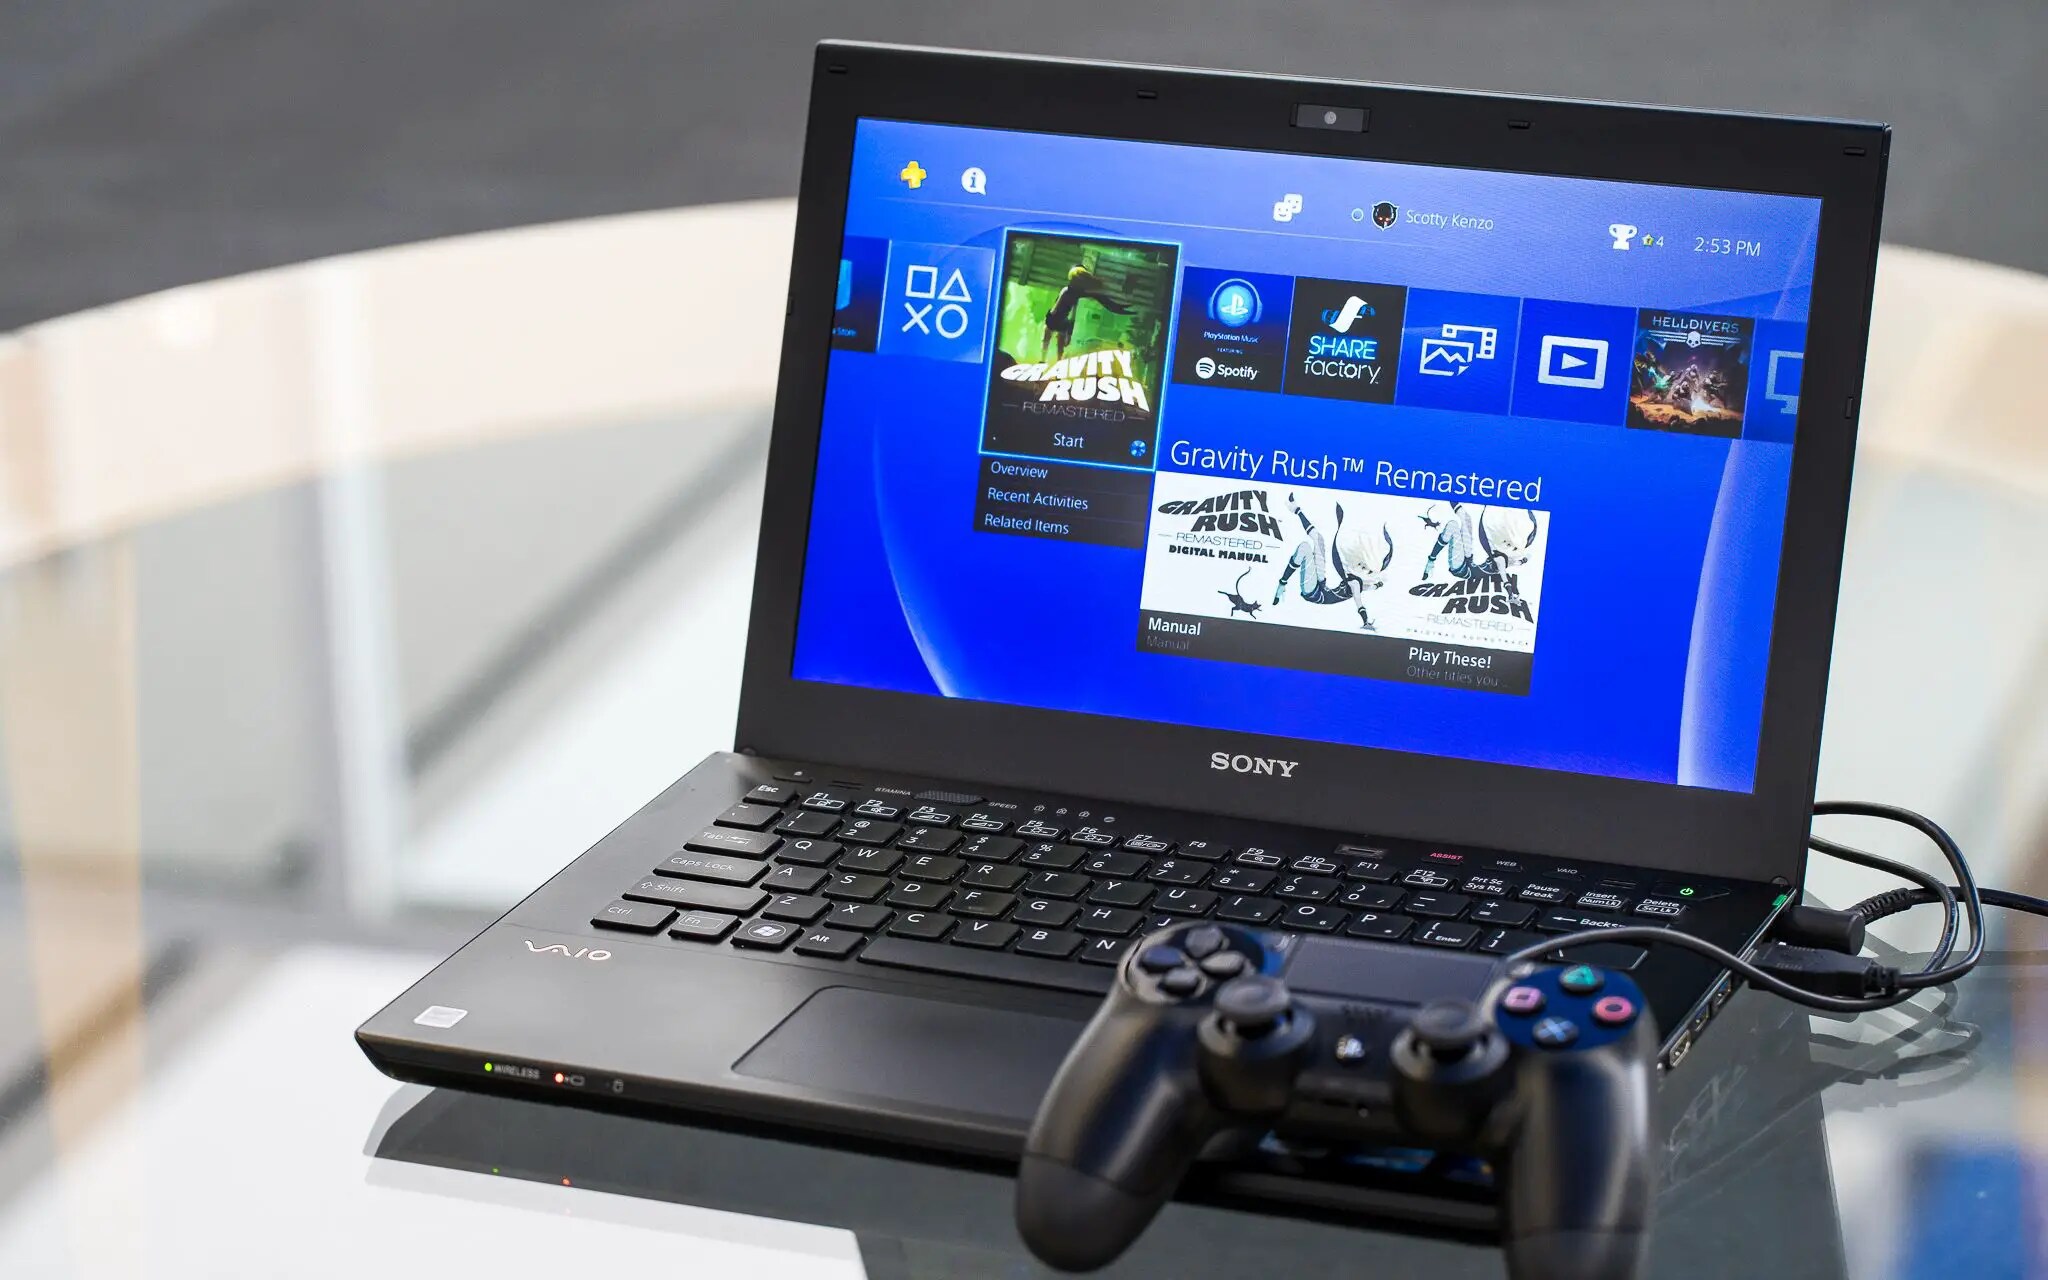
Welcome to the world of gaming, where technology continues to evolve and provide new ways to enhance your gaming experience. If you’re a PlayStation 4 (PS4) enthusiast and want to expand your gaming setup, you might be wondering if it’s possible to use your laptop as a monitor for your PS4. Luckily, with the right tools and a few simple steps, you can easily connect your PS4 to your laptop and enjoy your favorite games on a larger screen.
Using your laptop as a monitor for your PS4 can be a great solution if you don’t have a TV or if you prefer the convenience of playing games on a portable device. It allows you to utilize the high-resolution display of your laptop and enjoy immersive gaming without any significant additional expenses. Whether you are traveling, visiting a friend, or simply want to have a change of gaming scenery, using your laptop as a monitor for your PS4 can provide a convenient and enjoyable gaming experience.
In this guide, we will walk you through the step-by-step process of using your laptop as a monitor for your PS4. We will cover everything from checking your laptop’s specifications and compatibility to connecting the devices using an HDMI cable. Additionally, we will guide you through adjusting display and audio settings, allowing you to optimize your gaming experience on your laptop.
Before we dive into the details, it’s important to note that the ability to use your laptop as a monitor for your PS4 may depend on the specific make and model of your laptop. Some laptops come equipped with HDMI-in ports that allow you to connect external devices, while others may require additional hardware or software configurations. Therefore, it’s essential to check your laptop’s specifications and compatibility before getting started.
Step 1: Check your laptop’s specifications and compatibility
Before you can use your laptop as a monitor for your PS4, it’s crucial to ensure that your laptop has the necessary specifications and compatibility. Here are a few key factors to consider:
1. HDMI port: Check if your laptop has an HDMI port. This is essential, as it allows you to connect the PS4 to your laptop using an HDMI cable. Most modern laptops come equipped with an HDMI port, but it’s always best to double-check.
2. HDCP support: High-Bandwidth Digital Content Protection (HDCP) is a security feature that prevents unauthorized copying of copyrighted content. Ensure that your laptop and its display support HDCP, as the PS4 uses this technology when transmitting video signals. Without HDCP support, you may encounter issues when attempting to display PS4 content on your laptop.
3. Screen resolution and size: Take note of the screen resolution and size of your laptop. This will affect the display quality and overall gaming experience. Ideally, opt for a laptop with a high-resolution display and a screen size that suits your gaming preferences.
4. Processing power: Gaming on a laptop requires a decent amount of processing power to ensure smooth gameplay. Check the processor and RAM specifications of your laptop to ensure that it can handle running games from your PS4.
5. Operating System compatibility: Confirm that your laptop runs on a compatible operating system. Most laptops are compatible with popular operating systems such as Windows, macOS, and Linux. However, it’s essential to check if any specific software or driver updates are required to connect your PS4 to your laptop.
Checking these specifications and compatibility factors will help you determine if your laptop can be used as a monitor for your PS4. Once you have verified that your laptop meets the requirements, you can proceed with the next steps to connect your PS4 to your laptop and start gaming on a larger screen.
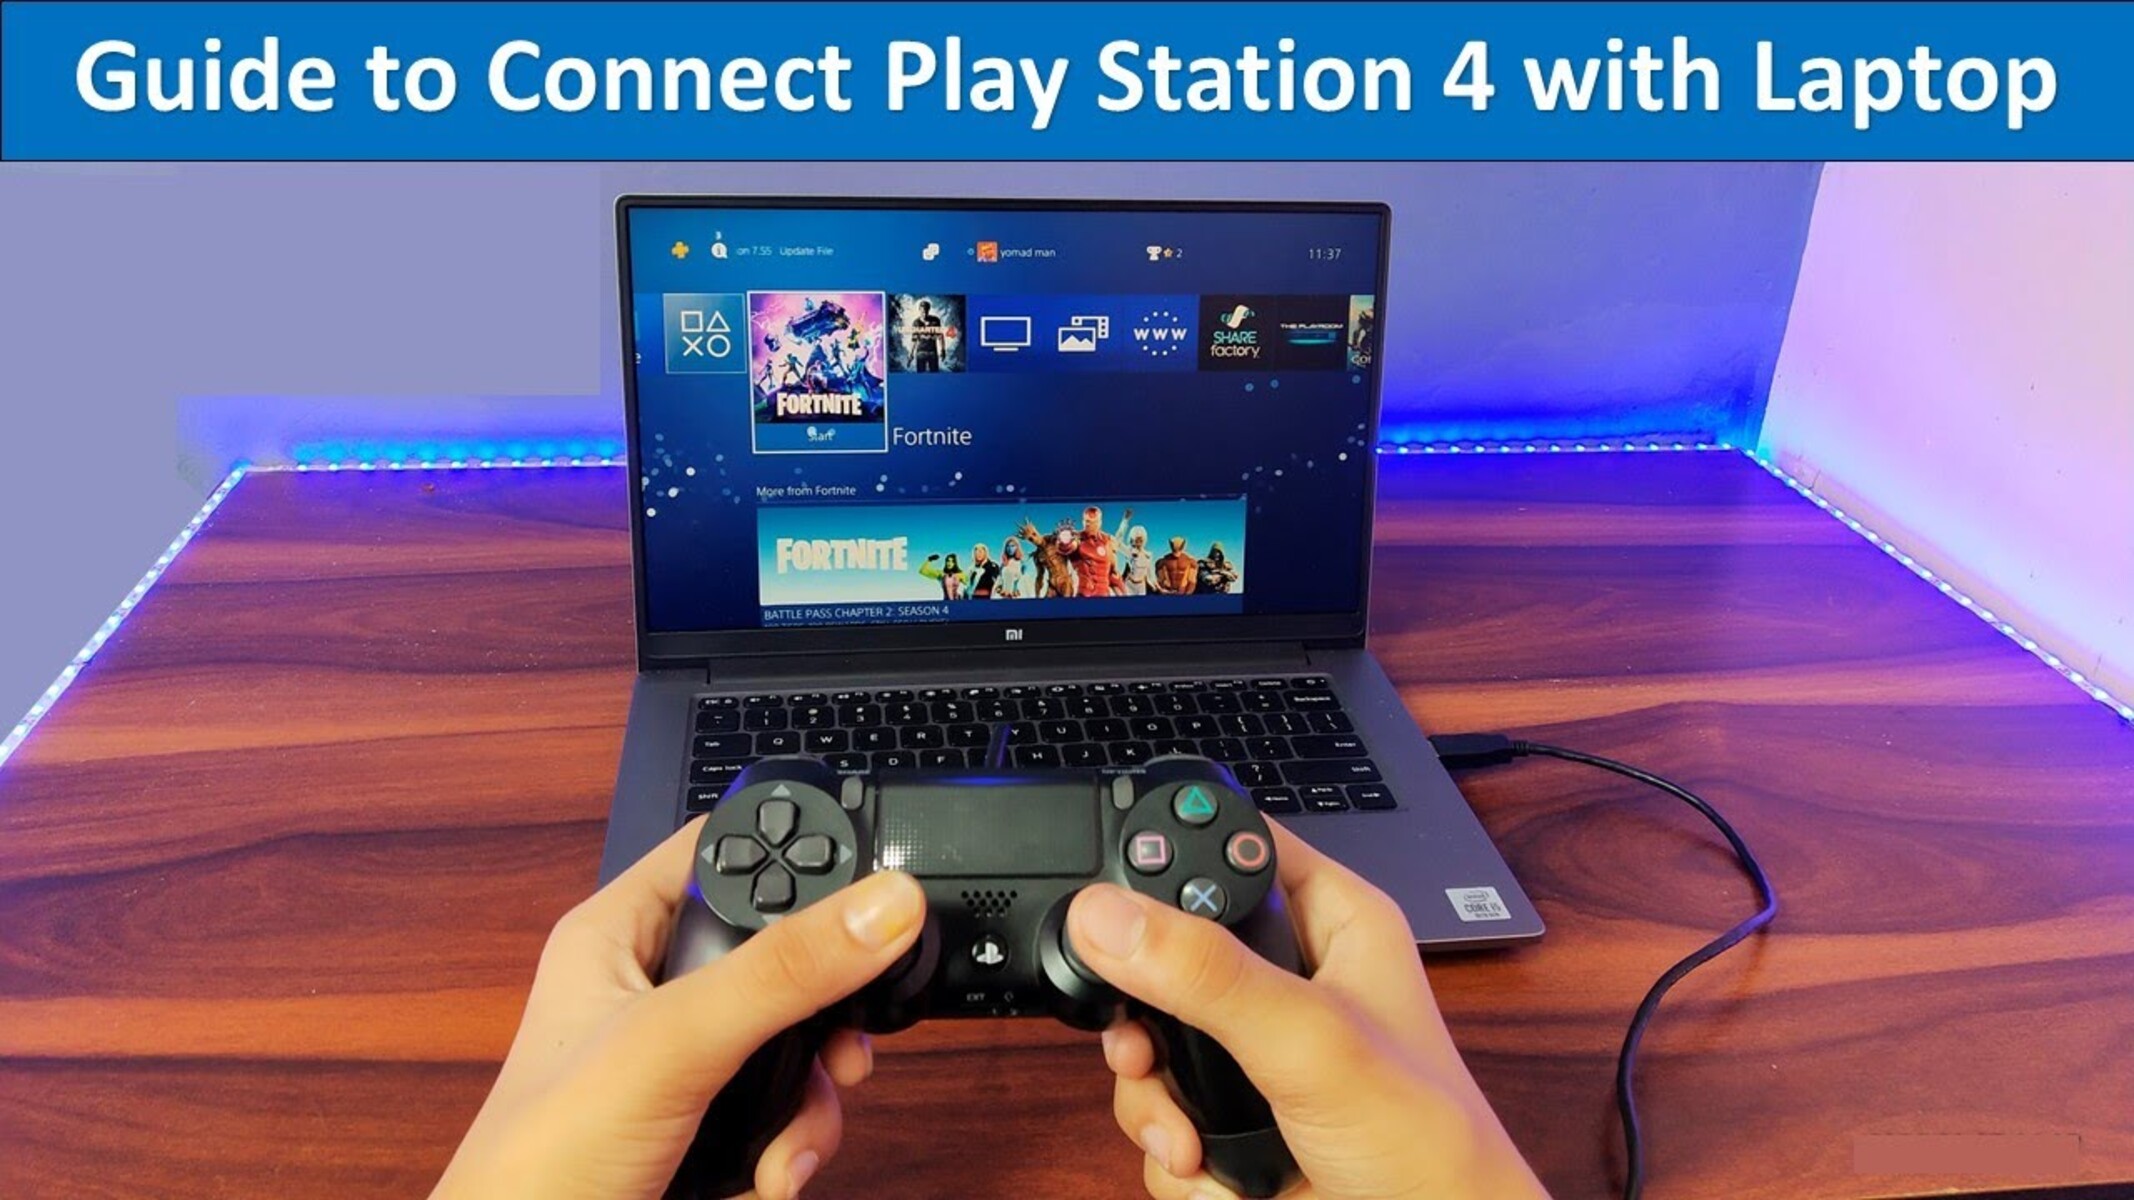
Step 2: Connect your laptop to your PS4 using HDMI cable
Now that you have confirmed that your laptop is compatible, it’s time to connect your laptop to your PS4 using an HDMI cable. Follow these simple steps:
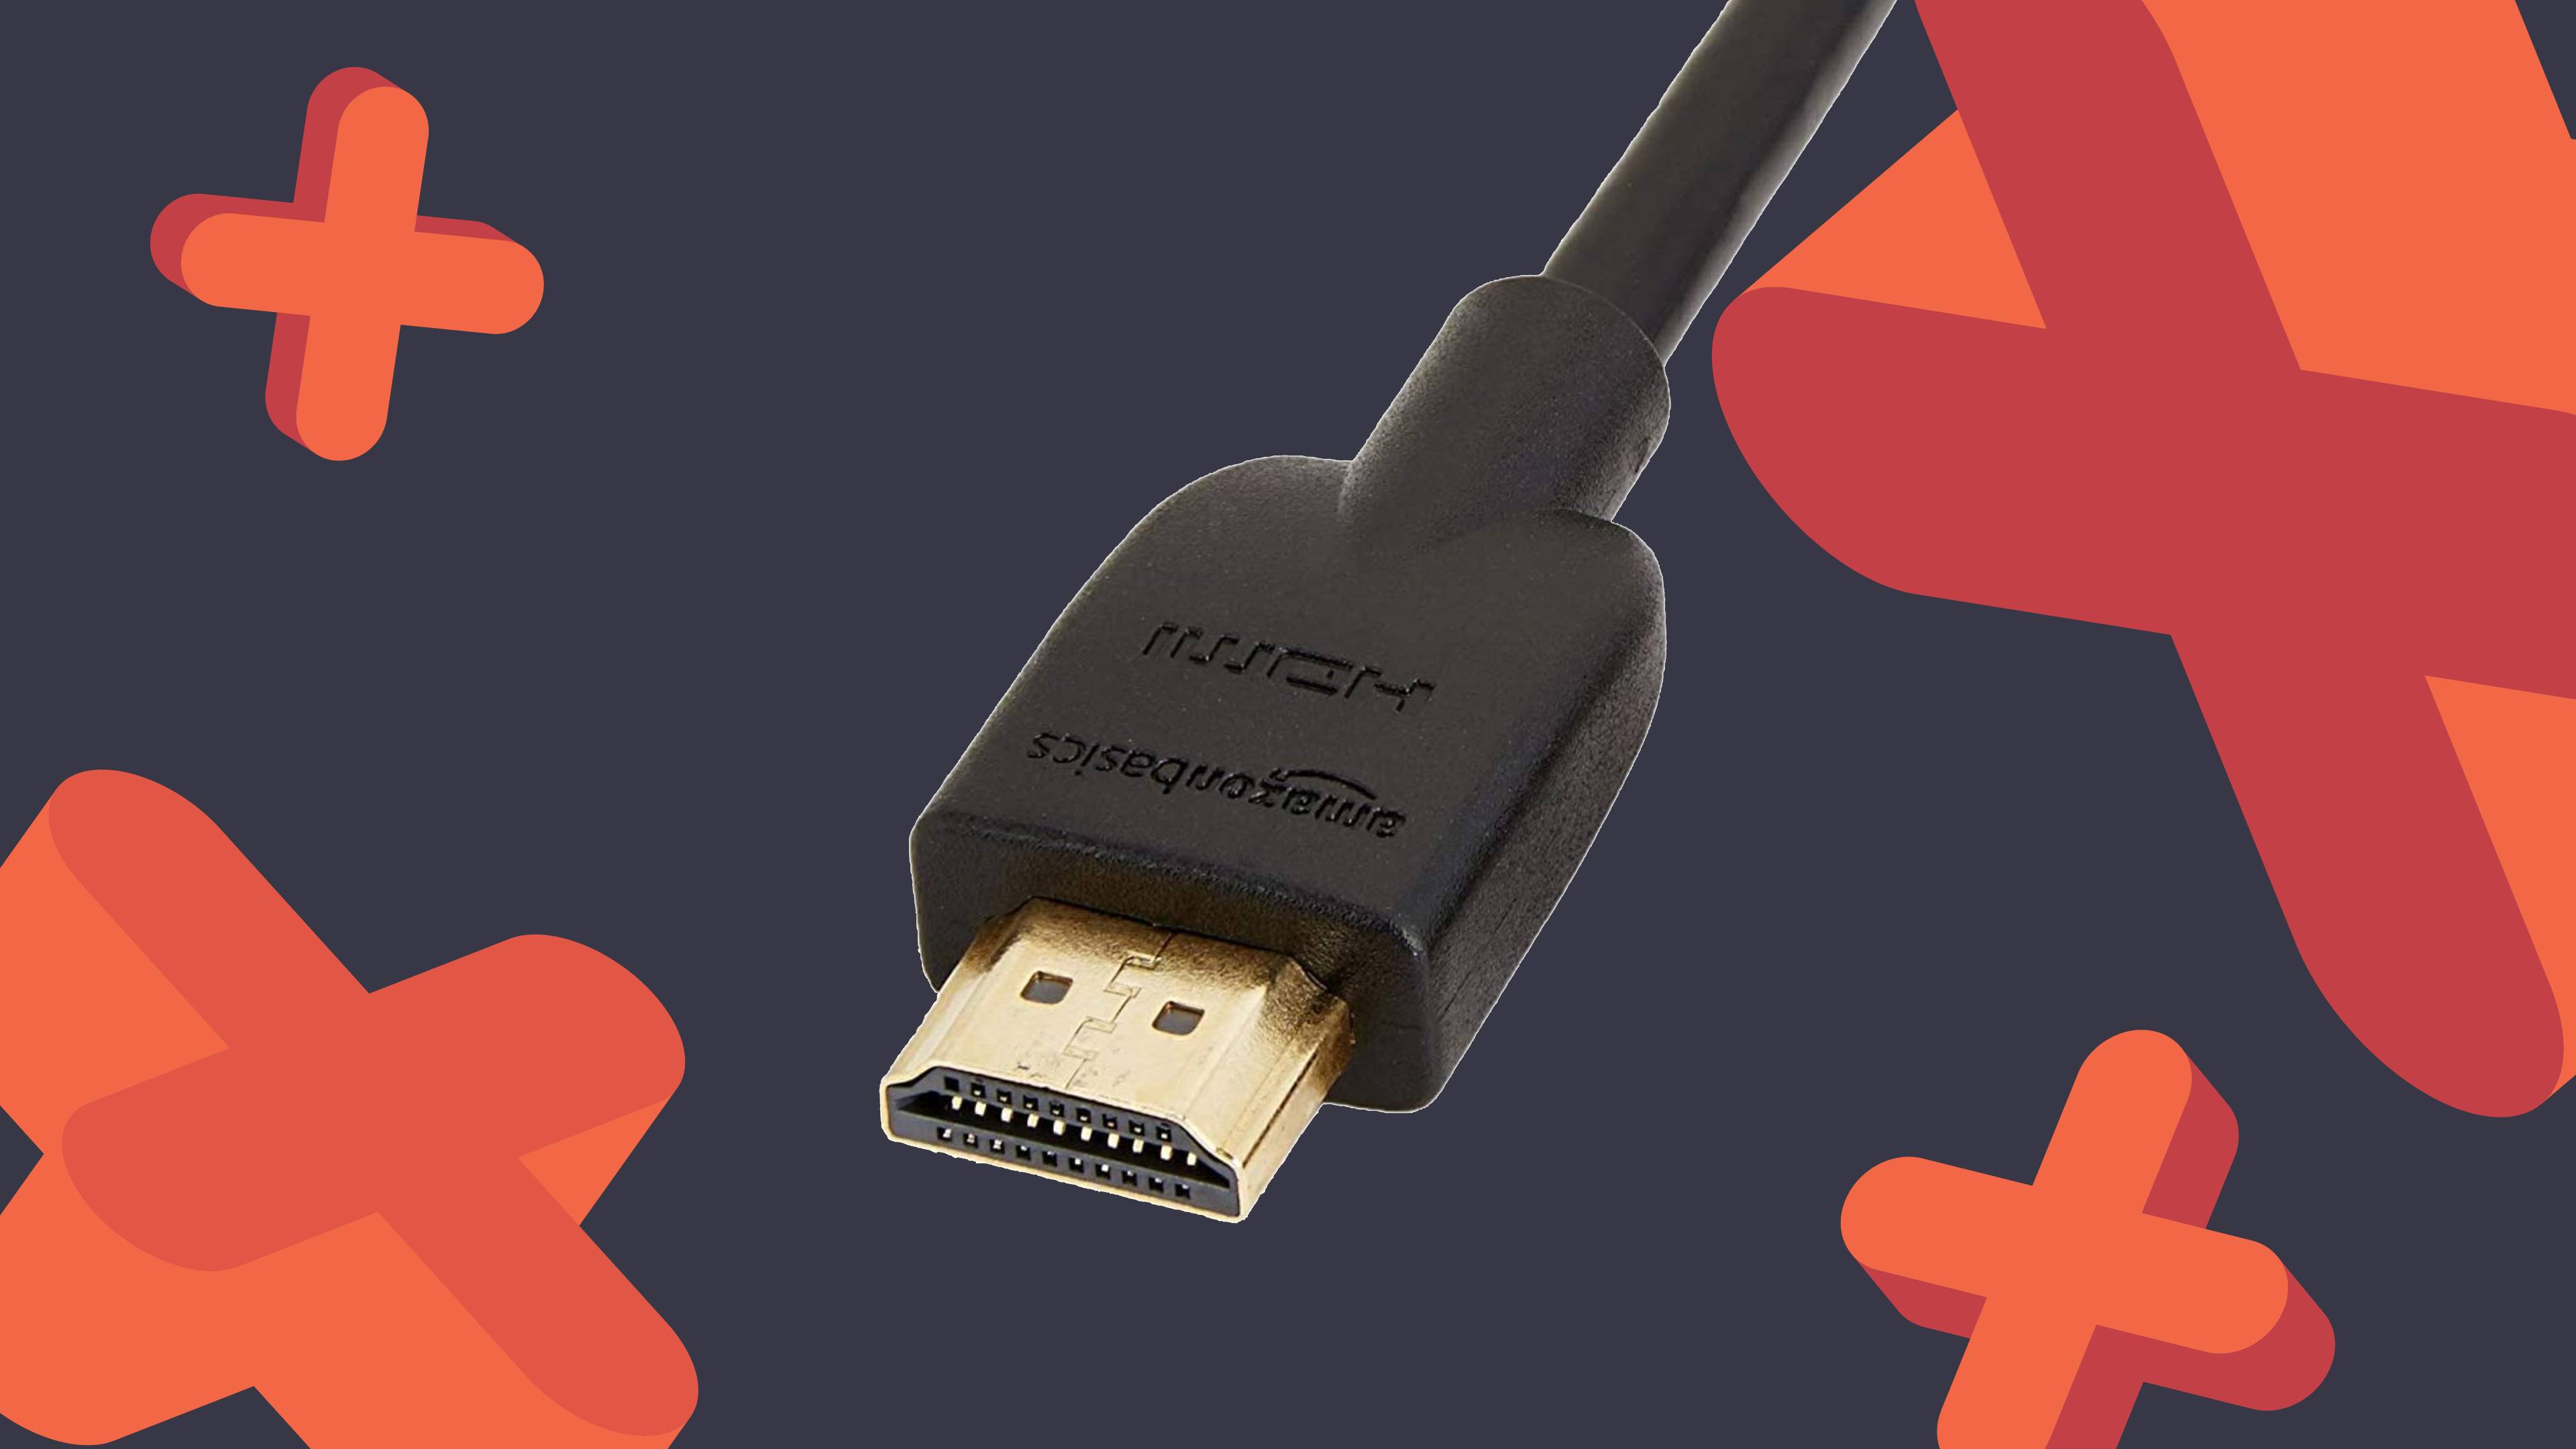
1. Gather the necessary equipment: Ensure you have an HDMI cable that is compatible with both your laptop and your PS4. Ideally, use a high-quality HDMI cable for the best video and audio transmission.
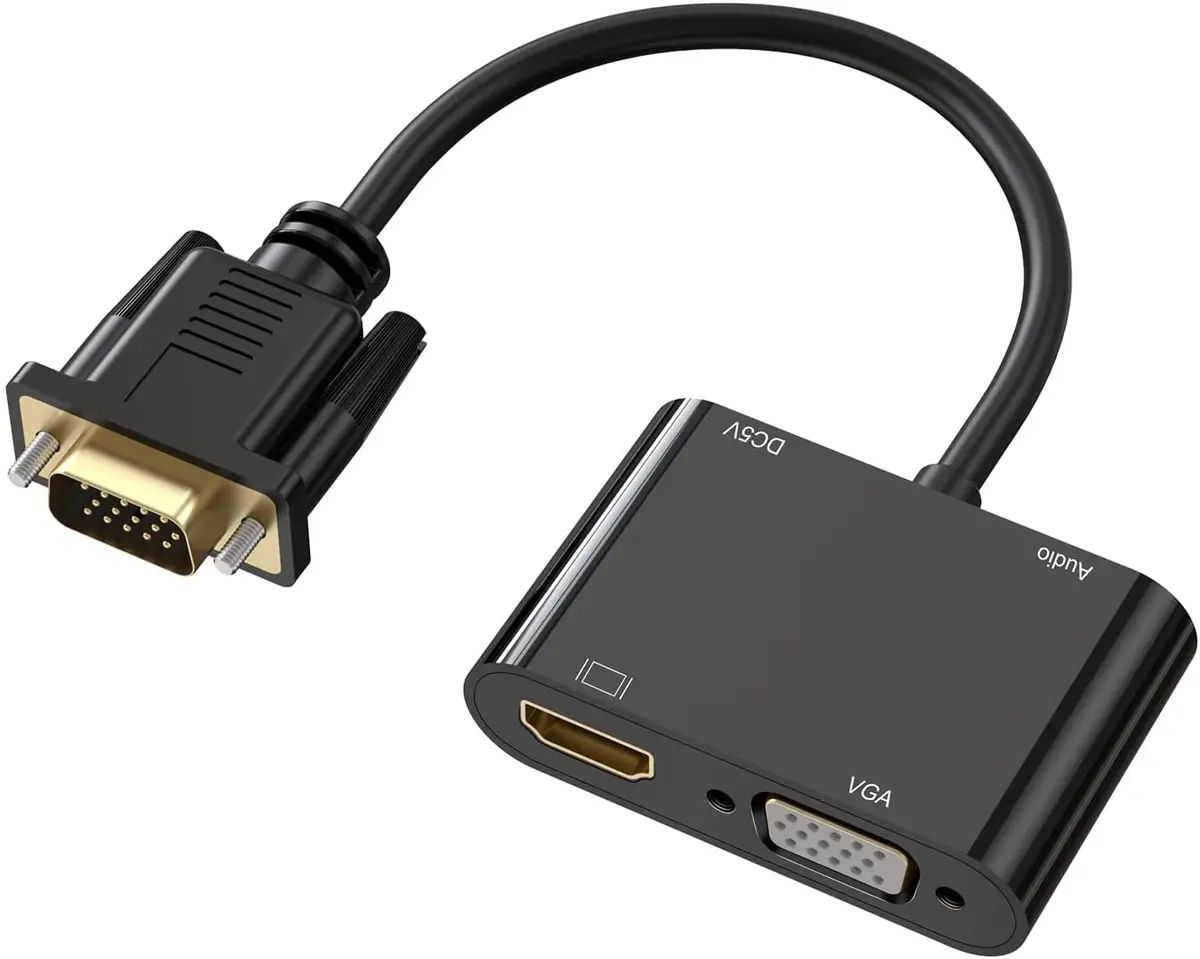
2. Locate the HDMI ports: On your laptop, locate the HDMI OUT port, which resembles a small rectangular slot with metal pins inside. On your PS4, locate the HDMI IN port, usually labeled as “HDMI” or “HDMI IN”.
3. Connect the HDMI cable: Insert one end of the HDMI cable into the HDMI OUT port of your laptop and the other end into the HDMI IN port of your PS4. Ensure the cable is securely connected to both devices.
4. Power on your laptop and PS4: Turn on your laptop and PS4 by pressing the power button on each device. The laptop should automatically detect the PS4 connection once both devices are powered on.
5. Select the HDMI input: On your laptop, access the display settings by right-clicking on the desktop and selecting “Display settings” or a similar option. Look for the option to change the input source and select the HDMI input where your PS4 is connected.
6. Confirm the connection: If everything is connected correctly, your laptop’s screen should display the output from your PS4. You may need to adjust the screen resolution and aspect ratio settings to optimize the display for gaming.
By following these steps, you should now have successfully connected your laptop to your PS4 using an HDMI cable. The HDMI connection ensures that you can enjoy crisp video quality and immersive gameplay on your laptop’s screen.
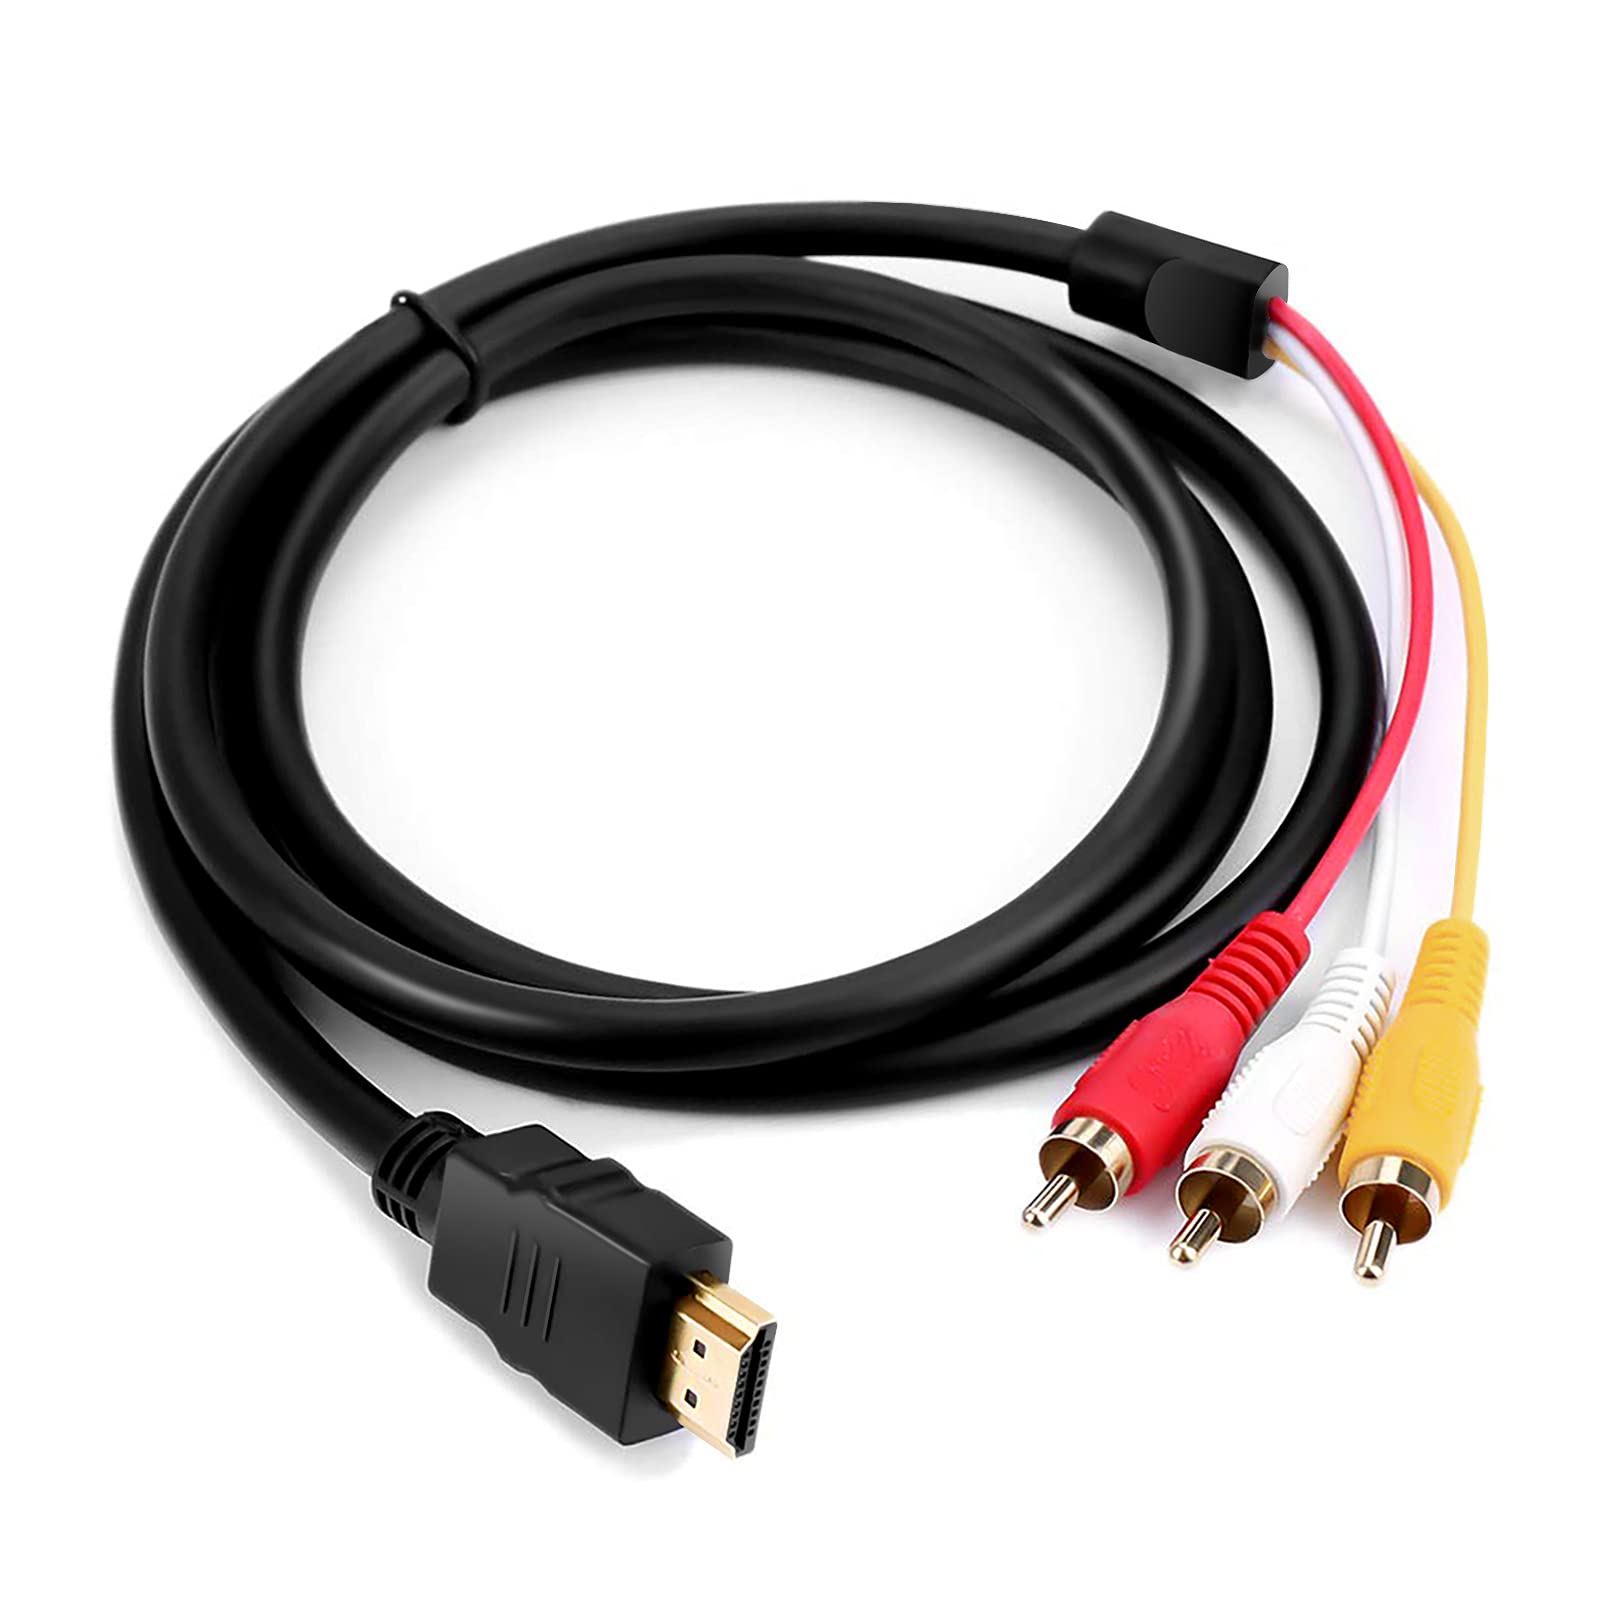
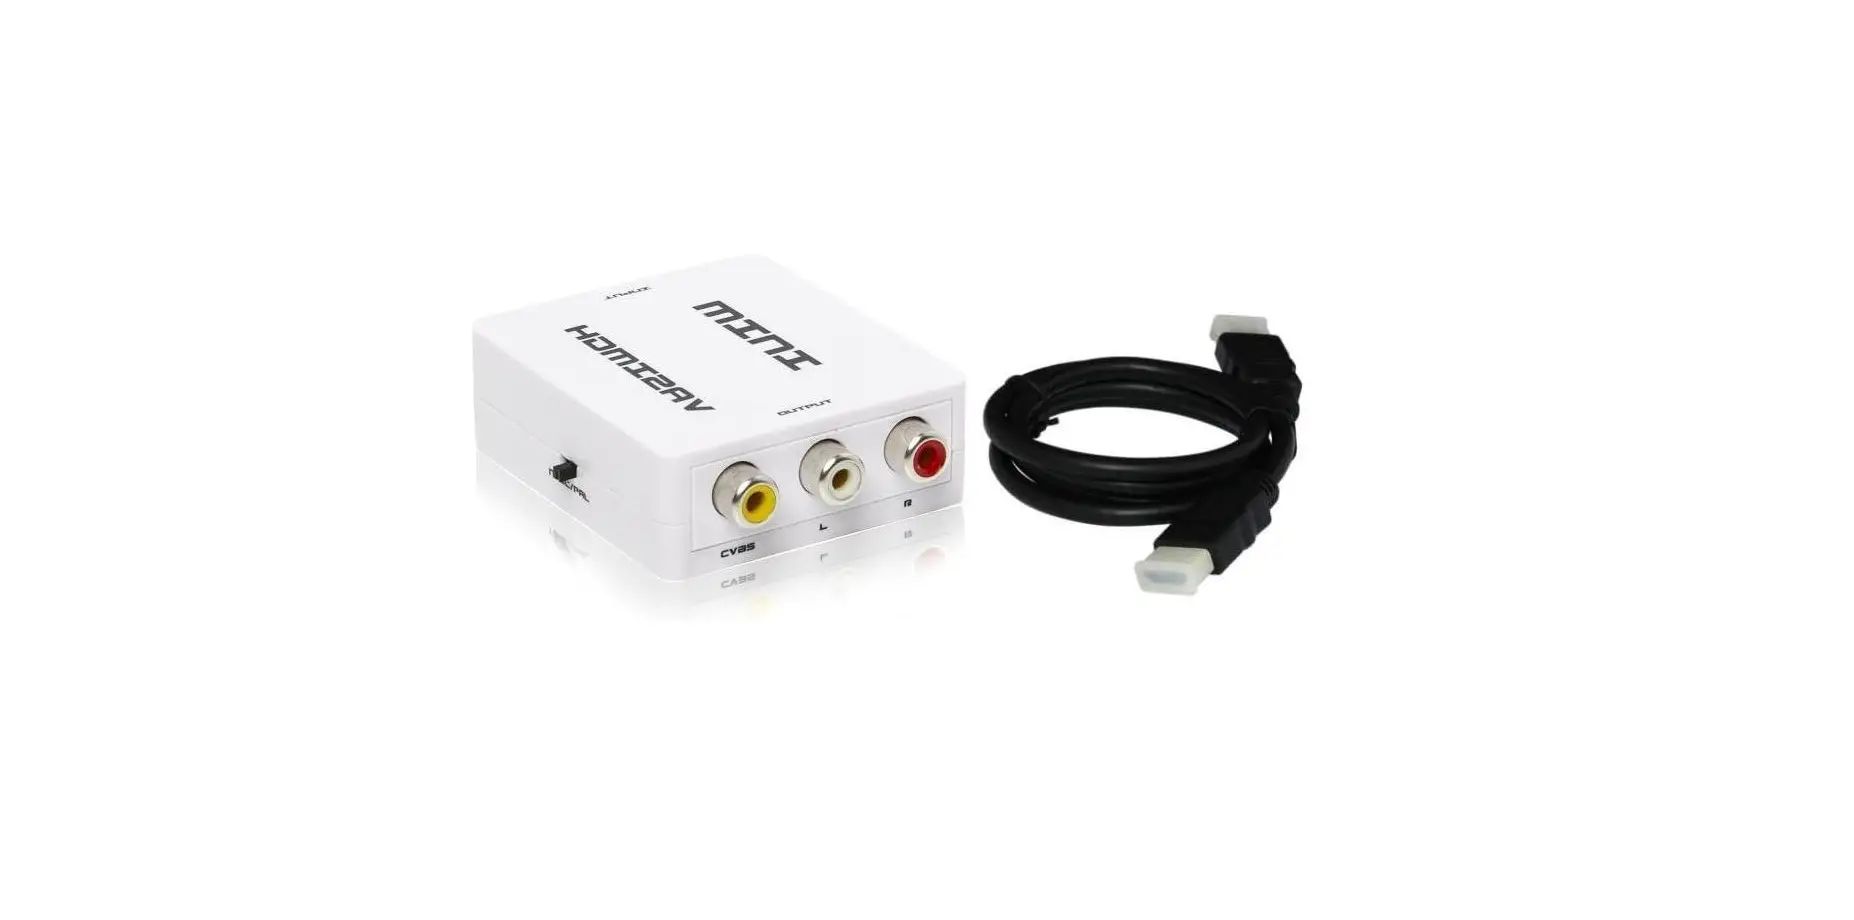
Note: If your laptop does not have an HDMI port or if you prefer a wireless connection, you can explore other options such as using a capture card or streaming your PS4 gameplay to your laptop using remote play software. However, these methods may require additional hardware or software configurations.
Step 3: Adjust display settings on your laptop
After connecting your laptop to your PS4, it’s important to adjust the display settings on your laptop to ensure optimal gaming experience. Follow these steps to make the necessary adjustments:
1. Access the display settings: Right-click on your desktop and select “Display settings” or go to the Control Panel and navigate to the Display settings option. This will open the display settings menu on your laptop.
2. Adjust screen resolution: In the display settings menu, find the option to adjust the screen resolution. Set it to the recommended resolution for your laptop’s display. This will ensure a clear and crisp display of your PS4 content.
3. Modify aspect ratio: If the aspect ratio of your laptop’s display does not match that of your PS4, you may notice stretched or distorted images. Look for the aspect ratio settings in the display settings menu and select the one that matches your PS4 output, usually 16:9.
4. Enable full-screen mode: Some laptops have a default setting that prevents programs from utilizing the entire screen space. To ensure your PS4 games take up the full screen, check for any settings related to full-screen mode and enable it.
5. Adjust brightness and contrast: Depending on your personal preference and the lighting conditions of your gaming environment, you may want to adjust the brightness and contrast of your laptop’s display. Look for the brightness and contrast settings in the display settings menu.
6. Test the display: Apply the changes and launch a game on your PS4. Verify that the display on your laptop is visually pleasing and that all elements are properly scaled. Make any necessary adjustments to the display settings until you achieve the desired gaming experience.
By adjusting the display settings on your laptop, you can ensure that the visuals from your PS4 are optimized for your laptop’s screen. This will enhance your gaming experience and allow you to fully immerse yourself in the world of your favorite PS4 games.
Step 4: Configure audio settings
Now that you have adjusted the display settings on your laptop, it’s important to configure the audio settings to ensure you can enjoy immersive sound while gaming. Follow these steps to configure the audio settings:
1. Open the Sound settings: Access the Sound settings on your laptop. You can typically find this option by right-clicking on the volume icon in the taskbar and selecting “Sound settings” or by navigating to the Control Panel and selecting the Sound option.
2. Select the correct audio output: In the Sound settings menu, locate the option to select the audio output device. Choose the audio output that corresponds to your laptop’s speakers or the headphones you are using. This will ensure that the audio from your PS4 is directed to the appropriate device.
3. Adjust volume levels: Set the volume levels according to your preference. You can adjust the overall volume level of your laptop’s speakers or headphones in the Sound settings menu. It’s recommended to start with a moderate volume and make fine adjustments while playing games to achieve the perfect audio level.
4. Enable surround sound (optional): If your laptop and headphones or speakers support surround sound, you can enable this feature to enhance the gaming experience. Look for options related to virtual surround sound in the Sound settings menu and enable it if desired.
5. Test the audio: Launch a game on your PS4 and ensure that the audio output is functioning correctly. Listen for clarity, balance, and any audio glitches. If necessary, make further adjustments to the audio settings on your laptop until you achieve the desired sound quality.
By properly configuring the audio settings on your laptop, you can enjoy immersive sound effects, dialogues, and music while playing games on your PS4. The audio settings are crucial for creating a captivating gaming experience that fully engages your senses.
Step 5: Start playing PS4 games on your laptop
Now that you have successfully connected your laptop to your PS4, adjusted the display settings, and configured the audio settings, you are ready to start playing your favorite PS4 games on your laptop. Follow these steps to begin your gaming session:
1. Turn on your PS4: Ensure that your PS4 is powered on. You can use the power button on the console or the PS4 controller to turn it on. Wait for the PS4 to fully boot up.
2. Select a game: Use your PS4 controller to navigate through the game library and select the game you want to play. Press the “X” button on the controller to confirm your selection.
3. Enjoy gaming on your laptop: As the game starts, the display on your laptop will mirror the PS4’s output. Play the game using your PS4 controller as you would normally. The laptop will act as a monitor, providing you with a larger screen to enjoy your gameplay.
4. Optimize settings if needed: While playing, you may want to make further adjustments to the display and audio settings to suit your preferences. You can pause the game and access the respective settings menus on your laptop to make any necessary changes.
5. Save and continue: Once you are done playing or want to take a break, make sure to properly save your game progress. You can access the game’s save menu or use the in-game save options to ensure that your progress is preserved.
With your laptop acting as a monitor for your PS4, you can now enjoy the excitement of gaming from the comfort of your laptop screen. Whether you are playing on-the-go or simply prefer the convenience of using your laptop as a monitor, this setup allows you to fully immerse yourself in the world of PS4 gaming.
Note: Depending on your laptop’s hardware specifications and performance capabilities, you may need to adjust the game’s graphics settings to ensure smooth gameplay. Experiment with the graphics settings to find the right balance between performance and visual quality.
Conclusion
Using your laptop as a monitor for your PS4 opens up new possibilities for gaming and adds flexibility to your gaming setup. By following the steps outlined in this guide, you can connect your PS4 to your laptop, adjust the display and audio settings, and enjoy playing your favorite PS4 games on a larger screen.
This setup can be particularly convenient if you don’t have access to a TV or if you prefer the portability and versatility of a laptop. It allows you to take your gaming experience with you wherever you go, whether you’re traveling, visiting a friend, or simply want to enjoy gaming on a different screen.
Remember to ensure that your laptop meets the necessary specifications and compatibility requirements before attempting to connect your PS4. Check for compatibility with HDMI ports, HDCP support, screen resolution, processing power, and operating system compatibility.
Once you have confirmed compatibility, connecting your PS4 to your laptop using an HDMI cable is a straightforward process. Adjusting the display settings to optimize the visual quality and configuring the audio settings for immersive sound further enhance your gaming experience.
With everything set up, you can start playing your PS4 games on your laptop’s screen. Take advantage of the larger display, adjust the in-game graphics settings if necessary, and enjoy an immersive gaming experience right on your laptop.
Remember to save your game progress regularly and make any additional adjustments to the display and audio settings as needed. With your laptop acting as a monitor for your PS4, you can now enjoy the excitement of gaming wherever and whenever you choose.
Whether you’re a casual gamer, a traveling enthusiast, or simply prefer the convenience of using your laptop as a monitor, this guide provides you with the necessary steps to enhance your gaming experience. Harness the power of your laptop and immerse yourself in the world of PS4 gaming like never before.