Introduction
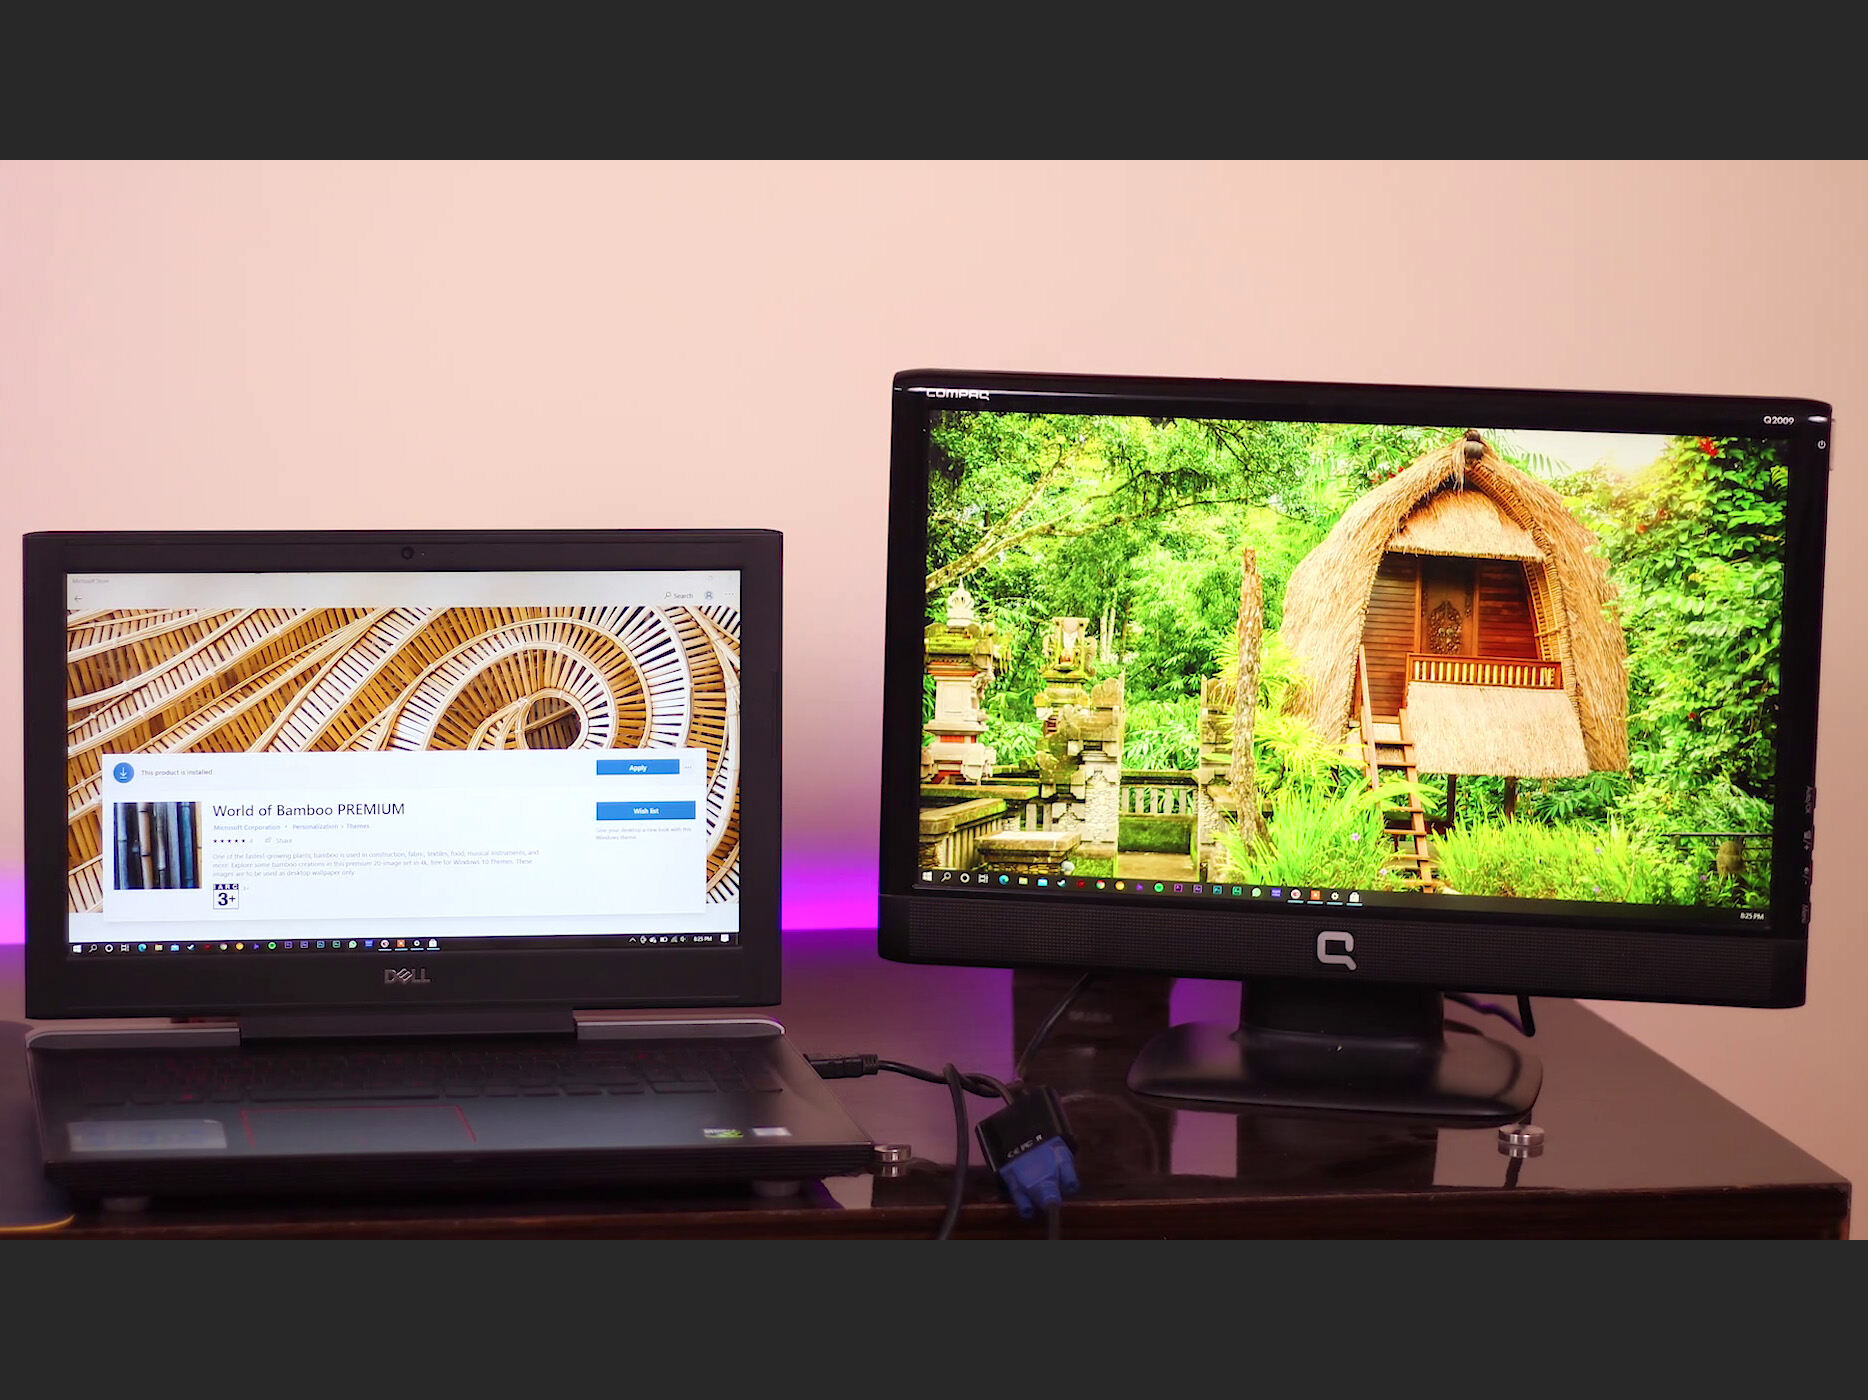
Connecting a monitor to your computer using an HDMI (High-Definition Multimedia Interface) cable provides a simple and convenient way to enhance your viewing experience. HDMI is a widely used digital video and audio interface that allows for high-quality uncompressed transmission of both video and audio signals. With HDMI, you can enjoy stunning visuals and crystal-clear sound on your monitor without the hassle of multiple cables and adapters.
Whether you’re setting up a new computer system or upgrading your current one, connecting a monitor with HDMI is a straightforward process. In this guide, we’ll walk you through the steps to connect your monitor to your computer using an HDMI cable. You’ll also find troubleshooting tips for common issues that may arise during the setup process.
Before we dive into the steps, it’s important to note that HDMI ports can be found on most modern computers and monitors. However, if you have an older computer or monitor that doesn’t have an HDMI port, you may need to use an adapter or alternative connection method. Additionally, make sure that your monitor and computer both support HDMI connectivity to ensure compatibility.
Now, let’s get started and learn how to connect your monitor with HDMI!
Understanding HDMI
Before we dive into the process of connecting your monitor using an HDMI cable, let’s take a moment to understand the basics of HDMI technology. HDMI, or High-Definition Multimedia Interface, is a digital interface that allows for the transmission of high-quality audio and video signals from a source device (such as a computer or media player) to a display device (like a monitor or TV).
HDMI cables are designed to carry both audio and video signals, providing a single cable solution for connecting your devices. The interface supports various high-definition video formats, including 720p, 1080p, and 4K resolution, ensuring that you can enjoy sharp and vibrant visuals on your monitor.
In addition to video signals, HDMI also supports multichannel audio formats, such as Dolby TrueHD and DTS-HD Master Audio, allowing for immersive and high-fidelity sound reproduction. This means that you can experience theater-quality audio even when using a monitor with built-in speakers or connecting your monitor to external speakers or headphones.
HDMI cables come in different versions, with each version offering additional features and improved performance. The most common HDMI versions are HDMI 1.4, HDMI 2.0, and HDMI 2.1. The higher the version, the greater the bandwidth capacity, which enables support for higher resolutions, refresh rates, and other advanced features like HDR (High Dynamic Range) and 3D.
It is important to note that HDMI cables and ports are backward compatible, meaning that you can use a higher version cable with a device that has a lower version HDMI port. However, you will only be able to take advantage of the features supported by the lower version. For example, using an HDMI 2.0 cable with an HDMI 1.4 port will still allow you to transmit video and audio signals, but you won’t be able to utilize the enhanced features of HDMI 2.0.
Now that we have a basic understanding of HDMI, let’s proceed to the next section to find out if your computer has an HDMI port.
Step 1: Check your computer’s HDMI port
The first step in connecting your monitor with HDMI is to ensure that your computer has an HDMI port. Most modern computers, whether desktop or laptop, are equipped with an HDMI port that allows for easy connection to external displays. Here’s how to check if your computer has an HDMI port:
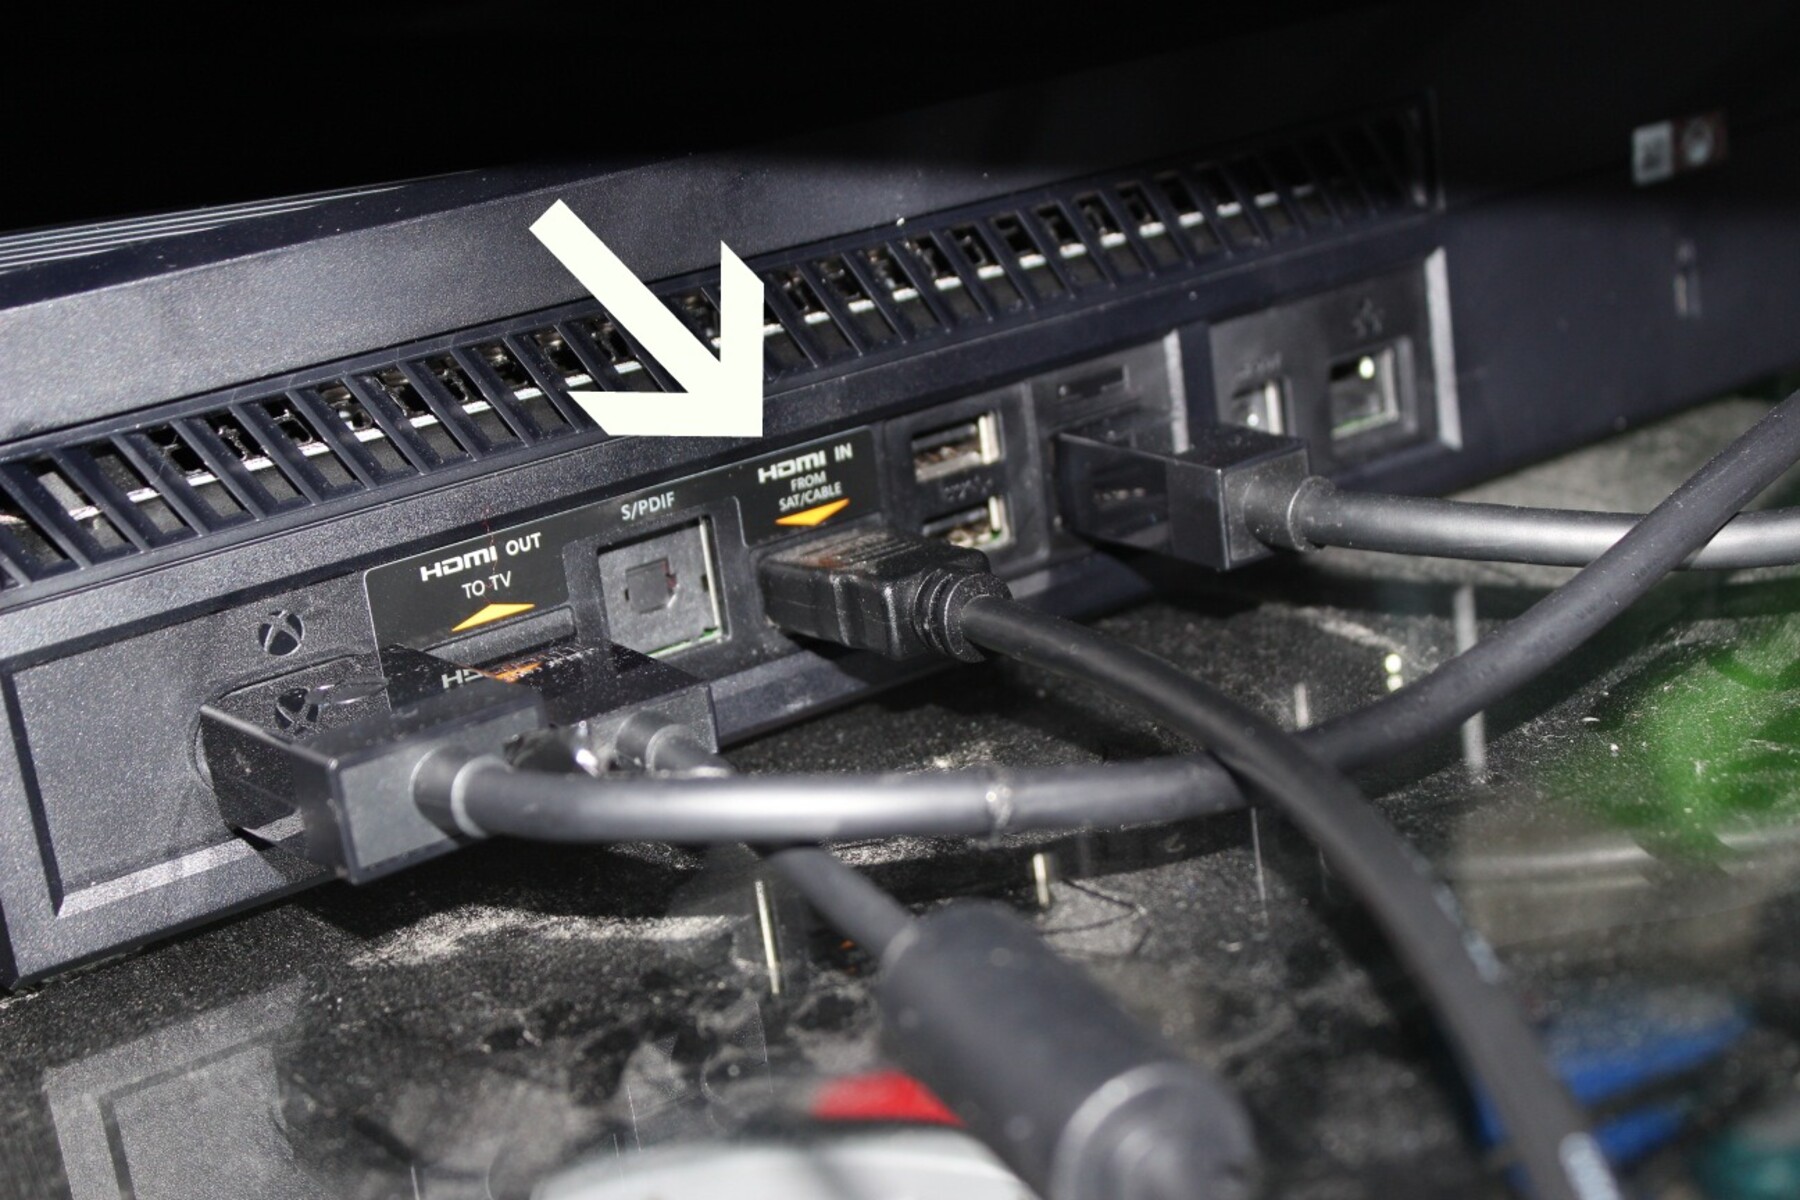
- Locate the ports on your computer’s back or side panel. Depending on the model, you may find the HDMI port among other ports such as USB, audio, or ethernet ports.
- Look for a small, rectangular-shaped port that has “HDMI” written next to it. The HDMI port should have a standard size and shape, making it easy to recognize.
- If you’re having trouble locating the HDMI port, refer to your computer’s user manual or look up the specifications online. The manual or specifications will provide the exact location and description of the HDMI port on your specific computer model.
Once you have confirmed the presence of an HDMI port on your computer, you can move on to the next step: checking your monitor’s HDMI port.
Step 2: Check your monitor’s HDMI port
After confirming that your computer has an HDMI port, the next step is to check if your monitor also has an HDMI port. Most modern monitors are equipped with HDMI ports to support easy connectivity with different devices. Here’s how you can check if your monitor has an HDMI port:
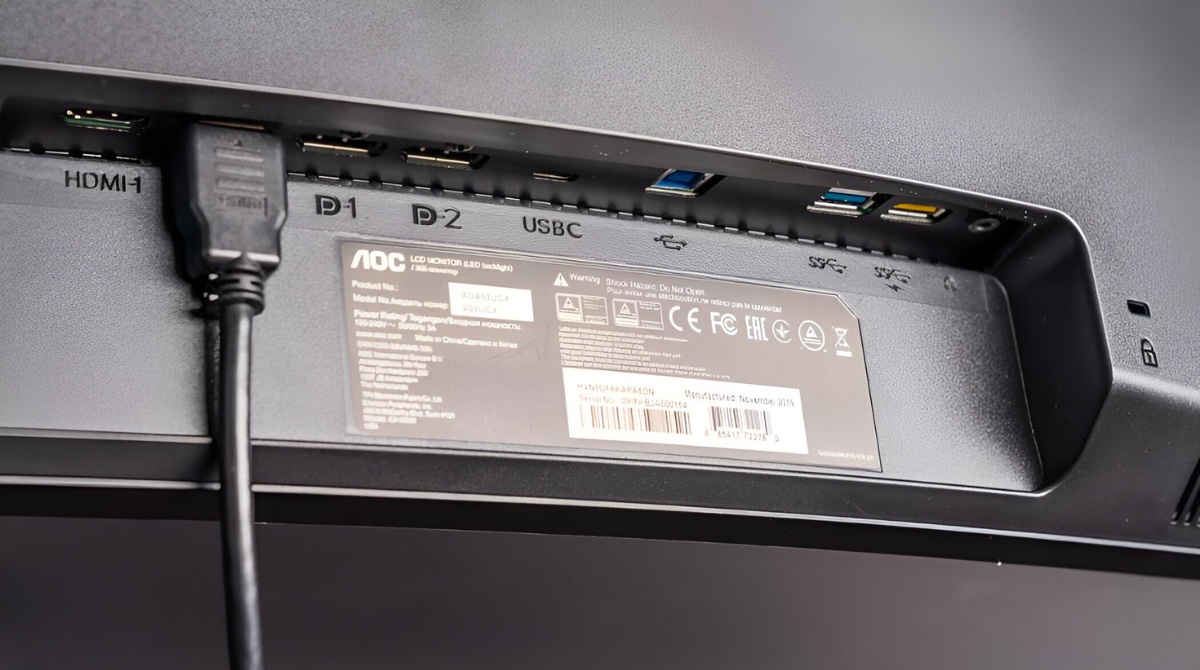
- Examine the back or side panel of your monitor. The ports are typically located in this area.
- Look for a small, rectangular-shaped port labeled “HDMI.” The HDMI port on your monitor should be of a standard size and easily identifiable.
- In case you are unable to locate the HDMI port, refer to your monitor’s user manual or check the manufacturer’s website for specifications. The manual or website should provide detailed information on the location and appearance of the HDMI port on your specific monitor model.
Once you have verified that your monitor does have an HDMI port, you can proceed to the next step of connecting the HDMI cable between your computer and monitor.
Step 3: Connect the HDMI cable
Now that you have confirmed that both your computer and monitor have HDMI ports, you’re ready to connect them using an HDMI cable. Follow these simple steps to establish the connection:
- Ensure that both your computer and monitor are turned off. This will prevent any potential damage to the devices during the connection process.
- Identify the HDMI cable. It is a thick cable with a rectangular-shaped connector on both ends. The connectors have an HDMI logo on them, making them easy to identify.
- Connect one end of the HDMI cable to the HDMI port on your computer. Insert the cable firmly but gently, ensuring that it fits snugly into the port. Take care not to force the connection, as this could damage the port or the cable.
- Connect the other end of the HDMI cable to the HDMI port on your monitor. Again, insert the cable carefully and ensure a secure connection.
- Once the HDMI cable is connected at both ends, power on your computer and monitor.
- Set your monitor’s input source to HDMI. Most monitors have a menu button or control panel that allows you to select the input source. Use the monitor’s menu buttons or controls to navigate to the input settings and choose HDMI as the input source.
- After selecting the HDMI input source, your monitor should display the output from your computer. If the display does not appear, ensure that you have selected the correct input source and that the HDMI cable is properly connected. You may need to check the cable for any damage or try a different HDMI cable if necessary.
Congratulations! You have successfully connected your monitor to your computer using an HDMI cable. Now you can enjoy high-quality visuals and audio on your monitor.
Step 4: Adjust monitor settings
After connecting your monitor to your computer using an HDMI cable, you may need to adjust some settings to ensure the best display quality and performance. Here are a few tips on how to optimize your monitor settings:
- Resolution: Open the display settings on your computer and choose the recommended resolution for your monitor. This will ensure that the content is displayed at its native resolution, providing the best clarity and sharpness.
- Refresh rate: If your monitor supports a higher refresh rate, you can set it to a higher value for smoother motion and reduced motion blur. However, keep in mind that your computer’s graphics card and the content you’re viewing should also support the selected refresh rate.
- Brightness and contrast: Adjust the brightness and contrast settings on your monitor to find a comfortable and visually appealing balance. Avoid setting them too high, as it can strain your eyes, or too low, as it may result in a dull-looking display.
- Color calibration: Calibrating the colors on your monitor can enhance the overall viewing experience. Use the built-in calibration tools on your computer or consider using a calibration device for more accurate color representation.
- Additional settings: Explore other monitor settings such as color temperature, gamma, and sharpness to customize the display according to your preferences. However, be cautious when making adjustments and find a balance that works well for your specific needs.
- Test and fine-tune: After adjusting the settings, view different types of content such as images, videos, and text to ensure that the display appears clear, vibrant, and accurate.
Remember, the optimal monitor settings may vary depending on your personal preferences and the specific tasks you perform on your computer. Take some time to experiment with the settings until you find the combination that suits your needs and provides a visually satisfying experience.
By following these steps and adjusting the monitor settings as needed, you can ensure that you get the most out of your monitor’s capabilities and enjoy a visually immersive experience while using your computer.
Troubleshooting common issues
While connecting your monitor using an HDMI cable is usually a straightforward process, you may encounter some common issues along the way. Here are a few troubleshooting tips to help you resolve these issues:
- No signal: If your monitor displays a “No signal” message, it means that it is not receiving any input from your computer. Double-check that the HDMI cable is securely connected at both ends. You can also try unplugging and replugging the cable to ensure a proper connection. Additionally, make sure that your computer is powered on and that the HDMI output is enabled in the display settings.
- Poor display quality: If you notice issues with the display quality, such as blurry or pixelated images, check the resolution settings on your computer. Ensure that you have selected the optimal resolution for your monitor. If the issue persists, try adjusting the sharpness and contrast settings on your monitor. You can also update your graphics card driver to ensure compatibility.
- No audio: If you’re not getting any sound from your monitor’s speakers or the connected external speakers, check the audio settings on your computer. Ensure that the audio output is set to HDMI. If the problem persists, try disconnecting and reconnecting the HDMI cable or restarting your computer.
- Flickering or black screen: If you experience flickering or a black screen on your monitor, it may be due to an incompatible refresh rate. Lower the refresh rate in the display settings and see if the issue is resolved. If not, try a different HDMI cable or connect your monitor to another HDMI port on your computer.
- Unsupported resolution: In some cases, your monitor may not support the resolution you have selected on your computer. If the display appears distorted or stretched, try selecting a different resolution that is compatible with your monitor’s specifications.
If you encounter persistent issues or the troubleshooting tips mentioned above do not resolve the problem, consider consulting the user manual for your monitor or contacting technical support for further assistance. They can provide you with more specific guidance based on your monitor model and help you troubleshoot any complex issues that may arise.
By troubleshooting common issues, you can overcome any obstacles that may arise during the process of connecting and using your monitor with HDMI, ensuring a smooth and enjoyable user experience.
Conclusion
Connecting your monitor to your computer using an HDMI cable is a simple and effective way to enhance your viewing experience. By following the steps outlined in this guide, you can successfully establish a connection and enjoy high-quality visuals and audio on your monitor.
We started by understanding the basics of HDMI technology and the benefits it offers in terms of audio and video transmission. Then, we walked through the step-by-step process of checking the HDMI ports on both your computer and monitor to ensure compatibility. Next, we discussed how to connect the HDMI cable and adjust the monitor settings for optimal performance.
Additionally, we provided troubleshooting tips for common issues that may arise during the setup process. By understanding and addressing these issues, you can overcome any obstacles and ensure a smooth and hassle-free connection.
Remember to always consult the user manual or contact technical support for your specific computer and monitor models if you encounter any difficulties or need further assistance. They can provide you with tailored advice and guidance based on the specifications of your devices.
In conclusion, connecting your monitor with HDMI is a convenient and efficient way to improve your computer setup. Enjoy the immersive visuals and high-quality sound that HDMI provides, and make the most out of your viewing experience.