Introduction
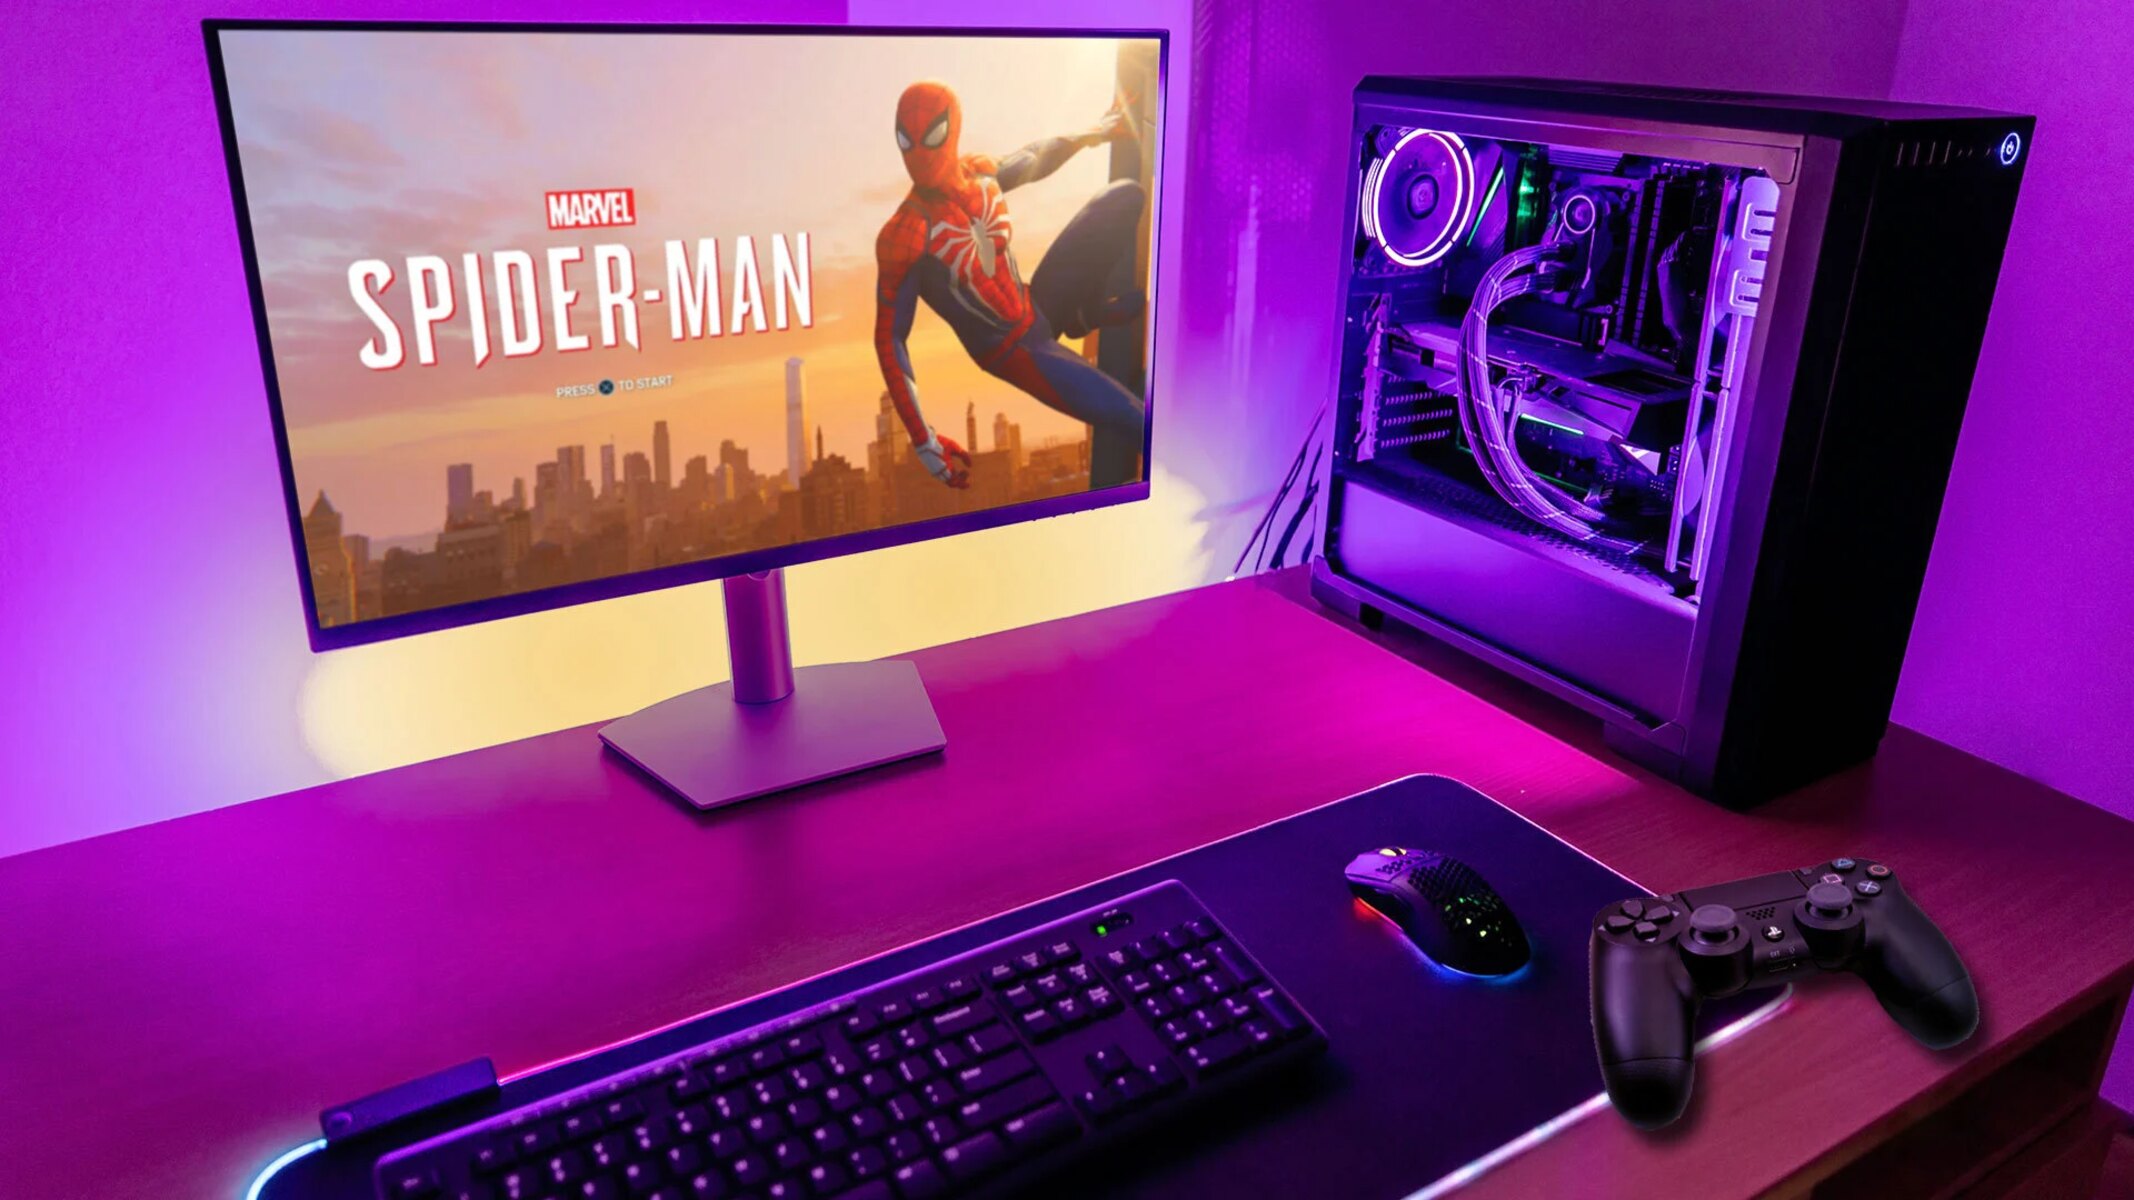
Are you ready to take your gaming experience to the next level? One way to do that is by hooking up your PlayStation to a gaming monitor. While gaming on a television has its advantages, a gaming monitor can provide a more immersive and responsive experience. With a higher refresh rate, faster response times, and better color accuracy, gaming monitors are a popular choice among dedicated gamers.
In this article, we will guide you through the process of connecting your PlayStation to a gaming monitor. Whether you’re a casual gamer or a serious competitive player, setting up your PlayStation on a gaming monitor can greatly enhance your gaming experience. So, let’s dive in and explore the steps to get started!
Gaming monitors come in different sizes, resolutions, and features, so it’s important to choose one that matches your gaming preferences. From ultra-wide screens to 4K resolutions, you have plenty of options to choose from. Additionally, gaming monitors often have specialized features like high refresh rates and adaptive sync technologies, which can further enhance your gaming performance.
Before we begin the setup process, make sure you have all the necessary cables and equipment. You will need an HDMI cable to connect your PlayStation to the gaming monitor. Ensure that the HDMI cable is compatible with both your PlayStation model and the gaming monitor. It’s also a good idea to have the user manuals of both devices handy in case you need to refer to them during the setup process.
Gather the Necessary Cables and Equipment
Before you can start setting up your PlayStation on a gaming monitor, you need to gather all the necessary cables and equipment. Here is a list of items you will need:
- An HDMI cable: This is the most crucial cable you will need to connect your PlayStation to the gaming monitor. Make sure you have an HDMI cable that is compatible with both your PlayStation model and the gaming monitor. If you’re unsure about which HDMI cable to use, refer to the user manuals of both devices to determine the required specifications.
- A gaming monitor: Of course, you will need a gaming monitor to connect your PlayStation to. Choose a monitor that suits your preferences in terms of size, resolution, and features. Consider factors such as screen size, display technology (LED, LCD, etc.), resolution (1080p, 4K, etc.), and refresh rate to find a monitor that can deliver an optimal gaming experience.
- A power cable: Ensure that you have a power cable for both your PlayStation and the gaming monitor. These cables are typically included with the respective devices, so you should have them readily available.
- A controller: Don’t forget to have a PlayStation controller handy. You will need it to navigate through menus and play games on your PlayStation.
- Optional: Audio equipment: If you want to enhance your gaming experience with better sound quality, consider connecting external speakers or headphones to your PlayStation. Check if your gaming monitor has built-in speakers or an audio output port that you can utilize.
Double-check that you have all the necessary cables and equipment before proceeding to the next steps. It’s also a good idea to have the user manuals of both your PlayStation and the gaming monitor within reach. These manuals can provide specific instructions and troubleshooting guidance in case you encounter any issues during the setup process.
Set Up the Gaming Monitor
Now that you have gathered all the necessary cables and equipment, it’s time to set up your gaming monitor. Follow these steps to get your monitor ready for connecting to your PlayStation:
- Find a suitable location: Choose a suitable location for your gaming monitor. Make sure it is positioned at a comfortable height and angle for your viewing pleasure. Consider factors such as lighting, glare, and distance from your seating area to ensure an optimal gaming experience.
- Unbox the monitor: Carefully unbox your gaming monitor and remove any protective materials or coverings. Be cautious while handling the monitor to avoid any damage.
- Connect the power cable: Locate the power input on the gaming monitor and plug in the power cable. Connect the other end of the power cable to a power outlet.
- Power on the monitor: Press the power button on the gaming monitor to turn it on. Wait for it to boot up and display an image. If the monitor has multiple input ports, ensure that it is set to the correct input mode (such as HDMI).
- Adjust settings: Use the monitor’s on-screen display (OSD) menu to adjust settings such as brightness, contrast, color calibration, and any other options that suit your preferences. Refer to the monitor’s user manual for specific instructions on navigating and making adjustments in the OSD menu.
- Test the display: Connect a different device, such as a computer or laptop, to the gaming monitor using the same HDMI cable or an alternate cable to confirm that the display is functioning properly. This step helps troubleshoot any potential issues with the monitor itself.
Once you have completed these steps, your gaming monitor should be set up and ready to connect to your PlayStation. Now, let’s move on to the next section to learn how to connect your PlayStation to the gaming monitor.
Locate the HDMI Port on the PlayStation
Before you can connect your PlayStation to the gaming monitor, you need to locate the HDMI port on your PlayStation console. The HDMI port is where you will plug in the HDMI cable to establish the connection. Here’s how to find it:
- Turn off your PlayStation: Make sure your PlayStation console is turned off before attempting to locate the HDMI port. This will prevent any potential damage to the console or the monitor during the setup process.
- Identify the HDMI port: On the back or side of your PlayStation console, you will find a series of ports. Look for the port labeled “HDMI.” It is usually rectangular in shape with a slightly tapered side to fit the HDMI cable securely.
- Inspect the HDMI port: Take a closer look at the HDMI port to ensure that it is clean and undamaged. Check for any debris, dust, or bent pins that may interfere with the connection. If you notice any issues, gently clean the port using compressed air or a soft cloth. If there are any bent pins, contact technical support for assistance.
Once you have identified and inspected the HDMI port on your PlayStation, you are ready to proceed with connecting the HDMI cable. Remember to handle the HDMI cable and PlayStation console with care to avoid any accidental damage. Let’s move on to the next section to learn how to connect the HDMI cable to your PlayStation.
Connect the HDMI Cable to the PlayStation
Now that you have located the HDMI port on your PlayStation console, it’s time to connect the HDMI cable. Follow these steps to establish the connection:
- Ensure that your PlayStation is turned off: Before connecting any cables, make sure your PlayStation console is turned off. This prevents any potential damage to the console or the monitor during the setup process.
- Take one end of the HDMI cable: Grab one end of the HDMI cable and inspect it to ensure it is in good condition. Look for any visible damage to the cable or the connectors. If there are any issues, use a different HDMI cable.
- Locate the HDMI port on your PlayStation: Refer to the previous section to identify the HDMI port on your PlayStation console. It is typically located on the back or side of the console.
- Align and insert the HDMI cable: Hold the HDMI connector firmly and align it with the HDMI port on your PlayStation. Carefully insert the HDMI cable into the port, ensuring a snug fit. Be gentle while inserting the cable to avoid any damage to the port or the cable itself.
- Secure the connection: Once the HDMI cable is inserted, gently push it in until it is fully connected. You should feel a slight click or resistance when the cable is securely in place. Avoid applying excessive force while securing the connection.
After successfully connecting the HDMI cable to your PlayStation, you are ready to proceed with connecting the other end of the cable to your gaming monitor. In the next section, we will guide you through the process of connecting the HDMI cable to the gaming monitor.
Connect the Other End of the HDMI Cable to the Gaming Monitor
Now that you have connected one end of the HDMI cable to your PlayStation, it’s time to connect the other end of the cable to your gaming monitor. Follow these steps to complete the connection:
- Locate the HDMI port on the gaming monitor: Refer to the user manual or the manufacturer’s website to identify the HDMI port on your gaming monitor. In most cases, the HDMI port is located on the back or side of the monitor.
- Take the other end of the HDMI cable: Grab the other end of the HDMI cable, ensuring it is in good condition without any visible damage.
- Align and insert the HDMI cable: Align the HDMI connector with the HDMI port on the gaming monitor. Carefully insert the HDMI cable into the port, ensuring a secure connection. Apply gentle pressure and avoid forcing the cable to prevent damage to the port or the cable itself.
- Secure the connection: Push the cable in until it is fully connected to the HDMI port on the gaming monitor. Similar to the PlayStation connection, you should feel a slight click or resistance when the cable is securely in place. Check that the cable is firmly connected to avoid any potential signal loss or instability.
Once you have successfully connected the HDMI cable to both your PlayStation and the gaming monitor, it’s time to move on to adjusting the display settings. In the next section, we will guide you through the necessary steps to ensure optimal display quality on your gaming monitor.
Adjust Display Settings
After connecting your PlayStation to the gaming monitor, it’s important to adjust the display settings for optimal viewing and gaming experience. Here’s how you can adjust the display settings:
- Turn on your PlayStation: Power on your PlayStation console and wait for it to boot up.
- Navigate to the settings menu: Use your PlayStation controller to navigate to the settings menu. The exact steps may vary depending on your PlayStation model, but typically, you can find the settings menu on the home screen or by pressing the PlayStation button on your controller and selecting the appropriate option.
- Select the display settings: Within the settings menu, locate and select the display settings option. This menu allows you to adjust various display-related settings.
- Set the resolution: In the display settings menu, choose the resolution that matches your gaming monitor’s capabilities. Select the highest resolution available for the best visual experience. Keep in mind that higher resolutions may require more processing power from your PlayStation.
- Configure other display settings: Depending on your preferences and the capabilities of your gaming monitor, you may also have options to adjust settings such as screen brightness, contrast, color saturation, and sharpness. Experiment with these settings to find the balance that suits your visual preferences.
- Test the display: While in the display settings menu, you can also test the display to ensure that it is functioning correctly. This feature helps you identify and correct any issues with the display, if any.
Make sure to refer to the user manual of your PlayStation for specific instructions on navigating the settings menu and adjusting the display settings. By adjusting the display settings to match your gaming monitor’s capabilities, you can optimize the visual quality and ensure a more immersive gaming experience.
With the display settings successfully adjusted, you are now ready to enjoy gaming on your newly set up gaming monitor. In the final section, we will wrap up the process and encourage you to explore the world of gaming on your PlayStation.
Enjoy Gaming on the Monitor
Congratulations! You have successfully set up your gaming monitor and connected your PlayStation. Now, it’s time to sit back, relax, and enjoy gaming on the monitor. Here are a few tips to enhance your gaming experience:
- Explore game settings: Take some time to explore the settings within your favorite games. Many games offer options to optimize the graphics, controls, and audio settings. Adjust the settings to your liking for the best gaming experience.
- Experiment with different game genres: Now that you have a high-quality gaming monitor, take advantage of the enhanced visuals and responsiveness to try out different game genres. Immerse yourself in action-packed adventures, dive into immersive role-playing games, or challenge yourself with competitive multiplayer games.
- Utilize gaming monitor features: Depending on the features of your gaming monitor, you may have additional options to enhance your gameplay. Some monitors offer features like high refresh rates, adaptive sync technologies, and low input lag. Make sure to explore the user manual or manufacturer’s website to understand and utilize these features.
- Stay up to date: As technology evolves, so does the gaming industry. Stay up to date with the latest firmware updates for your gaming monitor and PlayStation. These updates may include performance improvements, new features, and bug fixes that can further enhance your gaming experience.
- Take breaks: Gaming can be immersive and time-consuming. Remember to take regular breaks, stretch, and give your eyes a rest. It’s important to maintain a healthy balance between gaming and other activities.
Whether you’re a casual gamer or an avid enthusiast, connecting your PlayStation to a gaming monitor opens up a whole new level of gaming experience. The combination of high-quality visuals, responsive gameplay, and immersive sound can truly elevate your gaming sessions to new heights.
So, fire up your favorite game, grab your controller, and get ready to embark on exciting adventures, defeat formidable foes, and explore immersive virtual worlds. Enjoy gaming on your newly set up gaming monitor and have a fantastic time unleashing your gaming skills!