Introduction
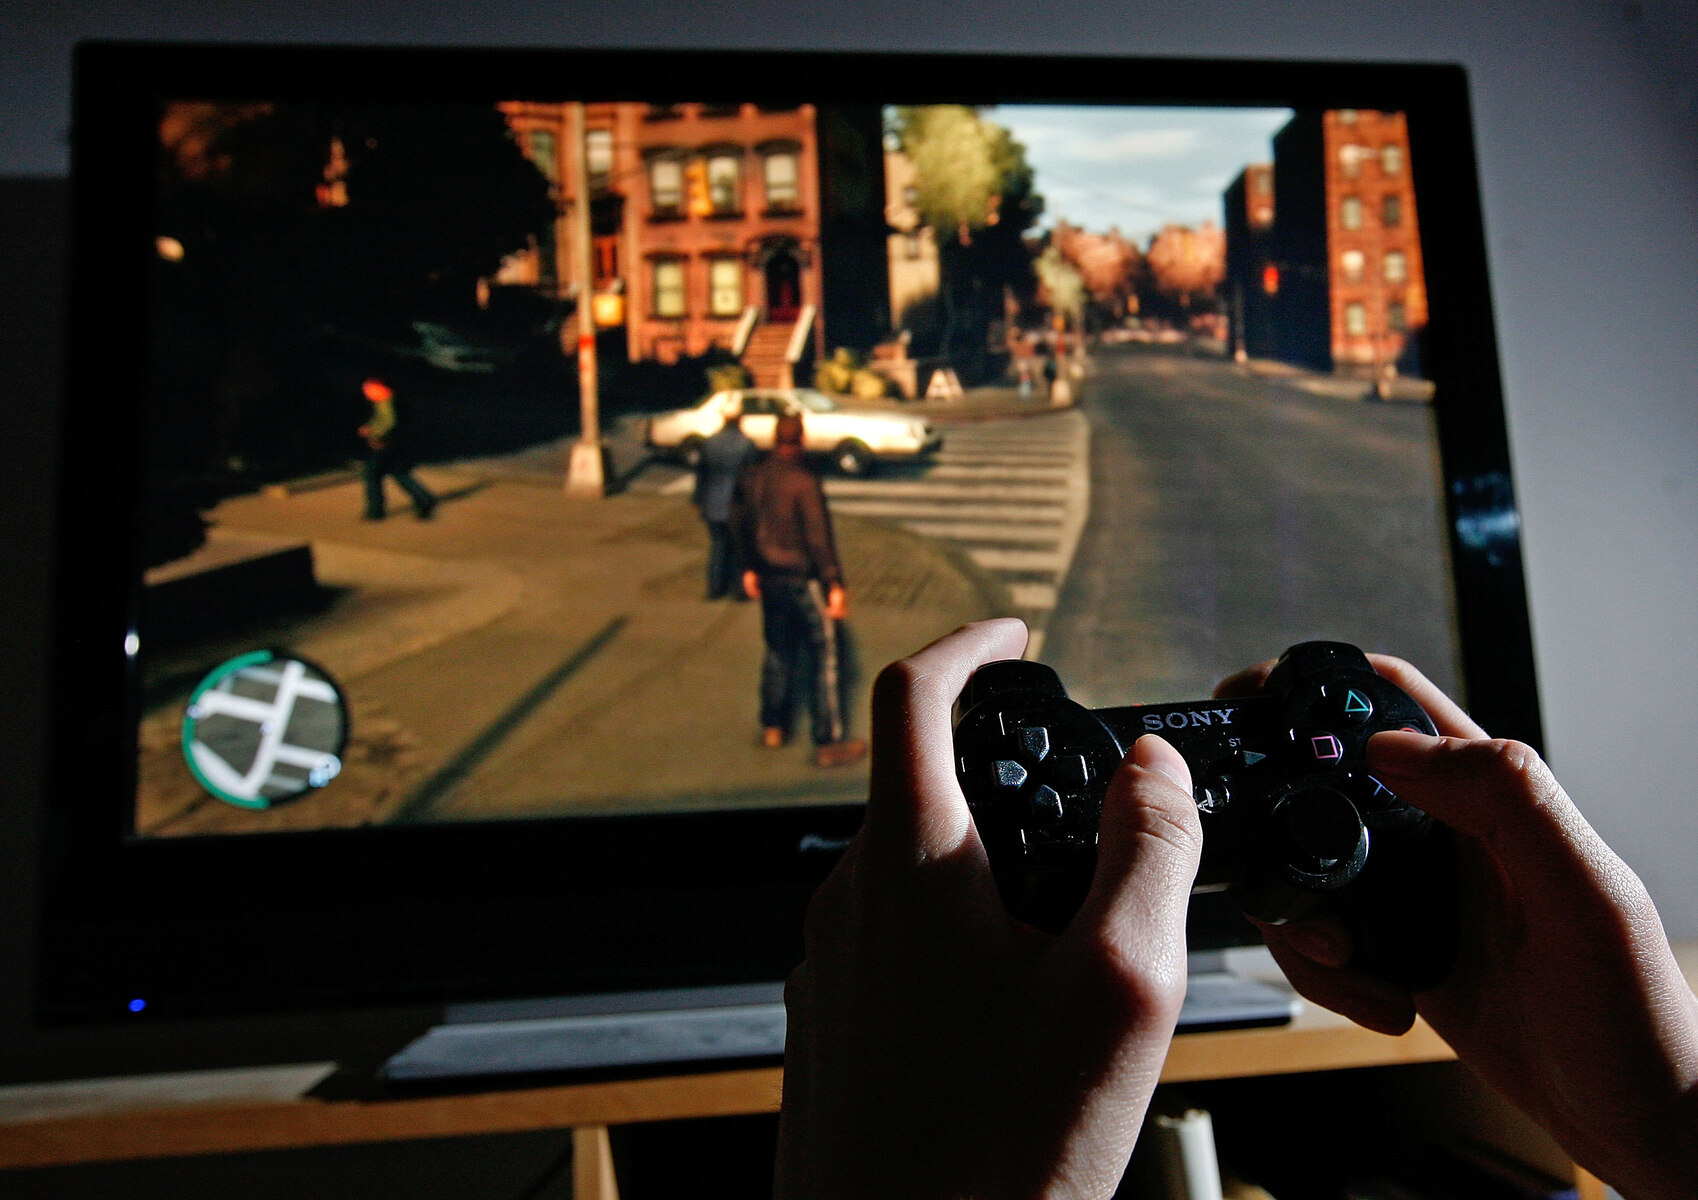
Are you tired of playing games on a small TV screen? Do you want a more immersive gaming experience with a larger display? If you own a gaming monitor and a PlayStation 3 (PS3), you’re in luck! With a few simple steps, you can make your gaming monitor work with your PS3 and enjoy the thrill of gaming on a bigger screen.
Many gamers prefer using a gaming monitor due to its faster response time, higher refresh rates, and superior image quality compared to a regular TV. While gaming monitors are commonly used with PCs, you can also connect them to a PS3 to take your gaming experience to the next level.
In this tutorial, we will guide you through the process of connecting your gaming monitor to your PS3 and adjusting the necessary settings for optimal performance. Whether you’re a casual gamer or a hardcore enthusiast, these steps will help you unleash the full potential of your gaming setup.
Before we get started, it’s important to note that not all gaming monitors are compatible with the PS3. Make sure to check the specifications of your monitor and ensure that it supports HDMI or DVI connections. Additionally, some older PS3 models may not have the necessary ports to connect to a monitor directly, in which case you may need an HDMI to DVI converter.
Now that we’ve covered the basics, let’s dive into the step-by-step process of making your gaming monitor work with your PS3!
Step 1: Check the Compatibility
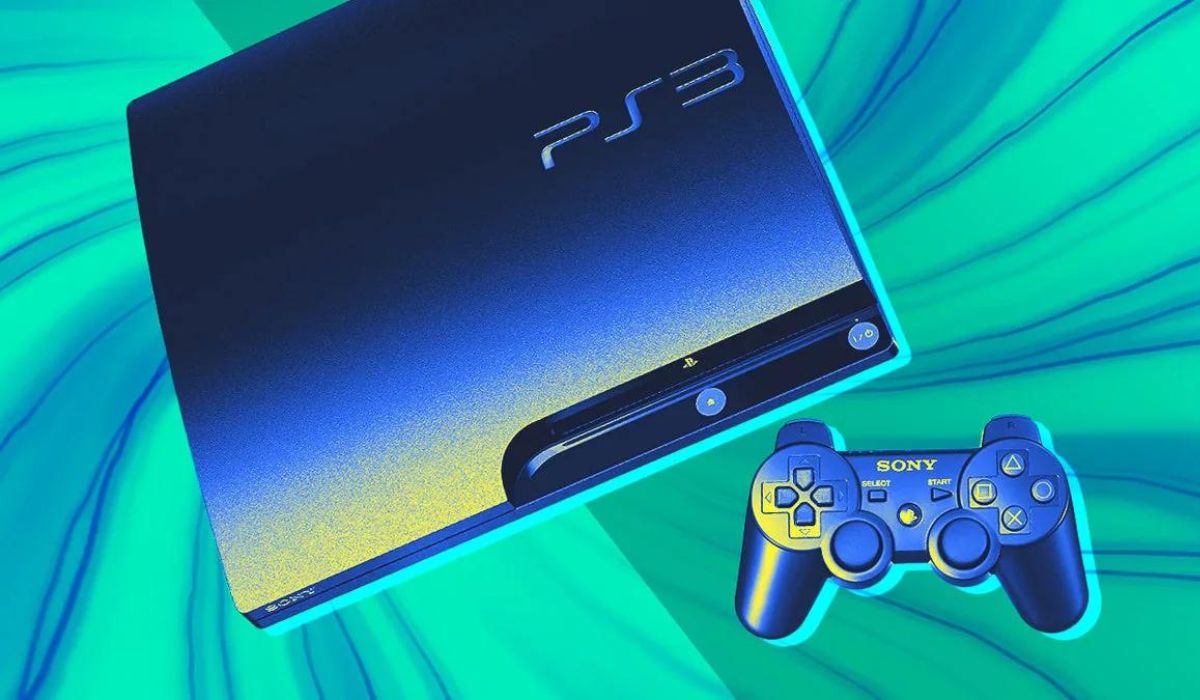
The first thing you need to do is ensure that your gaming monitor is compatible with the PS3. Check the specifications of your monitor to see if it supports HDMI or DVI connections. Most modern gaming monitors have these ports, but it’s always good to double-check.
Next, you’ll want to determine if your PS3 has the necessary ports to connect to a monitor directly. Newer models of the PS3 come equipped with HDMI ports, which makes the process much simpler. However, if you have an older PS3 model that only has AV or component ports, you’ll need an HDMI to DVI converter to connect your monitor.
Another important factor to consider is the resolution and refresh rate of your gaming monitor. Ideally, you’ll want a monitor that supports at least 1080p resolution and has a high refresh rate. This will ensure that you get the best visual experience while gaming.
If you’re unsure about the compatibility of your monitor or the ports on your PS3, consult the user manuals or check the manufacturer’s website for more information. It’s crucial to have the right equipment and connections to make your gaming monitor work seamlessly with your PS3.
Once you have confirmed the compatibility of your gaming monitor and PS3, you’re ready to move on to the next step: connecting the two devices.
Step 2: Connect the Gaming Monitor to the PS3
Now that you have verified the compatibility of your gaming monitor and PS3, it’s time to connect the two devices. Follow these simple steps to establish a connection:
- Power off your PS3 and gaming monitor before proceeding.
- Locate the HDMI or DVI port on your gaming monitor. If you are using an HDMI to DVI converter, connect one end of the HDMI cable to the converter and the other end to the DVI port on your monitor.
- If you have an HDMI cable, connect one end to the HDMI port on your gaming monitor.
- Take the other end of the HDMI cable and connect it to the HDMI port on your PS3.
- If you’re using an HDMI to DVI converter, connect the audio cables from the PS3 to your gaming monitor or external speakers separately. This step may not be necessary if your gaming monitor has built-in speakers.
Once all the connections are secure, power on your gaming monitor and PS3. The monitor should detect the PS3 signal automatically and display the video output.
If the display doesn’t appear on the gaming monitor, make sure that you have selected the correct input source on your monitor. Most monitors allow you to switch between different input sources using the on-screen menu or buttons on the monitor itself.
That’s it! You have successfully connected your gaming monitor to your PS3. Now, let’s move on to the next step and adjust the display settings for an optimal gaming experience.
Step 3: Adjust Display Settings
After connecting your gaming monitor to the PS3, it’s important to adjust the display settings to ensure the best visual experience while gaming. Follow these steps to optimize the display settings:
- On your PS3, navigate to the “Settings” menu.
- Select “Display Settings” and choose “Video Output Settings.”
- Next, select “HDMI” or “DVI” as the video output depending on the type of connection you used.
- Now, you’ll see a list of supported resolutions. Choose the resolution that matches the native resolution of your gaming monitor. For optimal quality, select the highest resolution available.
- Once you’ve selected the resolution, the PS3 will prompt you to confirm the changes. Press “X” on your controller to confirm.
- Now, go back to the “Display Settings” menu and select “RGB Full Range (HDMI)” or “Full Range (DVI)” if available. This setting ensures that you get the full range of colors and enhanced contrast on your gaming monitor.
- If you notice any issues with the display, such as overscan or underscan, you can adjust these settings in the “Display Area Settings” menu. Experiment with different settings until the display fits perfectly on your gaming monitor.
Once you have adjusted the display settings, you can preview the changes by selecting “Test” in the “Display Settings” menu. This allows you to fine-tune the settings further if needed.
With the display settings properly adjusted, you are now ready to experience gaming on your monitor in all its glory. But before you start gaming, don’t forget to optimize the audio settings as well.
Step 4: Adjust Audio Settings
Now that you have connected your gaming monitor to the PS3 and adjusted the display settings, it’s time to configure the audio settings for an immersive gaming experience. Follow these steps to optimize the audio settings:
- On your PS3, navigate to the “Settings” menu.
- Select “Sound Settings” and choose “Audio Output Settings.”
- On the next screen, select “HDMI” as the audio output if you connected your gaming monitor directly to the PS3 using an HDMI cable. If you’re using an HDMI to DVI converter, select “Digital Out (Optical).”
- Next, choose the appropriate audio format based on your gaming monitor’s capabilities. Most gaming monitors support stereo audio, so select “Linear PCM” for the best audio quality.
- After selecting the audio format, the PS3 will ask you to confirm the changes. Press “X” on your controller to confirm.
- If you’re using an HDMI to DVI converter and connected external speakers to the gaming monitor, adjust the audio output settings on your monitor. Consult the monitor’s user manual for instructions on adjusting the volume and audio settings.
Once you’ve adjusted the audio settings, it’s a good idea to test the sound to ensure that it’s working correctly. Play a game or a video that has sound and listen for any issues or discrepancies. If you notice any audio lag or loss of quality, double-check your connections and settings.
By properly configuring the audio settings, you’ll be able to immerse yourself in the gameplay with crisp and clear sound. Now, it’s time to enjoy gaming on your gaming monitor!
Step 5: Enjoy Gaming on Your Monitor
Now that you have successfully connected your gaming monitor to the PS3, adjusted the display settings, and optimized the audio settings, it’s time to sit back, relax, and enjoy gaming on your monitor.
With a larger display and improved image quality, you’ll experience your favorite games in a whole new way. Whether you’re playing action-packed games, engaging in multiplayer battles, or exploring immersive worlds, the gaming monitor will enhance every aspect of your gaming experience.
Take advantage of the faster response time and higher refresh rate of your gaming monitor to improve your gameplay. Enjoy faster and more accurate reactions, smoother visuals, and a heightened sense of immersion.
Don’t forget to make use of the customizable settings on your monitor to tailor the visuals to your preferences. Experiment with brightness, contrast, and color settings to find the perfect balance for each game.
Additionally, if your gaming monitor supports features like AMD FreeSync or NVIDIA G-Sync, make sure to enable them for a tear-free and stutter-free gaming experience.
Remember to take breaks during extended gaming sessions to prevent eye strain. Adjust the monitor’s positioning, brightness, and color settings as needed to ensure optimal comfort and reduce the risk of fatigue.
Lastly, don’t limit yourself to just gaming. Your gaming monitor can also be used for other activities such as streaming movies, watching videos, or even as a secondary display for your computer.
So, grab your controller, fire up your favorite game, and immerse yourself in the remarkable world of gaming on your new gaming monitor. Enjoy the stunning visuals, responsive gameplay, and the thrill of gaming on a larger screen!
Conclusion
Congratulations! You have successfully made your gaming monitor work with your PS3. Now, you can enjoy the excitement of gaming on a larger and more immersive screen.
In this guide, we covered the essential steps to connect your gaming monitor to the PS3, adjust the display and audio settings, and optimize your gaming experience. By following these steps, you have unlocked the full potential of your gaming setup.
Remember to check the compatibility of your gaming monitor and PS3 before starting the process. Ensure that you have the right connections and necessary ports to establish a seamless connection.
During the setup, pay close attention to the display settings to achieve the best visual experience. Adjust resolutions, RGB ranges, and display areas to fit your gaming monitor perfectly. Additionally, don’t overlook the audio settings to ensure you have high-quality sound while gaming.
With your gaming monitor connected and settings optimized, you are now ready to fully immerse yourself in the world of gaming. Enjoy smoother gameplay, quicker response times, and enhanced visuals.
Don’t forget to explore the additional features and customization options your gaming monitor offers. Experiment with various settings to find the perfect balance for each game or activity.
Remember to take breaks and practice healthy gaming habits to prevent eye strain and fatigue. Adjust the monitor’s positioning and settings to ensure comfort and reduce the risk of long-term health problems.
Lastly, your gaming monitor is not just limited to gaming. Take advantage of its superior image quality and larger screen to enjoy other multimedia activities like streaming movies, watching videos, or even connecting it to your computer as a secondary display.
Now it’s time to unleash the full potential of your gaming setup and embark on an exciting gaming journey like never before. Get ready to immerse yourself in breathtaking graphics and engaging gameplay on your gaming monitor.
Enjoy your gaming experience and make every moment count!