Introduction
Welcome to the world of gaming! Whether you are a casual gamer or a dedicated pro, having a clear and crisp audio experience can greatly enhance your gameplay. One way to achieve this is by using a USB microphone on your PlayStation 3 (PS3) console. USB microphones offer superior sound quality and ease of use, making them a popular choice among gamers.
If you’re wondering how to use a USB microphone on your PS3, you’ve come to the right place. In this guide, we will walk you through the process of setting up and connecting a USB microphone to your PS3, as well as adjusting the microphone settings to ensure optimal performance.
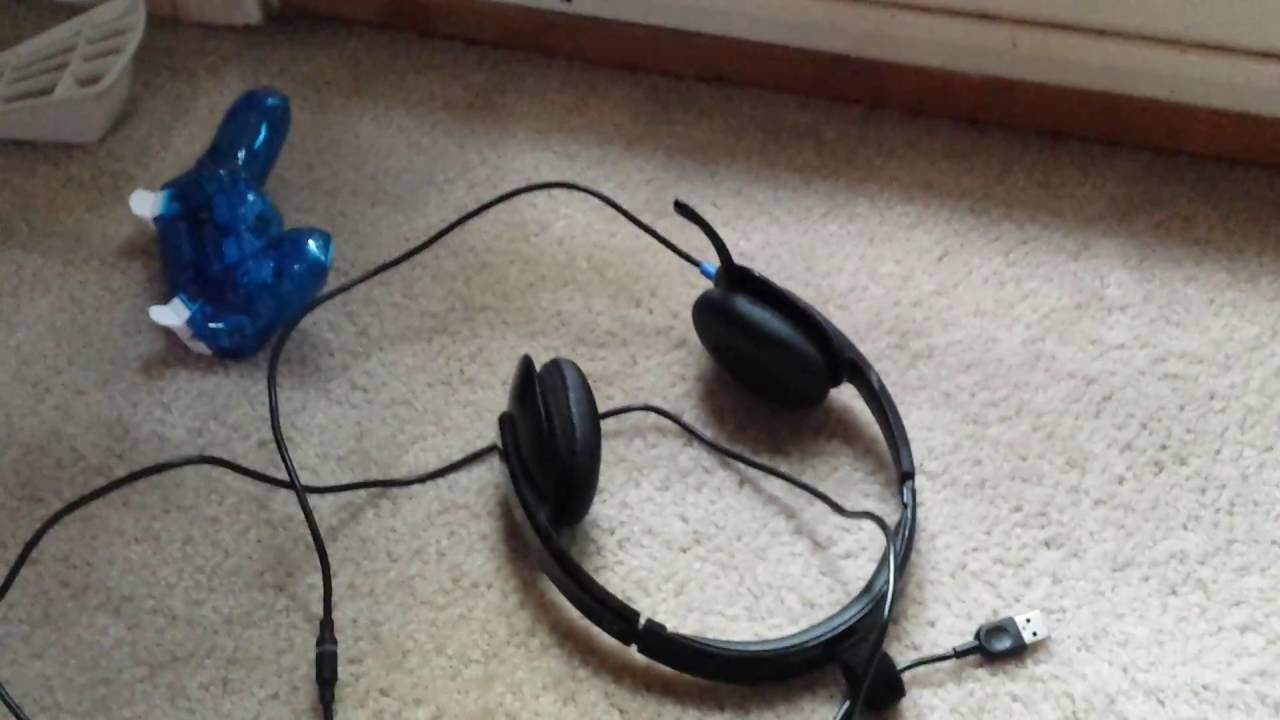
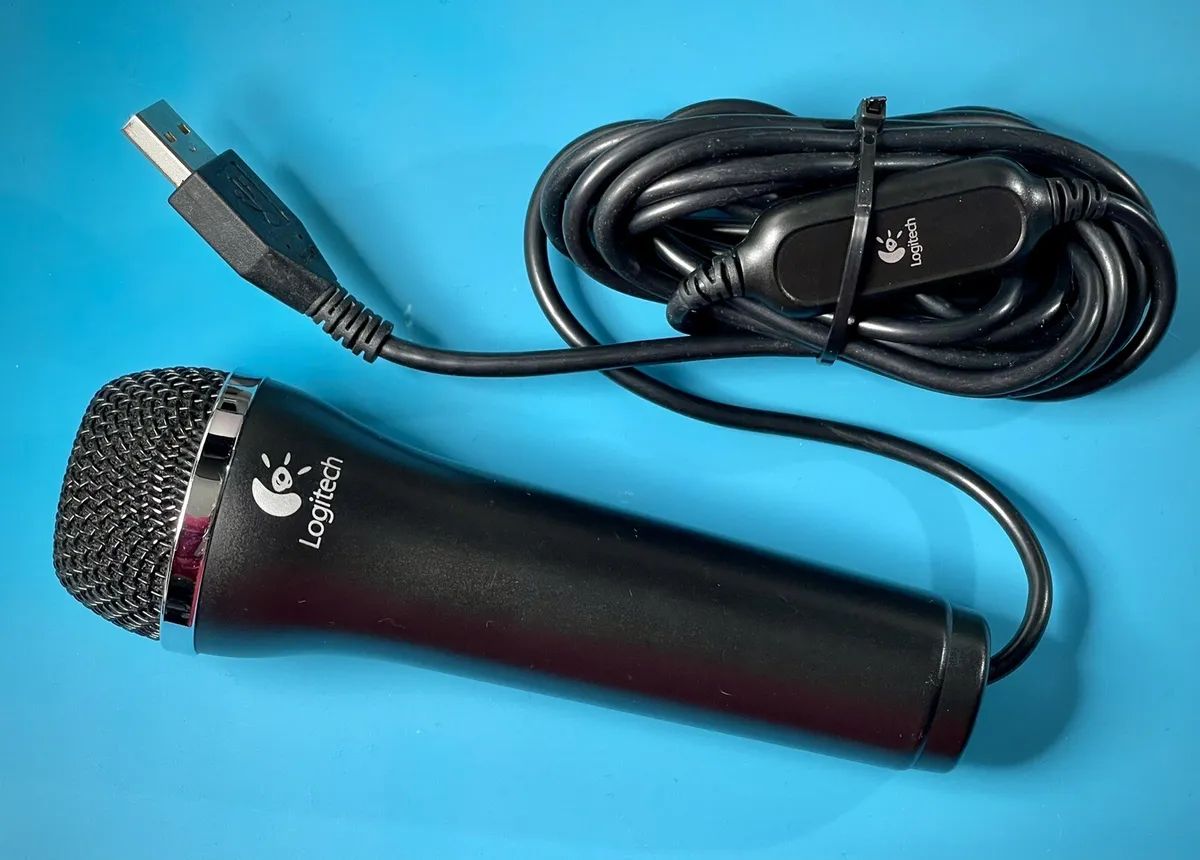
But first, let’s discuss what exactly a USB microphone is. A USB microphone is a microphone that connects to your device, in this case, your PS3, via a USB cable. Unlike traditional microphones that require external audio interfaces or mixers, USB microphones have a built-in audio interface, allowing you to directly plug them into your console without the need for any additional equipment.
USB microphones are not only convenient but also offer excellent sound quality. They are designed specifically for digital recording, providing clear and accurate audio reproduction. This makes them ideal for gaming, as they capture your voice with precision and eliminate background noise or distortion.
In the next sections, we will guide you through the steps of setting up and connecting your USB microphone to your PS3. We will also show you how to adjust the microphone settings on the console for optimal audio performance. So, grab your USB microphone and get ready to take your gaming experience to the next level!
What is a USB Microphone?
A USB microphone, also known as a digital microphone, is a type of microphone that connects to your device via a Universal Serial Bus (USB) cable. Unlike traditional microphones that require additional audio interfaces or mixers to connect to a computer or gaming console, USB microphones have a built-in audio interface that allows for direct connection.
USB microphones have become increasingly popular in recent years due to their ease of use and high-quality audio capture. They eliminate the need for complicated setups and offer plug-and-play functionality, making them ideal for gamers, podcasters, streamers, musicians, and anyone who requires clear and professional-level audio recording.
One of the key advantages of USB microphones is their simplicity. They require no special drivers or software installation, as they are recognized by your device as an audio input device as soon as you plug them in. This makes USB microphones incredibly user-friendly, as even those with limited technical knowledge can easily set them up and start recording.
USB microphones are available in various types and designs to cater to different recording needs. You can find USB condenser microphones, which are ideal for capturing vocals and instruments with great detail and sensitivity. These are commonly used for studio recording, podcasts, and streaming.
There are also USB dynamic microphones, which are more rugged and designed for live performances or capturing loud sound sources. These are perfect for gamers who want to communicate clearly during gameplay or for musicians who want to record their jamming sessions.
USB microphones offer excellent sound quality, rivaling their XLR counterparts. They have built-in analog-to-digital converters that convert the audio signal into digital data, ensuring accurate and high-fidelity recording. Some USB microphones also feature additional features such as headphone monitoring, gain control, and mute buttons, providing more control and flexibility during recording sessions.
In summary, USB microphones are versatile, user-friendly, and offer high-quality audio recording. They are an excellent choice for gamers who want to communicate clearly during gameplay and elevate their gaming experience with superior sound.
Setting up the USB Microphone
Setting up your USB microphone for use with your PS3 is a straightforward process. Follow these steps to ensure a seamless setup:
- Start by selecting a suitable location for your USB microphone. Find a stable surface where you can place the microphone securely.
- Next, connect one end of the USB cable to the USB port on the microphone. The USB port is typically located at the bottom or back of the microphone. Ensure that the connection is secure.
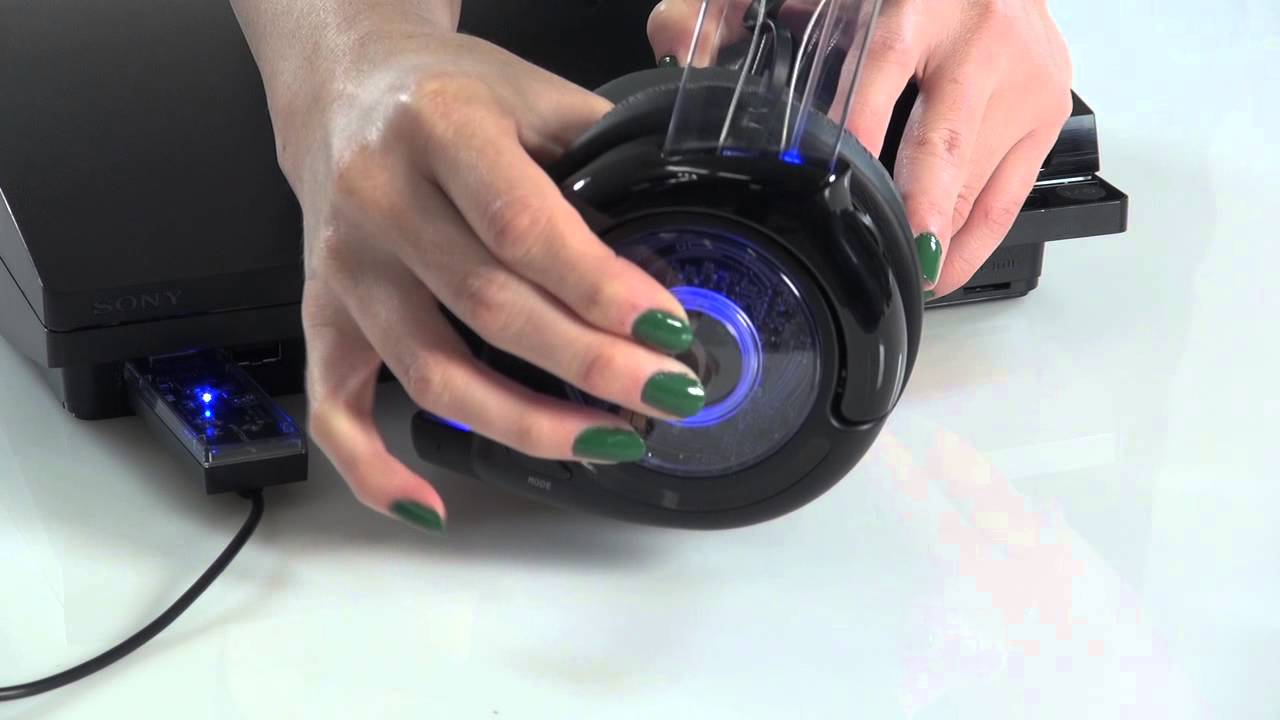
- Now, take the other end of the USB cable and plug it into an available USB port on your PS3 console. You may need to access the back of the console depending on the model.
- Once the USB cable is connected, the PS3 should automatically recognize the USB microphone as an audio input device. If prompted, follow any on-screen instructions to complete the setup process.
- Most USB microphones have built-in volume controls or mute buttons. Adjust the microphone’s volume according to your preferred settings. It’s a good idea to start at a moderate volume and make adjustments later if necessary.
- If your USB microphone has a headphone monitoring feature, you can connect your headphones directly to the microphone’s headphone output. This allows you to hear your voice in real-time while gaming or recording.
It’s important to note that not all USB microphones are compatible with the PS3. Before purchasing a USB microphone, ensure that it is compatible with the PS3 console. Check the manufacturer’s specifications or consult customer reviews to confirm compatibility.
Once you have completed the setup process, your USB microphone should be ready for use on your PS3. Test it out by entering a voice chat session or using voice commands in supported games. Experiment with different volume levels and settings to achieve the best audio quality that suits your preferences. Enjoy crystal clear audio and immersive gaming sessions with your new USB microphone!
Connecting the USB Microphone to the PS3
After setting up your USB microphone, the next step is to connect it to your PS3 console. Follow these simple steps to establish the connection:
- Start by ensuring that your PS3 console is turned off. Locate the USB ports on your PS3. These are typically located on the front or back of the console, depending on the model.
- Take the USB cable attached to your USB microphone and insert the USB connector into one of the available USB ports on your PS3. Make sure the connection is secure.
- Once the USB microphone is connected, power on your PS3 console. Wait for the console to recognize the USB microphone as an audio input device.
- Once the PS3 recognizes the USB microphone, you can navigate to the audio settings in the console’s system menu. This will allow you to adjust the microphone volume and other audio settings.
- Within the audio settings menu, you may have options to adjust the microphone sensitivity, activate noise cancellation, or enable echo reduction. Explore these options to optimize the audio quality for your USB microphone.
- If you plan to use the USB microphone for voice chat in games, ensure that the microphone is selected as the default input device within the game settings. This may require navigating through the game’s audio or voice chat settings.
- Once you have made the necessary adjustments, you can start using your USB microphone on the PS3. Test the microphone by speaking into it or joining a voice chat session with friends. Adjust the volume settings as needed for the best audio quality.
It’s important to note that the steps to connect a USB microphone to the PS3 may vary slightly depending on the specific model of both the console and the microphone. Refer to the user manual or manufacturer’s instructions for any additional guidance specific to your devices.
With the USB microphone successfully connected to your PS3, you can now enjoy a crisp and clear audio experience while gaming, chatting, or streaming on your console. Immerse yourself in the virtual world and communicate effectively with fellow gamers with the help of your USB microphone.
Adjusting the Microphone Settings on the PS3
After connecting your USB microphone to the PS3, it’s important to adjust the microphone settings to ensure optimal audio performance. The PS3 offers various options for customizing the microphone settings. Follow these steps to adjust the microphone settings on your PS3:
- Start by turning on your PS3 console and navigating to the system menu. From the system menu, select “Settings.”
- In the Settings menu, scroll down and select “Accessory Settings.”
- Within the Accessory Settings, choose “Audio Device Settings.”
- From the Audio Device Settings menu, you will see an option for “Input Device.” Select the USB microphone as the input device.
- Next, you can adjust the microphone volume by selecting the “Microphone Level” option. Increase or decrease the volume level based on your preferences. It’s recommended to start at a moderate volume and make adjustments as necessary.
- Below the Microphone Level option, you may find additional settings such as “Echo Cancelation” or “Automatic Gain Control.” These settings can help reduce echoes and improve the microphone’s sensitivity. Experiment with these settings to find the optimal configuration for your USB microphone.
- Once you have made the necessary adjustments to the microphone settings, save the changes and exit the menu.
It’s also worth noting that individual games may have their own microphone settings that can be accessed from the in-game options menu. These settings may include microphone sensitivity, voice chat volume, or noise cancellation options. Take a look at the game’s settings and adjust them accordingly to enhance your gaming experience.
Remember to periodically test your USB microphone after adjusting the settings to ensure that the audio quality meets your expectations. If you experience any issues, you can revisit the microphone settings and make further adjustments as necessary.
By adjusting the microphone settings on your PS3, you can fine-tune the audio output from your USB microphone, allowing for clear and accurate voice capture during gaming, voice chatting, or recording sessions. Enjoy seamless communication and immersive gameplay with your optimally configured USB microphone on the PS3.
Testing the USB Microphone on the PS3
After setting up and adjusting the microphone settings on your PS3, it’s essential to test the USB microphone to ensure that it is functioning correctly and capturing your voice accurately. Follow these steps to test your USB microphone on the PS3:
- Start by turning on your PS3 console and launching the game or application where you plan to use the USB microphone. Ensure that the microphone is connected and selected as the default input device.
- Join a voice chat session or initiate a recording within the game or application. Engage in a conversation or speak into the microphone to test the audio capture.
- While using the USB microphone, monitor the audio output for any issues such as distortion, background noise, or echo. Adjust the microphone volume if necessary to optimize the audio levels.
- Pay attention to the clarity and overall sound quality of your voice through the USB microphone. Ask your friends or fellow gamers for feedback on the audio quality to get an objective opinion.
- If you encounter any issues, such as excessive background noise or low audio levels, you can revisit the microphone settings and make further adjustments. This could include adjusting the microphone sensitivity, enabling noise-canceling features, or adjusting the volume levels.
- Test the USB microphone in different scenarios, such as during intense gameplay or in quieter moments, to ensure that it performs consistently across various situations.
During the testing phase, it’s crucial to ensure that the USB microphone captures your voice clearly without any distortion or interference. If you encounter persistent issues, consider checking for any firmware updates for your microphone or consulting the manufacturer’s support resources for troubleshooting guidance.
Once you are satisfied with the performance of your USB microphone and have confirmed that it is capturing your voice accurately, you can enjoy uninterrupted gaming sessions, clear voice communication, and high-quality recordings on your PS3.
Remember to regularly check the condition of your USB microphone and perform test recordings to ensure that it continues to meet your audio requirements. A well-functioning USB microphone enhances your overall gaming experience and allows you to communicate effectively with other players, adding a new dimension to your gameplay.
Troubleshooting Common Issues
While using a USB microphone on the PS3 is generally a straightforward process, you may encounter some common issues along the way. Here are a few troubleshooting tips to help you address these issues:
- No audio input: If your PS3 does not recognize the USB microphone as an audio input device, ensure that the microphone is properly connected to the console. Try disconnecting and reconnecting the USB cable to establish a secure connection. If the issue persists, try connecting the USB microphone to a different USB port on the console.
- Low microphone volume: If you find that the microphone volume is too low, access the microphone settings on your PS3 and increase the microphone level. You can also check if the microphone has a built-in volume control and adjust it accordingly. Additionally, make sure that there are no physical obstructions or debris obstructing the microphone’s input.
- Poor audio quality: If you experience poor audio quality, such as distortion or background noise, ensure that the microphone is positioned correctly. Avoid placing it too close to speakers or other sources of interference. Adjust the microphone sensitivity settings, activate noise reduction features if available, and experiment with different microphone positions to achieve optimal audio performance.
- Echo during voice chat: If you or other participants hear an echo during voice chat, try reducing the microphone volume or adjusting the microphone sensitivity. You can also enable echo cancellation features within the PS3’s audio settings. If the issue persists, wearing headphones while using the USB microphone can help eliminate echo caused by audio feedback.
- Compatibility issues: Ensure that the USB microphone you are using is compatible with the PS3. Check the manufacturer’s specifications or consult customer reviews for compatibility information. If the microphone is not listed as a compatible device, it may not work properly or at all with your console.
If you encounter any other issues not mentioned here, consult the user manual or online resources provided by the manufacturer of your USB microphone. They may have specific troubleshooting steps or recommendations for resolving common problems.
Remember, troubleshooting is a process of trial and error. Be patient and methodical when addressing issues with your USB microphone on the PS3. With some adjustments and troubleshooting, you can overcome any challenges and enjoy clear and immersive audio during your gaming sessions.
Conclusion
Using a USB microphone on your PS3 can greatly enhance your gaming experience by providing clear and high-quality audio. By following the steps outlined in this guide, you can set up and connect a USB microphone to your PS3, adjust the microphone settings, and test its performance for optimal audio quality. However, if you encounter any issues or have specific requirements, be sure to consult the user manual and manufacturer’s resources for further guidance.
A USB microphone offers convenience and simplicity, eliminating the need for additional audio interfaces or mixers. With its plug-and-play functionality, you can easily connect a USB microphone to your PS3 and start enjoying clear voice communication, immersive gameplay, and high-quality recordings.
Remember to choose a USB microphone that is compatible with the PS3 and fits your recording or gaming needs. USB condenser microphones are ideal for capturing vocals and instruments with great detail, while USB dynamic microphones are better suited for louder sound sources. Research, read reviews, and select a USB microphone that best suits your requirements and budget.
Once you have your USB microphone set up and configured, take the time to explore its features and experiment with different microphone settings. Adjust the microphone volume, sensitivity, and any additional features available to achieve the optimal audio quality for your gaming or recording purposes.
Enjoy a seamless gaming experience with crystal-clear communication, immersive sound, and professional-grade audio capture on your PS3 console. Whether you’re engaging in multiplayer gaming, streaming your gameplay, or recording content, a USB microphone will enhance your audio and take your gaming experience to new heights.
With the knowledge gained from this guide, you are now equipped to use a USB microphone on your PS3 and unlock the potential for high-quality audio. Elevate your gaming sessions, connect with other gamers, and immerse yourself in the virtual world with crystal-clear voice communication and exceptional sound.