Introduction
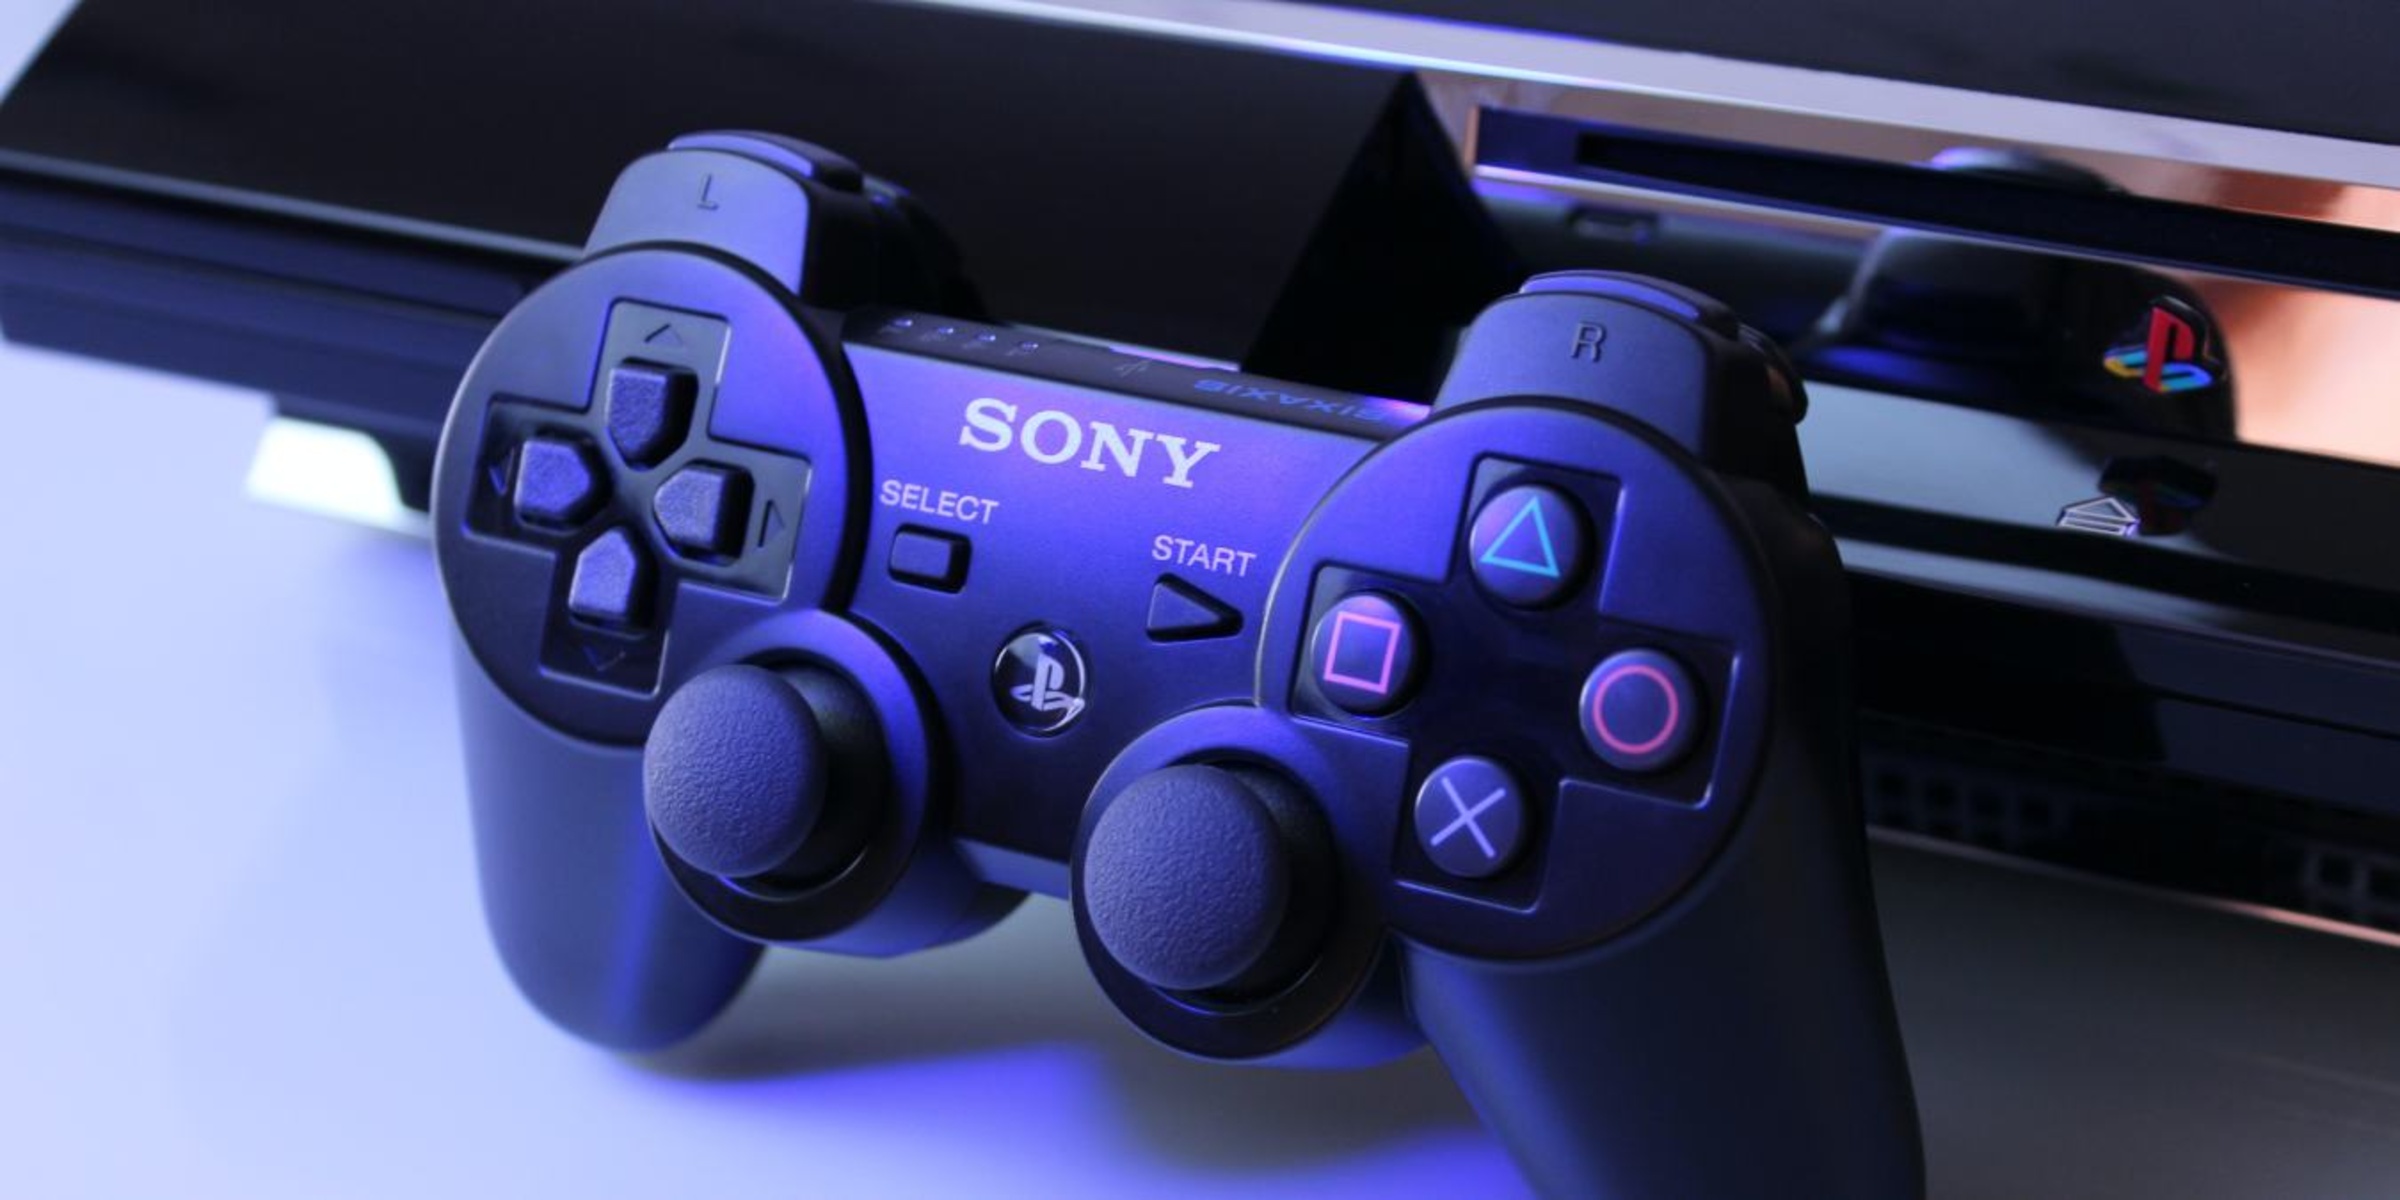
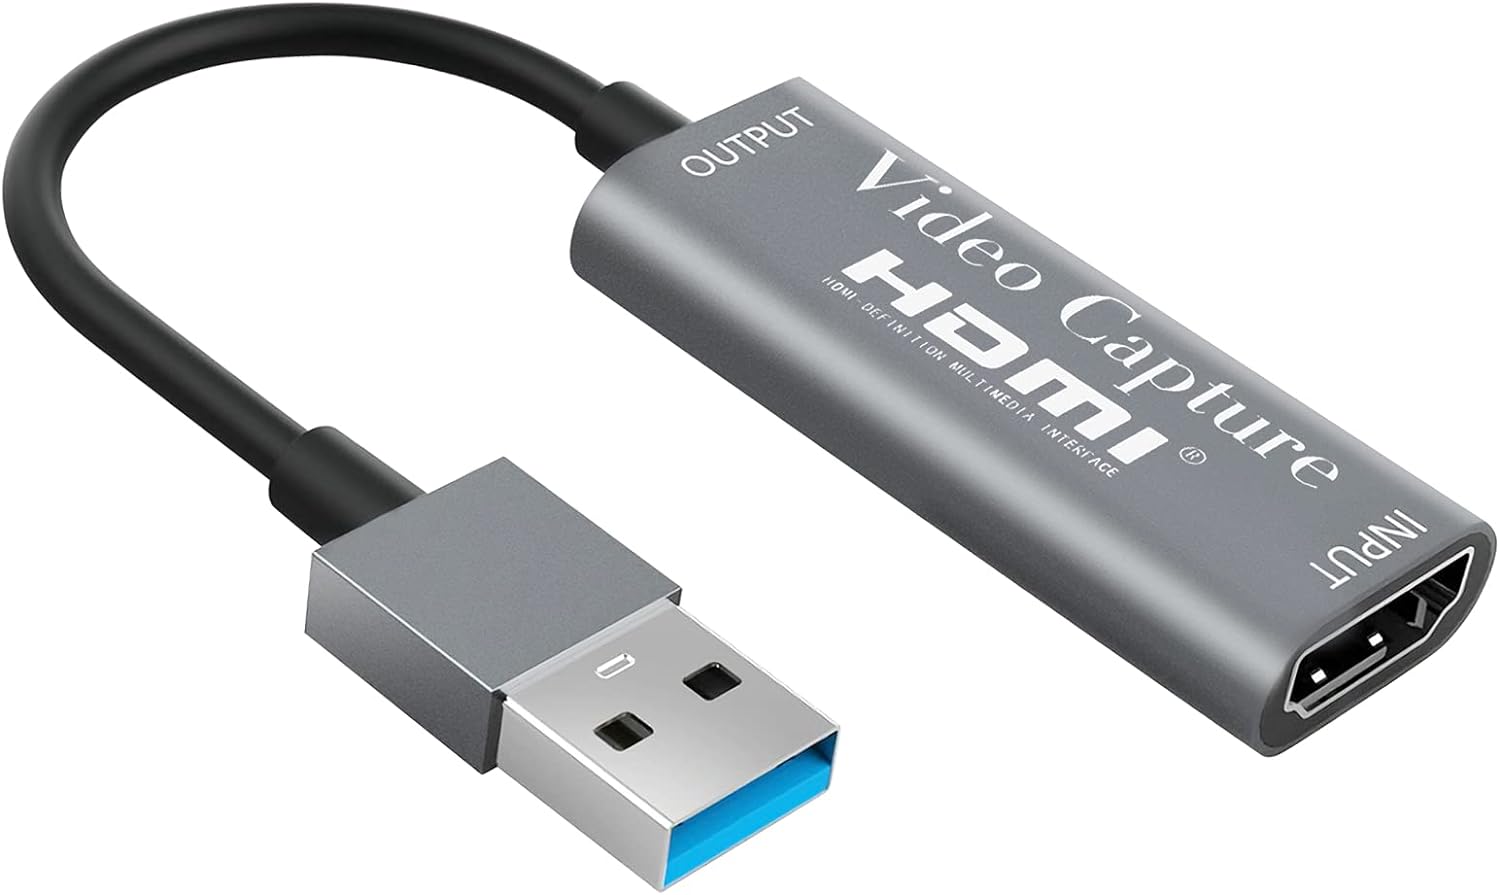
Streaming has become a popular way to share our gaming experiences with others, allowing us to connect with an audience and showcase our skills. While many streamers use capture cards to enable streaming on consoles, such as the PlayStation 3 (PS3), not everyone has access to this hardware. If you’re eager to stream on your PS3 but don’t have a capture card, you’re in luck. In this guide, we’ll show you how to stream on your PS3 without a capture card.
Streaming on the PS3 without a capture card is made possible by utilizing the Twitch app, which can be downloaded directly to your console. This app allows you to broadcast your gameplay directly from your PS3 to the Twitch platform, bringing your gaming moments to a live audience. It’s a fantastic way to engage with other gamers, build a community, and share your passion.
Whether you’re an aspiring streamer or just want to have some fun sharing your gaming adventures, this guide will walk you through the step-by-step process of streaming on your PS3 without the need for a capture card. So, let’s dive in and get you started on your streaming journey!
Requirements
Before you begin streaming on your PS3 without a capture card, there are a few essential requirements you need to meet. Here’s what you’ll need:
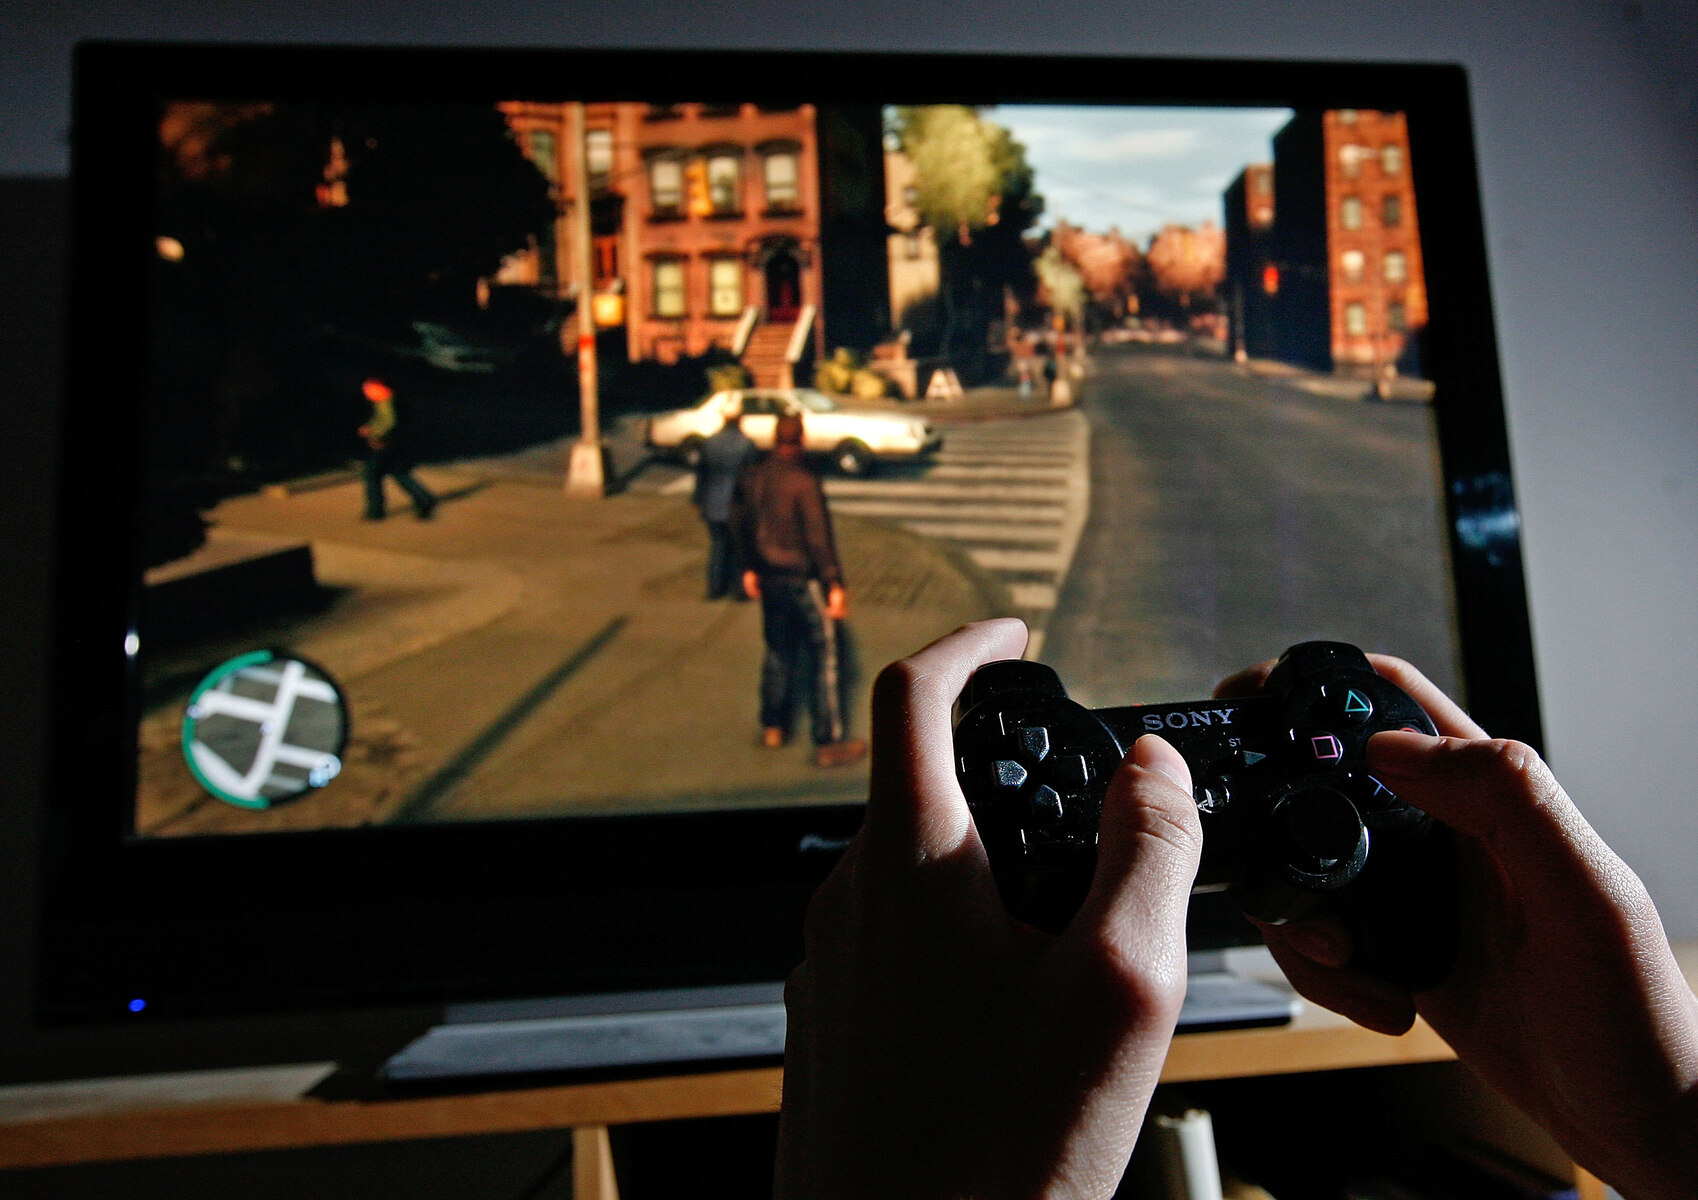
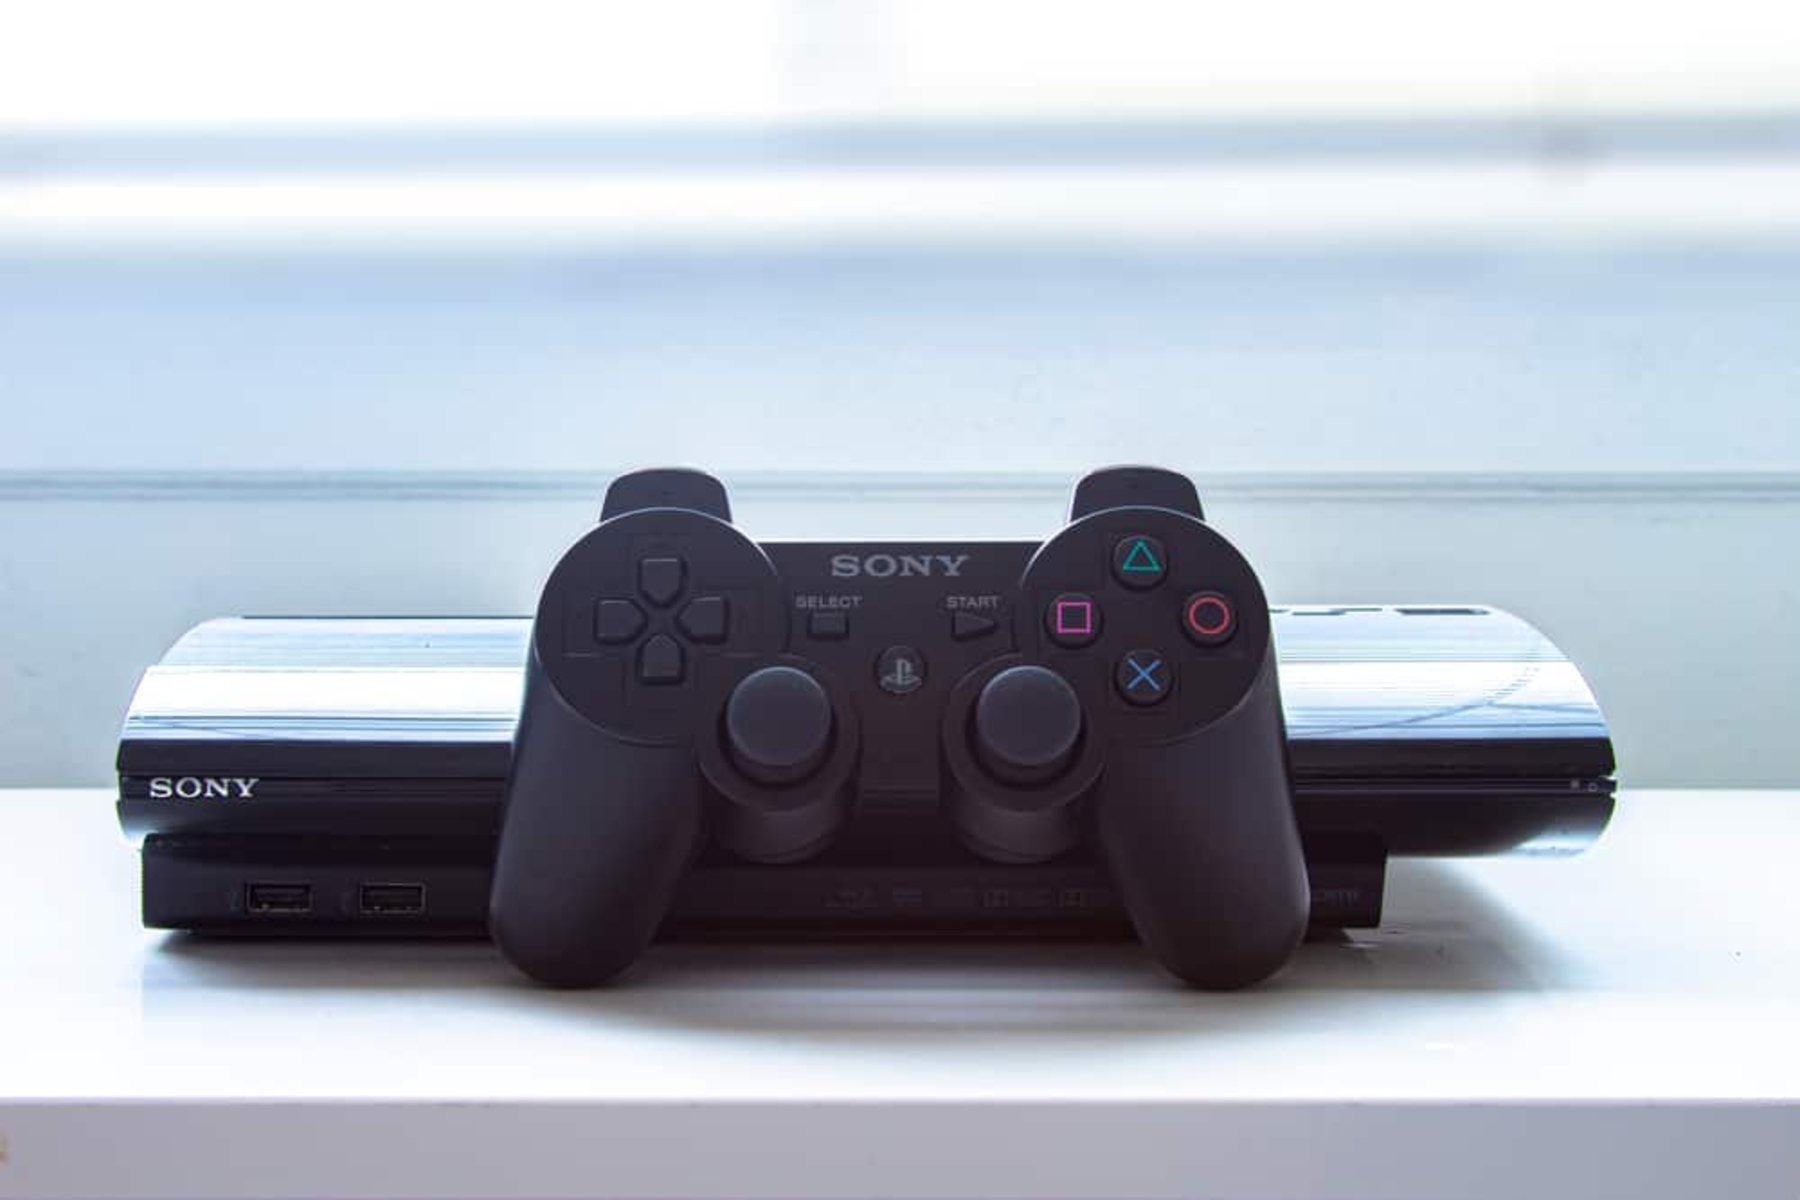
- A PlayStation 3 (PS3) console: Ensure that your PS3 is in good working condition and connected to the internet.
- An active Twitch account: To stream your gameplay, you’ll need to have a Twitch account. If you don’t already have one, you can easily create a free account on the Twitch website.
- A stable internet connection: Streaming requires a reliable and fast internet connection. It is recommended to have a minimum upload speed of at least 3-5 Mbps to ensure a smooth streaming experience.
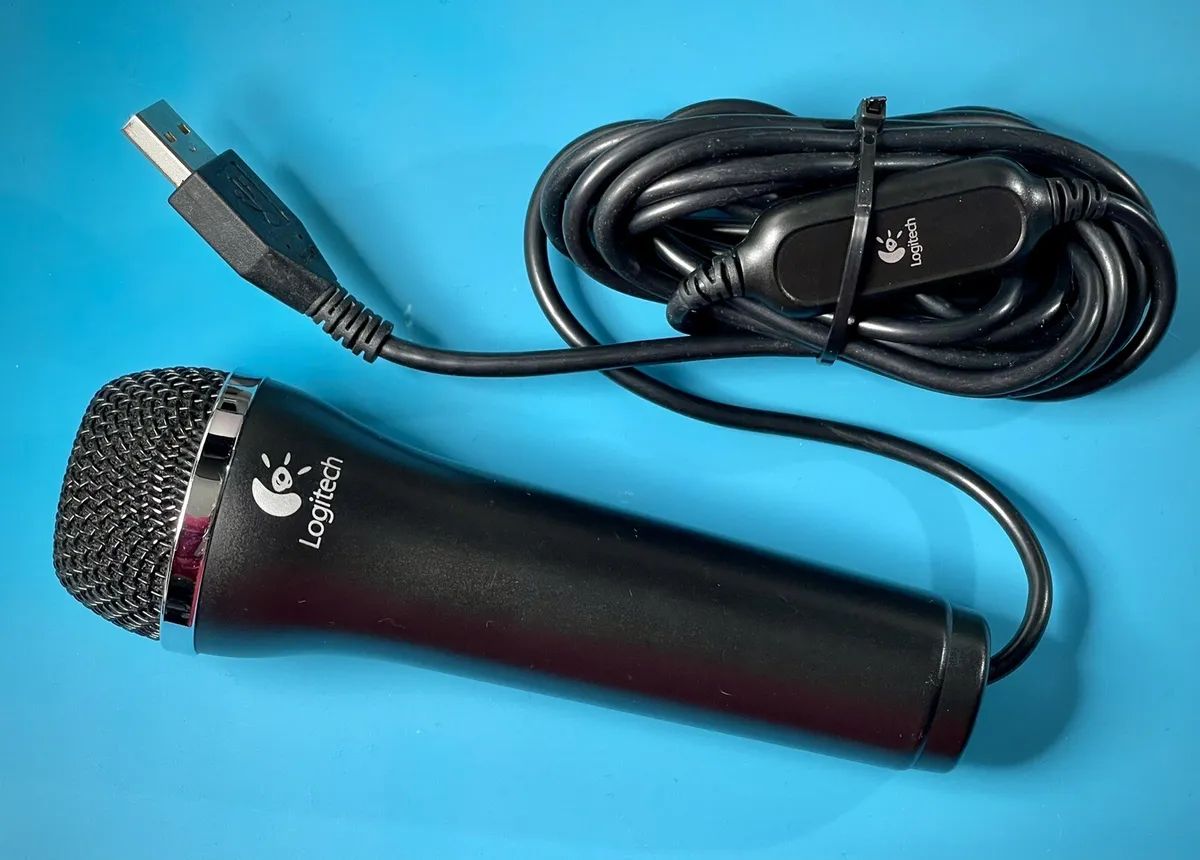
- A USB microphone or camera (optional): If you want to include real-time commentary or a facecam in your stream, you’ll need a compatible USB microphone or camera. This is optional but can greatly enhance the viewer’s experience.
By meeting these requirements, you’ll be well-prepared to stream on your PS3 without the need for a capture card. It’s important to ensure that you have everything in place before proceeding with the following steps. Take a moment to gather the necessary equipment and ensure that your internet connectivity is stable. Once you have all the requirements fulfilled, you’re ready to move on to the next steps.
Step 1: Update Your PS3
Before you begin streaming on your PS3, it’s crucial to ensure that your console is running the latest firmware version. Updating your PS3 will not only provide access to new features and improvements but also ensure compatibility with the Twitch app.
To update your PS3, follow these steps:
- Turn on your PS3 and navigate to the main menu.
- Select the “Settings” tab.
- Scroll down and choose “System Update”.
- Select “Update via Internet” and wait for the console to check for updates.
- If an update is available, follow the on-screen instructions to download and install it.
- Once the update is complete, restart your PS3.
It’s recommended to connect your PS3 to a stable internet connection during the update process to ensure a smooth download and installation. The update may take some time, depending on your internet speed and the size of the update.
By keeping your PS3 up to date, you’ll have the latest features and patches that will enhance your streaming experience. With the most recent firmware version installed, you’ll be ready to move on to the next step – downloading the Twitch app.
Step 2: Download the Twitch App
Once your PS3 is updated, the next step is to download the Twitch app on your console. The Twitch app allows you to stream your gameplay directly to the Twitch platform, reaching a live audience and building your streaming community.
To download the Twitch app, follow these simple steps:
- Go to the main menu on your PS3.
- Scroll to the “PlayStation Store” option and select it.
- In the PlayStation Store, navigate to the “Apps” section.
- Search for the “Twitch” app using the search function.
- Select the Twitch app from the search results.
- Click on the “Download” button to begin the installation process.
- Wait for the app to download and install on your PS3.
Once the app is installed, you’ll find it in the “TV/Video Services” section of your PS3’s main menu. Launch the app and follow the on-screen prompts to log in to your Twitch account or create a new one if you don’t have an existing account.
By downloading the Twitch app, you’re one step closer to streaming on your PS3 without a capture card. With the app installed and ready to use, it’s time to move on to the next step – configuring your Twitch account.
Step 3: Configure Your Twitch Account
Now that you have the Twitch app installed on your PS3, it’s important to configure your Twitch account to ensure a seamless streaming experience. Configuring your account will allow you to customize your stream settings, set privacy preferences, and interact with your viewers.
To configure your Twitch account, follow these steps:
- Launch the Twitch app on your PS3.
- On the main screen, select “Login”.
- Enter your Twitch username and password.
- Once logged in, go to the settings menu.
- Here, you can customize various aspects of your streaming experience, such as stream title, game category, and stream quality.
- Review and adjust your privacy settings, including who can see your stream and chat.
- Explore additional settings, such as enabling or disabling chat messages during your stream and adjusting audio and video settings.
- Once you’re satisfied with your settings, save your changes.
Configuring your Twitch account allows you to tailor your streaming experience to your preferences and needs. Take the time to customize your settings to ensure that your stream reflects your brand and style.
With your Twitch account configured, you’re ready to move on to the next step – adjusting your Twitch streaming settings on your PS3. This will ensure your stream is optimized for the best performance and quality.
Step 4: Adjust Twitch Streaming Settings
Before you start streaming on your PS3, it’s essential to adjust the Twitch streaming settings to optimize your stream’s performance and quality. These settings will help ensure that your viewers have the best possible experience while watching your stream.
To adjust the Twitch streaming settings, follow these steps:
- Launch the Twitch app on your PS3.
- Go to the settings menu by navigating to the main screen and selecting “Settings”.
- Scroll down and select “Broadcast Settings”.
- Here, you can adjust options such as stream quality, frame rate, and audio settings.
- Select the appropriate stream quality based on your internet connection. Higher quality settings require a faster and more stable connection.
- Consider your viewers’ internet speeds when selecting the stream quality option. It’s best to choose a balance between quality and accessibility.
- Adjust the frame rate setting based on your console’s capabilities and the smoothness you desire for your stream. Higher frame rates may require more system resources.
- Test the audio settings to ensure that your voice and game audio levels are balanced.
- Once you’ve made the necessary adjustments, save your settings.
Adjusting your Twitch streaming settings is crucial to provide an optimal viewing experience for your audience. By finding the right balance between stream quality, frame rate, and audio, you can create a professional and engaging stream.
With your Twitch streaming settings adjusted, it’s time to move on to the next step – connecting a microphone or camera to enhance your stream (optional).
Step 5: Connect a Microphone or Camera (Optional)
Adding a microphone or camera to your PS3 stream can greatly enhance the interactive experience for your viewers. It allows you to provide live commentary, reactions, and even show your face while playing. While this step is optional, it can bring a personal touch to your stream and help you connect better with your audience.
To connect a microphone or camera to your PS3, follow these steps:
- Ensure that your microphone or camera is compatible with the PS3 console. Check the manufacturer’s specifications for compatibility information.
- Connect your microphone or camera to one of the available USB ports on your PS3 console.
- Wait for your PS3 to recognize the device. You may need to follow additional on-screen prompts to set up and configure the microphone or camera.
- Once connected, launch the Twitch app on your PS3.
- Go to the settings menu and select “Broadcast Settings”.
- Scroll down and locate the audio or camera settings, depending on the device you connected.
- Select the appropriate input device for your microphone or camera.
- Adjust any additional settings, such as volume levels or camera angles, as needed.
- Save your settings and exit the menu.
By connecting a microphone or camera, you can add a personal touch to your stream and engage with your viewers in real-time. It allows you to provide live commentary, reactions, and face-to-face interaction, making your stream more immersive and enjoyable.
With your microphone or camera connected (if desired), it’s time to move on to the final step – testing your stream to ensure everything is working correctly.
Step 6: Test Your Stream
After configuring your Twitch settings, connecting a microphone or camera (if desired), and adjusting your streaming settings, it’s crucial to test your stream before going live to ensure everything is working correctly. Testing your stream allows you to iron out any potential issues and make any necessary adjustments before you start streaming for your audience.
To test your stream on your PS3, follow these steps:
- Launch the Twitch app on your PS3.
- Go to the main screen and select “Broadcast”.
- Ensure that your microphone or camera (if connected) is properly recognized and functioning. Test the audio levels and verify that your camera feed is displaying correctly.
- Double-check your stream settings, such as the stream quality and frame rate, to ensure they meet your desired specifications.
- Start broadcasting a test stream to Twitch.
- Monitor the stream on a separate device, such as a computer or smartphone, to observe the quality and performance.
- Observe the stream for any potential issues, such as audio/video sync problems, excessive buffering, or low quality.
- Make adjustments to your settings as needed and continue testing until you are satisfied with the results.
Testing your stream allows you to troubleshoot any issues and make necessary adjustments before going live. It ensures that your stream quality is optimal and provides a smooth viewing experience for your audience.
Once you have thoroughly tested your stream and are confident that everything is working correctly, you’re ready to start streaming on your PS3 without a capture card. Get ready to share your gaming adventures with the world and engage with your audience in real-time!
Conclusion
Streaming on your PS3 without a capture card is entirely possible with the help of the Twitch app. By following the steps outlined in this guide, you can easily share your gaming experiences with a live audience and connect with other gamers.
In summary, here are the steps to stream on your PS3 without a capture card:
- Update your PS3 to the latest firmware version.
- Download and install the Twitch app from the PlayStation Store.
- Configure your Twitch account settings, including privacy preferences.
- Adjust your Twitch streaming settings, such as quality and frame rate, to optimize your stream.
- Connect a microphone or camera (optional) to enhance your stream with live commentary or facecam.
- Test your stream to ensure everything is working correctly and make any necessary adjustments.
Remember to have a stable internet connection, consider your viewers’ experience, and engage with your audience during your stream. Building a community and sharing your passion for gaming has never been easier.
So, whether you’re a seasoned streamer or a beginner looking to showcase your skills, go ahead and start streaming on your PS3 without a capture card. Share your gaming moments, connect with others, and create memorable experiences in the world of live streaming!