Introduction
Welcome to our guide on how to install a capture card. Whether you’re a gamer, a content creator, or someone who enjoys sharing videos online, a capture card is an essential tool for capturing and recording high-quality gameplay footage, streaming live content, or digitizing analog media. In this article, we will walk you through the process of installing a capture card and getting it up and running on your computer.
But first, let’s start with the basics. What exactly is a capture card? A capture card is a hardware device that allows you to capture, record, and stream video and audio from external sources, such as gaming consoles, cameras, or VCRs. It acts as an intermediary between your input device and your computer, ensuring that the captured media is of the highest quality and can be easily processed and edited.
So, why do you need a capture card? If you’re an avid gamer, a capture card provides you with the ability to showcase your gameplay to a wider audience by streaming it on platforms like Twitch or YouTube. It also allows you to record your gaming sessions for later editing or sharing on social media. Additionally, if you’re into content creation, a capture card enables you to capture footage from external sources, such as cameras or VCRs, and incorporate it into your videos.
Now that we’ve covered the basics, let’s move on to the steps involved in installing a capture card. But before you start, make sure you have the necessary tools, including a screwdriver and any additional cables or adapters required for connecting the capture card to your devices. It’s also a good idea to read the manufacturer’s instructions that come with your specific capture card model, as they may provide unique setup requirements and troubleshooting tips.
In the following sections, we will guide you through the process of preparing your computer, installing the capture card, connecting it to your devices, configuring the capture card software, and finally, testing and troubleshooting any issues that may arise. By the end of this guide, you’ll be ready to start capturing, recording, and streaming high-quality content using your brand-new capture card.
What is a Capture Card?
A capture card is a hardware device that allows you to capture, record, and stream video and audio from external sources to your computer. It acts as a bridge between your input device, such as a gaming console or a camera, and your computer, ensuring that the captured media is of the highest quality and can be easily processed and edited.
When it comes to gaming, a capture card is often used to capture gameplay footage for streaming or recording purposes. Instead of relying on the limited recording capabilities of a gaming console, a capture card allows you to capture and stream gameplay in higher quality, with more customization options. It enables you to showcase your gaming skills and engage with a wider audience on platforms like Twitch or YouTube.
Aside from gaming, capture cards are also commonly used in content creation. Content creators, such as vloggers, YouTubers, and filmmakers, utilize capture cards to capture footage from external cameras, DSLRs, or even VCRs. This allows them to incorporate various sources of media into their videos, enhancing the production value and flexibility of their content.
There are different types of capture cards available on the market, including internal capture cards and external capture cards. Internal capture cards are installed directly into your computer’s expansion slots, typically using PCI or PCIe connections. They offer excellent performance and stability since they are integrated into your computer’s hardware. However, they require opening up your computer case and may not be suitable for laptops or computers with limited expansion capabilities.
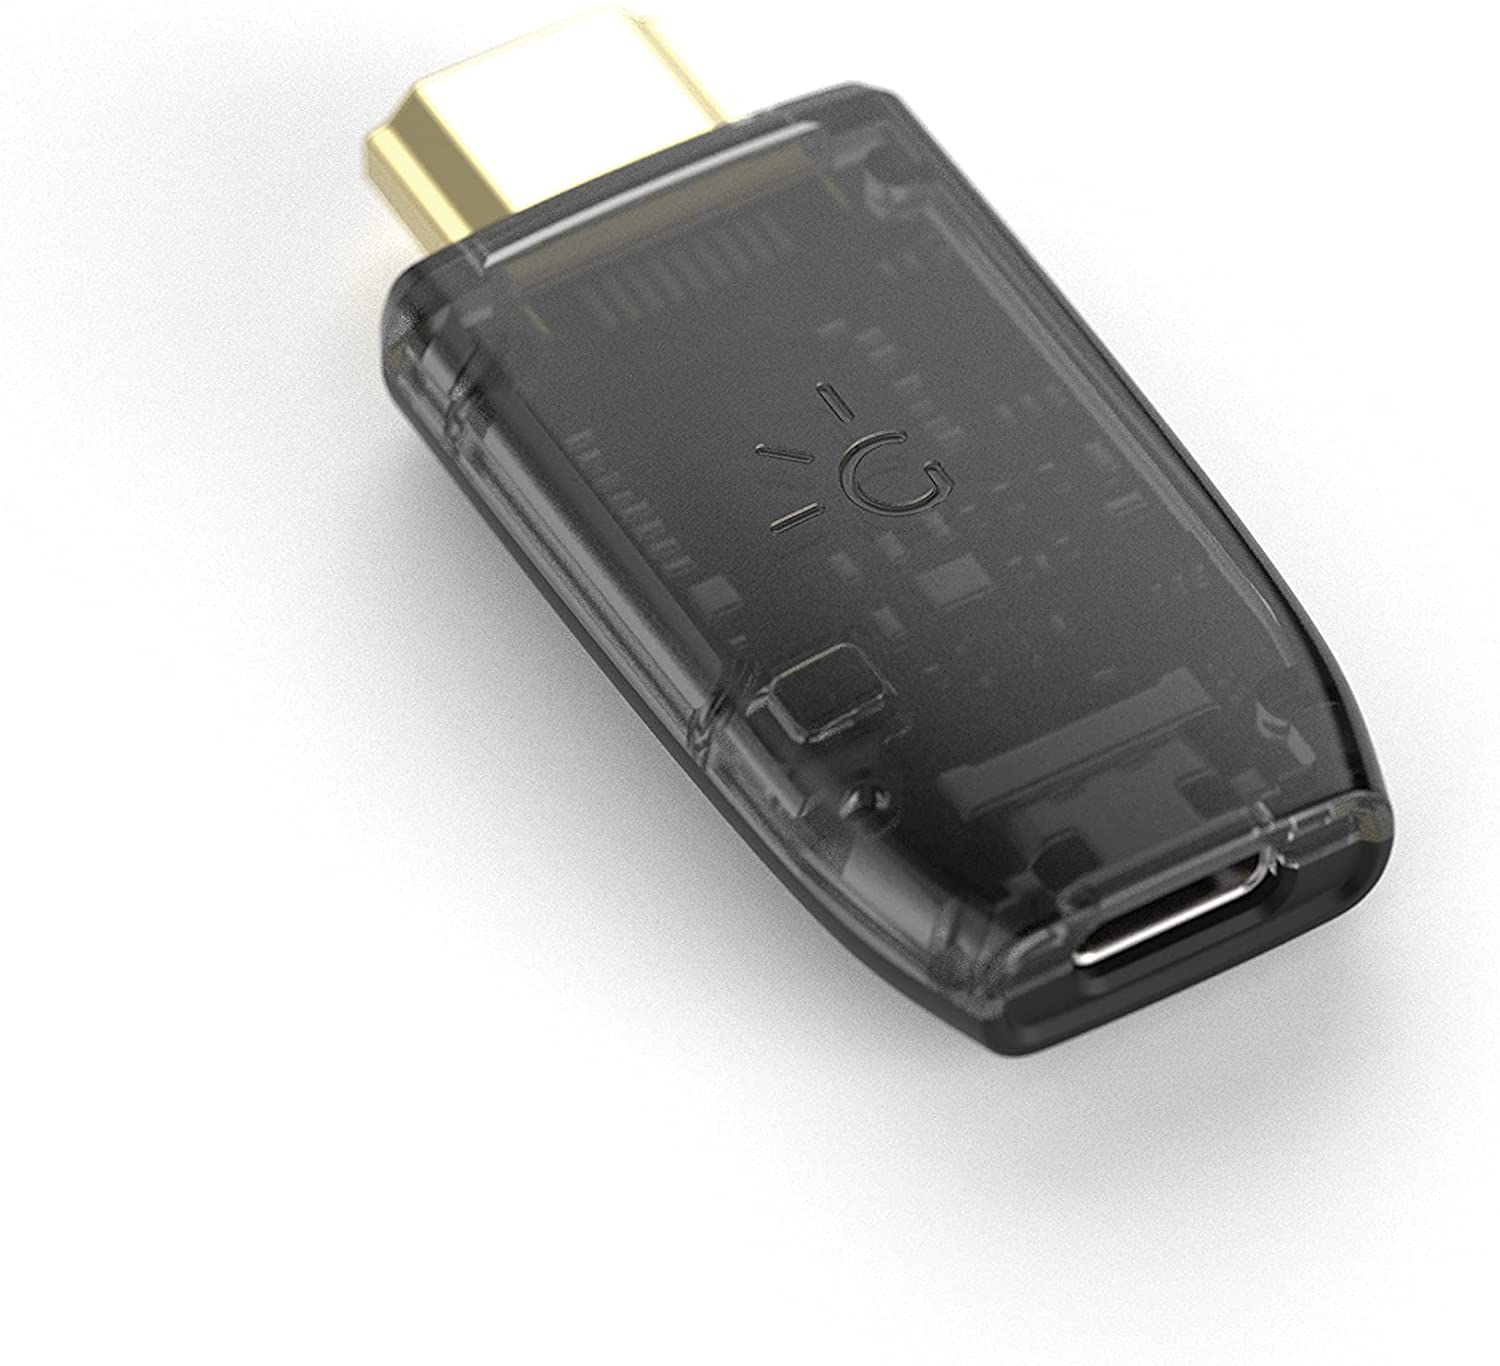
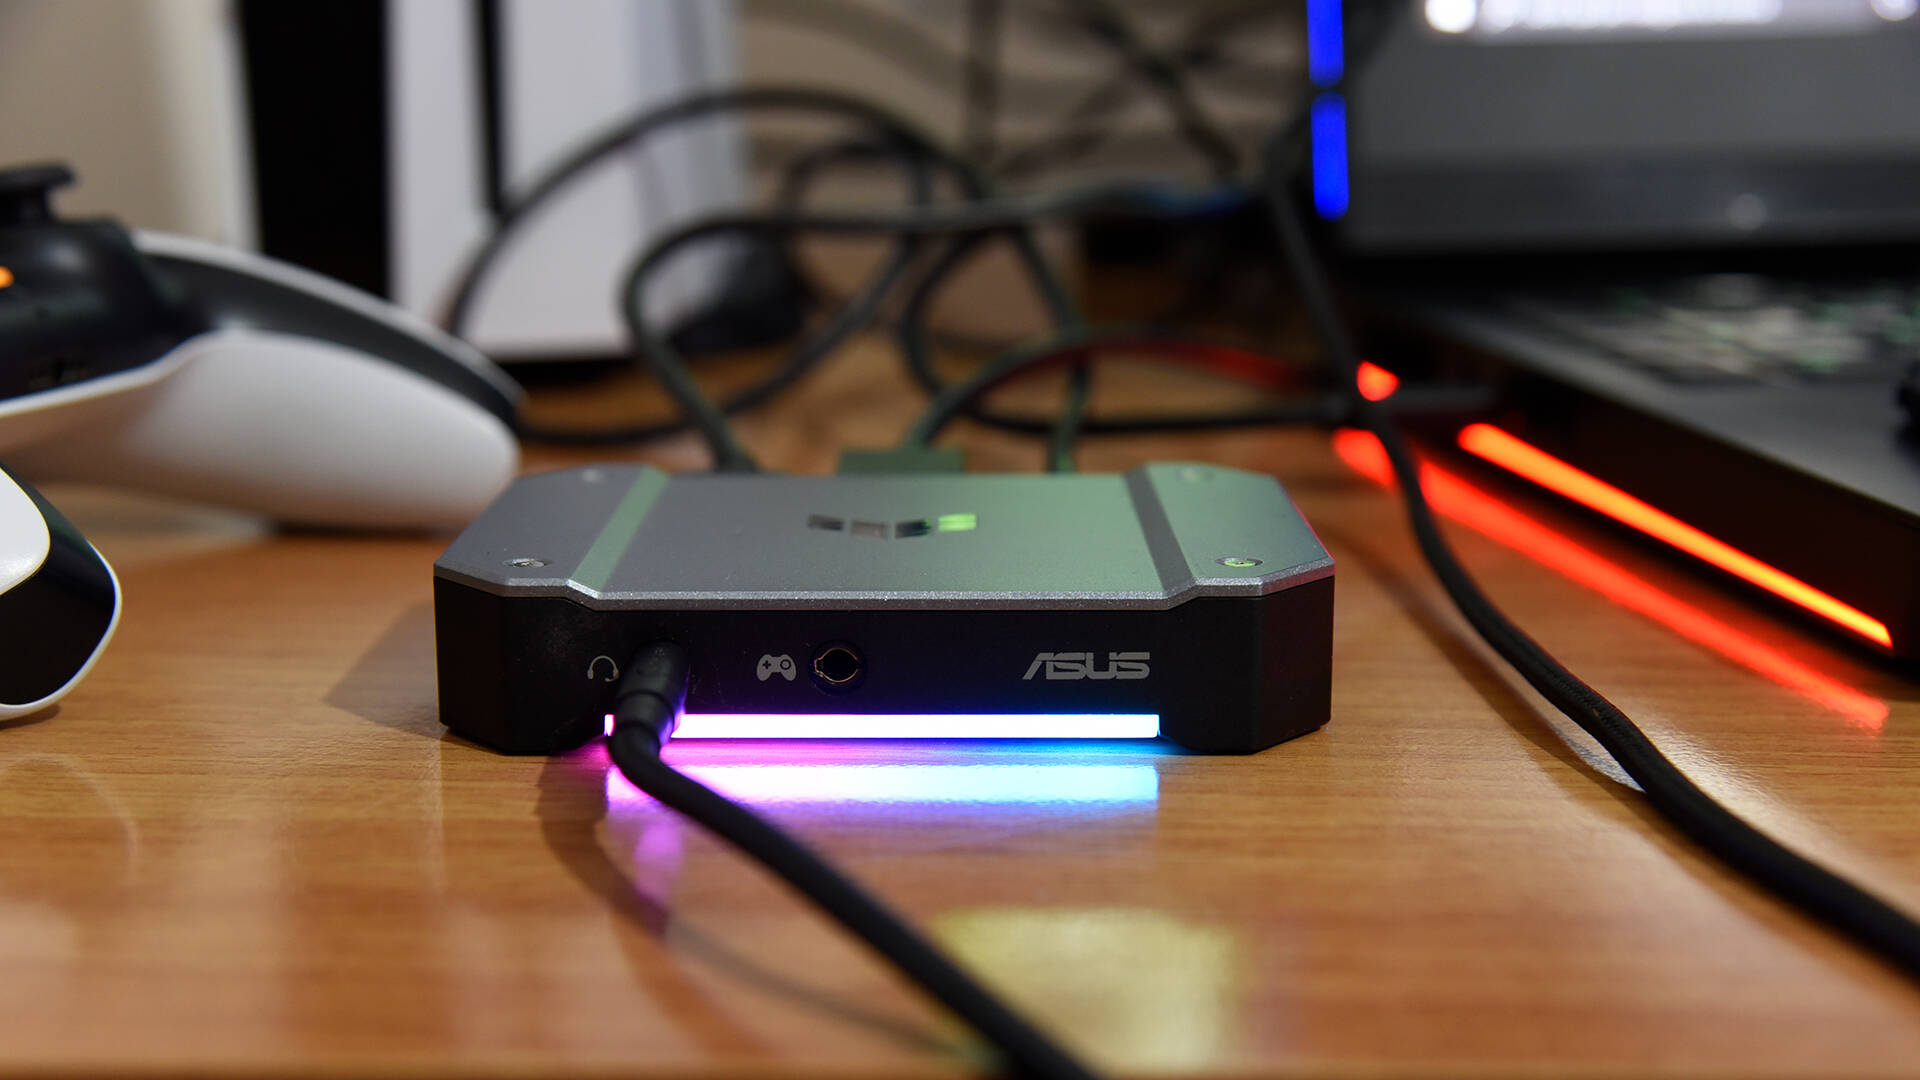
External capture cards, on the other hand, are standalone devices that connect to your computer using USB or Thunderbolt ports. They are portable and can be easily connected to different devices, making them a popular choice for users who need flexibility and convenience. External capture cards are ideal for laptops or computers without available expansion slots.
When selecting a capture card, there are a few important factors to consider. The first is the compatibility with your computer system and input devices. Ensure that the capture card is compatible with your operating system and has the necessary ports and connections to connect your devices.
Another factor to consider is the capture card’s specifications and features. Look for a capture card that supports the resolution and frame rate you desire. Some advanced capture cards offer features like hardware encoding, which offloads the encoding process from your computer’s CPU, resulting in better performance and lower system impact during capture and streaming.
Now that you have a better understanding of what a capture card is and its benefits, you’ll be able to make an informed decision when choosing the right capture card for your needs. In the next section, we will discuss why you need a capture card and explore the various use cases for this versatile device.
Why do You Need a Capture Card?
Whether you’re a gamer, a content creator, or someone who enjoys sharing videos online, a capture card is an indispensable tool that offers a multitude of benefits. Here are some reasons why you might need a capture card:
1. Capture and Share Gameplay: If you’re an avid gamer, a capture card allows you to capture and share your gameplay with others. Whether you want to showcase your skills, create gaming tutorials, or simply share funny moments, a capture card enables you to record your gameplay in high-quality and stream it on platforms like Twitch, YouTube, or Facebook Live. With the ability to capture gameplay footage directly from your gaming console or PC, you can engage with a wider audience and build your online gaming community.
2. Improve Streaming Quality: Streaming gameplay requires a stable and high-quality video feed. By using a capture card, you can bypass the limitations of your gaming console’s built-in streaming capabilities and achieve better video quality, higher frame rates, and lower latency. This allows you to provide a more professional and enjoyable streaming experience for your viewers.
3. Expand Content Creation Options: A capture card opens up countless possibilities for content creation. Whether you’re a vlogger, a YouTuber, or a filmmaker, a capture card allows you to incorporate external devices, such as cameras, DSLRs, or even VCRs, into your videos. This enables you to create diverse and visually captivating content, adding another dimension to your storytelling and enhancing the overall production value of your videos.
4. Preserve Analog Media: If you have old VHS tapes, camcorder footage, or any other analog media, a capture card can help you digitize and preserve these memories. By connecting your analog device to the capture card, you can capture and convert the content into a digital format that can be easily stored, edited, and shared. This ensures that your precious memories will not be lost to time and allows you to revisit and share them with your friends and family.
5. Profesional streaming and production: For professional streamers and content creators, a high-end capture card can bring advanced features to the table. These features can include hardware encoding, multi-channel audio support, and HDR (High Dynamic Range) recording capabilities. Such capture cards provide excellent flexibility and control over the captured content, enabling you to deliver uncompromised quality and professional-level production value in your streams and videos.
Overall, a capture card is a versatile device that enhances your gaming experience, expands your content creation options, and allows you to preserve and transform analog media. Whether you’re a casual gamer who wants to share your adventures or a professional content creator aiming for top-notch production quality, a capture card is an essential tool that unlocks a world of possibilities.
Choosing the Right Capture Card
When it comes to choosing the right capture card for your needs, there are several important factors to consider. Let’s explore these factors to help you make an informed decision:
1. Compatibility: Ensure that the capture card you choose is compatible with your computer system and input devices. Check the system requirements and make sure it supports the operating system you’re using. Additionally, consider the type of connections and ports offered by the capture card and ensure they align with the devices you plan to connect to it.
2. Capture Quality and Resolutions: Consider the capture card’s capabilities in terms of resolution and frame rate. If you’re looking to capture and stream gameplay in high definition, look for a capture card that supports the desired resolution, such as 1080p or 4K. Additionally, pay attention to the maximum frame rate supported by the capture card to ensure smooth and fluid video playback.
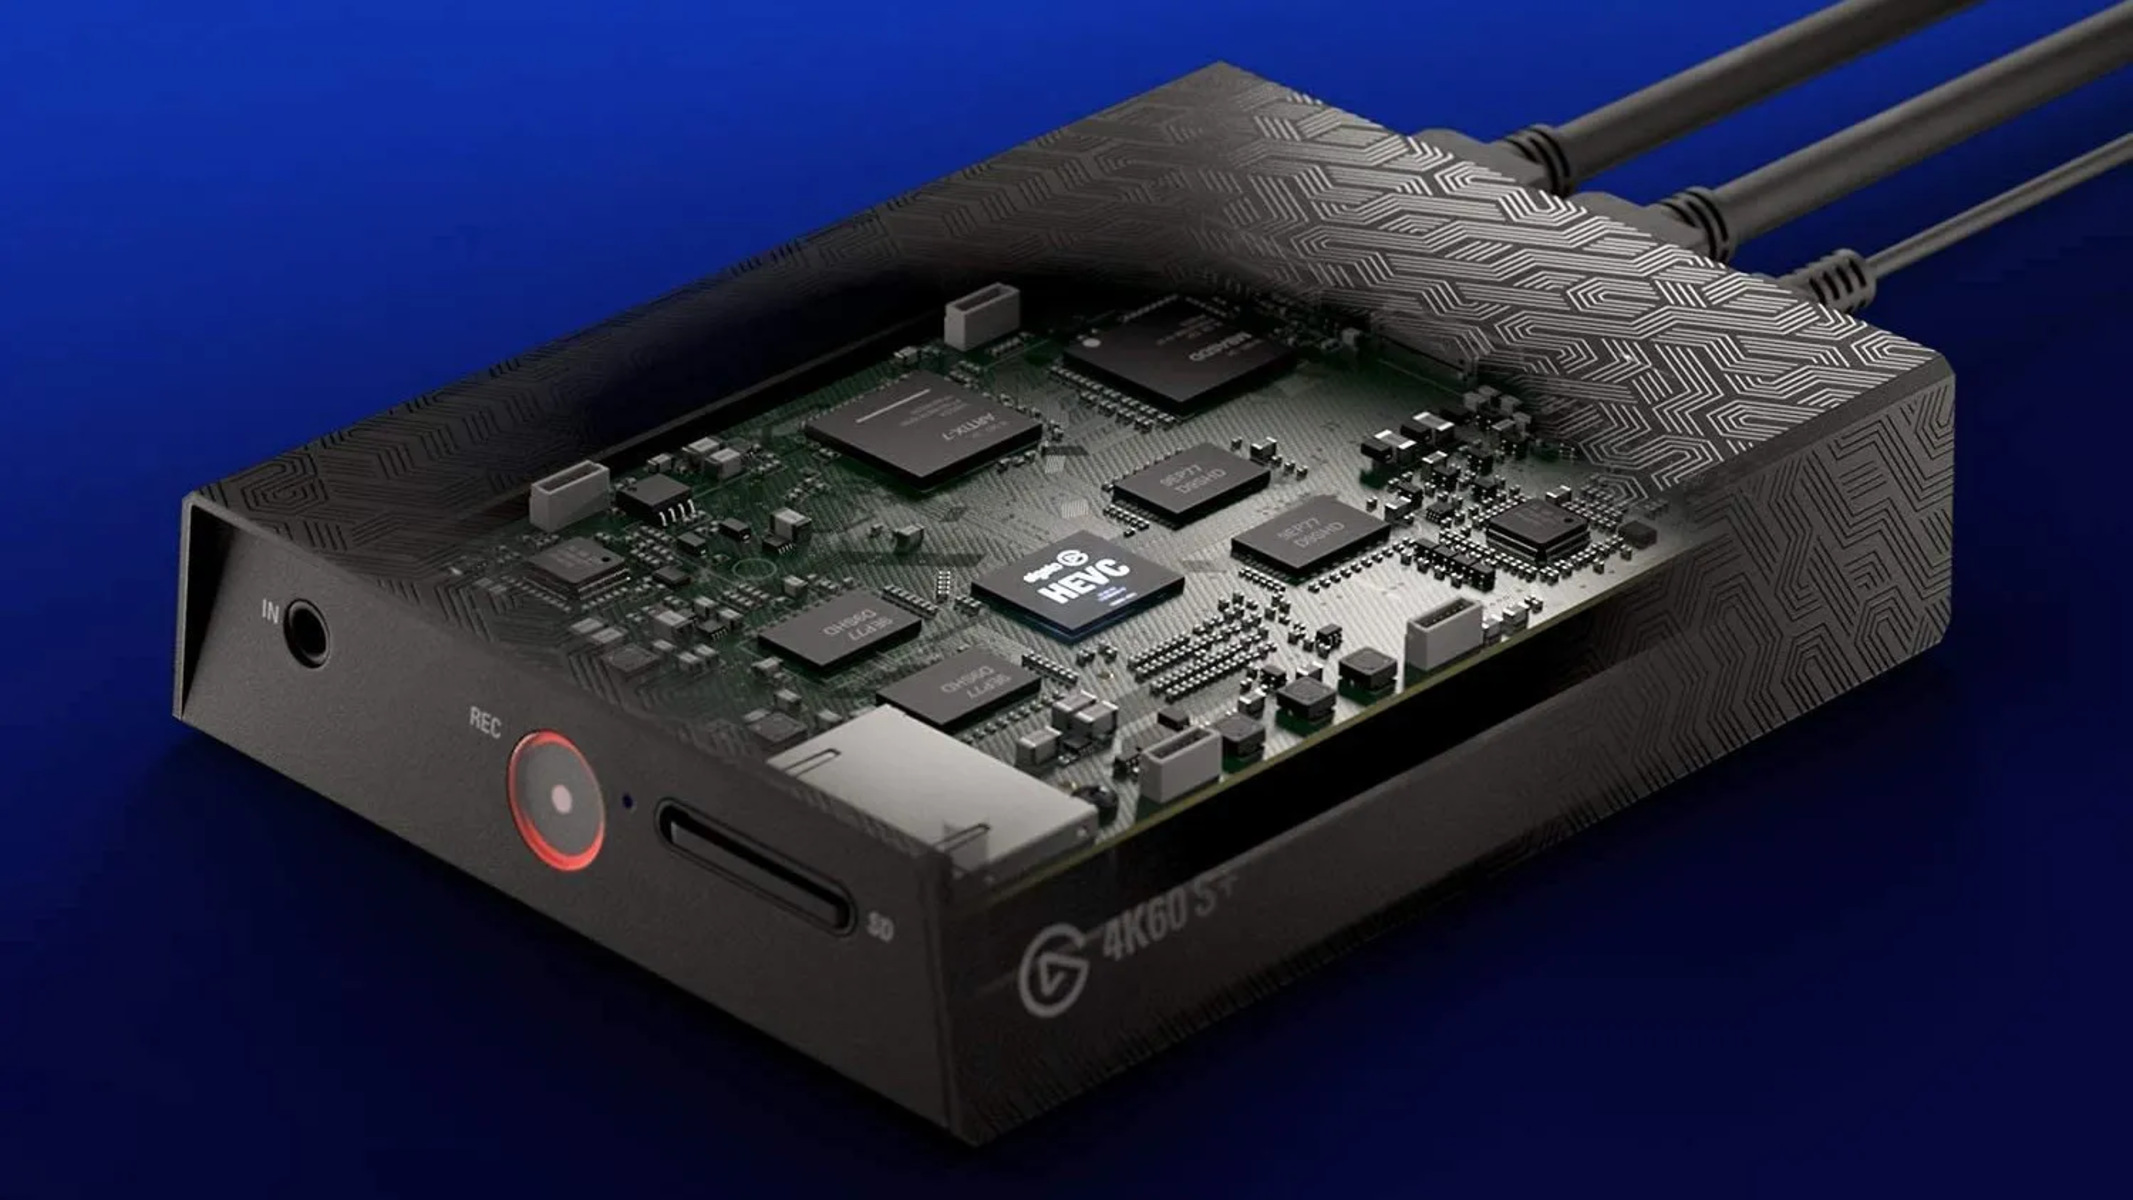
3. Encoding and Compression: Some capture cards come with hardware encoding capabilities, which offload the encoding process from your computer’s CPU. This can result in better performance during capture and streaming, as well as reduce system impact. Look for capture cards that offer advanced compression codecs like H.264 or H.265 to maintain high-quality video while minimizing file size.
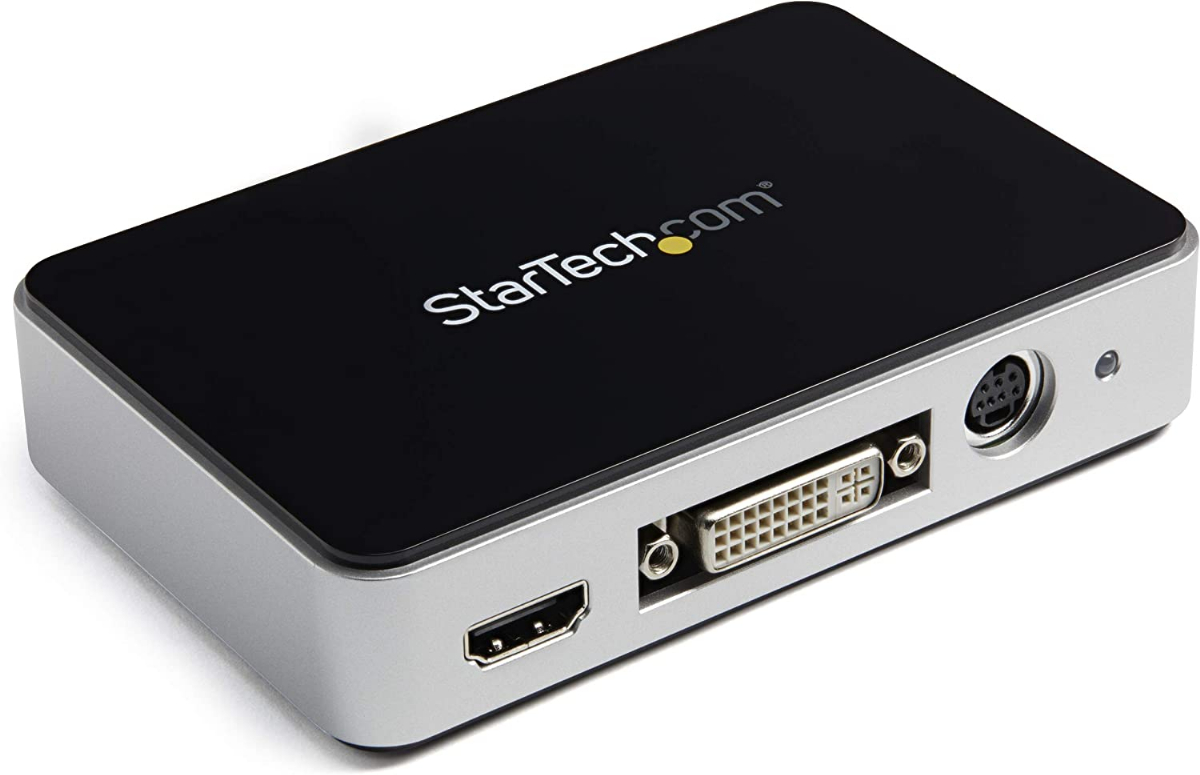
4. Connectivity Options: Consider the type and number of ports available on the capture card. Common connectivity options include HDMI, DisplayPort, and component/composite inputs. Depending on your specific needs, ensure that the capture card provides the necessary connections to accommodate your devices.
5. Software Support and Features: Evaluate the software that comes bundled with the capture card or any additional software provided by the manufacturer. Look for features like video editing, live streaming integration, and customizable settings. Having user-friendly and feature-rich software can greatly enhance your capture and streaming experience.
6. Budget: Determine your budget and consider the price range of capture cards available on the market. While there are affordable options that deliver decent performance, more advanced capture cards with additional features and higher capture quality may come at a higher cost. Strike a balance between your budget and the specific features and performance level you require.
7. User Reviews and Recommendations: Take the time to read user reviews and seek recommendations from trusted sources. This can provide valuable insights into the performance, reliability, and user experience of different capture card models. Pay attention to aspects such as ease of installation, compatibility with various devices, and overall customer satisfaction.
By considering these factors and doing thorough research, you’ll be able to choose the right capture card that meets your specific needs and provides the desired level of performance and features. Keep in mind that the perfect capture card may vary depending on your requirements and budget. With the right choice, you’ll be well-equipped to capture, record, and stream your favorite content with ease and high-quality results.
Step 1: Preparing your Computer
Before installing a capture card, it’s important to ensure that your computer is properly prepared for the installation process. This step involves gathering the necessary tools, checking your computer’s specifications, and making any required adjustments to accommodate the capture card. Follow the steps below to prepare your computer:
1. Check Compatibility: Start by checking the compatibility of the capture card with your computer’s operating system. Ensure that the capture card is supported by your specific version of Windows, macOS, or Linux. Additionally, check the minimum system requirements specified by the capture card manufacturer to confirm that your computer meets the necessary specifications.
2. Gather Tools: Collect the tools you’ll need for the installation process. These usually include a screwdriver, as you may need to remove the computer case to access the expansion slots. Additionally, check the manufacturer’s instructions to see if any additional tools or cables are required for the specific capture card model you’re installing.
3. Power Off and Unplug: Ensure that your computer is powered off and unplugged from the electrical outlet. This will prevent any accidental electrical shocks or damage to the computer components during the installation process.
4. Locate Available Expansion Slots: Open your computer case and identify the available expansion slots. Most capture cards are installed in PCI or PCIe slots, which are typically located towards the bottom of the motherboard. Consult your computer’s manual or look for the slot that matches the size and type required by your capture card.
5. Remove Slot Covers: If necessary, remove the metal slot covers located on the back of your computer case to create space for the capture card. These covers are usually held in place by one or two small screws. Carefully unscrew and remove them, keeping them in a safe place for future reinstallation if needed.
6. Install the Capture Card: Align the capture card with the selected expansion slot and gently insert it into the slot. Make sure that the card is fully seated and the metal contacts are securely inserted into the slot. Press down firmly, but be cautious not to use excessive force that may damage the card or the motherboard.
7. Secure the Capture Card: Once the capture card is properly inserted, secure it in place by reattaching any screws or clips provided with your computer case. This will hold the capture card securely and prevent it from shifting or getting dislodged during use.
8. Close the Computer Case: Carefully close your computer case, ensuring that all screws are tightened securely. This will help protect the internal components and maintain proper airflow for cooling.
9. Power On and Verify: Once your computer is reassembled, plug it back in and power it on. It’s a good idea to check the device manager or the capture card manufacturer’s software to verify that the card has been successfully detected by your computer. If any issues arise, consult the manufacturer’s documentation or online support resources for troubleshooting guidance.
By following these steps to prepare your computer, you’ll ensure that it is ready for the installation of the capture card. Now that the capture card is securely installed, you can move on to the next step: connecting the capture card to your devices.
Step 2: Installing the Capture Card
Now that your computer is prepared, it’s time to move on to the installation of the capture card itself. Follow the steps below to correctly install the capture card into your computer:
1. Power off and unplug your computer: Before proceeding with the installation, ensure that your computer is powered off and unplugged from the electrical outlet. This will prevent any potential damage to the capture card or your computer’s components.
2. Open the computer case: Depending on your computer model, you may need to remove a side panel or slide-off cover to access the inside of your computer. Consult your computer’s manual for specific instructions on how to open the case, or refer to manufacturer’s documentation if needed.
3. Locate an available expansion slot: Identify an available expansion slot where you will insert the capture card. Most capture cards require a PCI or PCIe slot, which can typically be found towards the bottom of the motherboard. Refer to your computer’s manual to determine the appropriate slot.
4. Ground yourself: To prevent any electrostatic discharge that could damage sensitive computer components, ground yourself by touching a grounded metal object, such as the computer case, prior to handling the capture card.
5. Insert the capture card: Align the edge connector of the capture card with the expansion slot. Gently insert the card into the slot, applying even pressure until it is fully seated. Ensure that the metal contacts on the capture card are securely inserted into the slot.
6. Secure the capture card: Once the capture card is properly inserted, use a screwdriver to secure the card in place. Most capture cards come with a small metal bracket that can be attached to the back of the computer case using a screw. Tighten the screw to hold the capture card securely in place.
7. Close the computer case: Carefully close the computer case, ensuring that all screws are tightened securely. This will protect the internal components and provide proper airflow for cooling.
8. Plug in and power on your computer: Reconnect the power cable to your computer and plug it back into the electrical outlet. Power on your computer and wait for the operating system to fully load. Allow the computer to detect and initialize the newly installed capture card.
9. Install capture card drivers: If your capture card requires specific drivers for optimal functionality, insert the driver installation disc provided with the capture card or download the latest drivers from the manufacturer’s website. Follow the instructions to install the drivers onto your computer.
10. Verify installation: To confirm that the capture card has been successfully installed, open the device manager on your computer and check for the presence of the capture card under the “Sound, video, and game controllers” section. Additionally, you can open the capture card manufacturer’s software to test and configure the card as needed.
By following these steps, you have successfully installed the capture card into your computer. Now you can proceed to the next step, which involves connecting the capture card to your devices and configuring the necessary settings to start capturing or streaming your desired content.
Step 3: Connecting the Capture Card to Your Devices
With the capture card successfully installed in your computer, the next step is to connect it to your devices. Follow the steps below to ensure proper connections:
1. Determine the input source: Identify the device from which you want to capture video and audio. This could be a gaming console, a camera, a camcorder, or any other device that outputs video and audio signals. Ensure that the output connections of the source device match the input connections on the capture card.
2. Connect the video source to the capture card: Use an appropriate cable, such as HDMI, DisplayPort, or component cables, to connect the video output of your device to the corresponding input port on the capture card. Make sure the connections are secure and properly inserted.
3. Connect the audio source to the capture card: Depending on the setup and your preferences, you can either connect the audio output of your device directly to the capture card (if it has an audio input), or bypass the capture card and connect the audio separately to your computer’s sound card or speakers. Use the appropriate cables to establish the audio connection.
4. Additional connections: Some capture cards offer additional features, such as pass-through or loopback functionality. This allows you to connect your device to both the capture card and a display or monitor simultaneously. If desired, connect the output of the capture card to a display using the appropriate cable.
5. Power on and test: Once all the connections are in place, power on your source device and the computer. Launch the software provided with the capture card or use a video capture software of your choice to test the connection and ensure that video and audio are being captured correctly. Adjust settings as needed, such as resolution, frame rate, and audio inputs.
6. Configure audio settings: If you have connected the audio source to the capture card, you may need to configure the audio settings in the software you are using to capture or stream the content. This may involve selecting the correct audio input device and adjusting volume levels.
7. Check for video and audio synchronization: During your testing, pay attention to the synchronization between the video and audio. If there is any noticeable delay (commonly referred to as audio lag), make adjustments in the software or capture card settings to align them properly.
8. Fine-tune settings: Depending on your specific requirements and desired output, explore the software or capture card settings to further customize the capture quality, encoding settings, and any additional features available. This can help you achieve the best results for your intended use.
By following these steps and ensuring proper connections, you have successfully connected your devices to the capture card. Now you can proceed to the next step, which involves configuring the capture card software to best suit your needs and preferences.
Step 4: Configuring the Capture Card Software
Once the capture card and devices are connected, the next step is to configure the capture card software. The software provided by the capture card manufacturer or the third-party video capture software you use plays a crucial role in managing and optimizing your capture experience. Follow the steps below to configure the capture card software:
1. Install the capture card software: If you haven’t already done so, install the software that accompanies your capture card. The installation process may vary depending on the manufacturer and model. Follow the on-screen instructions, and when prompted, select the appropriate options for your capture card.
2. Open the capture card software: Launch the installed capture card software. If multiple software applications were installed, choose the one that is specifically designed for managing your capture card and capturing or streaming video.
3. Explore the software interface: Familiarize yourself with the software’s interface and features. Most capture card software provides a range of settings and options that allow you to customize your capture experience. Take some time to explore these settings and understand their functions.
4. Configure video settings: Access the video settings within the software and adjust parameters such as resolution, frame rate, and video encoding format. Make sure these settings are aligned with your desired output and the capabilities of your device and network connection.
5. Configure audio settings: If your capture card supports audio input, access the audio settings and adjust parameters such as audio volume, audio synchronization, and audio encoding format. Ensure that the audio settings are synchronized with the video and provide the desired audio quality.
6. Customize capture settings: Depending on your specific needs, the software may offer additional capture settings and options. These may include settings for overlays, watermarks, hotkeys, or multi-device configurations. Customize these settings to enhance your capture experience and streamline your workflow.
7. Configure streaming settings: If you plan to stream live content, the capture card software may include streaming settings. Configure options such as stream key, server location, bitrate, and video resolution to optimize your streaming performance and deliver high-quality content to your audience.
8. Test and refine: After configuring the capture card software, conduct test captures or streams to ensure that the settings are producing the desired results. Pay attention to the video quality, audio clarity, and overall performance. Make any necessary adjustments based on your observations.
9. Consult the software documentation: If you encounter any issues or have questions about specific features, consult the software’s documentation or online resources. Capture card software often comes with user guides, FAQs, and forums where you can find helpful information and support from other users and the manufacturer.
10. Regularly update the software: Capture card software may receive updates from the manufacturer to improve performance, add new features, or address known issues. Check for updates regularly and install them to ensure you have the latest software version with all the benefits and optimizations it provides.
By following these steps and carefully configuring the capture card software, you’ll be able to maximize the capabilities of your capture card and ensure an optimal capture and streaming experience. With your software settings in place, you’re now ready to proceed to the final step: testing and troubleshooting the capture card setup.
Step 5: Testing and Troubleshooting
After setting up and configuring the capture card and software, it’s crucial to thoroughly test the setup to ensure everything is working as expected. This step involves conducting test captures, checking video and audio quality, and troubleshooting any issues that may arise. Follow the steps below to test and troubleshoot your capture card setup:
1. Conduct test captures: Start by performing test captures using your capture card software. Record a short video or gameplay session to verify that the capture card is capturing video and audio correctly. Pay attention to the quality of the captured content, including resolution, frame rate, and audio clarity.
2. Check video and audio synchronization: During the test captures, closely monitor the synchronization between the video and audio. Ensure that there is no noticeable delay or lag between the two. If you observe any synchronization issues, consult the capture card software settings to make adjustments and align the audio and video.
3. Review captured content: Playback the captured content and assess the quality. Look for any artifacts, distortions, or abnormalities in the video or audio. Pay attention to the overall clarity, color accuracy, and smoothness of the footage. If any issues are detected, investigate and troubleshoot accordingly.
4. Troubleshoot common issues: In the event of any problems, consult the troubleshooting section of the capture card software documentation or the manufacturer’s support resources. Common issues may include audio or video dropout, display issues, or compatibility conflicts. Follow the recommended troubleshooting steps provided to resolve the problems.
5. Update drivers and firmware: Ensure that you have the latest drivers and firmware for your capture card. Visit the manufacturer’s website and check for any available updates. Keeping your capture card’s drivers and firmware up-to-date can address known issues and improve compatibility with your computer system.
6. Seek community support: If troubleshooting steps do not resolve the issues or if you need additional assistance, seek support from the capture card manufacturer’s community forums or support channels. Often, other users and experts can provide insights and solutions based on their experiences.
7. Test with different devices and configurations: To ensure the versatility and compatibility of your capture card setup, test it with various devices and configurations. Connect different sources, such as gaming consoles, cameras, or VCRs, to the capture card and verify that it captures video and audio from each device correctly.
8. Monitor system performance: Keep an eye on your computer’s performance while using the capture card. Monitor CPU usage, memory consumption, and other system resources to ensure that your computer can handle the capture and processing tasks without significant impact. If necessary, adjust capture settings or upgrade your computer’s hardware as needed.
9. Document your settings: Once your capture card setup is fully tested and working properly, it’s a good practice to document your settings and configurations. This documentation will serve as a reference in case you need to reinstall or reconfigure the setup in the future.
10. Regularly maintain and update: As you continue to use your capture card setup, periodically review and maintain the system. Keep the capture card software, drivers, and firmware up-to-date, clean your computer’s components to prevent dust buildup, and ensure cables and connections are secure.
By following these testing and troubleshooting steps, you can ensure that your capture card setup is functioning optimally and producing high-quality captures and streams. Once you have confirmed that everything is working smoothly, you can start capturing and sharing your desired content with confidence.
Conclusion
Congratulations! You have successfully completed the installation and configuration process for your capture card. By following the steps outlined in this guide, you are now equipped to capture, record, and stream high-quality video and audio from your gaming consoles, cameras, or other devices.
Throughout the installation process, you have learned about the importance of compatibility, choosing the right capture card for your needs, preparing your computer, connecting the capture card to your devices, configuring the capture card software, and testing and troubleshooting your setup. Taking the time to properly set up your capture card ensures that you can make the most out of its features and capabilities.
Remember to periodically update your capture card software and drivers to access the latest features, improvements, and bug fixes. Additionally, keep an eye on system performance to ensure that your computer can handle the capture and processing tasks without issues.
Whether you’re a gamer looking to share your gameplay with an audience, a content creator wanting to enhance your videos with external sources, or someone interested in preserving analog media, a capture card is an invaluable tool that allows you to unleash your creativity.
Now that you have successfully installed and configured your capture card, it’s time to embark on your capture journey. Whether your goal is to become a successful streamer, create compelling video content, or simply share your favorite memories, your capture card opens up a world of possibilities.
Remember to experiment, explore different settings, and continue learning about the capabilities of your capture card. With time and practice, you’ll become more proficient in using your capture card, and its versatility will inspire you to create captivating content that resonates with your audience.
Enjoy your capture card, embrace your creative endeavors, and have fun capturing, recording, and sharing your experiences with the world!