Introduction
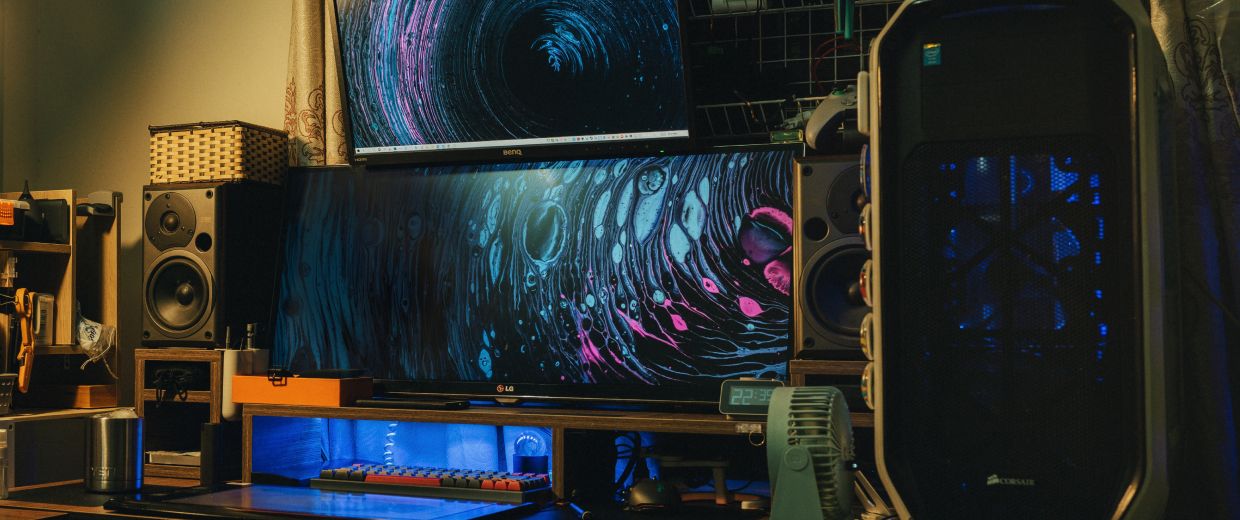
Welcome to the world of live streaming! Streaming has become an incredibly popular way for gamers to share their gameplay experiences and connect with their audience. However, for those looking to take their streaming to the next level, single PC streaming setups may not always be sufficient. This is where dual PC streaming comes in.
Dual PC streaming refers to a setup where you use one computer to play the game (also known as the gaming PC) and another computer to handle the streaming process (referred to as the streaming PC). This configuration allows you to offload the demanding task of encoding and broadcasting the stream to a separate machine, resulting in better performance and higher quality streams.
In this guide, we will walk you through the process of setting up a dual PC streaming system without the need for a capture card. A capture card is a device that captures and records the video and audio output from your gaming PC. While capture cards can be useful, they are not necessary for dual PC streaming and can be quite expensive.
By following the steps outlined in this guide, you will be able to achieve a professional-grade streaming setup that provides optimal performance and high-quality streams for your audience. So, let’s dive in and explore the world of dual PC streaming without a capture card!
What is dual PC streaming?
Dual PC streaming is a setup where you use two separate computers to achieve optimal performance and quality in your livestreams. In this configuration, one computer, known as the gaming PC, is responsible for running the game and handling all the gaming-related tasks. The second computer, referred to as the streaming PC, handles the encoding and broadcasting of the stream.
The main advantage of using a dual PC streaming setup is that it allows you to dedicate the gaming PC entirely to running the game, eliminating any potential performance degradation caused by encoding and streaming tasks. This means you can enjoy smooth gameplay without any frame rate drops or lag, while still providing a high-quality stream to your audience.
The streaming PC takes care of the resource-intensive task of encoding the gameplay footage and audio into a format that can be broadcasted over the internet. By offloading this task to a separate machine, you ensure that your stream is clean, crisp, and free from any performance issues that might occur if you were using a single PC setup.
Moreover, dual PC streaming allows for more flexibility and customization options when it comes to stream overlays, alerts, and other visual elements. With a dedicated streaming PC, you can use software like OBS (Open Broadcaster Software) to add professional-quality graphics and effects to your stream, enhancing the viewer experience.
It’s important to note that while dual PC streaming offers numerous benefits, it also requires more hardware and setup compared to single PC streaming. You will need a second computer capable of handling the encoding and streaming tasks, along with the necessary capture and audio devices to connect the two systems together.
In the next section, we will discuss the pros and cons of dual PC streaming, helping you determine if this setup is the right choice for your streaming needs.
Pros and cons of dual PC streaming
Like any streaming setup, dual PC streaming has its own set of advantages and disadvantages. Understanding these pros and cons will help you make an informed decision about whether a dual PC setup is right for you. Let’s explore them:
Pros of dual PC streaming:
- Better performance: By offloading the encoding and broadcasting tasks to a separate PC, your gaming PC is free to focus solely on running the game. This leads to improved performance, smoother gameplay, and eliminates any potential frame rate drops or lag during your streams.
- Higher stream quality: With a dedicated streaming PC, you can allocate more resources to the encoding process, resulting in a higher-quality stream for your viewers. This means you can provide a more immersive experience with sharper visuals and smoother playback.
- Customization options: Dual PC streaming gives you more flexibility and options to customize your stream. With software like OBS, you can add overlays, alerts, and other visual elements to enhance the viewer experience and make your stream stand out from the crowd.
- Reduced impact on gaming PC: Encoding and streaming can be resource-intensive tasks, and running them on your gaming PC might impact its performance. With a separate streaming PC, you can ensure that your gaming PC is solely focused on delivering an optimal gaming experience.
- Greater stability: Dual PC streaming adds a level of stability to your setup. If your gaming PC were to crash or encounter technical issues, the stream would still be running smoothly on your dedicated streaming PC, ensuring minimal disruption to your viewers.
Cons of dual PC streaming:
- Higher cost: Setting up a dual PC streaming system can be more expensive than a single PC setup. You will need to invest in a second computer, capture cards, additional monitors, and other necessary equipment. However, it’s worth considering if you are looking for professional-grade streaming quality.
- Increased complexity: Dual PC streaming requires more setup and configuration. Connecting the two computers, synchronizing audio, and troubleshooting any issues can be more complex compared to a single PC setup. However, with proper guidance, this process can be simplified.
- Additional space: Having two computers means you’ll need additional desk space to accommodate both systems, along with the associated peripherals such as monitors, keyboards, and mice.
Considering the pros and cons will help you determine if dual PC streaming is the right choice for your streaming goals and budget. Now, let’s move on to discussing the system requirements for setting up a dual PC streaming setup.
System requirements
Before diving into the setup process, it’s important to ensure that you have the necessary hardware and software to support a dual PC streaming setup. Here are the system requirements:
Gaming PC requirements:
- Processor: Ideally, a multicore processor such as an Intel Core i5 or AMD Ryzen 5, or higher, to handle the demands of the game.
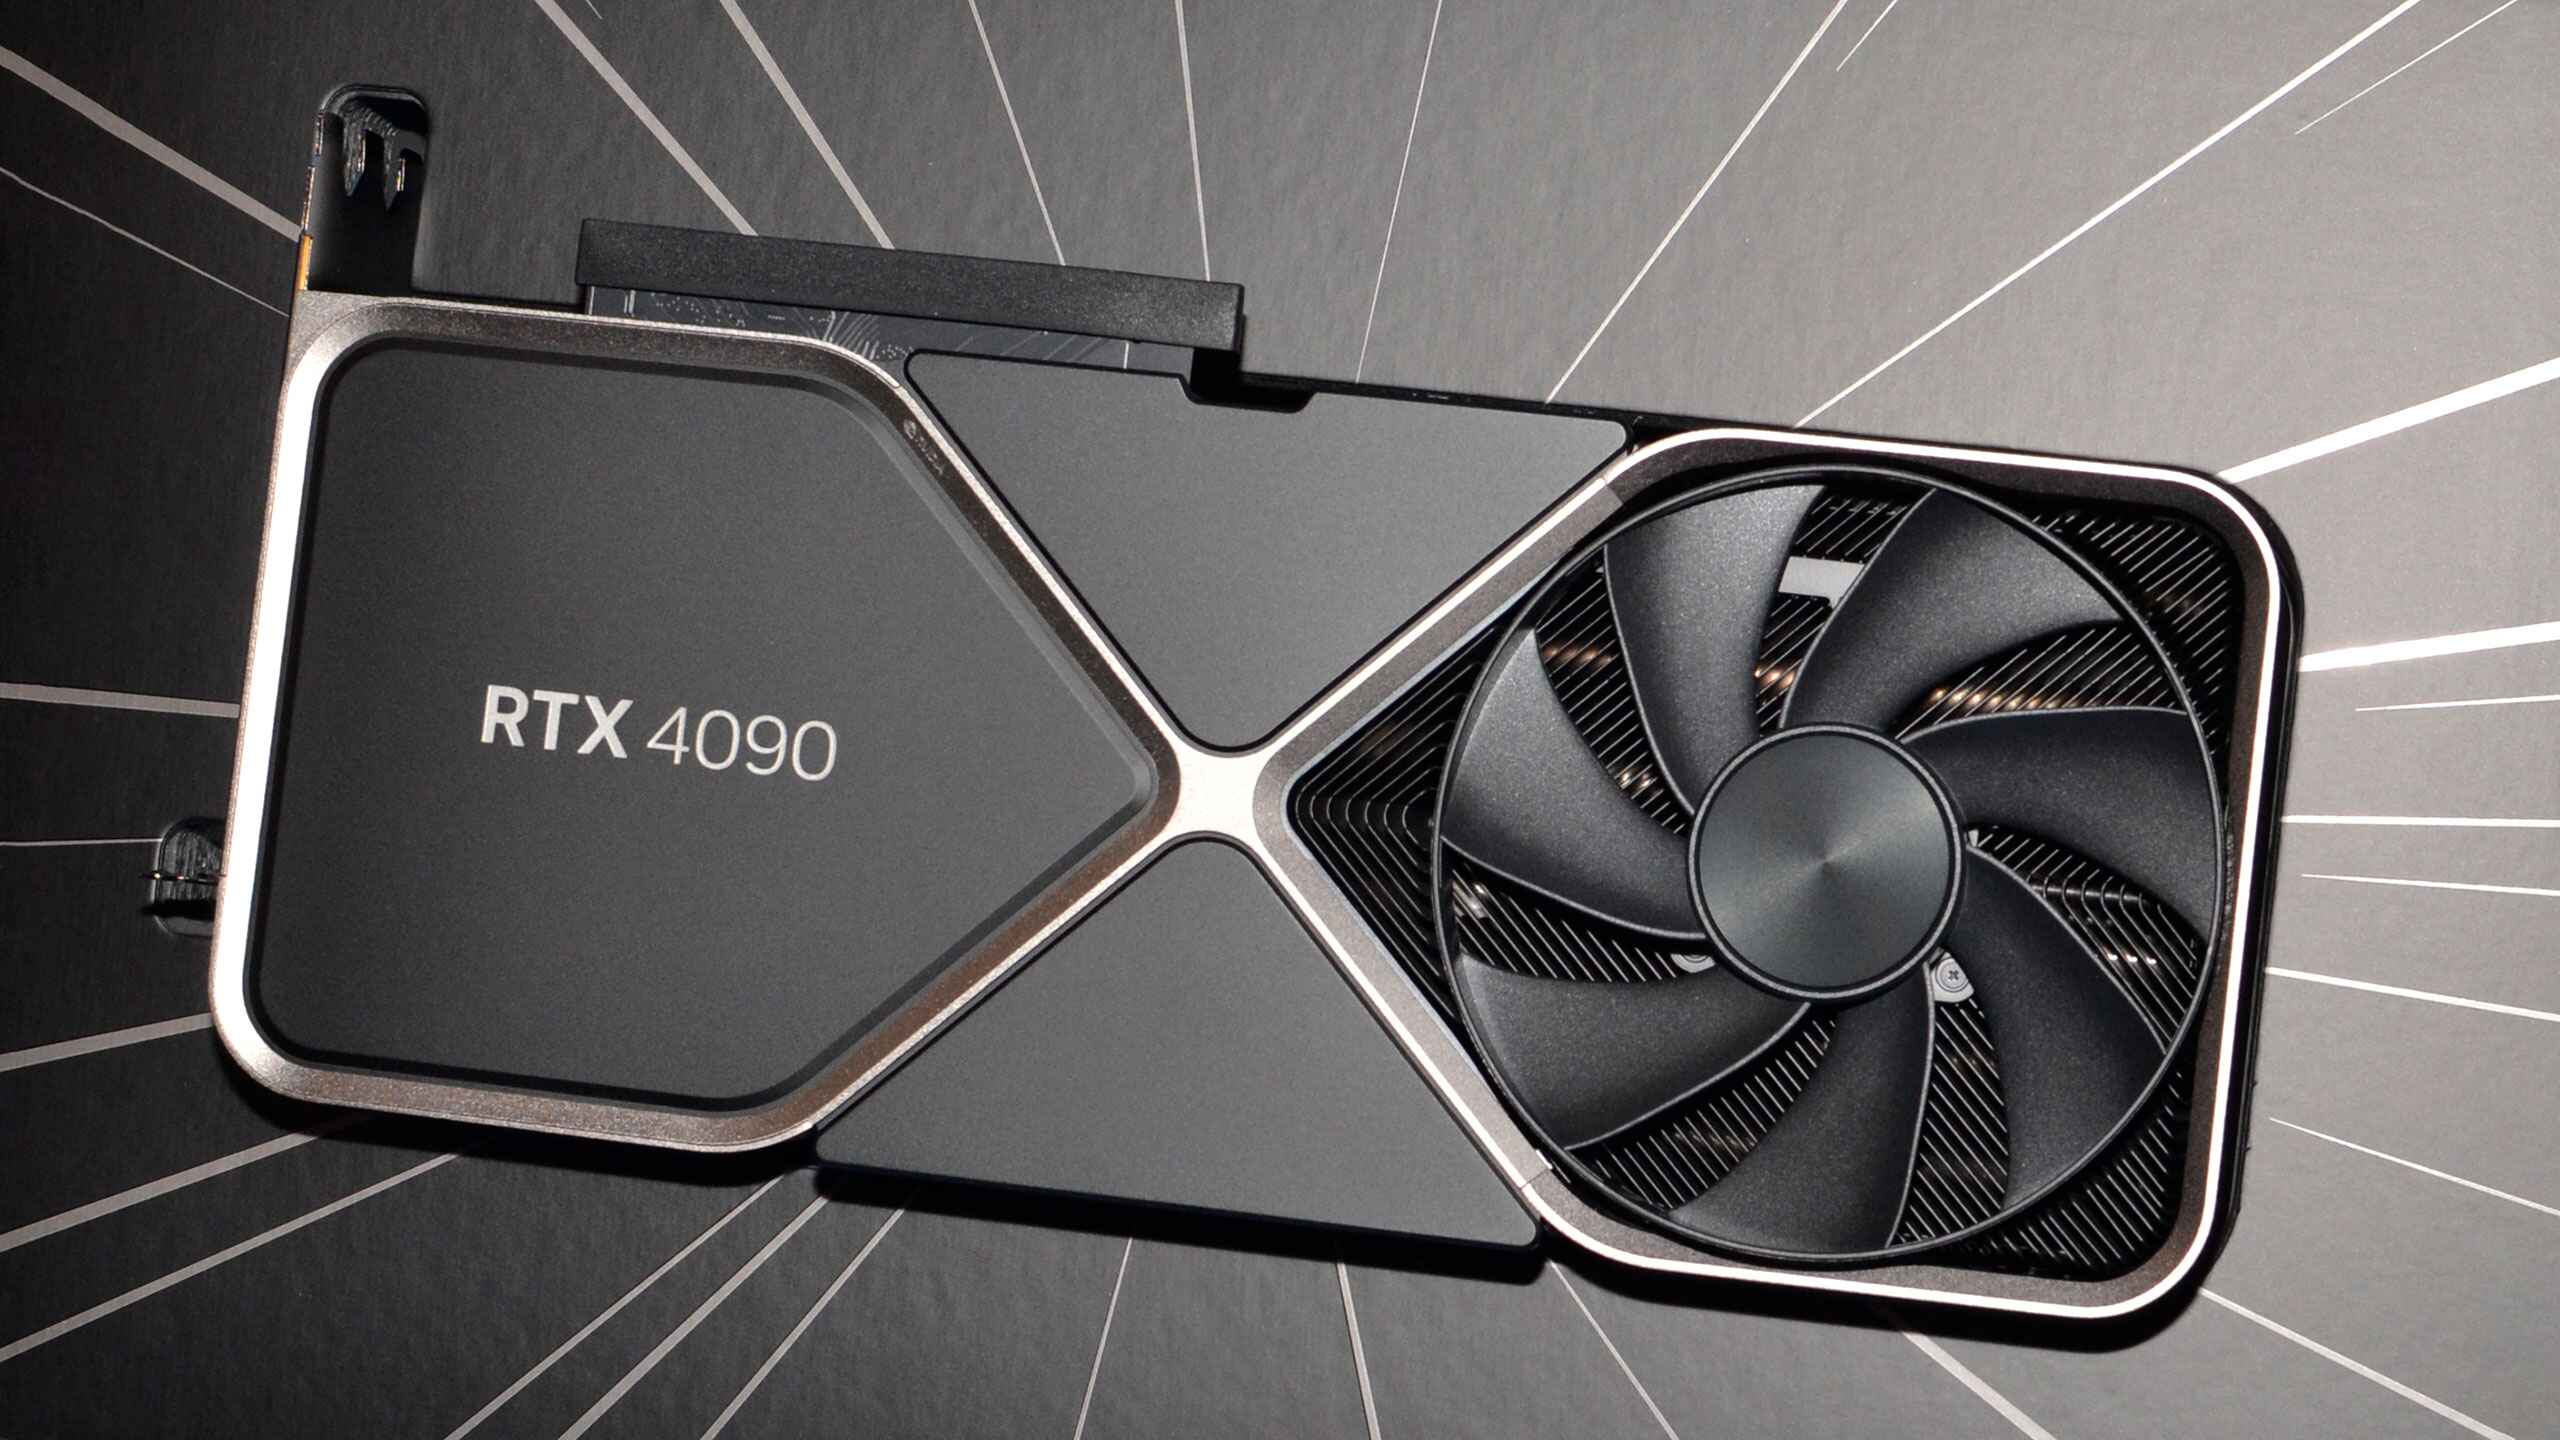
- Graphics card: A powerful graphics card, such as an NVIDIA GeForce GTX 1060 or AMD Radeon RX 580, or higher, to handle the game’s visuals.
- RAM: At least 8GB of RAM to ensure smooth gameplay.
- Storage: Sufficient storage space to install the game and any necessary software.
- Internet connection: A stable internet connection with sufficient upload bandwidth to stream your gameplay.
Streaming PC requirements:
- Processor: A multicore processor such as an Intel Core i7 or AMD Ryzen 7, or higher, to handle the encoding and streaming tasks.
- Graphics card: A decent graphics card is recommended, but not as crucial as the gaming PC since it mainly handles encoding.
- RAM: At least 16GB of RAM to ensure smooth encoding and streaming.
- Storage: Sufficient storage space to store recorded streams and any necessary software.
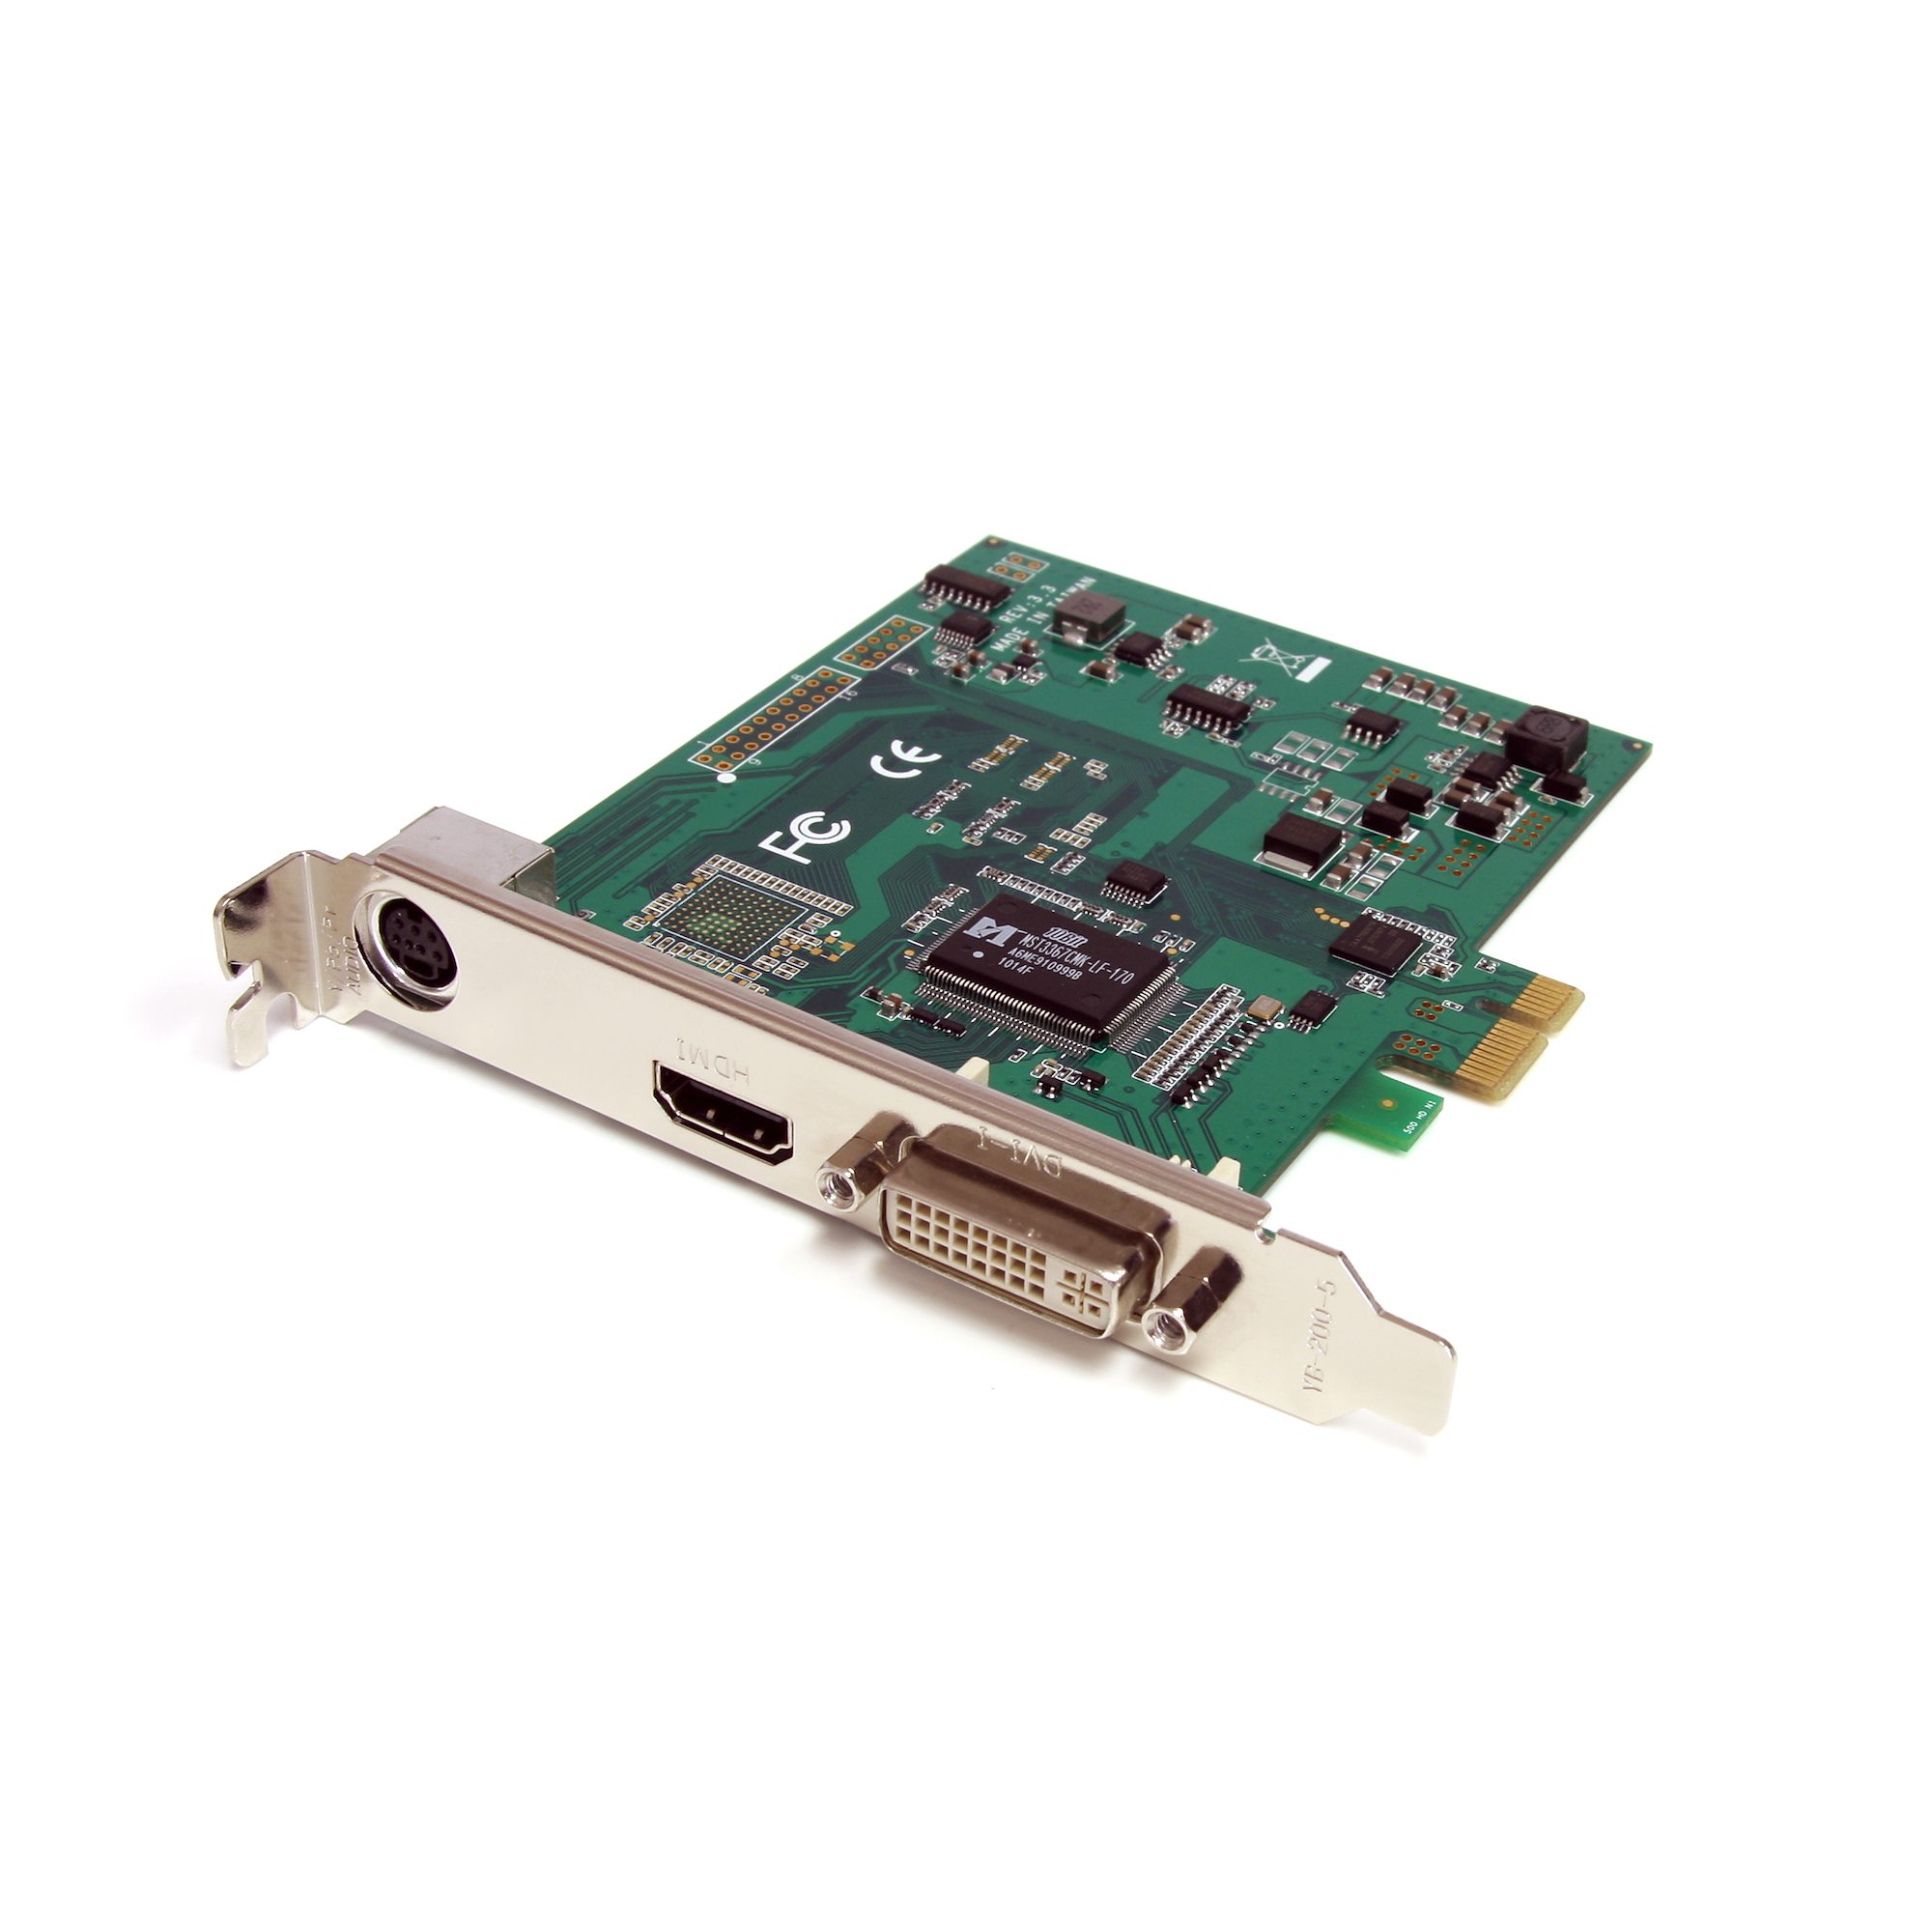
- Capture card: A capture card is required to transfer the video and audio signal from the gaming PC to the streaming PC. Ensure that the capture card supports the necessary inputs and outputs for your specific setup.
Other requirements:
- Monitors: You will need at least two monitors—one for the gaming PC and one for the streaming PC. Additional monitors may be required depending on your specific setup and preferences.
- Audio devices: You will need audio devices, such as headphones and microphones, for both the gaming PC and streaming PC. Ensure they are compatible with your setup.
- Software: You will need software for both the gaming PC and streaming PC. OBS (Open Broadcaster Software) is a popular choice for handling the streaming process, but there are other options available as well.
These are the basic system requirements for setting up a dual PC streaming configuration. It’s important to note that these requirements may vary depending on the specific games you play and the streaming quality you aim for. Now that you have an understanding of the system requirements, let’s move on to the step-by-step setup process.
Step 1: Connecting the two computers
The first step in setting up a dual PC streaming system is to establish a connection between the gaming PC and the streaming PC. This involves connecting the two computers physically and ensuring they can communicate with each other. Here’s how to do it:
1. Use a network switch or Ethernet cable:
The most common way to connect the two computers is via Ethernet cables. If you have a network switch, connect both computers to the switch using Ethernet cables. Alternatively, you can connect the gaming PC directly to the streaming PC using an Ethernet cable.
2. Configure network settings:
On both computers, navigate to the network settings and ensure they are configured properly. Set both computers to use a static IP address within the same network range to facilitate communication between them.
3. Disable firewall:
To avoid any network connectivity issues, temporarily disable the firewall on both computers. This will ensure that the streaming PC can send and receive data from the gaming PC without any interference.
4. Test network connectivity:
Once the connections are established and the network settings are configured, test the network connectivity between the gaming PC and the streaming PC. Open a command prompt or terminal window on both computers and ping the IP address of the other PC to check if they can communicate successfully.
5. Enable file sharing:
If you plan on transferring files between the two computers, enable file sharing on both PCs. This will allow you to easily transfer game files, configurations, overlays, and other assets between the gaming PC and the streaming PC.
By following these steps, you will have successfully connected the gaming PC and the streaming PC. The next step is to configure the broadcasting software on each computer to ensure smooth and efficient dual PC streaming. In the following section, we will cover the steps needed to configure OBS on the gaming PC.
Step 2: Configuring OBS on the gaming PC
After connecting the gaming PC and the streaming PC, the next step is to configure the broadcasting software on the gaming PC. In this case, we will be using OBS (Open Broadcaster Software) as our broadcasting software. Here’s how to configure OBS on the gaming PC:
1. Install OBS:
If you haven’t already done so, download and install OBS on your gaming PC. OBS is a free and widely-used broadcasting software that offers a range of features and customization options for your stream.
2. Open OBS and configure video settings:
Launch OBS and navigate to the “Settings” tab. Under the “Video” settings, set the base and output resolutions to match your gameplay resolution. Set the desired frame rate and ensure that the downscale filter is set to “Bilinear” for optimal performance.
3. Configure audio settings:
In the “Audio” settings, set the desired audio devices for recording and playback. Ensure that your microphone and game audio are properly configured and test them to ensure they are working as intended.
4. Add sources:
Sources in OBS refer to the various elements you want to include in your stream, such as your gameplay footage, webcam, overlays, and alerts. To add sources, click on the “+” icon in the “Sources” panel and select the appropriate source for your stream.
5. Configure scene and layout:
Organize your sources into scenes to create different setups or layouts for your stream. Click on the “+” icon in the “Scenes” panel and name your scene. Then drag and drop your sources onto the scene to arrange them in the desired layout.
6. Configure stream settings:
Under the “Stream” settings, select the desired streaming service (such as Twitch, YouTube, or Facebook), and enter your streaming key or URL. Choose the appropriate server and set the desired bitrate for your stream. OBS provides a helpful estimator tool to determine the optimal bitrate based on your internet connection.
7. Test and adjust settings:
Before going live, it’s essential to test your settings and ensure everything is working as intended. Start a local recording or use the “Preview Stream” feature to review your stream’s audio, video, and layout. Make any necessary adjustments to achieve the desired results.
By following these steps, you will have successfully configured OBS on your gaming PC. In the next section, we will cover the steps to configure OBS on the streaming PC to complete the dual PC streaming setup.
Step 3: Configuring OBS on the streaming PC
Now that you have configured OBS on your gaming PC, it’s time to set up OBS on your streaming PC to complete the dual PC streaming setup. Follow these steps to configure OBS on the streaming PC:
1. Install OBS:
If you haven’t already done so, download and install OBS on your streaming PC. Ensure that you have the latest version of OBS for optimal performance and compatibility.
2. Open OBS and configure video settings:
Launch OBS and navigate to the “Settings” tab. Under the “Video” settings, set the base and output resolutions to match your desired streaming resolution. Set the desired frame rate and ensure that the downscale filter is set to “Bilinear” for optimal performance.
3. Configure audio settings:
In the “Audio” settings, set the desired audio devices for recording and playback. Ensure that your microphone and any additional audio sources are properly configured and working as intended.
4. Add a new “Video Capture Device” source:
In the “Sources” panel, click on the “+” icon and select “Video Capture Device.” Name the source and choose your capture card device from the dropdown menu. Configure the settings based on your capture card’s specifications, such as resolution and frame rate.
5. Configure audio settings for the capture card:
In the “Audio Mixer” panel, locate the newly added video capture device and ensure that the audio is properly assigned. Adjust the audio levels to achieve the desired balance between the game audio and any other audio sources.
6. Configure the stream settings:
Under the “Stream” settings, select the desired streaming service and enter your streaming key or URL. Choose the appropriate server and set the desired bitrate for your stream. OBS provides an estimator tool to help determine the optimal bitrate based on your internet connection.
7. Test and adjust settings:
Before going live, test your stream settings and ensure everything is working as intended. Start a local recording or use the “Preview Stream” feature to review your stream’s audio, video, and layout. Make any necessary adjustments to achieve the desired results.
Once you have successfully configured OBS on your streaming PC, you’re now ready to test and optimize the audio setup for dual PC streaming. In the next section, we will cover the steps to set up audio for dual PC streaming.
Step 4: Setting up audio for dual PC streaming
Setting up audio for dual PC streaming is an essential step to ensure that both your gameplay audio and microphone are captured and properly broadcasted to your viewers. Follow these steps to configure audio for dual PC streaming:
1. Gaming PC audio setup:
On the gaming PC, set the audio output to the speakers or headphones connected to your gaming PC. This will ensure that you can hear the sound from your game while playing.
2. Streaming PC audio setup:
On the streaming PC, you have two options for capturing audio from the gaming PC: using a capture card or using an audio cable.
- Using a capture card: If your capture card supports audio capture, connect the audio output of your gaming PC to the audio input of the capture card on your streaming PC. This allows the capture card to capture the audio along with the video signal from the gaming PC.
- Using an audio cable: If your capture card does not support audio capture or if you prefer an alternative method, you can use a separate audio cable to transfer the audio from the gaming PC to the streaming PC. Connect the audio output of the gaming PC to the audio input of the streaming PC using an appropriate audio cable.
3. Synchronizing audio:
In OBS on your streaming PC, you may need to synchronize the audio from the gaming PC to match the gameplay video. To do this, play a reference sound on both the gaming PC and streaming PC (e.g., a short audio clip or a sound effect). Compare the audio waveforms in both OBS instances and make adjustments using the audio delay feature in OBS to ensure that the audio is in sync with the video.
4. Microphone setup:
Connect your microphone to the streaming PC and configure it in OBS to capture your voice. Ensure that the microphone audio levels are properly adjusted in OBS, and test the audio to ensure clarity and optimum levels.
5. Monitoring audio:
If you want to monitor the audio from both the gaming PC and the streaming PC, you can connect your headphones or speakers to the streaming PC and enable audio monitoring in OBS. This allows you to hear both the gameplay audio from the gaming PC and your microphone audio from the streaming PC.
By following these steps, you will have successfully set up the audio for your dual PC streaming configuration. In the next section, we will cover testing and troubleshooting, ensuring that everything is working as intended.
Step 5: Testing and troubleshooting
Once you have completed the setup of your dual PC streaming system, it’s crucial to thoroughly test and troubleshoot the setup to ensure that everything is functioning as intended. Follow these steps for testing and troubleshooting your dual PC streaming setup:
1. Test the stream:
Initiate a test stream to ensure that the video and audio are being captured and broadcasted correctly. Monitor the stream on a separate device to verify the quality and sync of the stream. Check for any issues such as audio/video desync, lag, or dropped frames.
2. Check audio levels:
During the test stream, pay attention to the audio levels of both the gameplay audio and your microphone. Adjust the audio levels in OBS to achieve a good balance between the two. Ensure that your microphone is clear and audible, and the gameplay audio is not overpowering or too low.
3. Monitor CPU and GPU usage:
Monitor the CPU and GPU usage on both the gaming PC and the streaming PC during the stream. Ensure that both systems are not under heavy load and running within acceptable limits. High CPU or GPU usage can lead to performance issues or dropped frames, impacting the quality of the stream.
4. Monitor network stability:
Check the stability of your network connection by monitoring the upload speed and latency. A stable and fast internet connection is crucial for uninterrupted streaming. If you encounter any network issues or dropped frames, consider troubleshooting your network connection or upgrading your internet plan.
5. Troubleshoot audio or video issues:
If you encounter any audio or video issues during the test stream, troubleshoot the specific problem. Check if all the cables are properly connected, ensure that the audio sources are selected correctly in OBS, and verify that the audio settings are configured properly on both PCs.
6. Optimize settings for performance:
If you notice any performance issues or suboptimal stream quality, consider adjusting the OBS settings. Experiment with different bitrate settings, downscale resolutions, and encoder settings to achieve the best balance between performance and stream quality.
7. Seek user feedback:
After testing and troubleshooting internally, consider sharing your stream link with a few trusted viewers or friends to gather feedback. Ask them to provide input on the audio and video quality, any syncing issues, or any other areas that may need improvement. This external feedback can help you fine-tune your dual PC streaming setup.
By thoroughly testing and troubleshooting your dual PC streaming setup, you can ensure that your streams are of high quality, providing an enjoyable experience for your viewers. With all the steps completed, you are now ready to start streaming with your dual PC setup!
Conclusion
Congratulations! You have successfully set up a dual PC streaming system without the need for a capture card. By using separate computers for gaming and streaming, you can enjoy smooth gameplay on your gaming PC while providing high-quality streams to your audience.
In this guide, we covered the basics of dual PC streaming, its pros and cons, and the system requirements for a successful setup. We then walked through the step-by-step process of connecting the two computers, configuring OBS on both the gaming PC and the streaming PC, setting up audio, and testing and troubleshooting the setup.
Dual PC streaming offers numerous benefits, including better performance, higher stream quality, and greater customization options. However, it may require additional hardware and setup compared to single PC streaming. It’s important to weigh the pros and cons based on your specific streaming goals and budget.
Remember, setting up a dual PC streaming system can be a complex process, and it may require some troubleshooting to ensure everything runs smoothly. However, with patience and persistence, you can achieve a professional-grade streaming setup that provides an optimal experience for both you and your viewers.
Now that you have all the tools and knowledge to embark on your dual PC streaming journey, it’s time to bring your gameplay to life and connect with your audience in a whole new way. Good luck, and happy streaming!