Introduction
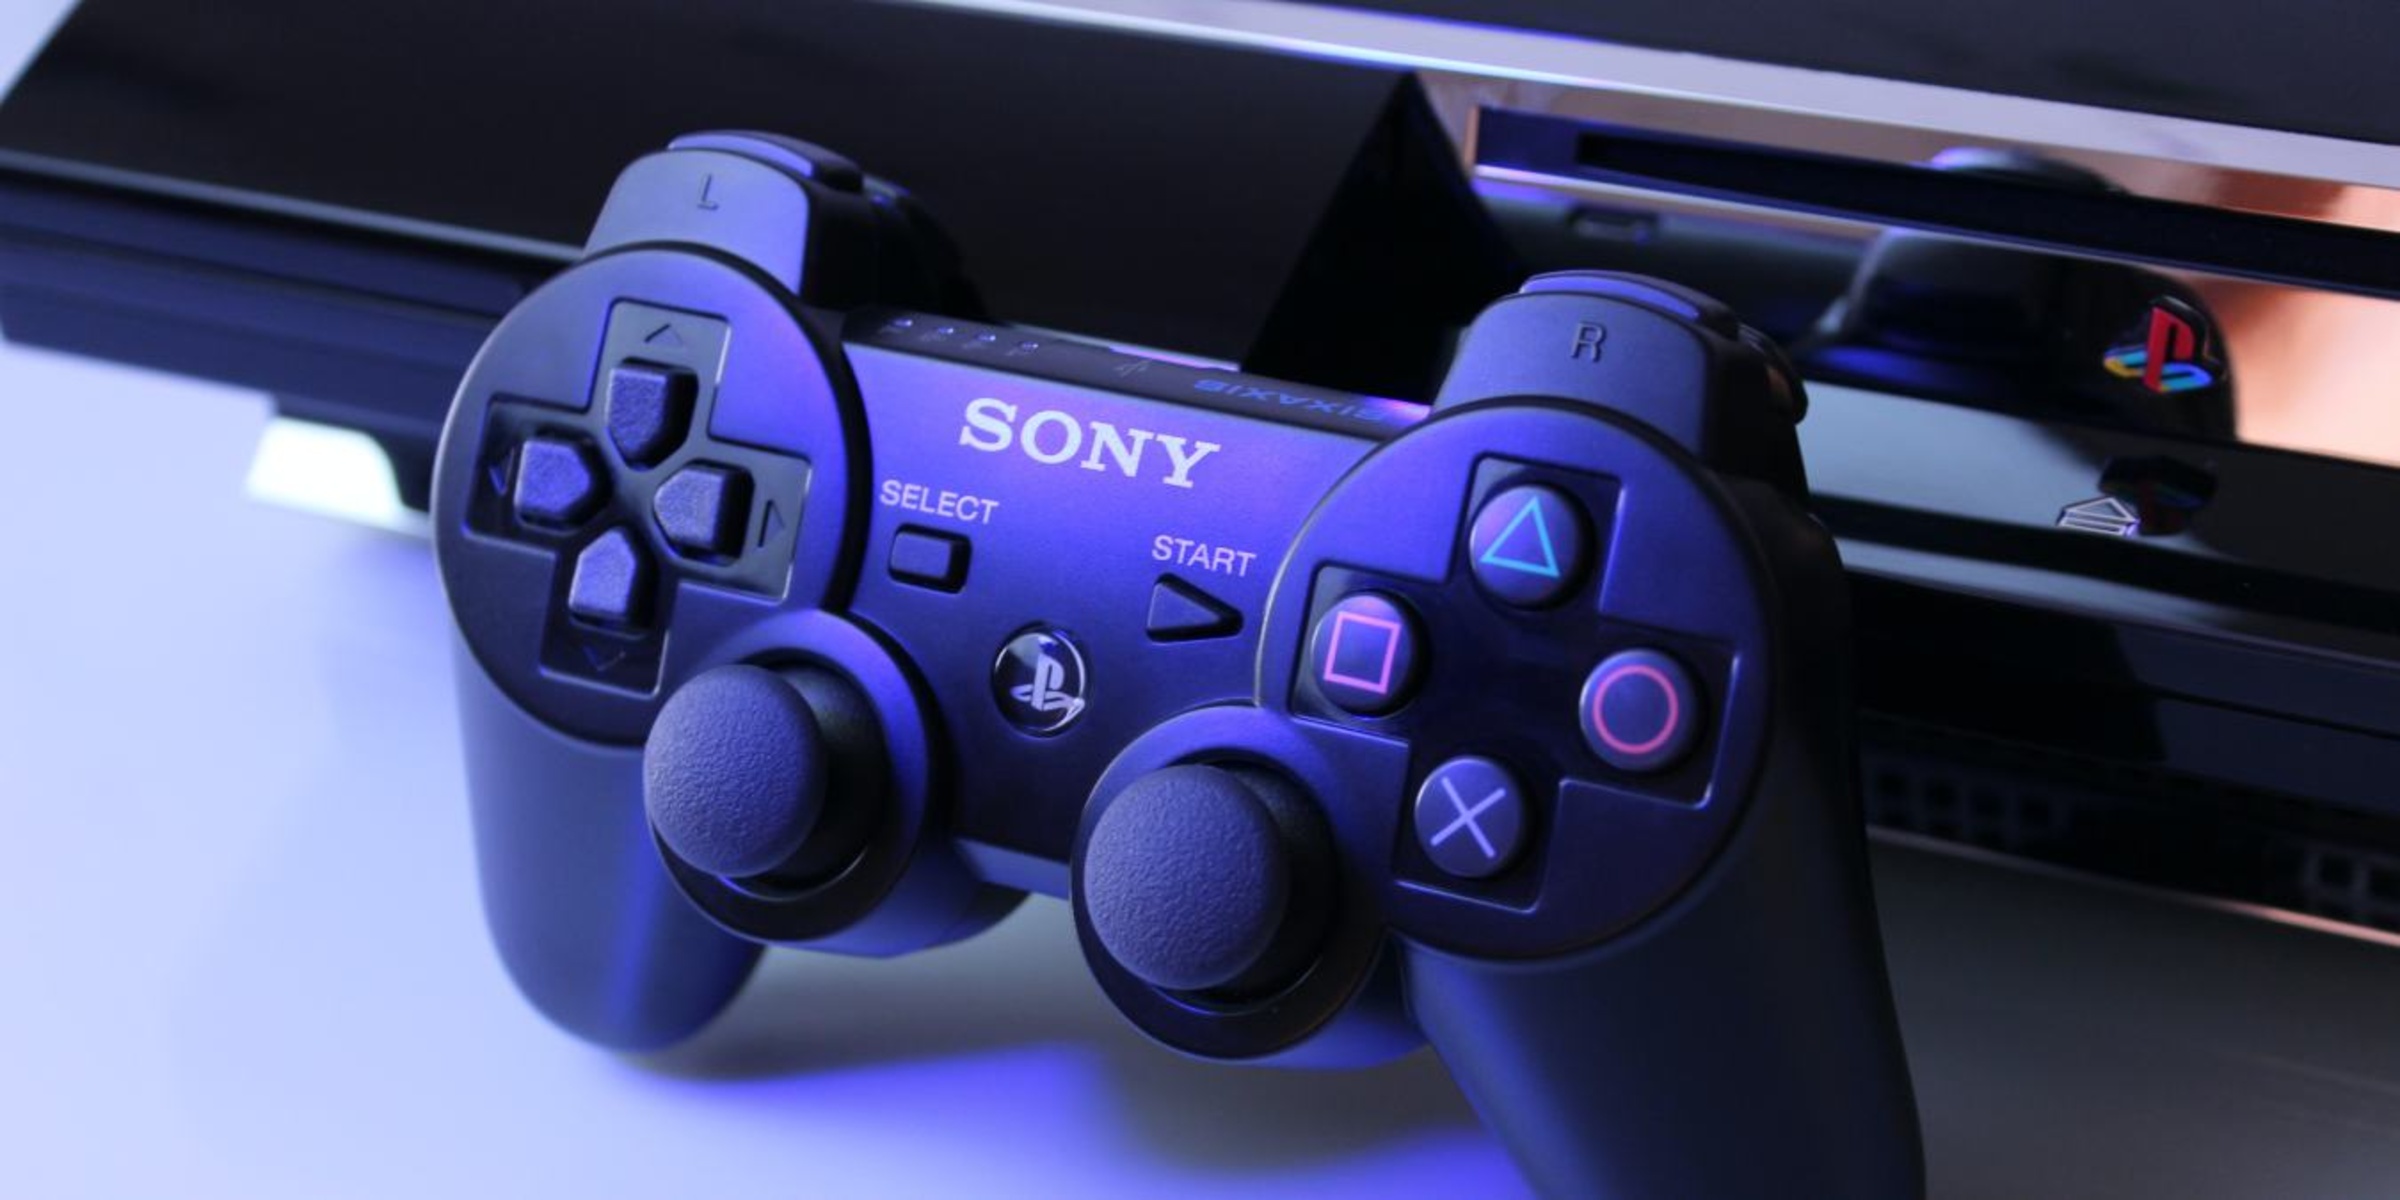
Are you a gamer looking to connect your PlayStation 3 (PS3) to your PC using an HDMI cable? Well, you’re in the right place. The HDMI (High Definition Multimedia Interface) port on your PC can serve as a bridge, allowing you to enjoy the graphics and audio capabilities of your PS3 on a larger screen.
Connecting your PS3 to your PC via HDMI has several advantages. It not only allows you to play your favorite games on a bigger monitor but also enables you to take advantage of your PC’s superior audio system, enhancing your overall gaming experience. Additionally, connecting your PS3 to your PC gives you the flexibility to use your PC’s keyboard and mouse when playing certain games, making controls smoother and more precise.
In this article, we will guide you through the step-by-step process of connecting your PS3 to your PC with an HDMI cable. We will cover everything from checking for an HDMI port on your PC to adjusting the display settings on your PC for optimal gaming. So, without further ado, let’s dive into the world of seamless PS3 and PC integration!
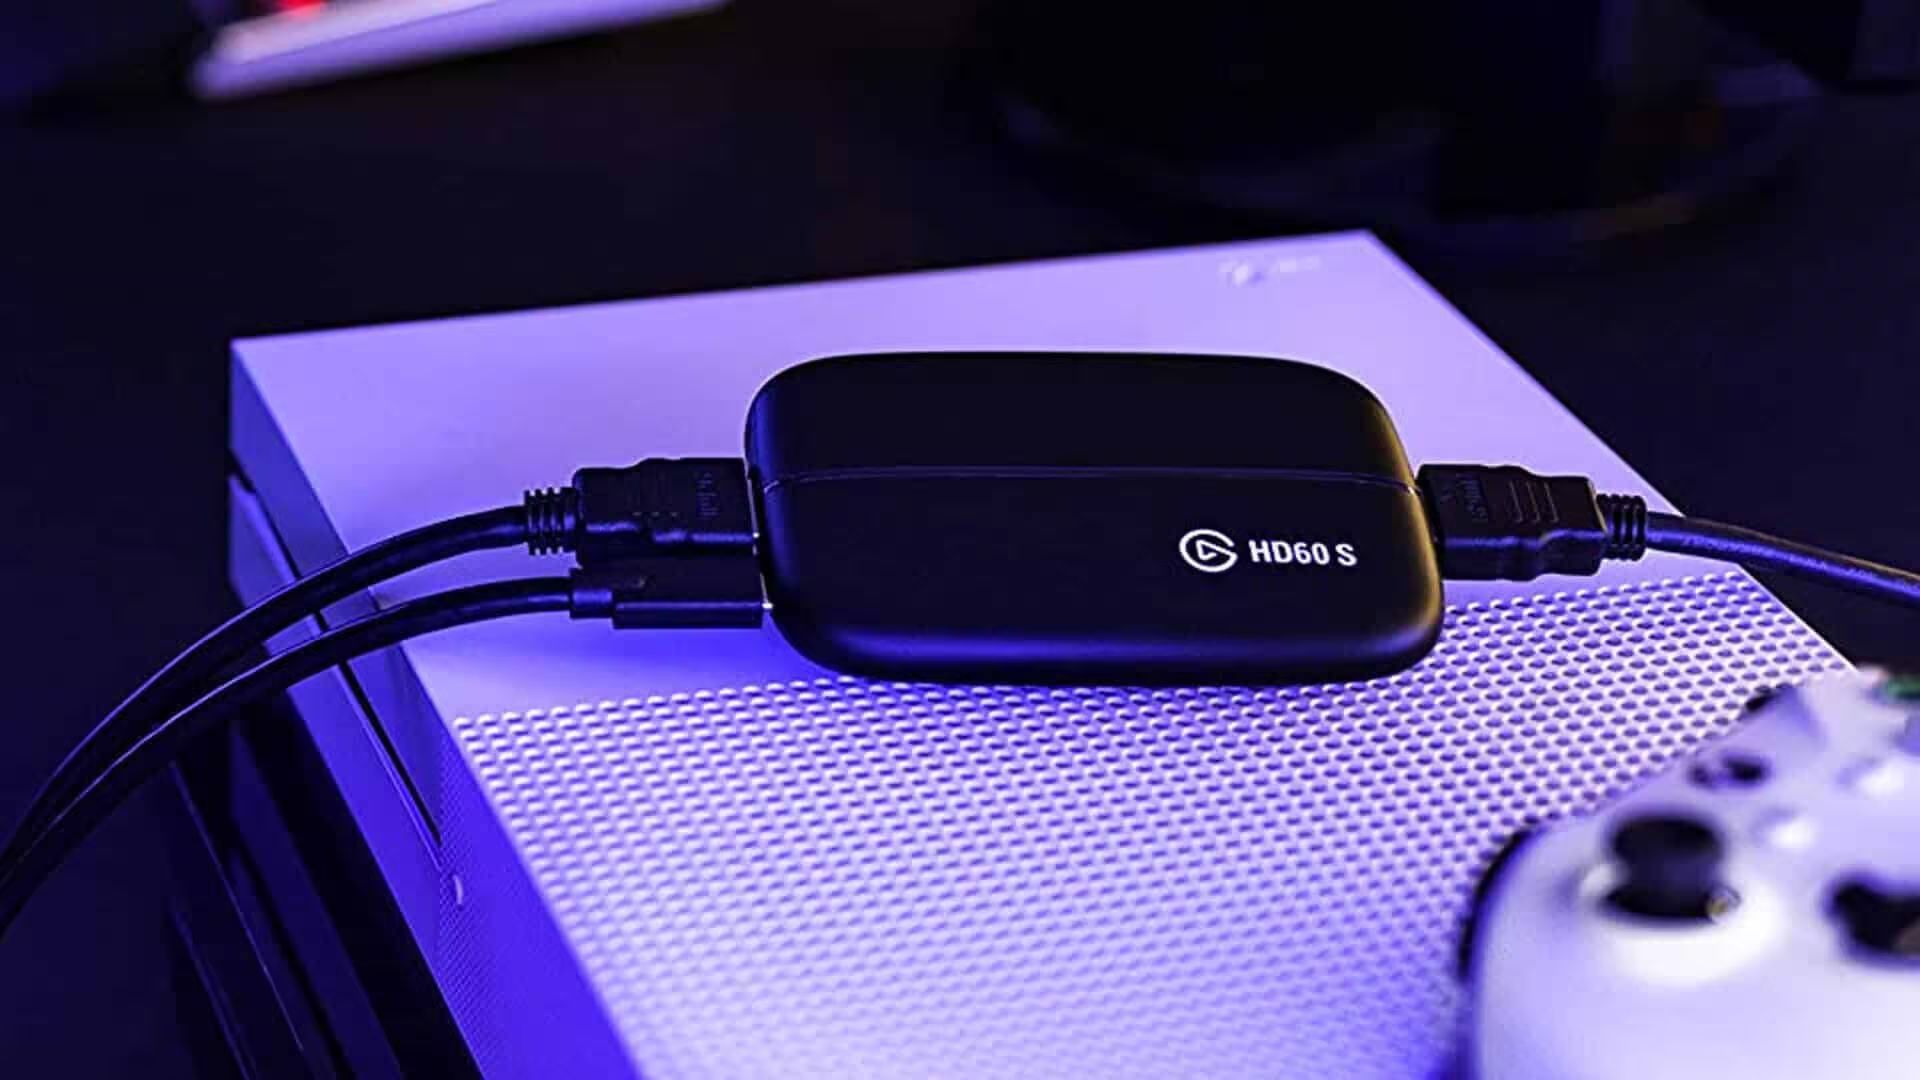
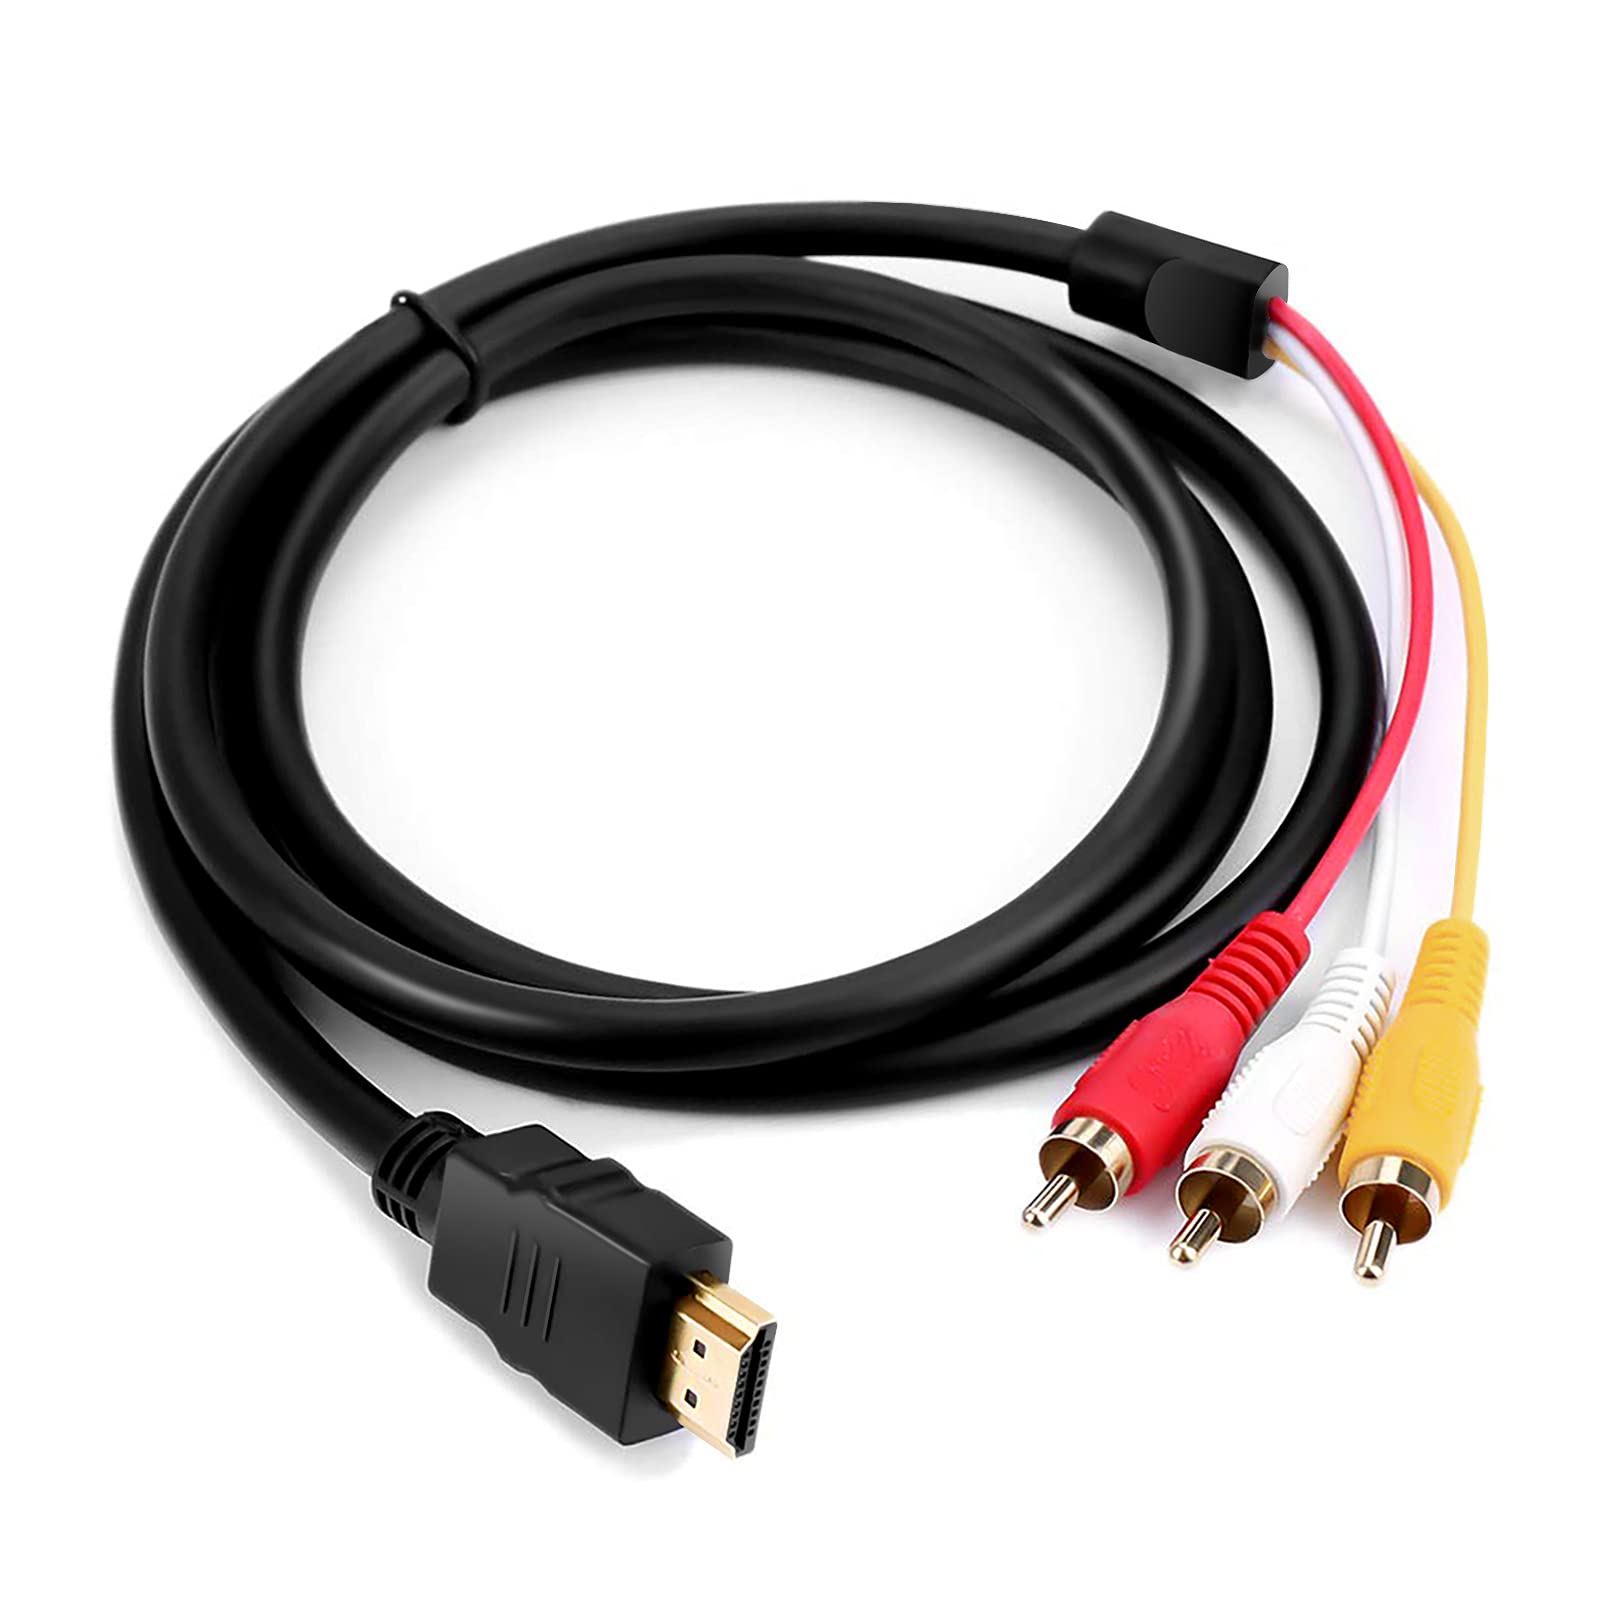
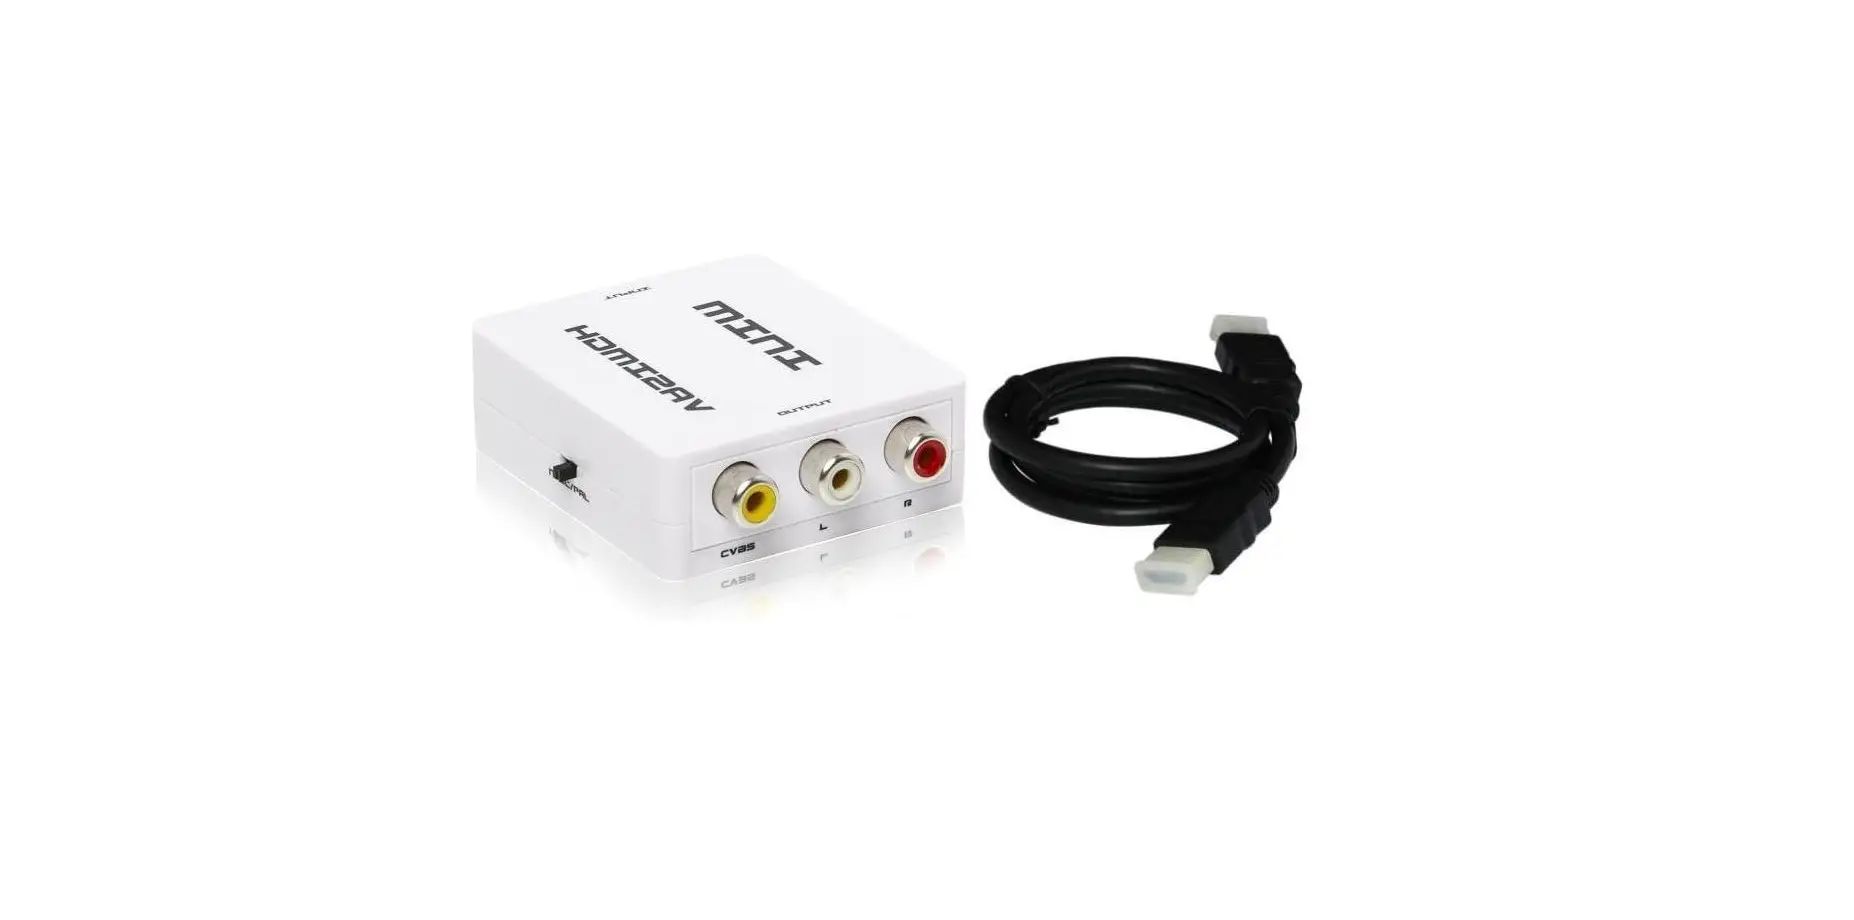
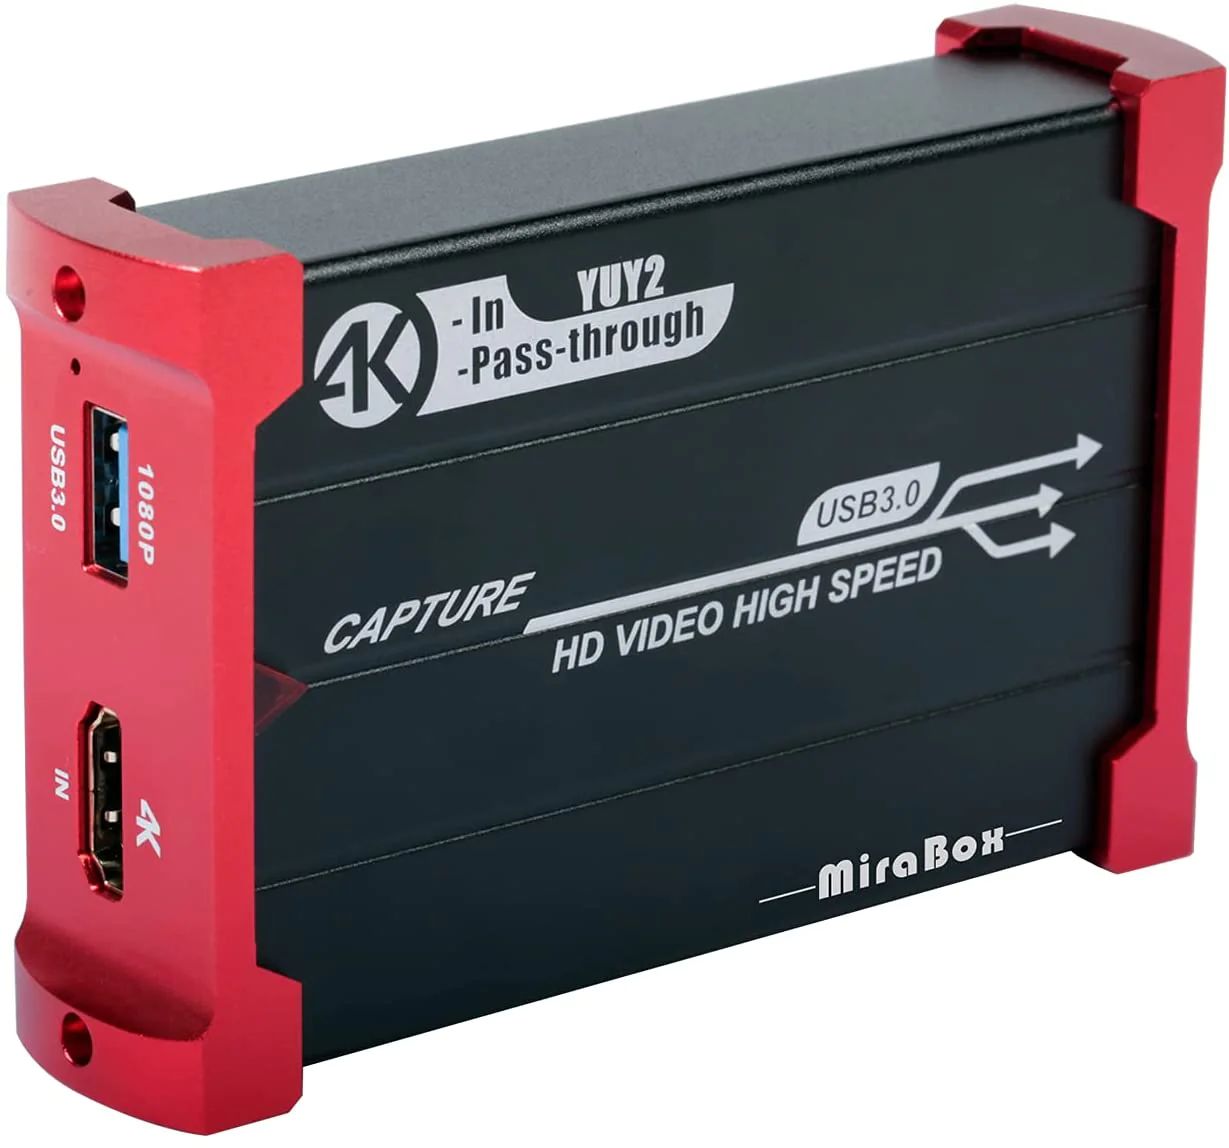
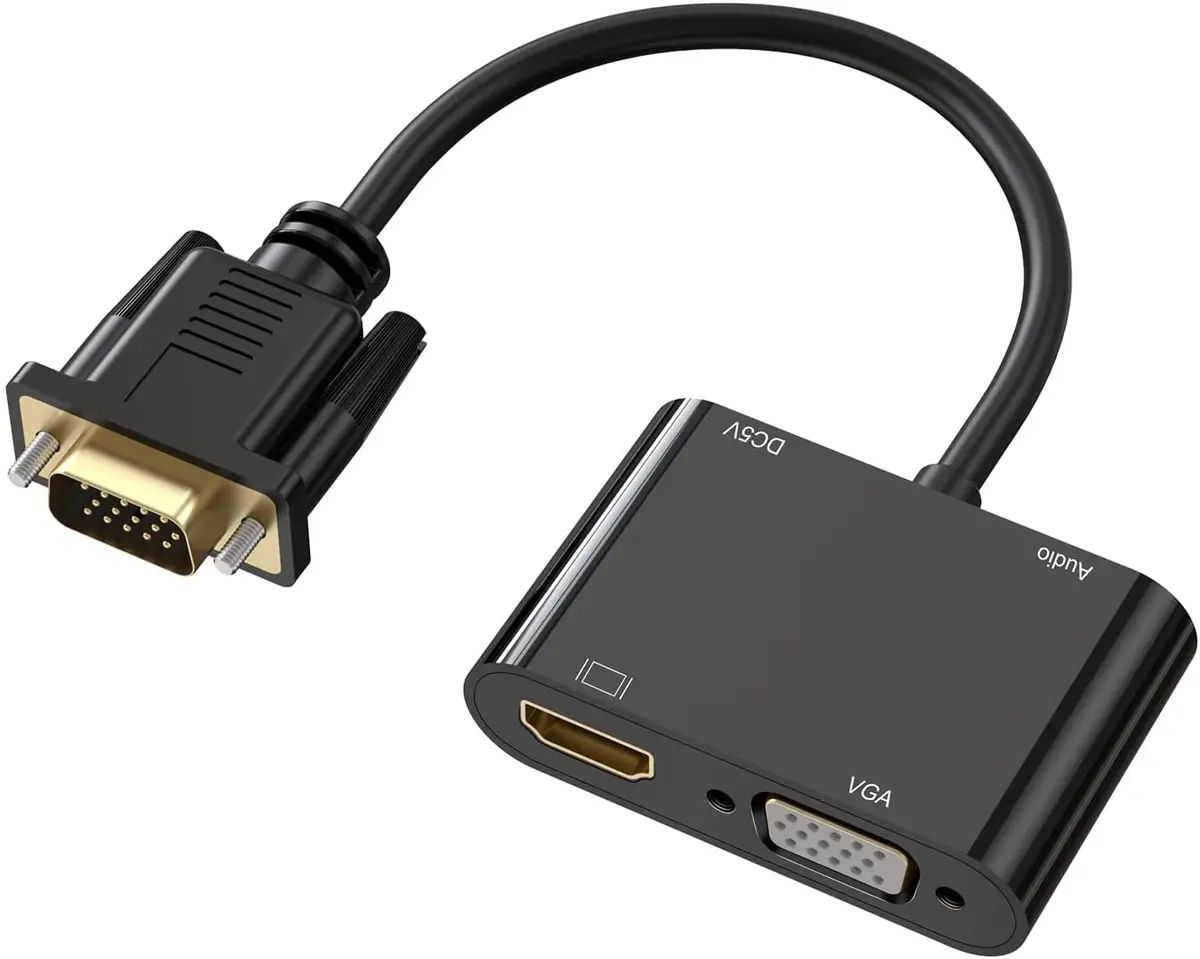
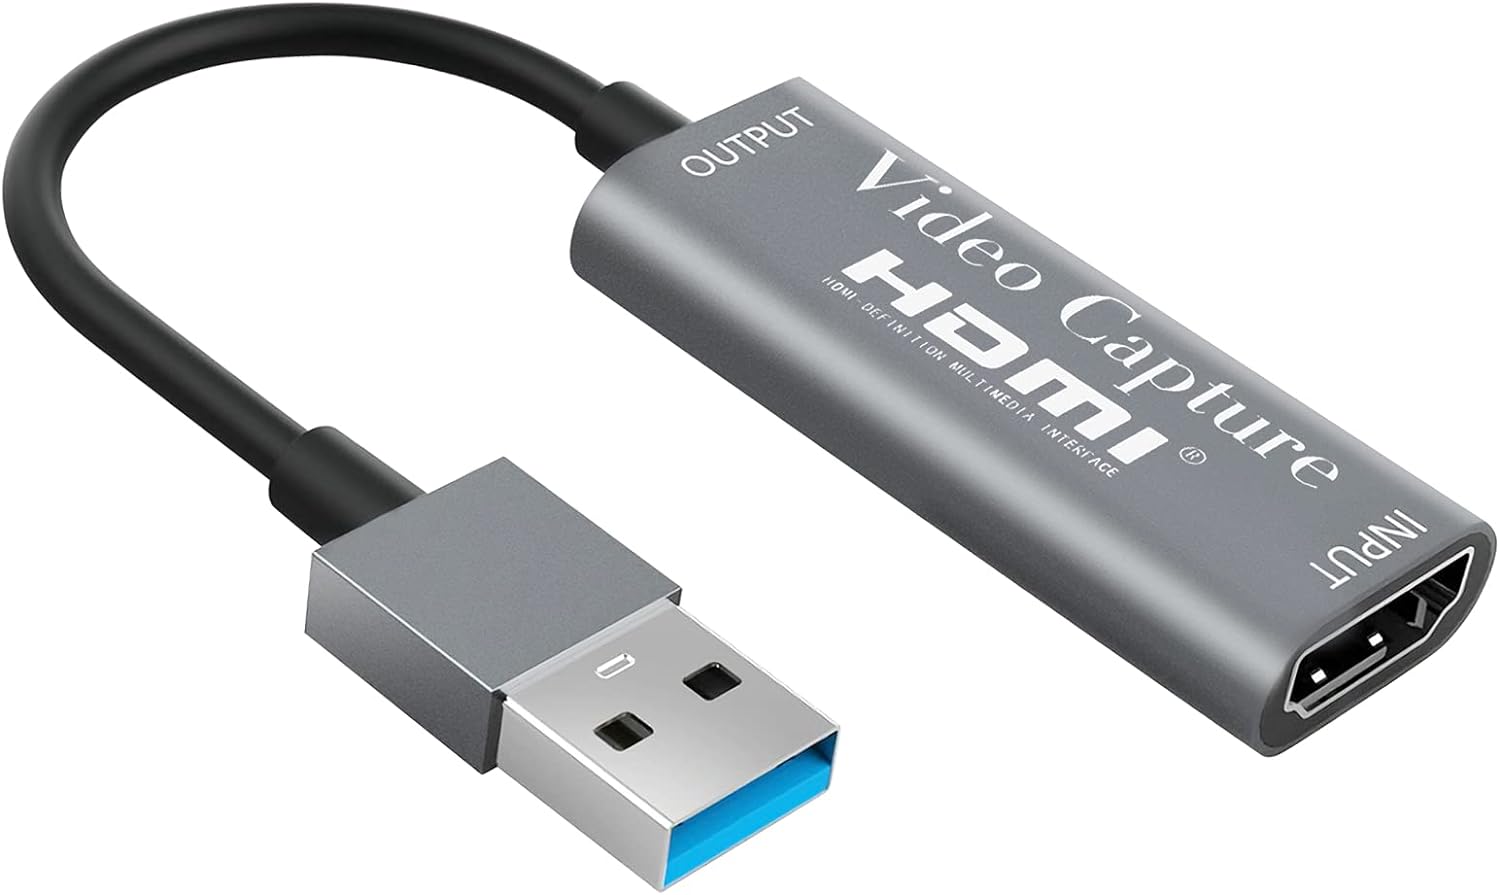
Before we begin, it’s crucial to mention that the methods presented here are for connecting your PS3 to a PC with an HDMI port. If your PC doesn’t have an HDMI port, you will need to explore alternative connection options, such as using a capture card or a VGA to HDMI converter.
Now that we’ve covered the basics, let’s move on to the first step: checking for an HDMI port on your PC.
Step 1: Check for HDMI port on your PC
The first step in connecting your PS3 to your PC is to ensure that your PC has an HDMI port. Most modern desktop computers and laptops are equipped with an HDMI port, but it’s always a good idea to double-check.
To check if your PC has an HDMI port, look for a thin, rectangular slot on the side or back of your computer. It is usually labeled “HDMI” and may have a small icon of a screen and an arrow. If you are using a laptop, the HDMI port is often located on the side or back of the device.
If you’re unable to locate an HDMI port on your PC, it is likely that your device doesn’t have one. In that case, you may need to consider alternative methods of connecting your PS3 to your PC, as mentioned earlier.
However, if you’ve successfully identified the HDMI port on your PC, you’re ready to move on to the next step: connecting the HDMI cable to your PC.
It’s worth noting that some older PCs may have a DVI port instead of an HDMI port. If this is the case for you, don’t worry! You can use a DVI to HDMI adapter to make the connection between your PS3 and PC.
Now that you know how to check for an HDMI port on your PC, let’s move on to the next step: connecting the HDMI cable to your PC.
Step 2: Connect the HDMI cable to your PC
Once you have identified the HDMI port on your PC, it’s time to connect the HDMI cable. The HDMI cable is the key component that will establish the connection between your PS3 and your PC.
Here’s how to connect the HDMI cable to your PC:
- Make sure your PC and PS3 are turned off.
- Locate the HDMI cable and plug one end of the cable into the HDMI port on your PC. Ensure that the cable is securely inserted.
- Take the other end of the HDMI cable and plug it into the HDMI output port on your PS3. This port is typically located on the back of the console.
- Once both ends of the HDMI cable are connected, you can proceed to the next step.
Note: If you’re using a DVI to HDMI adapter, plug the HDMI cable into the adapter, and then connect the adapter to the DVI port on your PC.
Now that the HDMI cable is securely connected to both your PC and PS3, you’re ready to move on to the next step: configuring the PS3 settings.
Step 3: Configure the PS3 settings
In order to establish a successful connection between your PS3 and PC, you need to configure the settings on your PS3. This step is crucial to ensure that the audio and video signals are transmitted correctly through the HDMI cable.
Follow these steps to configure the PS3 settings:
- Turn on your PS3 by pressing the power button on the console.
- On the PS3 home screen, navigate to the “Settings” menu.
- Within the settings menu, locate and select the “Display Settings” option.
- In the display settings, choose the “Video Output Settings” option.
- Select “HDMI” as the video output connection.
- Depending on your specific requirements, you may need to adjust additional settings, such as display resolution and color settings. Follow the on-screen instructions to make the necessary adjustments.
- Once you have configured the settings, save the changes and exit the settings menu.
By configuring the PS3 settings, you ensure that the console recognizes and utilizes the HDMI connection to transmit audio and video signals. With the settings configured, you are now ready to move on to the next step: connecting your PS3 to your PC using the HDMI cable.
Step 4: Connect PS3 to PC using HDMI
With both your PS3 and PC prepared, it’s time to connect them using the HDMI cable. This step finalizes the physical connection between the two devices and paves the way for seamless gameplay on your PC’s larger screen.
Follow these steps to connect your PS3 to your PC using the HDMI cable:
- Turn on your PC and make sure it is set to the correct HDMI input. If you have multiple HDMI ports on your PC, ensure that you have selected the appropriate one.
- Turn on your PS3 by pressing the power button on the console.
- Once your PS3 is powered on, it should automatically detect the connected HDMI cable and establish a connection with your PC.
That’s it! Your PS3 is now connected to your PC using the HDMI cable. The video and audio signals from your PS3 will be transmitted to your PC’s display, providing an immersive gaming experience on a larger screen.
Now that the physical connection is established, there are a few more steps to optimize the display settings on your PC for a smooth and enjoyable gaming session. Let’s move on to the next step: adjusting the display settings on your PC.
Step 5: Adjust display settings on PC
Now that your PS3 is connected to your PC using the HDMI cable, it’s time to optimize the display settings on your PC. By adjusting these settings, you can ensure the best possible visual experience while playing games or watching videos on your PS3.
Here are the steps to adjust the display settings on your PC:
- On your PC, right-click anywhere on the desktop and select “Display settings” from the context menu.
- In the display settings window, you will see various options and settings related to the display. Look for the setting that allows you to adjust the screen resolution.
- Select the desired screen resolution for your PC’s display. It’s recommended to choose a resolution that matches your monitor’s native resolution for optimal clarity and sharpness.
- Once you have selected the resolution, click “Apply” to save the changes.
- Next, navigate to the “Sound settings” on your PC to configure the audio output. Ensure that the HDMI output is selected as the default audio device so that the sound from your PS3 is played through your PC’s speakers or headphones.
- Make any additional adjustments to the display settings, such as brightness, contrast, or color calibration, to suit your preferences.
- Once you have made all the desired changes, close the settings window and you’re ready to enjoy your PS3 games on the larger screen of your PC.
By adjusting the display settings on your PC, you can enhance the visual quality and optimize the gaming experience with your connected PS3. Feel free to experiment with different settings to find the perfect balance that suits your preferences.
Step 6: Test the connection and enjoy!
Now that you have completed all the necessary steps to connect your PS3 to your PC using the HDMI cable, it’s time to test the connection and start enjoying your favorite games on the big screen!
Here’s what you need to do to test the connection:
- Make sure both your PS3 and PC are powered on.
- On your PC, select the HDMI input that corresponds to the port you connected your PS3 to.
- On your PS3, navigate to the game or application you want to play.
- Once in the game or application, pay attention to the audio and video output on your PC’s screen and speakers or headphones.
- If you see and hear the game or application running smoothly, it means your PS3 is successfully connected to your PC via HDMI.
Now, you can settle into your gaming session and enjoy the immersive experience of playing your favorite PS3 games on a larger screen with enhanced audio quality.
If you encounter any issues during the testing process, double-check all the connections, ensure that the display and audio settings on your PC are configured correctly, and consider referring to the user manual of your PS3 or seeking online help for troubleshooting tips.
Once you have confirmed the successful connection and everything is working as expected, get ready to embark on countless gaming adventures, all from the comfort of your PC setup!