Introduction
Setting up the Afterglow wireless headset on your PS3 can significantly enhance your gaming experience, providing immersive sound quality and the freedom to move without being tethered by cables. The Afterglow wireless headset offers convenience and comfort, allowing you to fully immerse yourself in the gaming world.
In this guide, you will learn how to seamlessly connect the Afterglow wireless headset to your PS3 and optimize the audio settings for an optimal gaming experience. Whether you are a seasoned gamer or new to the world of wireless gaming headsets, this step-by-step tutorial will ensure that you can enjoy the full potential of your Afterglow headset with ease.
Let's dive into the process of powering on the Afterglow wireless headset and establishing a seamless connection with your PS3. By following the simple instructions provided in this guide, you will be well on your way to experiencing the enhanced audio quality and freedom of movement that the Afterglow wireless headset has to offer. Let's get started!
Step 1: Powering on the Afterglow Wireless Headset
To begin the process of setting up your Afterglow wireless headset on the PS3, the first step is to power on the headset. The Afterglow wireless headset is designed to provide a seamless and hassle-free user experience, and powering it on is a straightforward process.
-
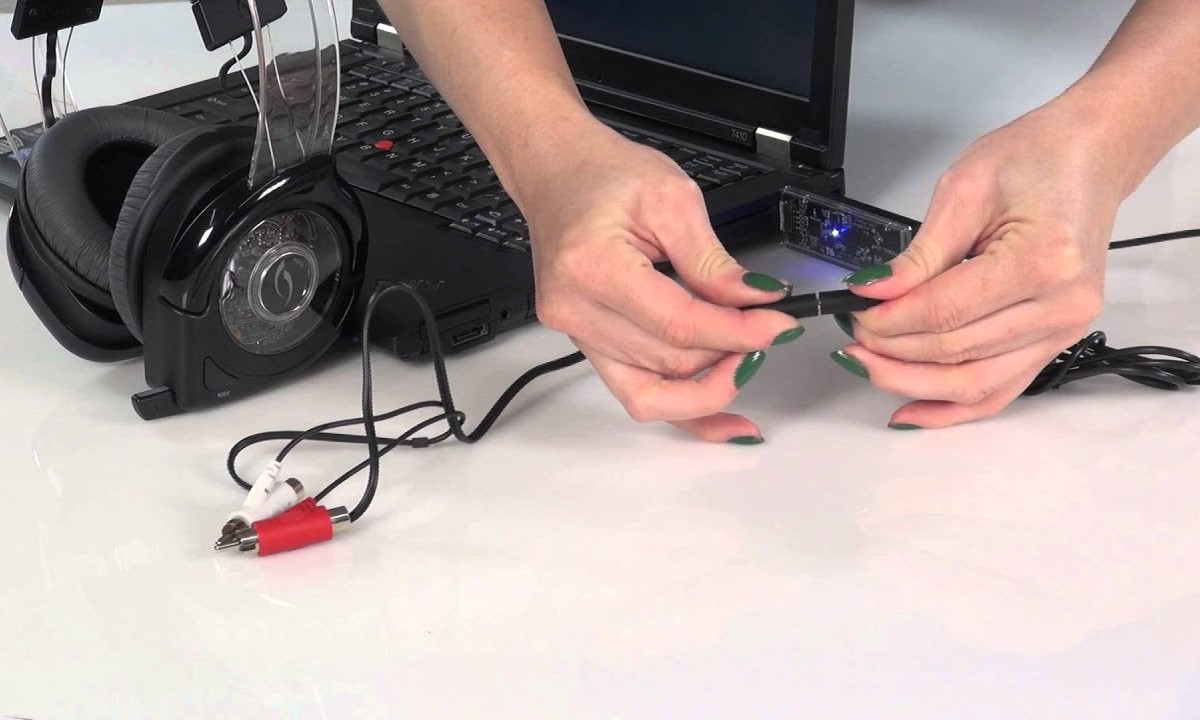
Charging the Headset: Before powering on the Afterglow wireless headset, ensure that it has been adequately charged. Using the provided USB cable, connect the headset to a power source, such as a USB port on your gaming console or a wall adapter. Allow the headset to charge for the recommended duration to ensure optimal battery performance.
-
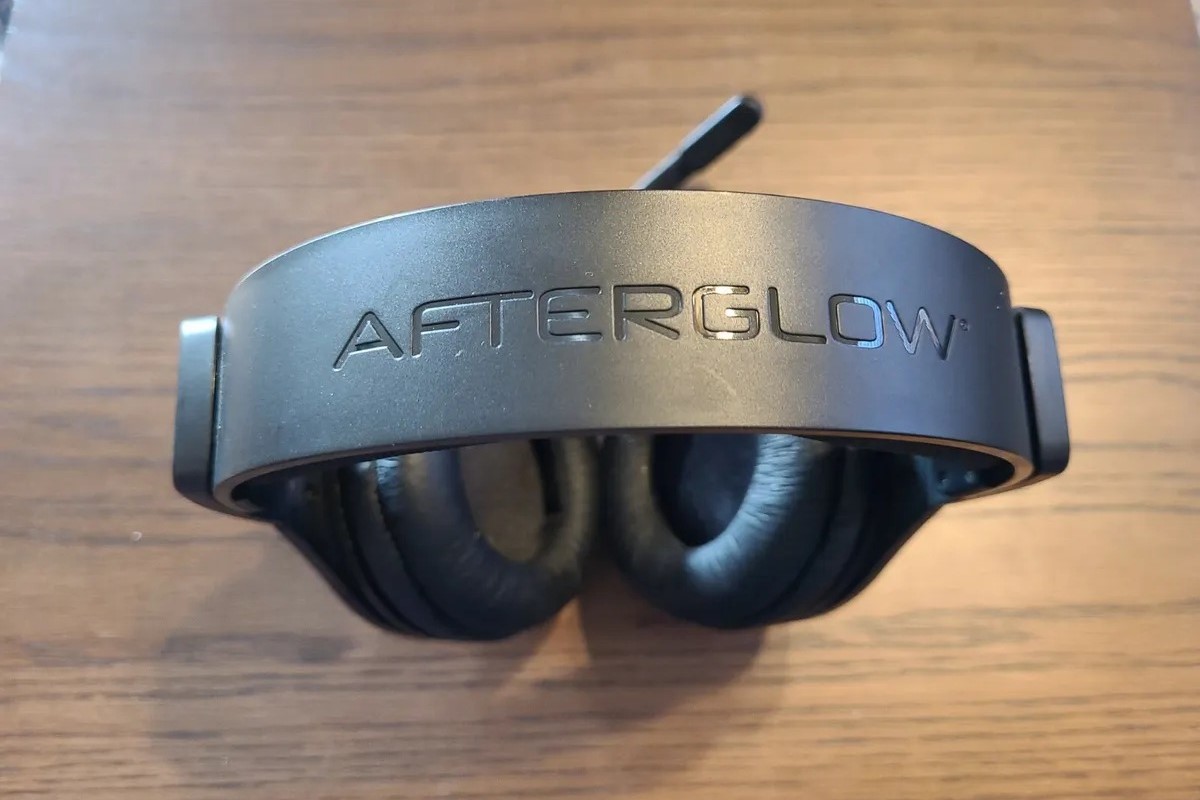
Locating the Power Button: Once the headset is fully charged, locate the power button on the headset. The power button is typically positioned on one of the ear cups and is easily identifiable by the power symbol.
-
Powering On the Headset: Press and hold the power button for a few seconds until you see the indicator lights illuminate or flash, indicating that the headset is powering on. Depending on the specific model of the Afterglow wireless headset, the indicator lights may emit a distinct color, adding a visually appealing element to the powering-on process.
-
Verifying Power Status: After powering on the headset, verify that it has successfully activated by listening for any power-on tones or prompts. Some Afterglow wireless headset models may emit an audible cue upon powering on, signaling that the headset is ready to establish a wireless connection.
By following these simple steps, you can power on your Afterglow wireless headset with ease, setting the stage for the subsequent process of connecting it to your PS3. The seamless powering-on process reflects the user-friendly design of the Afterglow wireless headset, ensuring that you can swiftly move on to establishing a wireless connection with your gaming console.
Step 2: Connecting the Afterglow Wireless Headset to the PS3
Once the Afterglow wireless headset is powered on and ready for use, the next crucial step is to establish a seamless connection between the headset and your PS3 gaming console. This process is essential for enabling the wireless transmission of audio from the PS3 to the Afterglow headset, allowing you to fully immerse yourself in the gaming experience without being tethered by cables.
To connect the Afterglow wireless headset to your PS3, follow these simple steps:
-
Accessing the PS3 Settings: Begin by turning on your PS3 gaming console and navigating to the main menu. From the main menu, locate and select the "Settings" option to access the system settings of the PS3.
-
Selecting Accessory Settings: Within the system settings menu, scroll through the options and select "Accessory Settings." This section contains the necessary settings for connecting and configuring external accessories, including wireless headsets such as the Afterglow.
-
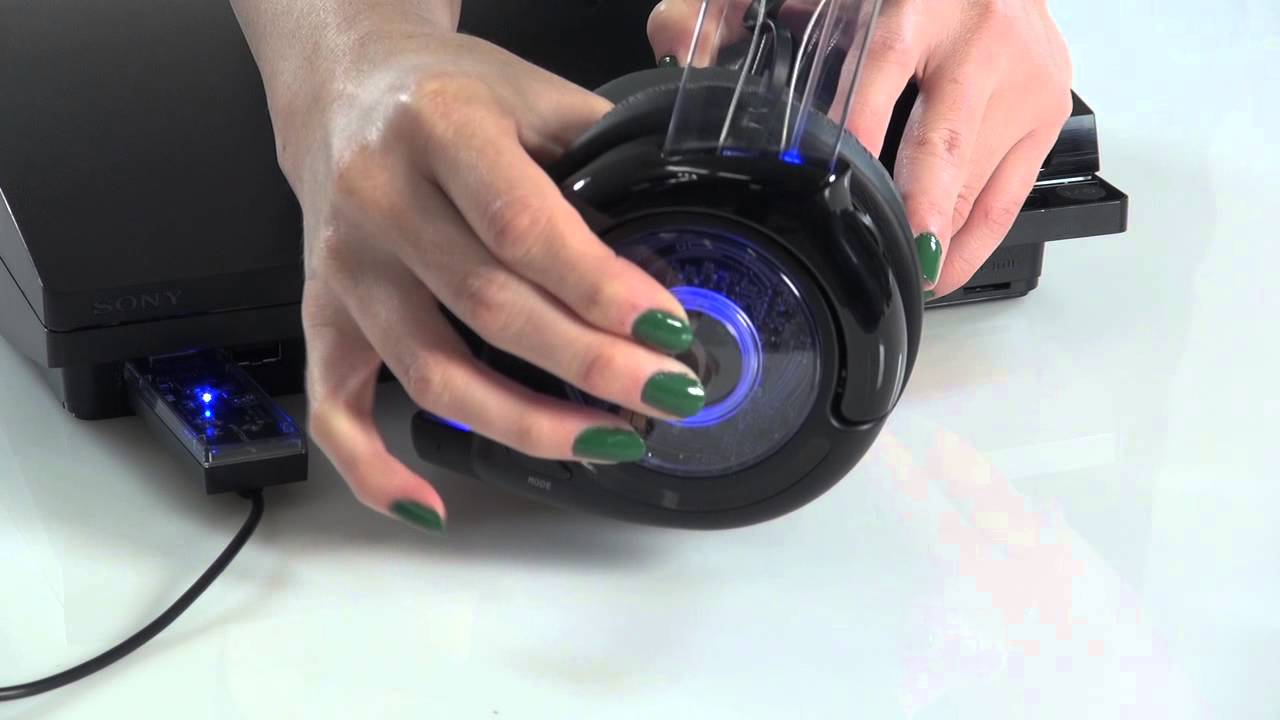
Bluetooth Device Settings: Once you have accessed the "Accessory Settings," locate and select the "Bluetooth Device Settings" option. This will prompt the PS3 to scan for available Bluetooth devices, including the Afterglow wireless headset.
-
Putting the Afterglow Headset in Pairing Mode: To enable the PS3 to detect the Afterglow headset, ensure that the headset is in pairing mode. Depending on the specific model of the Afterglow headset, this may involve pressing and holding a designated button or following a specific sequence of button presses to activate pairing mode.
-
Pairing the Afterglow Headset: As the PS3 scans for Bluetooth devices, it should detect the Afterglow wireless headset in pairing mode. Once the Afterglow headset is displayed as an available device on the PS3 screen, select it to initiate the pairing process.
-
Completing the Pairing Process: Follow the on-screen prompts to complete the pairing process between the PS3 and the Afterglow wireless headset. This may involve entering a passcode or confirming the connection on both the PS3 and the headset to establish a secure and stable wireless link.
-
Verifying the Connection: After successfully pairing the Afterglow headset with the PS3, verify the connection status to ensure that the audio from the PS3 is being transmitted to the headset wirelessly. This can be confirmed by playing a sample audio or navigating the PS3 menu to observe the audio output through the Afterglow headset.
By following these straightforward steps, you can effortlessly connect the Afterglow wireless headset to your PS3, paving the way for an immersive and wire-free gaming experience. The seamless integration of the Afterglow headset with the PS3 underscores the user-friendly nature of the wireless gaming setup, allowing you to focus on enjoying your favorite games with enhanced audio quality and freedom of movement.
Step 3: Adjusting Audio Settings on the PS3
Once the Afterglow wireless headset is successfully connected to your PS3, it's essential to ensure that the audio settings are optimized to deliver an immersive and high-quality sound experience. By adjusting the audio settings on the PS3, you can fine-tune the audio output to complement the capabilities of the Afterglow headset, maximizing your gaming enjoyment.
To adjust the audio settings on the PS3 for seamless integration with the Afterglow wireless headset, follow these steps:
-
Accessing Sound Settings: Navigate to the PS3's main menu and select the "Settings" option. Within the settings menu, locate and select "Sound Settings" to access the audio configuration options.
-
Audio Output Settings: Within the "Sound Settings" menu, select "Audio Output Settings" to configure the audio output parameters. Choose the option that corresponds to the Afterglow wireless headset to direct the audio output to the headset.
-
Adjusting Audio Format: The PS3 offers various audio format options, including stereo and surround sound settings. Depending on your preference and the capabilities of the Afterglow headset, select the appropriate audio format to optimize the sound output for your gaming experience.
-
Setting Audio Levels: Fine-tune the audio levels to achieve the desired balance between game sound effects, dialogue, and background music. Adjust the volume levels to ensure that the audio output through the Afterglow headset is well-balanced and tailored to your preferences.
-
Testing Audio Output: After adjusting the audio settings, it's crucial to test the audio output to verify that the Afterglow wireless headset is delivering the intended sound experience. Play a sample audio or navigate through a game to assess the audio quality and ensure that the settings are optimized for an immersive gaming experience.
By meticulously adjusting the audio settings on the PS3 to align with the capabilities of the Afterglow wireless headset, you can elevate your gaming experience to new heights. The seamless integration of the Afterglow headset with the PS3's audio settings ensures that you can fully immerse yourself in the captivating audio landscapes of your favorite games, enhancing the overall enjoyment and engagement.
The process of adjusting the audio settings on the PS3 is a pivotal step in optimizing the synergy between the gaming console and the Afterglow wireless headset, culminating in a seamless and immersive audio experience. With the audio settings finely tuned to complement the capabilities of the Afterglow headset, you can delve into your gaming adventures with enhanced audio clarity, depth, and richness, bringing the virtual worlds to life in a captivating manner.
Step 4: Testing the Afterglow Wireless Connection
After completing the process of setting up the Afterglow wireless headset on your PS3, it is crucial to conduct a comprehensive test to ensure that the wireless connection is stable, the audio quality is optimal, and the overall gaming experience is seamless. Testing the Afterglow wireless connection serves as the final validation of the setup process, allowing you to verify that the headset is functioning as intended and delivering the desired audio performance.
To test the Afterglow wireless connection, follow these steps:
-
Audio Playback: Begin by playing a game or navigating through the PS3 menu to initiate audio playback through the Afterglow wireless headset. Pay close attention to the clarity, richness, and spatial positioning of the audio to assess the headset's ability to deliver immersive soundscapes.
-
Wireless Range: Test the wireless range of the Afterglow headset by moving around the gaming area while maintaining audio connectivity. Assess the signal strength and stability of the wireless connection to ensure that you can enjoy uninterrupted audio transmission regardless of your position within the wireless range.
-
Microphone Functionality: If your Afterglow wireless headset is equipped with a microphone, test its functionality by engaging in voice communication, such as in-game chat or voice commands. Verify that the microphone effectively captures and transmits your voice without distortion or interference.
-
Sound Isolation: Evaluate the sound isolation capabilities of the Afterglow wireless headset by immersing yourself in a gaming environment with ambient noise. Assess the headset's ability to block out external distractions and focus on delivering clear, undisturbed audio.
-
Comfort and Fit: During the testing phase, pay attention to the comfort and fit of the Afterglow wireless headset, especially during extended gaming sessions. Assess the ergonomics and adjustability of the headset to ensure a comfortable and secure fit without causing discomfort or fatigue.
-
Audio Customization: Explore any audio customization features offered by the Afterglow wireless headset, such as equalization settings or audio presets. Experiment with these features to tailor the audio output to your preferences and gaming requirements.
By thoroughly testing the Afterglow wireless connection, you can gain confidence in the seamless integration of the headset with your PS3, ensuring that it enhances your gaming experience in a multitude of ways. The testing phase serves as the final checkpoint, validating the successful setup of the Afterglow wireless headset and affirming its ability to deliver immersive audio and a wireless gaming experience that aligns with your expectations.
The comprehensive testing process not only validates the functionality of the Afterglow wireless headset but also provides insights into its performance characteristics, allowing you to leverage its features to their full potential. With the wireless connection tested and verified, you can embark on your gaming adventures with the assurance of a reliable and immersive audio companion in the form of the Afterglow wireless headset.
Conclusion
In conclusion, the process of setting up the Afterglow wireless headset on your PS3 encompasses a seamless journey towards enhancing your gaming experience. From the initial step of powering on the headset to the final phase of testing the wireless connection, each stage contributes to the creation of a wire-free and immersive audio environment that complements your gaming adventures.
By meticulously following the step-by-step instructions outlined in this guide, you have successfully navigated through the setup process, ensuring that the Afterglow wireless headset seamlessly integrates with your PS3 gaming console. The user-friendly design of the Afterglow headset, coupled with the intuitive pairing process and audio optimization, underscores its ability to elevate your gaming experience to new heights.
With the Afterglow wireless headset in place, you are poised to embark on gaming journeys enriched by immersive soundscapes, seamless wireless connectivity, and the freedom to move without constraints. The headset's audio quality, wireless range, and microphone functionality have been validated through the testing phase, affirming its capability to deliver a captivating and uninterrupted audio experience.
As you delve into the captivating worlds of your favorite games, the Afterglow wireless headset stands as a reliable companion, enriching your gaming sessions with its ability to deliver crystal-clear audio, customizable sound profiles, and a comfortable, ergonomic design that facilitates extended gaming sessions.
The successful setup of the Afterglow wireless headset on your PS3 not only represents a technological achievement but also symbolizes the seamless fusion of innovation and convenience in the realm of gaming accessories. The wireless connection between the Afterglow headset and the PS3 transcends traditional audio setups, offering a liberating and immersive audio experience that aligns with the evolving demands of modern gaming.
In essence, the Afterglow wireless headset serves as a testament to the convergence of advanced audio technology and user-centric design, empowering you to immerse yourself in gaming worlds with unparalleled audio clarity and freedom of movement. With the Afterglow wireless headset as your audio companion, your gaming experiences are poised to reach new heights, fueled by the seamless integration of wireless audio technology and the captivating allure of immersive soundscapes.
As you embark on your gaming adventures with the Afterglow wireless headset, the culmination of the setup process marks the beginning of a new chapter in your gaming journey—one defined by the seamless fusion of audio excellence, wireless freedom, and uncompromising immersion.