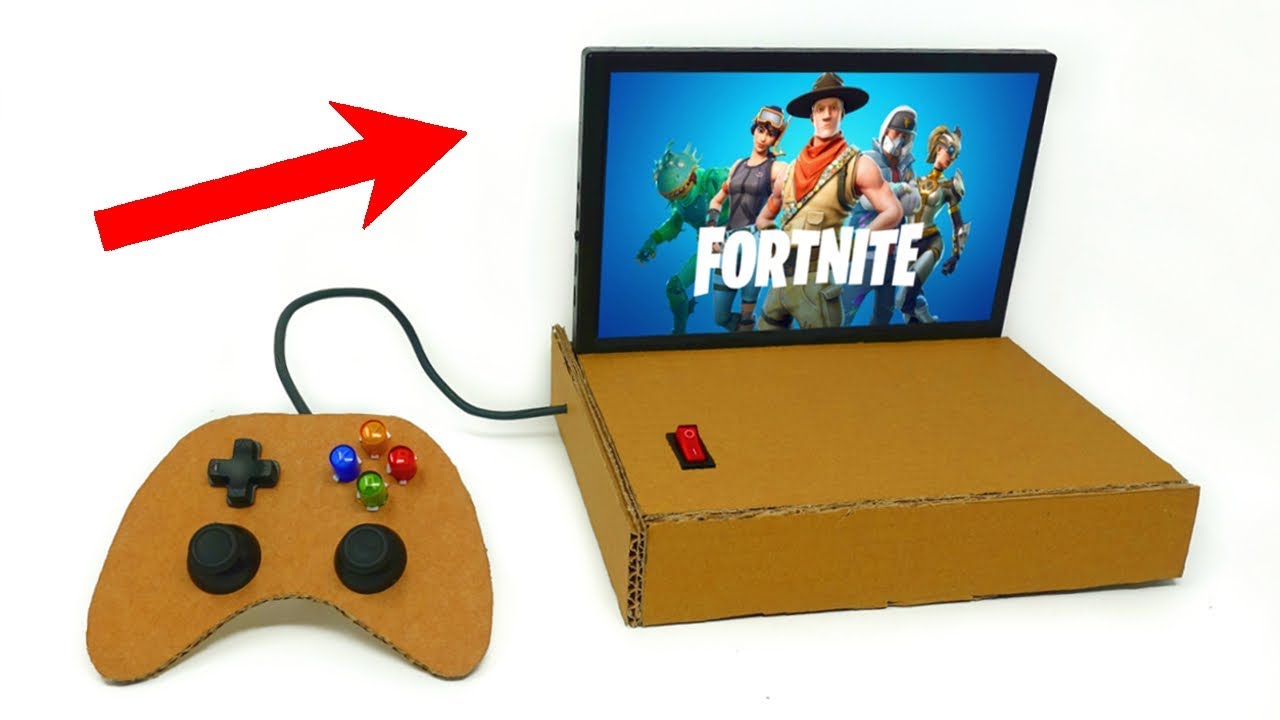
The most practical way to make a retro gaming console is to build a dedicated emulation machine using a single-board computer (SBC) like a Raspberry Pi or a compact mini PC. This approach lets you play classic games from systems like the NES, SNES, Sega Genesis, and even PlayStation 2, all through a TV-friendly interface, without needing to solder or design custom circuit boards.
What you need to make a retro gaming console
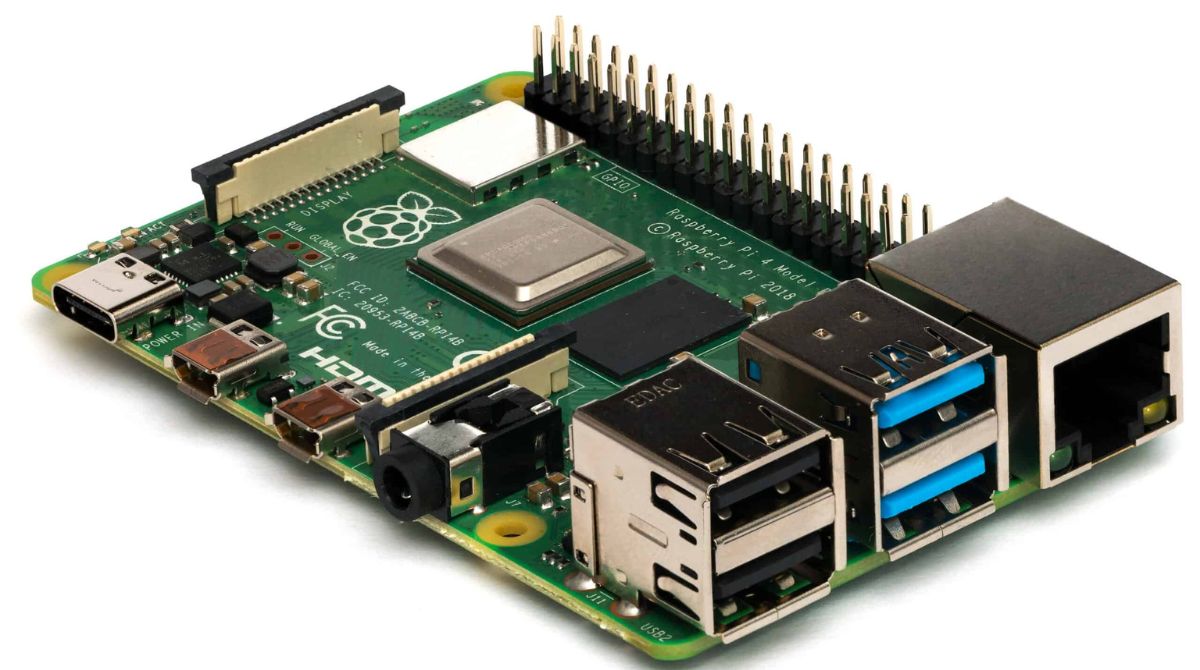
To build your own retro gaming console, you'll need a few essential components that are easy to source and assemble. The core of the build is a single-board computer (such as a Raspberry Pi 4 or 5) or a small form-factor mini PC, which acts as the “brain” of the system. You'll also need a microSD card (at least 32GB, but 64GB or more is ideal for larger game libraries) to store the operating system, emulators, and game ROMs. A compatible power supply (typically 5V/3A for Raspberry Pi models) is required, along with a case to house the board and protect it from dust and damage. To connect to your TV, you'll need an HDMI cable, and for gameplay, a USB or Bluetooth game controller, the classic SNES-style or Xbox wireless controllers work well. Optionally, a USB keyboard and mouse can simplify initial setup, and an external USB drive can expand storage for larger libraries.
Choosing the best single-board computer or mini PC for your build
The hardware you select determines which game systems you can emulate smoothly. If you want to play PlayStation 1, Nintendo 64, or PSP titles, a Raspberry Pi 5 is a solid choice, but for heavier systems like PlayStation 2, GameCube, or Wii, you'll need a mini PC with an x86 processor and a dedicated GPU (or at least a powerful integrated GPU like Intel Iris Xe or AMD Radeon Vega). Mini PCs running Windows, Batocera, or Bazzite (a SteamOS alternative) can handle PCSX2 and Dolphin emulators with high compatibility, but they cost more and consume more power. For most beginners targeting retro titles up to PS1, a Raspberry Pi 4 or 5 is the sweet spot; for PS2 and beyond, opt for a mini PC with a modern CPU and GPU.
Assembling the console case and connecting the hardware
Once you have your components, assembly is straightforward. Start by mounting the single-board computer (or mini PC) into your chosen case, ensuring all ports (HDMI, USB, Ethernet, audio) are accessible through the case openings. Secure the board with the provided screws or mounting brackets. Then, connect the power supply to the board's power port (check polarity and voltage). Plug one end of the HDMI cable into the board's HDMI output and the other into your TV or monitor. For controllers, plug a USB gamepad into any available USB port, or pair a Bluetooth controller via the OS settings (you can do this later). Double-check all connections are snug, then close the case and secure it. For a mini PC, the process is even simpler, just connect power, HDMI, and a controller, as the PC is pre-assembled.
Installing a retro gaming operating system on your console
To turn your hardware into a gaming console, you need a retro-gaming OS. Popular choices include RetroPie, Batocera, Recalbox, and Lakka, all are Linux-based and designed for emulation. For a Raspberry Pi, RetroPie is the most widely used and well-documented. Here's how to flash it:
- Download the Raspberry Pi Imager (available for Windows, Linux, and macOS) from the official Raspberry Pi website.
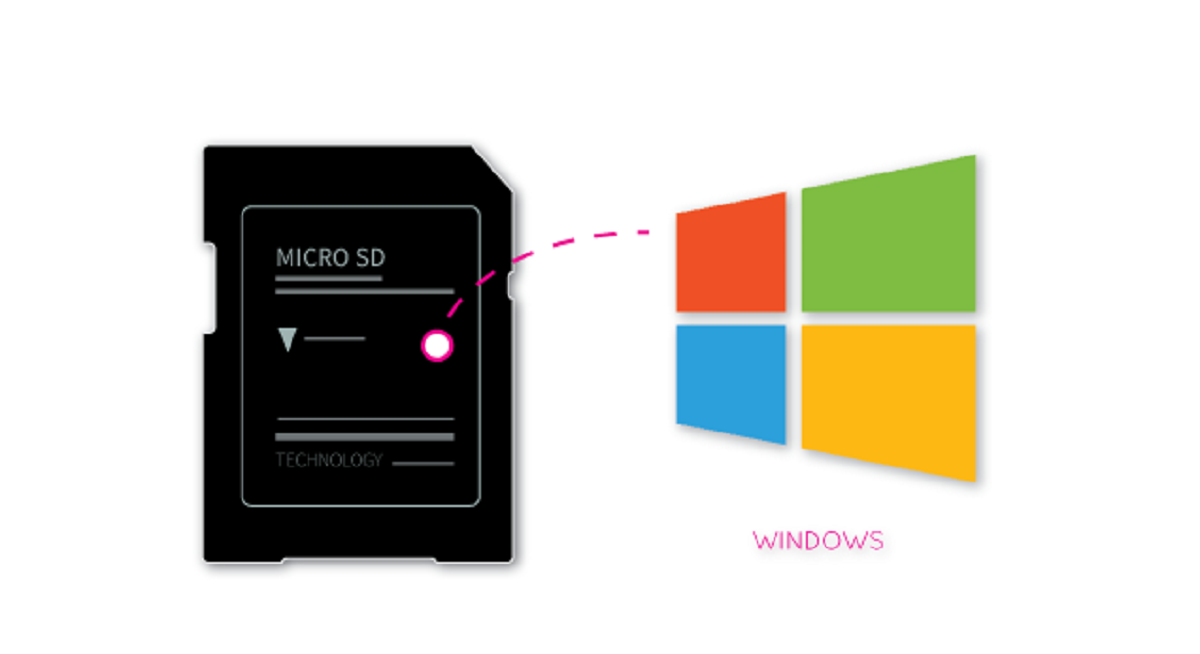
- Insert your microSD card into your computer's card reader.
- Select the correct device (your microSD card), choose the RetroPie image for your Raspberry Pi model, click "Write", and wait for the image to be flashed. This may take a few minutes.
- Once done, safely eject the microSD card and insert it into your Raspberry Pi.
For mini PCs, you can either install Batocera (a USB-bootable or disk-image OS) or use Windows with an emulation frontend like RetroBat. The flashing process for Batocera is similar, use a tool like BalenaEtcher to write the image to a USB drive or SSD.
Performing the initial system configuration
After booting your console for the first time, you'll need to configure a few basics. Connect a USB keyboard to navigate the initial setup. If you're using RetroPie, it will start the EmulationStation frontend automatically. To connect to Wi-Fi, press F4 to exit to the command line, then type sudo raspi-config to open the configuration tool. You can also set your locale and timezone in the same menu. To configure your game controller, go back to EmulationStation and press any button on your gamepad when prompted, follow the on-screen instructions to map the buttons. For safe shutdown, it's recommended to install a script: in the command line, run sudo apt update and then sudo apt install -y raspberrypi-sysmods (or use the pre-installed shutdown script in RetroPie). This prevents SD card corruption when powering off.
Adding games and emulators to your gaming library
To play games, you'll need to transfer ROMs (game files) to your console. The legal way is to dump ROMs from original cartridges or discs you own. Use a network tool like FileZilla (SFTP) to connect to your Raspberry Pi's IP address (default username: pi, password: raspberry) and navigate to the /home/pi/RetroPie/roms folder. Each subfolder corresponds to a system (e.g., nes, snes, genesis). Drag and drop your ROM files into the appropriate folders. EmulationStation will automatically scan and list them. For mini PCs running RetroBat, the process is similar, use the built-in network share or a USB drive to copy ROMs to the designated folders. Advanced emulators like PCSX2 (PlayStation 2) and Dolphin (GameCube/Wii) require BIOS files (which you must dump from your own console) and may need specific graphics settings, you can configure these in the emulator's menu within RetroArch or RetroBat.
Testing, troubleshooting, and customizing your retro gaming machine
Before diving into long sessions, test your setup. Launch a few games from different systems to verify controller inputs and audio/video output. If a game fails to boot or runs slowly, check the emulator's settings (e.g., change the video renderer from OpenGL to Vulkan, or lower the internal resolution). For common glitches like screen tearing, enable vsync in RetroArch. If your controller isn't working, re-run the controller configuration in EmulationStation. For Wi-Fi issues, double-check your credentials in raspi-config. To personalize your console, you can change themes in EmulationStation's "UI Settings", many free themes are available for download. You can also create custom game lists or add box art by scraping metadata. For more advanced customization, explore the RetroPie setup script to install additional emulators or ports. If you run into issues, the RetroPie and Batocera forums are excellent resources. For controller-specific help, check out our guide on setting up a game controller on Windows (if using a mini PC). If you're curious about network multiplayer, you can also read how online gaming works in a separate article. And if you want to use a motion controller, our tutorial on connecting a Wii remote to a PC will help. Once everything is working, enjoy your custom-built retro console, it's a unique machine tailored to your gaming taste.
Related reading: How To Make A Digital Camera, How To Make SD Card Bootable, and How Do I Check My CPU Usage On Raspberry Pi?.