Introduction
Welcome to the world of gaming consoles, where you can unleash your gaming passion by building your very own gaming console from scratch. Whether you’re a seasoned gamer or a DIY enthusiast, creating your custom gaming console can be an exciting and rewarding experience. Not only will it allow you to have a unique gaming setup tailored to your preferences, but it will also provide you with a deeper understanding of the technology behind gaming consoles.
Building a gaming console might sound intimidating, but fear not! With the right guidance and a bit of technical know-how, you can create a console that matches or even surpasses the performance of commercially available gaming systems. In this step-by-step guide, we will walk you through the process of building your gaming console, from choosing the hardware to setting up the software and adding games.
Before we get started, it’s important to note that building a gaming console requires some technical skills and knowledge. However, with patience and attention to detail, even those with limited experience can successfully complete the project. So, roll up your sleeves, grab your tools, and let’s embark on this thrilling journey of creating your gaming console.
Materials Needed
Before you begin building your gaming console, here is a list of materials you will need:
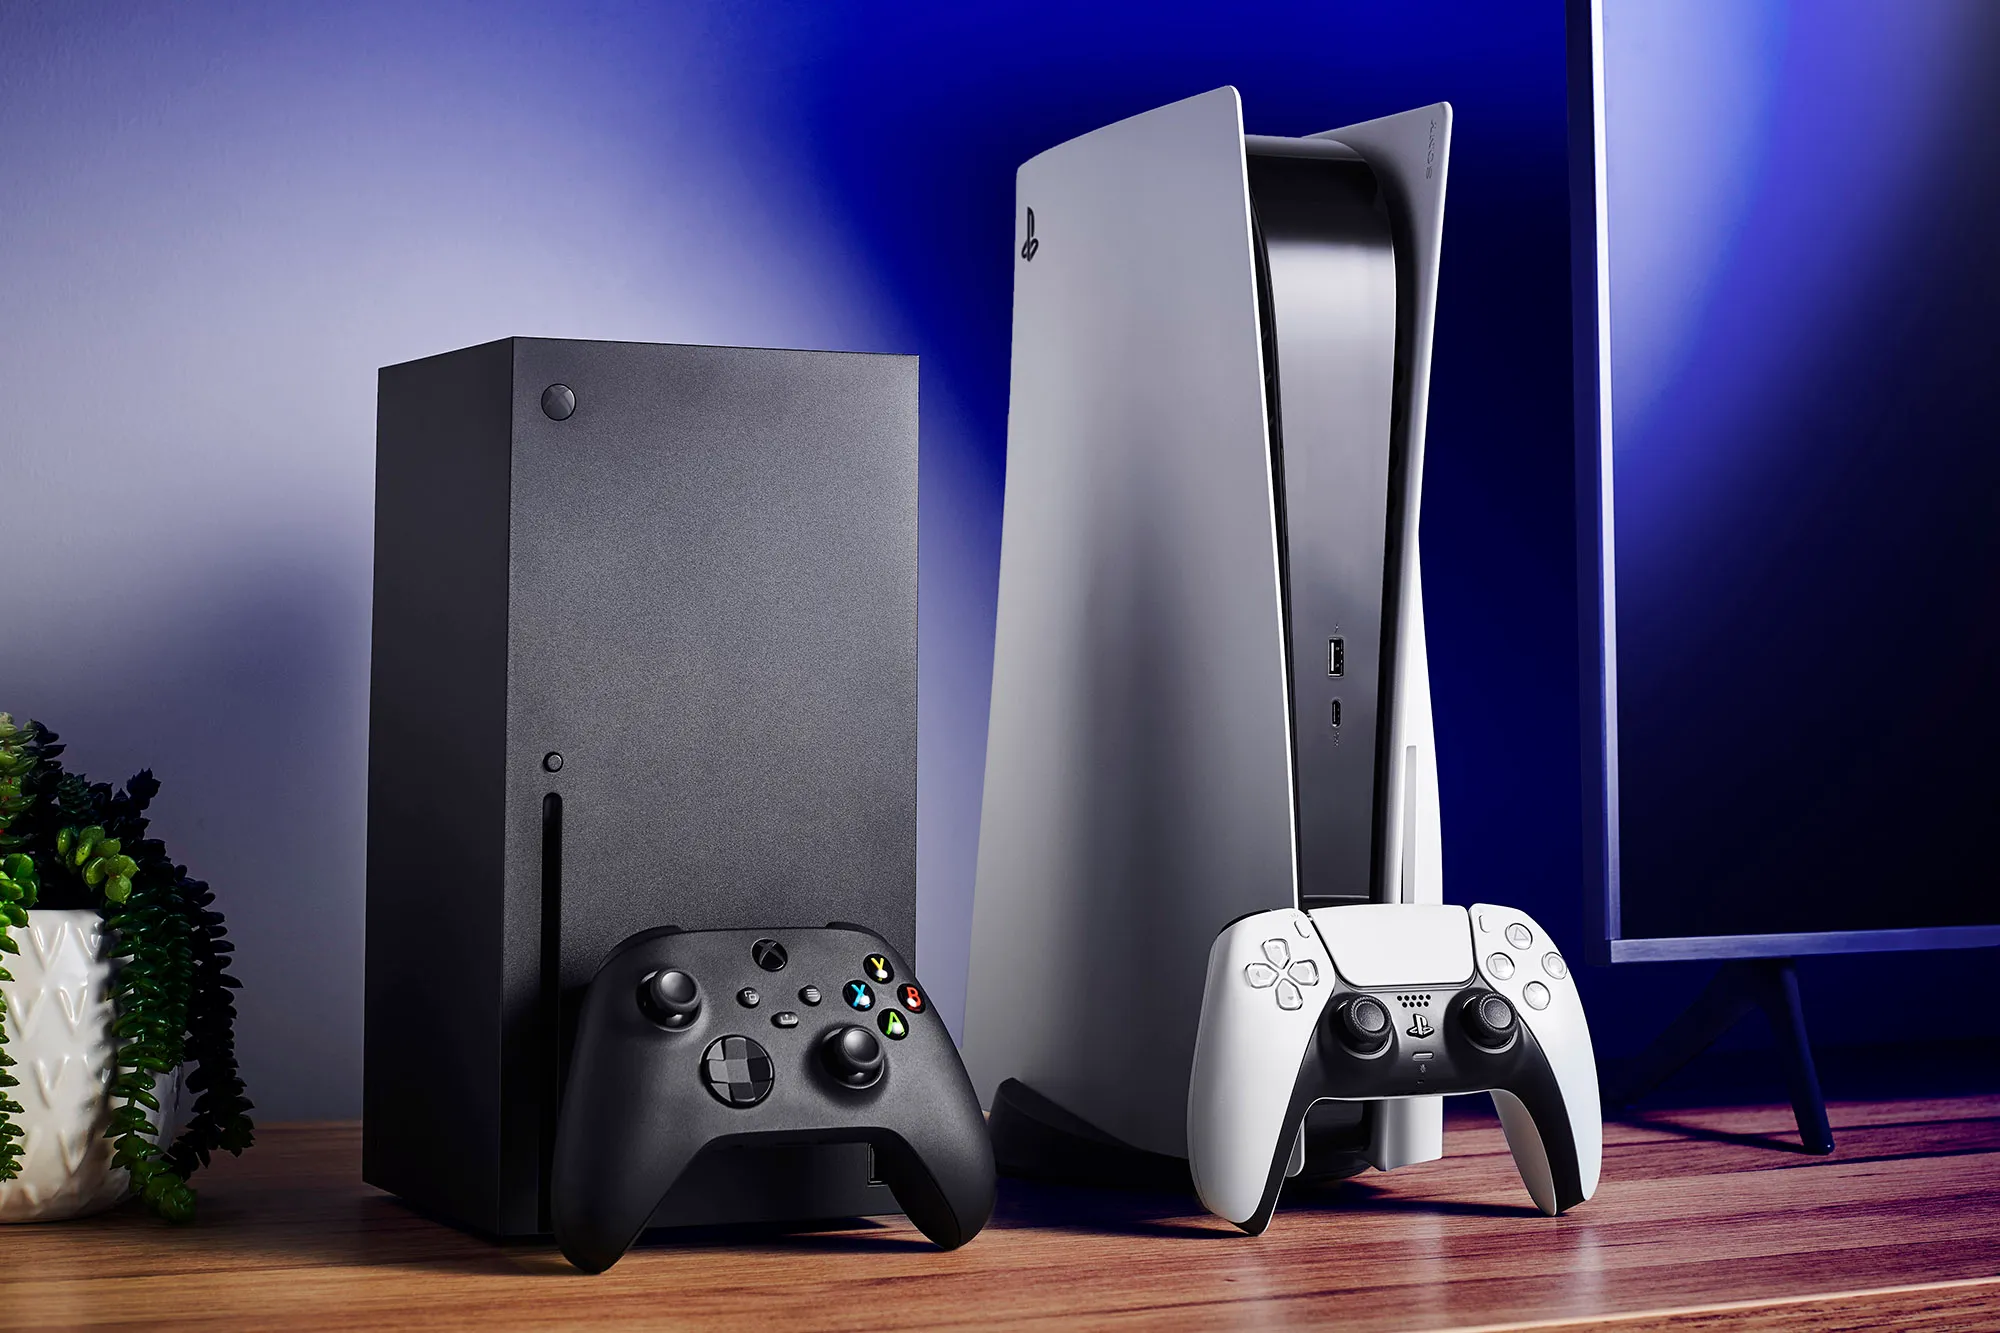
- A single-board computer (such as a Raspberry Pi or Odroid) – This will serve as the brains of your gaming console.
- A case for the console – You can either purchase a pre-made case or use your DIY skills to create a custom case.
- An HDMI cable – This will be used to connect your gaming console to a display.
- A power supply – Make sure to choose a power supply that is compatible with your single-board computer.
- A microSD card – This will be used to store the operating system and games.
- A USB game controller – Choose a controller that is compatible with your single-board computer.
- An external storage device (optional) – If you plan on storing a large number of games, an external hard drive or USB flash drive can come in handy.
- A keyboard and mouse (optional) – While not necessary for gaming, a keyboard and mouse can be useful for setting up the console and navigating the operating system.
These are the basic materials needed to build your gaming console. Depending on your preferences and budget, you may also consider additional accessories such as cooling fans, LED lights, or a wireless networking adapter. Remember to double-check the compatibility of the components you choose to ensure smooth operation of your gaming console.
Step 1: Choosing the Right Hardware
When it comes to building a gaming console, choosing the right hardware is crucial for optimal performance. Here are a few key considerations to keep in mind as you select your components:
- Single-Board Computer: The heart of your gaming console will be a single-board computer (SBC). Popular choices include the Raspberry Pi and Odroid. Consider factors such as processing power, RAM, and connectivity options when selecting an SBC that suits your gaming needs.
- Graphics Processing: For an immersive gaming experience, you’ll want a single-board computer with a capable graphics processing unit (GPU). Look for models that offer accelerated graphics and support for popular gaming APIs.
- Storage: Decide whether you want to use a microSD card or an external storage device for storing your games. Opt for higher-capacity storage options if you plan on having a large game library.
- Controllers: Consider the type of gaming experience you prefer and choose controllers that are compatible with your single-board computer. USB game controllers or wireless options are popular choices.
- Accessories: Depending on your preferences, you may also want to consider accessories such as cooling fans, USB hubs, or audio output devices. These can further enhance your gaming experience.
Research and compare different hardware options before making your final decision. Consider factors such as cost, performance, compatibility, and community support. Online forums and communities dedicated to single-board computers can provide valuable insights and recommendations from experienced users.
Remember, the hardware you choose will greatly impact the performance and capabilities of your gaming console. Take the time to evaluate your options and select components that will meet your gaming needs and preferences.
Step 2: Assembling the Console Case
Once you have gathered all the necessary components, it’s time to assemble the console case. Here’s a step-by-step guide to help you with the process:
- Prepare the Case: If you’re using a pre-made case, carefully read the instructions provided. If you’re creating a custom case, ensure you have all the required materials and tools, such as acrylic sheets, screws, and a screwdriver.
- Place the Single-Board Computer: Fit your single-board computer into the case according to the provided guidelines or your custom design. Ensure all ports and connectors are accessible.
- Secure the Components: Using screws or mounting brackets, secure the single-board computer, power supply, and any other components inside the case. Make sure everything is tightly secured to prevent any movement or damage during use.
- Install Cooling Solutions (If Needed): If you’re using additional cooling solutions, such as fans or heatsinks, mount them in appropriate positions to ensure efficient heat dissipation. This helps prevent overheating and extends the lifespan of your components.
- Connect External Ports: Depending on your case design, secure and connect external ports such as HDMI, USB, Ethernet, and audio. Ensure all connections are secure and properly aligned.
- Check for Proper Fit: Double-check the alignment and fit of all components within the case. Make any necessary adjustments or modifications to ensure a snug fit and easy access to ports and connectors.
- Close and Secure the Case: Once everything is in place and properly connected, close the case and secure it using screws or any locking mechanisms provided. Ensure the case is sturdy and there are no loose parts.
Remember to follow the instructions provided with your case or refer to your custom design plans. Take your time during the assembly process to ensure everything is correctly positioned and securely fastened. A well-assembled console case will not only protect your components but also provide a professional and aesthetically pleasing appearance.
Step 3: Wiring and Connecting Components
After assembling the console case, it’s time to wire and connect the various components. Proper wiring is essential for the smooth functioning of your gaming console. Follow these steps to ensure correct wiring and connections:
- Review the Diagrams: Refer to the documentation or diagrams provided with your single-board computer and other components. Familiarize yourself with the locations of ports, headers, and connectors.
- Power Supply Connection: Connect the power supply to your single-board computer, ensuring the correct voltage and polarity. Double-check the connection to avoid any damage to the components.
- HDMI Connection: Connect one end of the HDMI cable to the HDMI port of your single-board computer and the other end to the display or TV you will be using for gaming. Ensure a secure connection to avoid any signal loss.
- Controller Connection: If using a USB game controller, connect it to one of the available USB ports on your single-board computer. Make sure the controller is recognized and functioning correctly by testing the inputs.
- Additional Connectors: If your case or components have additional connectors (such as audio, Ethernet, or USB), connect them according to the provided instructions. Refer to the documentation to ensure proper configurations.
- External Storage Device: If you’re using an external storage device, connect it to the appropriate USB port on your single-board computer. Ensure the storage device is recognized and accessible.
- Double-Check Connections: Once all the components are connected, review each connection to ensure they are secure and properly aligned. Take extra care when handling delicate components to avoid damage.
As you wire and connect the components, refer to the documentation for any specific instructions or considerations related to your chosen hardware. Testing the connections and verifying their functionality at each step will save time and help identify any potential issues or errors early on.
Remember, proper wiring and connections are essential to the smooth operation of your gaming console. Take your time and double-check each connection to ensure everything is in place and functioning correctly before moving on to the next step.
Step 4: Installing the Operating System
With the hardware set up and components connected, it’s time to install the operating system (OS) on your gaming console. Follow these steps to install the OS:
- Prepare the OS: Download the appropriate OS for your single-board computer from the official website or trusted sources. Make sure you have a compatible version and the necessary files.
- Format the microSD Card: If you’re using a microSD card for storage, insert it into a card reader and format it to the desired file system (typically FAT32). This ensures the card is in a clean state for the OS installation.
- Flash the OS: Use an imaging tool, such as Etcher, to flash the downloaded OS image onto the formatted microSD card. Follow the instructions provided by the tool to complete the flashing process.
- Insert the microSD Card: Once the OS is flashed onto the microSD card, insert the card into the appropriate slot on your single-board computer. Ensure it is securely inserted.
- Power On the Console: Connect the power supply to your gaming console and turn it on. The boot process will begin, and the console should start loading the installed OS from the microSD card.
- Follow the Setup Wizard: Depending on the OS you installed, you will be guided through a setup wizard. Provide the necessary information, such as language, timezone, and network settings, as prompted by the wizard.
- Complete the Installation: Once you have completed the setup wizard and configured the essential settings, follow any additional instructions provided by the OS. This may include updates, user account creation, or configuration specific to the OS.
- Restart the Console: After the installation is complete, restart the console to apply any changes made during the setup process. Take note of any login credentials or additional steps required for future access to the OS.
During the installation process, refer to the documentation or the official website of the OS to ensure you are following the correct installation procedure. Different operating systems may have specific requirements or steps that need to be followed.
Once the OS is successfully installed, you’re one step closer to having a fully functional gaming console. In the next steps, we will delve into setting up the software, customizing the interface, and adding games to your console.
Step 5: Setting Up the Software and Drivers
After installing the operating system, it’s time to set up the necessary software and drivers to ensure the smooth operation of your gaming console. Here’s how you can proceed:
- Update the System: Begin by updating the OS to the latest version. This will ensure you have the latest features, bug fixes, and security patches. Follow the recommended update procedure for your specific OS.
- Install Essential Software: Install any essential software packages required for gaming, multimedia playback, or system maintenance. This could include media players, game emulators, or system optimization tools. Use official repositories or trusted sources to obtain these packages.
- Install Drivers: Install any required drivers for your single-board computer. This may include drivers for graphics, audio, networking, or other hardware components. Check the manufacturer’s website for the latest drivers compatible with your specific hardware.
- Configure Network Settings: Set up your network connection to enable online functionality, multiplayer gaming, or software updates. Configure Wi-Fi or Ethernet settings based on your available options and follow the instructions provided by the OS.
- Enable Game Controllers: If necessary, configure and calibrate your game controllers to ensure they are recognized and functioning correctly. Most operating systems have built-in tools for configuring input devices, or you can use third-party software for customization.
- Configure Audio and Video Settings: Adjust audio and video settings to optimize the gaming experience. This includes setting the correct output device, resolution, aspect ratio, and audio enhancements based on your display and audio system.
- Test Software and Drivers: After installing and configuring the necessary software and drivers, run tests to ensure everything is functioning as expected. Try launching games, playing videos, and checking system performance to identify any issues that need further troubleshooting.
As you set up the software and drivers, refer to the official documentation, online forums, or community support for any specific instructions or troubleshooting tips related to your chosen operating system and hardware. Keeping your software up to date and having the latest drivers will help ensure a stable and enjoyable gaming experience.
In the next steps, we will focus on customizing the interface and adding games and emulators to your gaming console. Stay tuned!
Step 6: Customizing the Interface
Now that your gaming console is up and running, it’s time to personalize the interface to match your style and preferences. Customizing the interface not only enhances the visual appeal but also improves the overall user experience. Here’s how you can go about it:
- Select a Theme: Many operating systems offer a variety of themes to choose from. Pick a theme that resonates with your gaming taste and apply it to the interface. Themes can change the colors, icons, and overall layout of the system.
- Create Custom Backgrounds: Personalize your gaming console by setting custom backgrounds or wallpapers. You can choose images related to your favorite games, artwork, or other visuals that inspire you.
- Create Shortcuts: Streamline your gaming console’s interface by creating shortcuts to your most frequently used games, emulators, or applications. This will save you time navigating through menus and allow quick access to your favorites.
- Organize Game Libraries: If you have a large collection of games, organizing them is key. Create folders or categories to group games by genre, platform, or any other criteria that makes sense to you. This will make it easier to find and access specific games.
- Add Custom Emulator Skins: If you’re using game emulators, explore the option to apply custom skins or themes to enhance the retro gaming experience.
- Configure Display and Display Resolution: Adjust display settings, such as screen resolution and aspect ratio, to ensure your games are displayed at their optimal quality. Different games may have specific display requirements, so make sure to configure settings accordingly.
- Customize Menu Layouts: Some operating systems allow you to customize the layout of menus and screens. Take advantage of this feature to arrange icons, change the order of menu items, or add/remove sections to suit your preferences.
When customizing the interface, explore the options and settings provided by your operating system or any additional software you use for gaming purposes. Experiment with different combinations and layouts until you find the one that best reflects your gaming personality.
Remember, the interface customization process is subjective, and what matters most is creating an interface that you find visually appealing and intuitive to use. Let your creativity shine through as you make your gaming console truly your own.
Step 7: Adding Games and Emulators
Now that your gaming console interface is customized, it’s time to add games and emulators to start building your game library. Here’s how you can add games and emulators to your console:
- Game Emulators: Install game emulators on your gaming console. Emulators allow you to play games from different platforms on your console. Depending on your chosen operating system and hardware, there may be specific emulators available. Install the emulators that support the platforms you want to play games from.
- Game ROMs: Obtain game ROMs to play on your emulators. ROMs are digital copies of game cartridges or discs. Remember that it is essential to own the original games legally before obtaining their ROMs. Use reliable sources to download ROMs for the games you own.
- Organize Game Files: Create a folder or directory system to organize your game files. This will make it easy to manage and access your games. Consider organizing games by platform, genre, or alphabetical order.
- Add Games to the Library: Once you have the emulator and game files, add them to your library. Depending on your console’s interface, there may be an option to scan for new games or manually add them. Follow the instructions provided by your chosen operating system or software.
- Configure Emulator Settings: Adjust emulator settings to optimize performance and enhance your gaming experience. This may include settings for graphics, audio, controls, and save states. Experiment with different settings to find the best configuration for each game.
- Test Games: Take the time to test each game to ensure it runs smoothly and without issues. Check for any compatibility issues, glitches, or performance problems. Make any necessary adjustments or troubleshoot as needed to ensure a seamless gaming experience.
- Update Game Libraries: Periodically update your game libraries by adding new games or removing games you no longer play. This will keep your library organized and prevent clutter.
Adding games and emulators to your gaming console opens up a world of gaming possibilities. Remember to always respect copyright laws and obtain game ROMs legally. Building a diverse and well-curated game library will ensure hours of entertainment on your custom gaming console.
Once you have added games and emulators, you’re almost ready to start gaming. In the next step, we will focus on testing and troubleshooting to ensure everything is functioning optimally.
Step 8: Testing and Troubleshooting
Before you start gaming on your custom-built console, it’s important to thoroughly test and troubleshoot to ensure everything is working as expected. Follow these steps to test and troubleshoot your gaming console:
- Test Game Compatibility: Play a variety of games from your library to ensure they run smoothly on your console. Test different genres, platforms, and file formats to ensure compatibility.
- Check Controls and Input: Test the functionality of your game controllers to ensure they are responsive and working correctly. Check button mappings, analog stick movements, and any additional features of your controllers.
- Monitor Performance: Keep an eye on the performance of your gaming console while playing games. Check for any issues such as lag, frame rate drops, or overheating. Adjust settings or make hardware modifications if necessary.
- Troubleshoot Glitches or Errors: If you encounter any glitches, errors, or crashes during gameplay, troubleshoot the issue by researching the specific error message or consulting the community forums for your chosen operating system or emulators. Look for solutions or workarounds provided by other users who have experienced similar issues.
- Check System Updates: Regularly check for system updates and firmware upgrades for your single-board computer, emulators, and other software. Keeping your system up to date will ensure you have the latest bug fixes and performance improvements.
- Seek Community Support: If you’re unable to resolve any issues on your own, don’t hesitate to seek help from the online community or forums dedicated to your chosen operating system or emulators. Many experienced users are willing to provide guidance and troubleshooting tips.
- Document Troubleshooting Steps: Keep a record of any troubleshooting steps you take, as well as any modifications you make to your console. This will help you track your progress and easily revert any changes if needed.
Testing and troubleshooting are ongoing processes, as new games, updates, and hardware configurations may introduce new challenges. Regularly revisit the steps and perform testing to ensure your gaming console continues to perform at its best.
By thoroughly testing and troubleshooting your console, you can identify and resolve any issues before they impact your gaming experience. Enjoy the fruits of your labor and immerse yourself in the world of gaming on your custom-built console!
Conclusion
Congratulations on successfully building your own gaming console! By following the step-by-step guide provided, you have created a custom gaming experience tailored to your preferences and style. Building a gaming console from scratch not only allows you to showcase your technical skills but also provides a deeper understanding of the technology behind gaming systems.
Throughout the process, you have learned how to choose the right hardware, assemble the console case, wire and connect components, install the operating system, set up software and drivers, customize the interface, add games and emulators, and test and troubleshoot your console. These skills and knowledge will help you maintain and enhance your console in the future.
Remember to continue updating your software, drivers, and game libraries to keep your gaming console optimized and running smoothly. Monitor performance regularly and seek support from the community whenever you encounter any issues or need assistance.
Building a gaming console is a labor of love, and the end result is a unique gaming setup that reflects your individual style and preferences. Whether you’re a casual gamer or a dedicated enthusiast, your custom console is sure to bring countless hours of enjoyment and gaming excitement.
Now, it’s time to power up your console, grab your controller, and embark on captivating gaming adventures!