Introduction
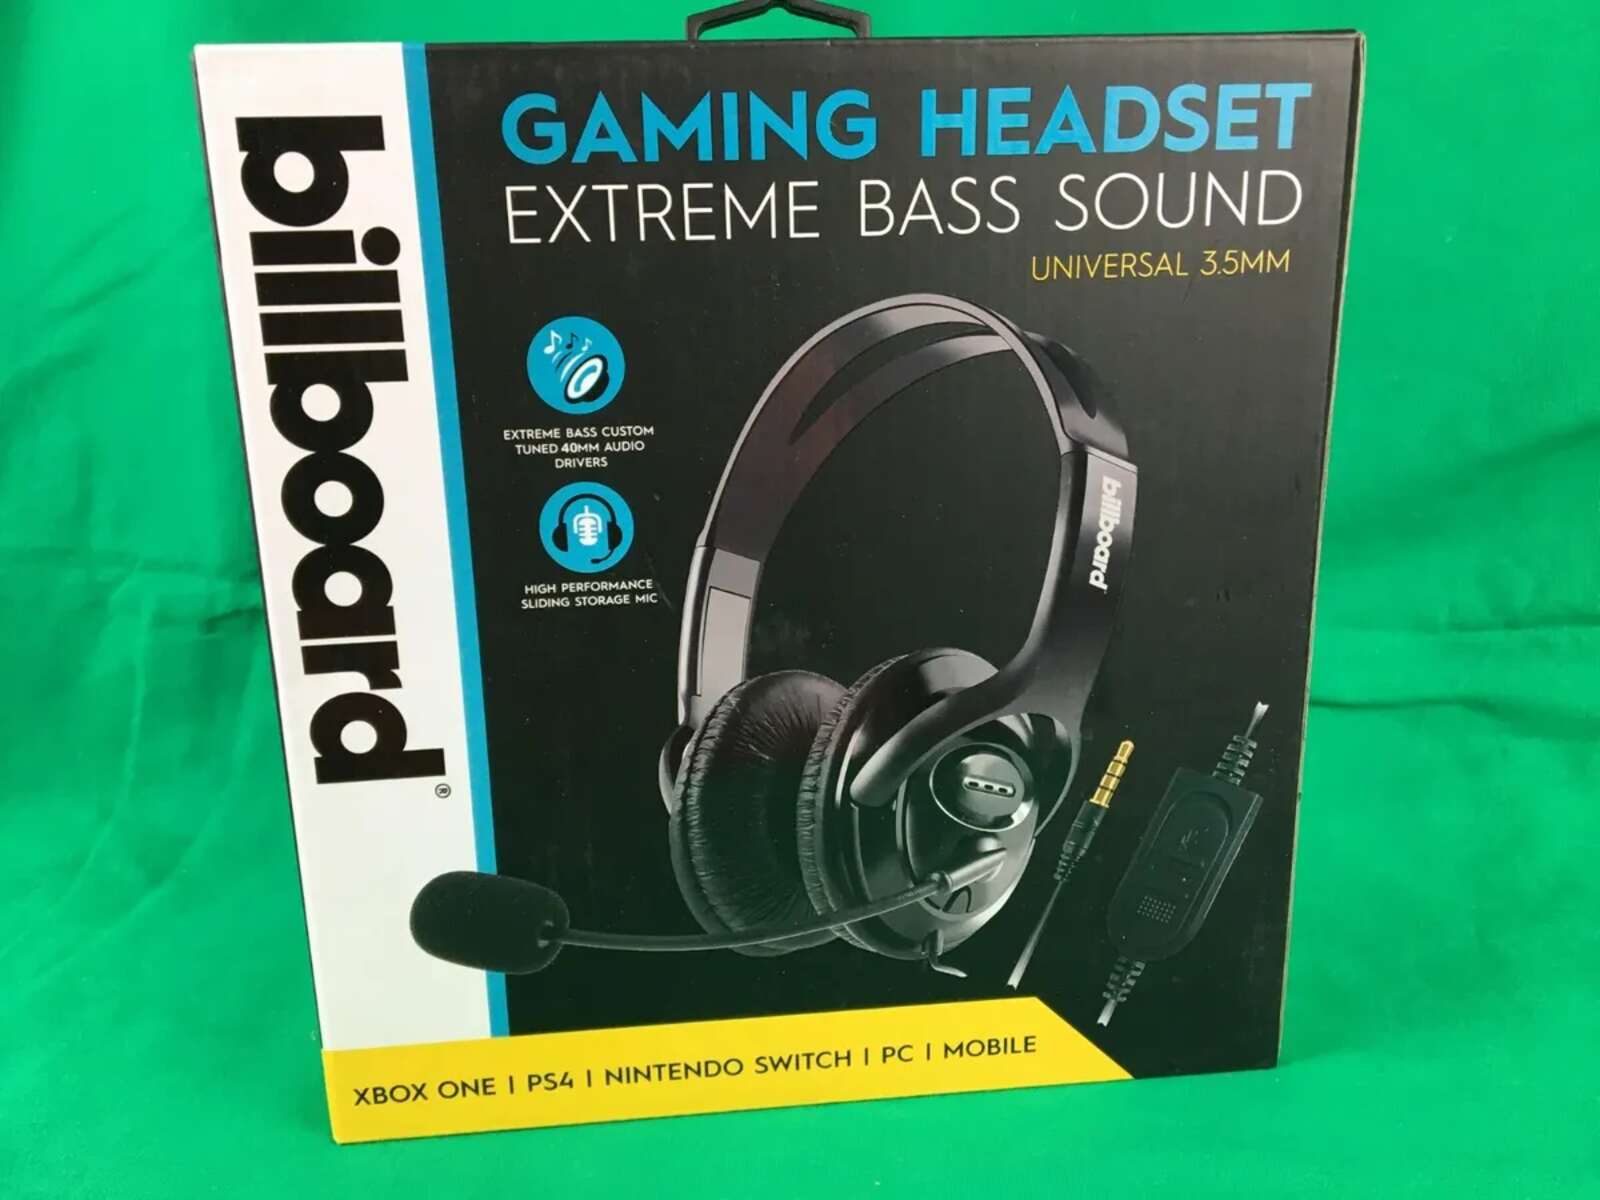
Are you ready to elevate your gaming experience on the PlayStation 3 (PS3) with the Billboard gaming headset? Whether you're gearing up for an intense battle or immersing yourself in the captivating world of a role-playing game, having a reliable headset can make all the difference. In this guide, you'll learn how to seamlessly connect your Billboard gaming headset to your PS3, allowing you to communicate with your fellow gamers, hear every intricate sound effect, and fully immerse yourself in the gaming environment.
The Billboard gaming headset is designed to provide exceptional audio quality, clear communication, and comfortable wear, making it an ideal accessory for enhancing your gaming adventures. By following the simple steps outlined in this guide, you'll be able to set up your headset with ease, ensuring that you're ready to dive into the action-packed worlds of your favorite games.
So, grab your PS3 controller, power up your console, and get ready to unlock the full potential of your gaming experience with the Billboard gaming headset. Let's dive into the step-by-step process of connecting and configuring your headset to ensure that you're fully equipped to conquer any gaming challenge that comes your way.
Step 1: Prepare the necessary cables and equipment
Before embarking on the setup process, it’s essential to gather the required cables and equipment to ensure a smooth and hassle-free connection between your Billboard gaming headset and the PS3.
Here’s what you’ll need:
- Billboard Gaming Headset: Ensure that your headset is fully charged or has fresh batteries, depending on the model. This ensures uninterrupted gameplay without the frustration of a drained headset.
- PS3 Console: Ensure that your PS3 console is powered on and ready for the setup process. Having the console powered up will allow you to adjust settings and test the headset as needed.
- Controller: Have your PS3 controller at hand, as you may need it to navigate the console’s settings and make adjustments for the headset.
- Audio/Chat Cable: Depending on the specific model of the Billboard gaming headset, you may need an audio/chat cable to connect the headset to the PS3 controller. Check the headset’s user manual to determine if this cable is necessary for your setup.
- USB Charging Cable (If Applicable): If your Billboard gaming headset is rechargeable via USB, ensure that you have the USB charging cable and access to a power source to charge the headset if needed.
By ensuring that you have all the necessary cables and equipment at your disposal, you’ll be well-prepared to proceed with the setup process without any interruptions. Now that you’ve gathered everything you need, it’s time to move on to the next step and connect your Billboard gaming headset to the PS3.
Step 2: Connect the headset to the PS3
Now that you’ve gathered the necessary cables and equipment, it’s time to establish the connection between your Billboard gaming headset and the PS3. Follow these steps to seamlessly connect the headset to your console:
- Locate the Audio/Chat Port: Depending on the model of your Billboard gaming headset, you may need to use an audio/chat cable to connect the headset to the PS3 controller. If required, locate the audio/chat port on your PS3 controller.
- Connect the Audio/Chat Cable: If your headset requires an audio/chat cable, insert one end of the cable into the corresponding port on the headset, and the other end into the audio/chat port on the PS3 controller. This cable facilitates both audio output and microphone input, allowing you to hear game audio and communicate with other players.
- Adjust the Headset Settings: If your headset features volume controls, microphone mute buttons, or other settings, ensure that they are adjusted to your preferences. This step may vary depending on the specific features of your Billboard gaming headset.
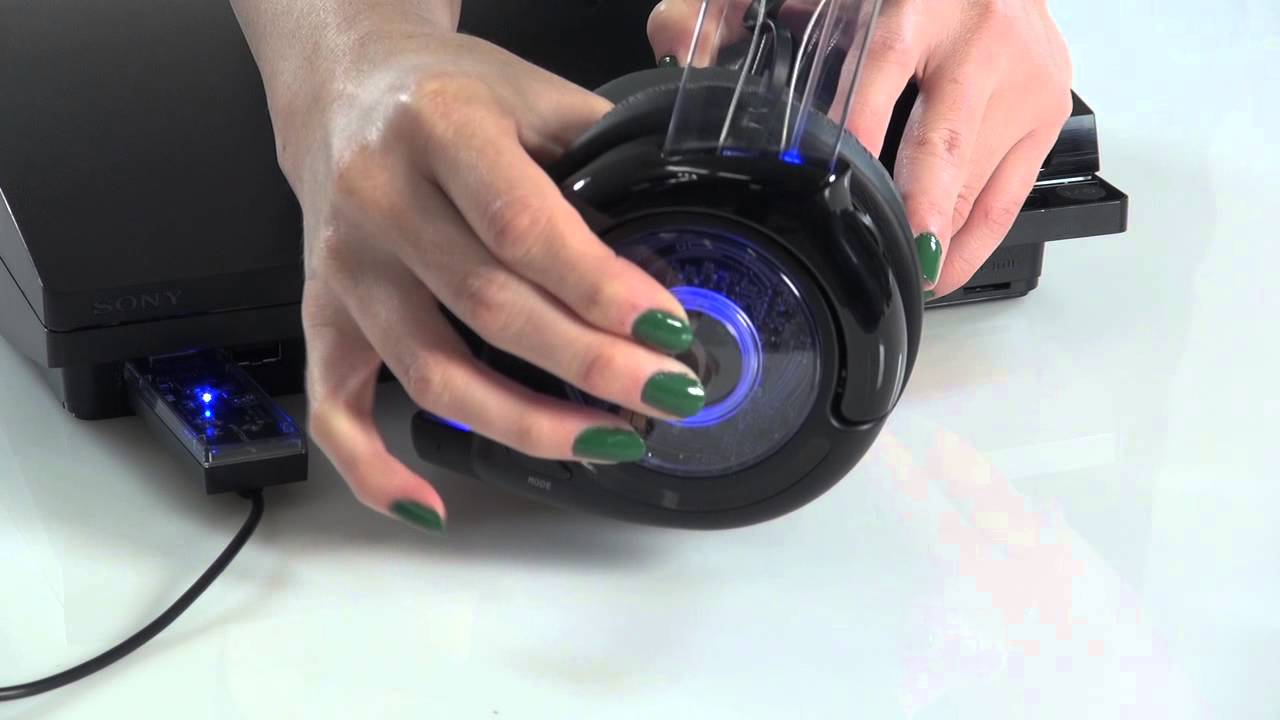
- USB Connection (If Applicable): If your headset is rechargeable via USB, connect the USB charging cable to the headset and plug the other end into a power source to ensure that the headset is adequately charged for uninterrupted gameplay.
By following these steps, you’ll establish a solid connection between your Billboard gaming headset and the PS3, ensuring that you’re ready to experience immersive audio and seamless communication during your gaming sessions. With the headset successfully connected, it’s time to move on to the next step and configure the settings on your PS3 to optimize the audio and communication features of the headset.
Step 3: Adjust the settings on the PS3
Configuring the settings on your PS3 is crucial to ensure that your Billboard gaming headset functions optimally and provides you with the best gaming experience. Follow these steps to adjust the settings on your PS3:
- Access the Settings Menu: Power on your PS3 and navigate to the settings menu using your controller. Look for the “Settings” option on the PS3’s home screen and select it to access the settings menu.
- Audio Settings: Within the settings menu, locate the “Audio Settings” or “Sound Settings” option. Depending on the specific model of your headset and your preferences, you may need to adjust the audio output settings to ensure that game audio is routed to your headset for an immersive gaming experience.
- Microphone Settings: If your headset features a microphone for in-game communication, navigate to the microphone settings within the PS3’s settings menu. Ensure that the microphone input is set to your headset, allowing you to communicate with other players seamlessly.
- Volume and Chat Controls: If your headset has volume controls or chat volume settings, adjust them according to your preferences. This step ensures that you can hear game audio and communicate with other players at optimal volume levels.
- Test the Configuration: After adjusting the settings, it’s advisable to test the configuration by launching a game and engaging in gameplay. This allows you to verify that the audio output, microphone input, and overall functionality of the headset are working as intended.
By carefully adjusting the settings on your PS3, you’ll optimize the audio output, microphone input, and communication features of your Billboard gaming headset, ensuring that you’re fully prepared to immerse yourself in the captivating worlds of your favorite games. With the settings successfully configured, it’s time to proceed to the next step and test the functionality of your headset to confirm that everything is in working order.
Step 4: Test the headset
After connecting and configuring your Billboard gaming headset with the PS3, it’s essential to test the functionality of the headset to ensure that everything is in working order. Follow these steps to test the headset:
- Launch a Game: Select a game on your PS3 and launch it to begin gameplay. Choose a game with audio and communication elements to fully test the functionality of your headset.
- Audio Output: While in the game, pay attention to the audio output. Ensure that the game audio is being routed to your headset, allowing you to experience immersive sound effects and dialogue through the headset’s speakers.
- Microphone Test: Engage in in-game communication or voice chat with other players to test the microphone functionality of your headset. Confirm that your voice is being transmitted clearly and that you can effectively communicate with other players.
- Volume and Chat Controls: During gameplay, adjust the volume and chat controls on your headset to ensure that you can hear game audio and communicate with other players at comfortable volume levels.
- Mic Monitoring (If Applicable): If your headset features mic monitoring, speak into the microphone and listen for the real-time feedback of your voice through the headset. This feature allows you to hear your own voice while speaking, enhancing the communication experience.
By thoroughly testing the functionality of your Billboard gaming headset during gameplay, you can confirm that the audio output, microphone input, and overall performance of the headset meet your expectations. If any issues are identified during the testing phase, revisit the previous steps to ensure that the connections and settings are configured correctly.
Once you’ve successfully tested the headset and verified its functionality, you’re ready to embark on your gaming adventures with the assurance that your Billboard gaming headset is seamlessly integrated with your PS3, providing you with immersive audio and clear communication capabilities.
Conclusion
Congratulations! You’ve successfully connected, configured, and tested your Billboard gaming headset on your PS3, unlocking a new level of immersion and communication in your gaming experience. By following the step-by-step process outlined in this guide, you’ve ensured that your headset is seamlessly integrated with your PS3, allowing you to enjoy crystal-clear audio and effective communication during gameplay.
With your headset connected, you’re now equipped to dive into the captivating worlds of your favorite games, whether you’re embarking on epic quests, engaging in intense multiplayer battles, or immersing yourself in the rich narratives of story-driven adventures. The enhanced audio quality and communication capabilities provided by your Billboard gaming headset will undoubtedly elevate your gaming sessions to new heights.
As you embark on your gaming adventures, remember to periodically check the connections and settings of your headset to ensure optimal performance. Additionally, stay updated on any firmware updates or new features released for your headset to take full advantage of its capabilities.
Whether you’re exploring distant galaxies, navigating treacherous terrains, or strategizing with teammates, your Billboard gaming headset will be your trusted companion, delivering immersive soundscapes and seamless communication every step of the way.
Now that you’ve mastered the process of connecting your headset to your PS3, you’re ready to immerse yourself in the thrilling realms of gaming with the confidence that your audio and communication experience will be nothing short of exceptional.