Introduction
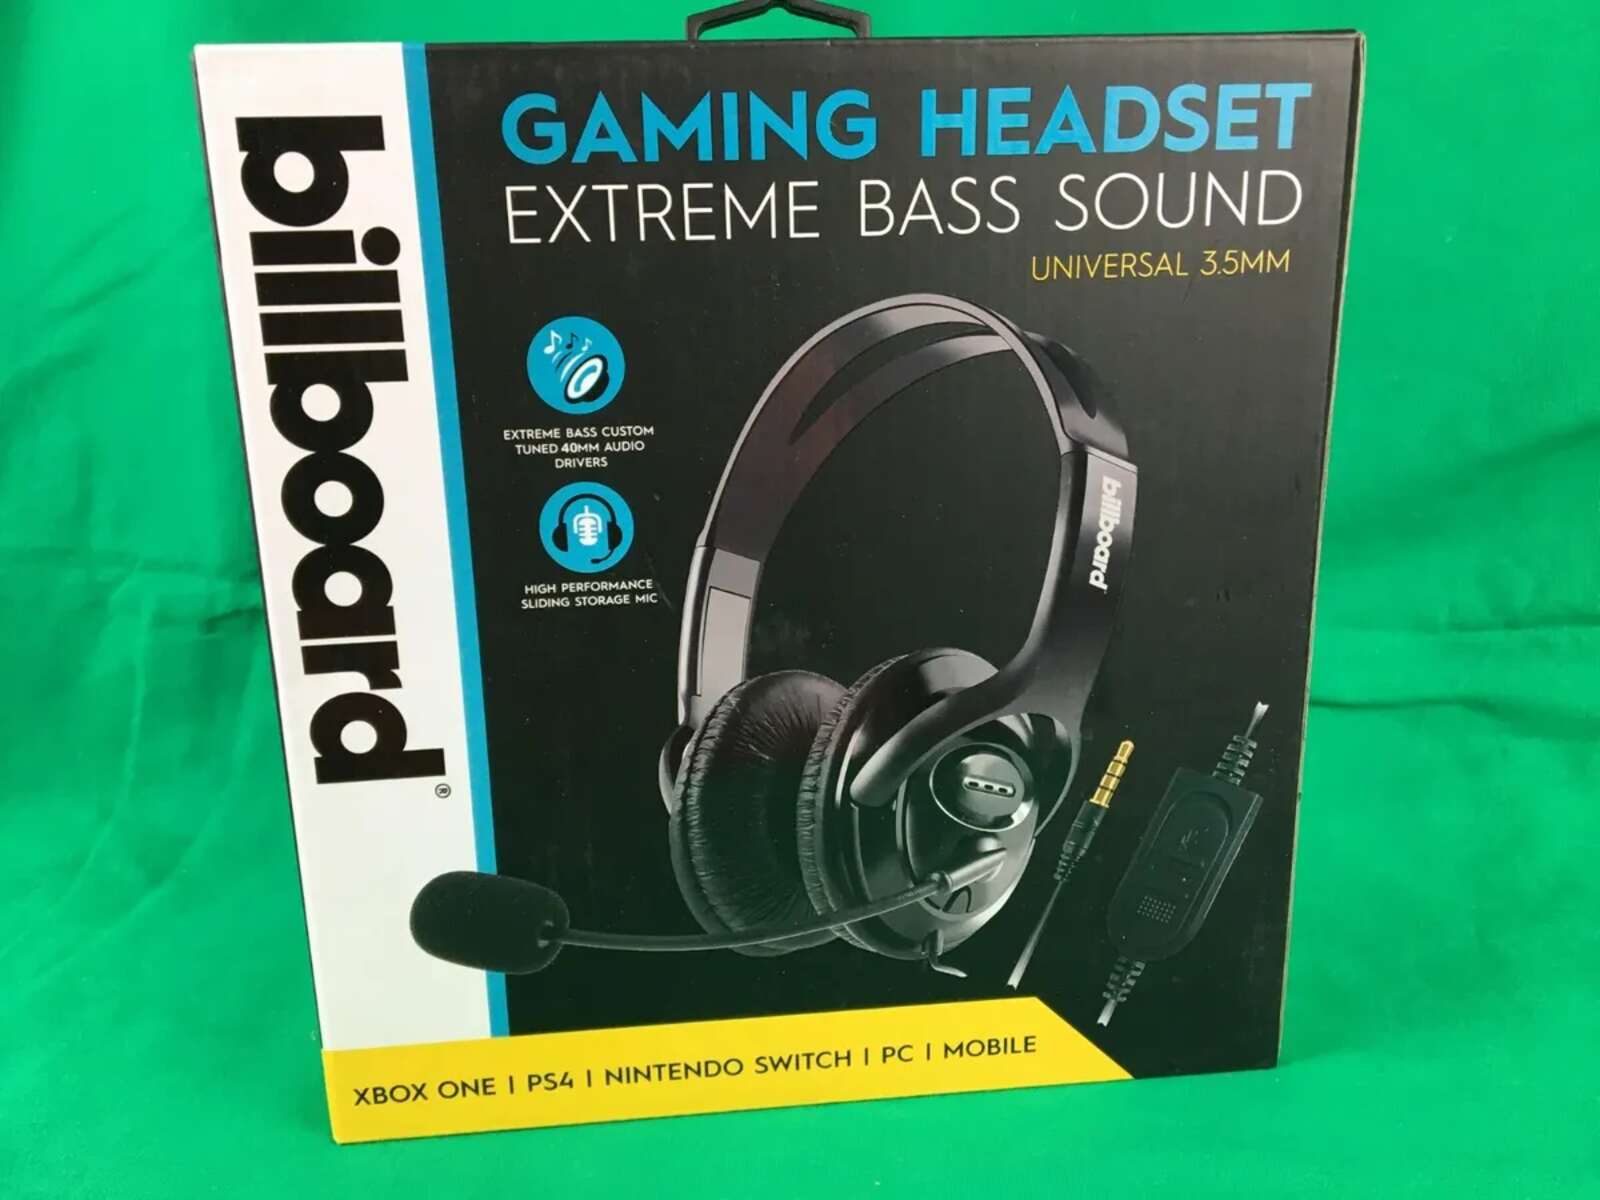
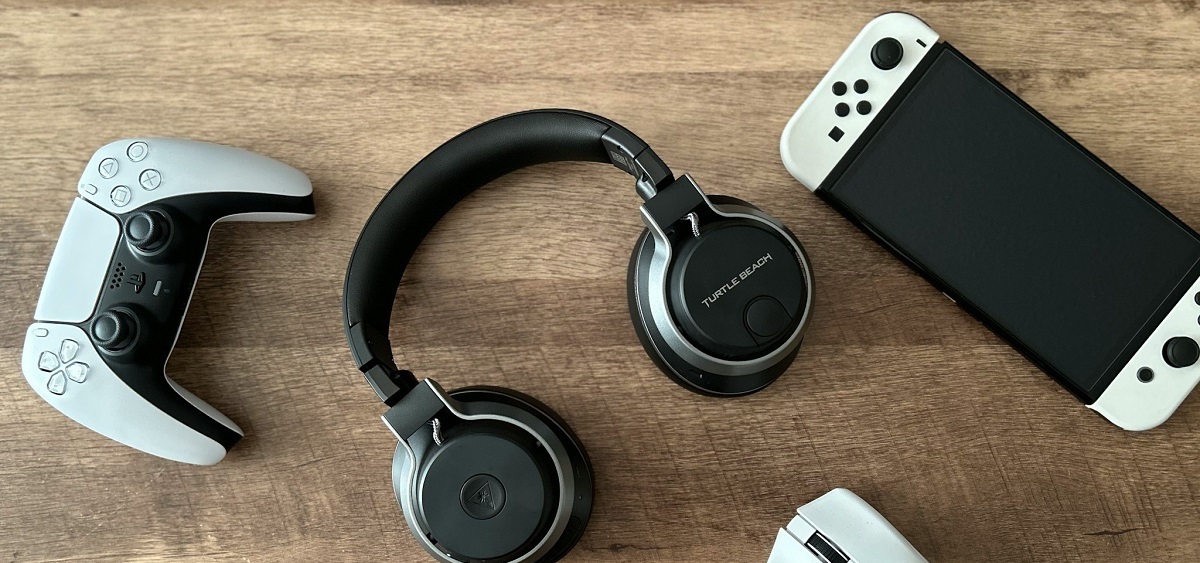
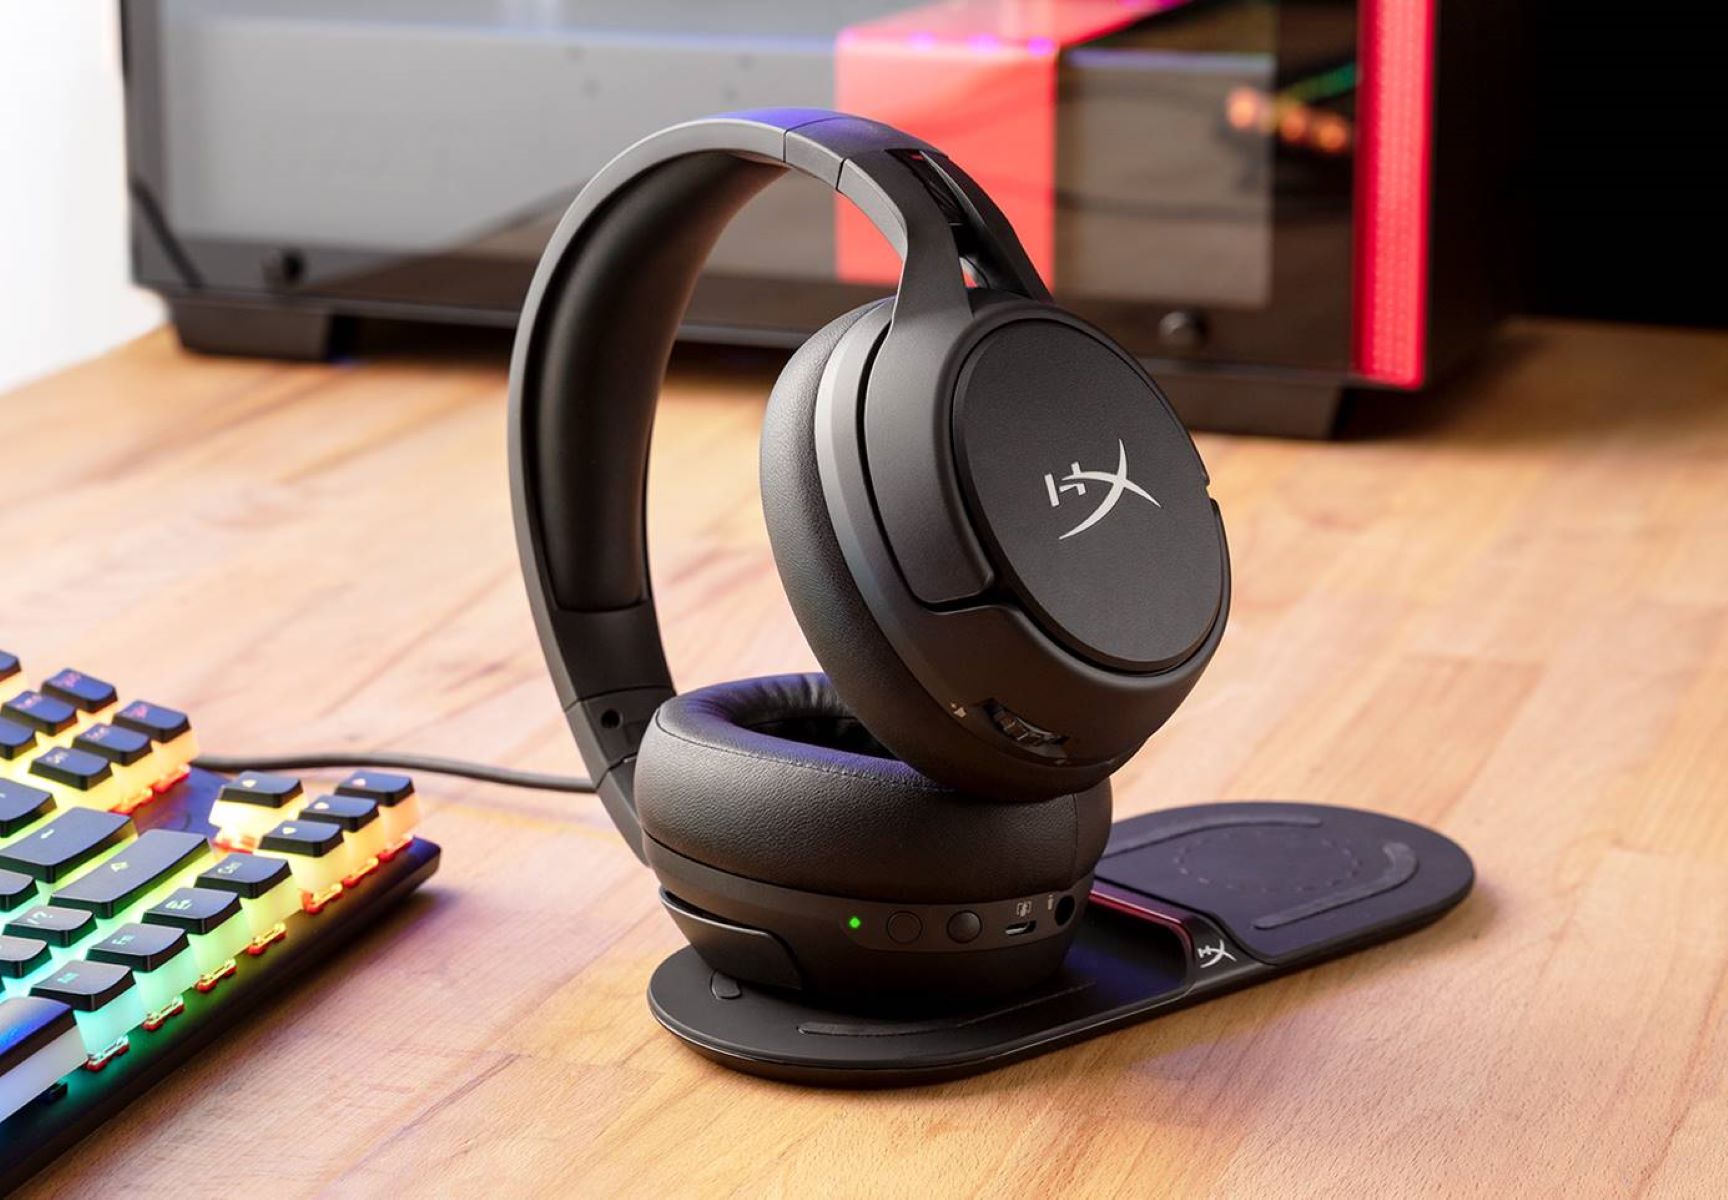
Gaming headsets have become an essential accessory for passionate gamers, enhancing the overall gaming experience by providing immersive audio and seamless communication with fellow players. The Billboard gaming headset with a built-in microphone is a popular choice among gamers due to its superior sound quality and ergonomic design. However, connecting this headset to a PlayStation 4 (PS4) console requires a few simple yet crucial steps to ensure optimal functionality.
In this comprehensive guide, we will walk you through the process of connecting your Billboard gaming headset with a microphone to your PS4, allowing you to dive into your favorite games with crystal-clear audio and seamless voice communication. Whether you're engaging in intense multiplayer battles or immersing yourself in captivating single-player adventures, a properly connected headset can significantly elevate your gaming sessions.
By following the step-by-step instructions provided in this guide, you will gain a clear understanding of how to seamlessly integrate your Billboard gaming headset with your PS4, enabling you to enjoy an enhanced gaming experience without any technical hiccups. Let's embark on this journey to unleash the full potential of your gaming headset and elevate your gaming endeavors to new heights.
Step 1: Check the Compatibility of the Headset
Before proceeding with the connection process, it’s crucial to verify the compatibility of your Billboard gaming headset with the PS4 console. While most gaming headsets are designed to work seamlessly with various gaming platforms, including the PS4, it’s essential to ensure that your specific headset model is indeed compatible.
Start by consulting the user manual or the product specifications provided by the manufacturer. Look for any indications of compatibility with the PS4 or any specific requirements for connecting the headset to gaming consoles. Additionally, you can visit the official website of the headset manufacturer to check for any firmware updates or specific instructions related to PS4 compatibility.
If you’re unsure about the compatibility of your headset, reaching out to the manufacturer’s customer support can provide you with the necessary guidance and reassurance. They can offer insights into any potential compatibility issues and provide solutions or workarounds to ensure a smooth connection process.
Furthermore, consider checking online forums or community discussions where fellow gamers may have shared their experiences with connecting the same headset model to a PS4. This can provide valuable insights and troubleshooting tips, especially if other users have encountered and resolved compatibility issues.
By thoroughly assessing the compatibility of your Billboard gaming headset with the PS4, you can proceed with confidence, knowing that your headset is optimized for seamless integration with the console, setting the stage for an uninterrupted and immersive gaming experience.
Step 2: Connect the Headset to the PS4 Controller
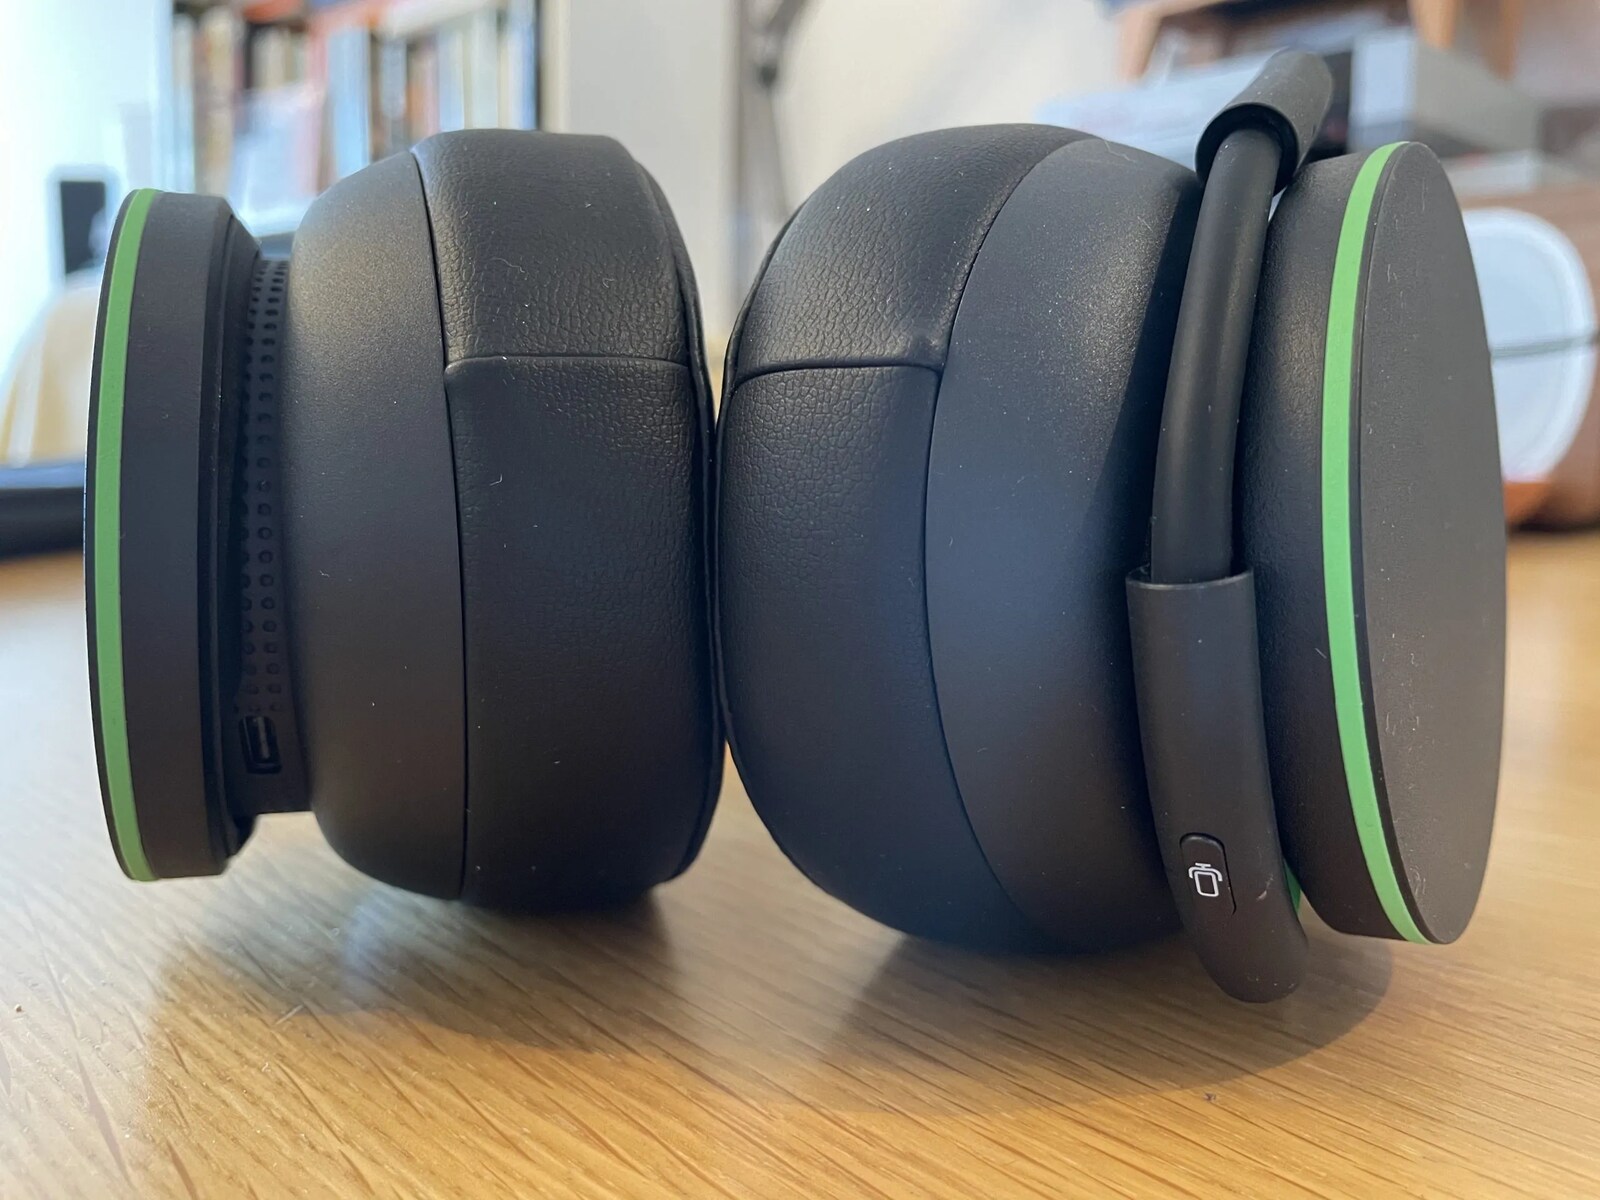
Connecting your Billboard gaming headset to the PS4 controller is a pivotal step in ensuring that both the audio output and microphone input function harmoniously with the console. The PS4 controller serves as the gateway for audio transmission and microphone input, allowing you to fully leverage the capabilities of your gaming headset.
To initiate the connection process, start by ensuring that the PS4 console is powered on and operational. Next, carefully inspect the bottom section of the PS4 controller, where you’ll find the 3.5mm audio jack. This is the designated port for connecting compatible gaming headsets, including the Billboard gaming headset.
Take the audio cable attached to your gaming headset and firmly insert the 3.5mm connector into the audio jack of the PS4 controller. Ensure that the connection is secure to prevent any audio disruptions during your gaming sessions. Once the audio cable is properly connected, you are one step closer to experiencing the immersive audio output of your gaming headset.
Following the successful connection of the audio cable, you may notice that the built-in microphone of your Billboard gaming headset is also equipped with a detachable or integrated microphone cable. If your headset features a detachable microphone, securely attach it to the headset, ensuring a snug fit. For headsets with an integrated microphone cable, no additional steps are necessary in this regard.
With the audio and microphone cables appropriately connected to the PS4 controller and the gaming headset, you have effectively established the vital link between the two components, preparing the groundwork for seamless audio transmission and clear voice communication during your gaming endeavors.
Step 3: Adjust the Audio and Microphone Settings on the PS4
With the physical connection between your Billboard gaming headset and the PS4 controller in place, it’s essential to configure the audio and microphone settings on the console to ensure optimal performance and a personalized audio experience.
Begin by turning on your PS4 console and accessing the main dashboard. Navigate to the “Settings” menu using the controller and select the “Devices” option. Within the “Devices” menu, locate and click on “Audio Devices” to access the audio settings specific to connected devices, including gaming headsets.
Within the “Audio Devices” menu, you can customize various audio settings to suit your preferences. Adjust the “Output to Headphones” setting to specify whether you want all audio to be transmitted through the headset or only chat audio. This setting allows you to prioritize game audio or chat communication based on your gaming preferences.
Additionally, explore the “Output Device” setting to confirm that the connected gaming headset is recognized and selected as the primary audio output device. This ensures that the audio output from the PS4 is channeled through your gaming headset, delivering an immersive and personalized audio experience.
Next, navigate to the “Adjust Microphone Level” option within the “Audio Devices” menu to fine-tune the microphone sensitivity and ensure clear and accurate voice transmission during gaming sessions. This adjustment allows you to optimize the microphone input based on your speaking volume and ambient noise levels, enhancing the clarity of your voice communication with fellow gamers.
Furthermore, if your Billboard gaming headset features any additional audio customization options, such as equalizer settings or surround sound configurations, take this opportunity to explore and tailor these settings to your preferences. Personalizing the audio output according to your gaming preferences can elevate the overall gaming experience and immerse you in the virtual world of your favorite games.
By meticulously adjusting the audio and microphone settings on the PS4, you are poised to experience the full potential of your Billboard gaming headset, delivering exceptional audio quality and seamless voice communication, enriching your gaming escapades with unparalleled audio immersion and effective team coordination.
Step 4: Test the Headset and Mic
After completing the physical connection and adjusting the audio and microphone settings on your PS4, it’s crucial to conduct a comprehensive test to ensure that your Billboard gaming headset and microphone are functioning optimally, providing crystal-clear audio output and seamless voice communication.
To initiate the testing process, launch a game or application on your PS4 that incorporates audio elements, such as background music, sound effects, or character dialogues. As the game or application begins, ensure that the audio output is transmitted through your gaming headset by listening for the immersive and detailed sound effects and music directly through the headset’s speakers.
As you delve into the gaming experience, pay close attention to the audio quality and clarity, verifying that the sound output is rich, immersive, and free from any distortions or interruptions. This step allows you to confirm that the physical connection between the headset and the PS4 controller is secure, enabling seamless transmission of audio data without any compromises in quality.
Simultaneously, engage in a test chat or communication session with fellow gamers to evaluate the microphone functionality of your Billboard gaming headset. Initiate a voice chat or join a multiplayer session that necessitates clear and effective communication with other players. Speak into the headset’s microphone and request feedback from other players regarding the clarity and volume of your voice transmission.
During the microphone test, ensure that your voice is accurately picked up by the headset’s microphone, allowing for natural and articulate communication with other players. Verify that the microphone sensitivity and noise-cancelling capabilities effectively filter out background noise, ensuring that your voice remains prominent and discernible amidst the gaming environment.
Throughout the testing phase, assess the overall comfort and ergonomics of the headset, ensuring that prolonged gaming sessions remain enjoyable and fatigue-free. Confirm that the headset’s design and fit contribute to a comfortable and immersive gaming experience, allowing you to focus on the gameplay without any discomfort or distractions.
By conducting a comprehensive test of your Billboard gaming headset and microphone, you can confidently ascertain that both components are seamlessly integrated with your PS4, delivering exceptional audio quality and reliable voice communication. This testing phase ensures that your gaming experiences are enriched by immersive audio and effective team coordination, setting the stage for countless captivating gaming adventures.
Conclusion
Embarking on the journey to connect your Billboard gaming headset with a microphone to your PS4 has not only expanded your gaming setup but also enriched your gaming experiences with immersive audio and seamless communication. By meticulously following the steps outlined in this guide, you have successfully established a harmonious connection between your gaming headset and the PS4 console, unlocking the full potential of your gaming endeavors.
Ensuring the compatibility of your headset with the PS4, connecting it to the controller, and fine-tuning the audio and microphone settings have collectively contributed to a seamless integration, allowing you to immerse yourself in captivating audio landscapes and engage in clear and effective communication with fellow players. The comprehensive testing phase has affirmed the exceptional performance of your gaming headset and microphone, validating their pivotal role in enhancing your gaming escapades.
As you venture into the vast realms of gaming, equipped with your Billboard gaming headset and microphone seamlessly integrated with your PS4, you are poised to embark on countless adventures, where every audio nuance and communication exchange becomes an integral part of your immersive gaming narrative. The clarity and depth of the audio output, coupled with the effective voice communication facilitated by your headset, will undoubtedly elevate your gaming experiences to new heights.
With the foundation laid for an enriched gaming experience, characterized by immersive audio landscapes and seamless communication, you are primed to delve into the virtual worlds of your favorite games, where every sound effect, musical score, and voice communication resonates with unprecedented clarity and impact. Your gaming headset has seamlessly woven itself into the fabric of your gaming setup, becoming an indispensable tool for unlocking the full potential of your gaming endeavors.
As you embark on this gaming odyssey, armed with your meticulously connected Billboard gaming headset and microphone, may every gaming session be enriched by the immersive audio output and effective voice communication, fostering memorable moments and exhilarating victories in the digital realms you explore.