Introduction
Welcome to the world of immersive gaming with the Billboard Gaming Headset! Whether you're a seasoned gamer or just starting your gaming journey, having a reliable headset with a microphone can significantly enhance your gaming experience. In this guide, we will walk you through the process of connecting your Billboard Gaming Headset with a microphone to your PlayStation 4 (PS4) console. By following these simple steps, you'll be ready to communicate with your teammates, hear every detail of the game, and dive into the virtual world with crystal-clear audio.
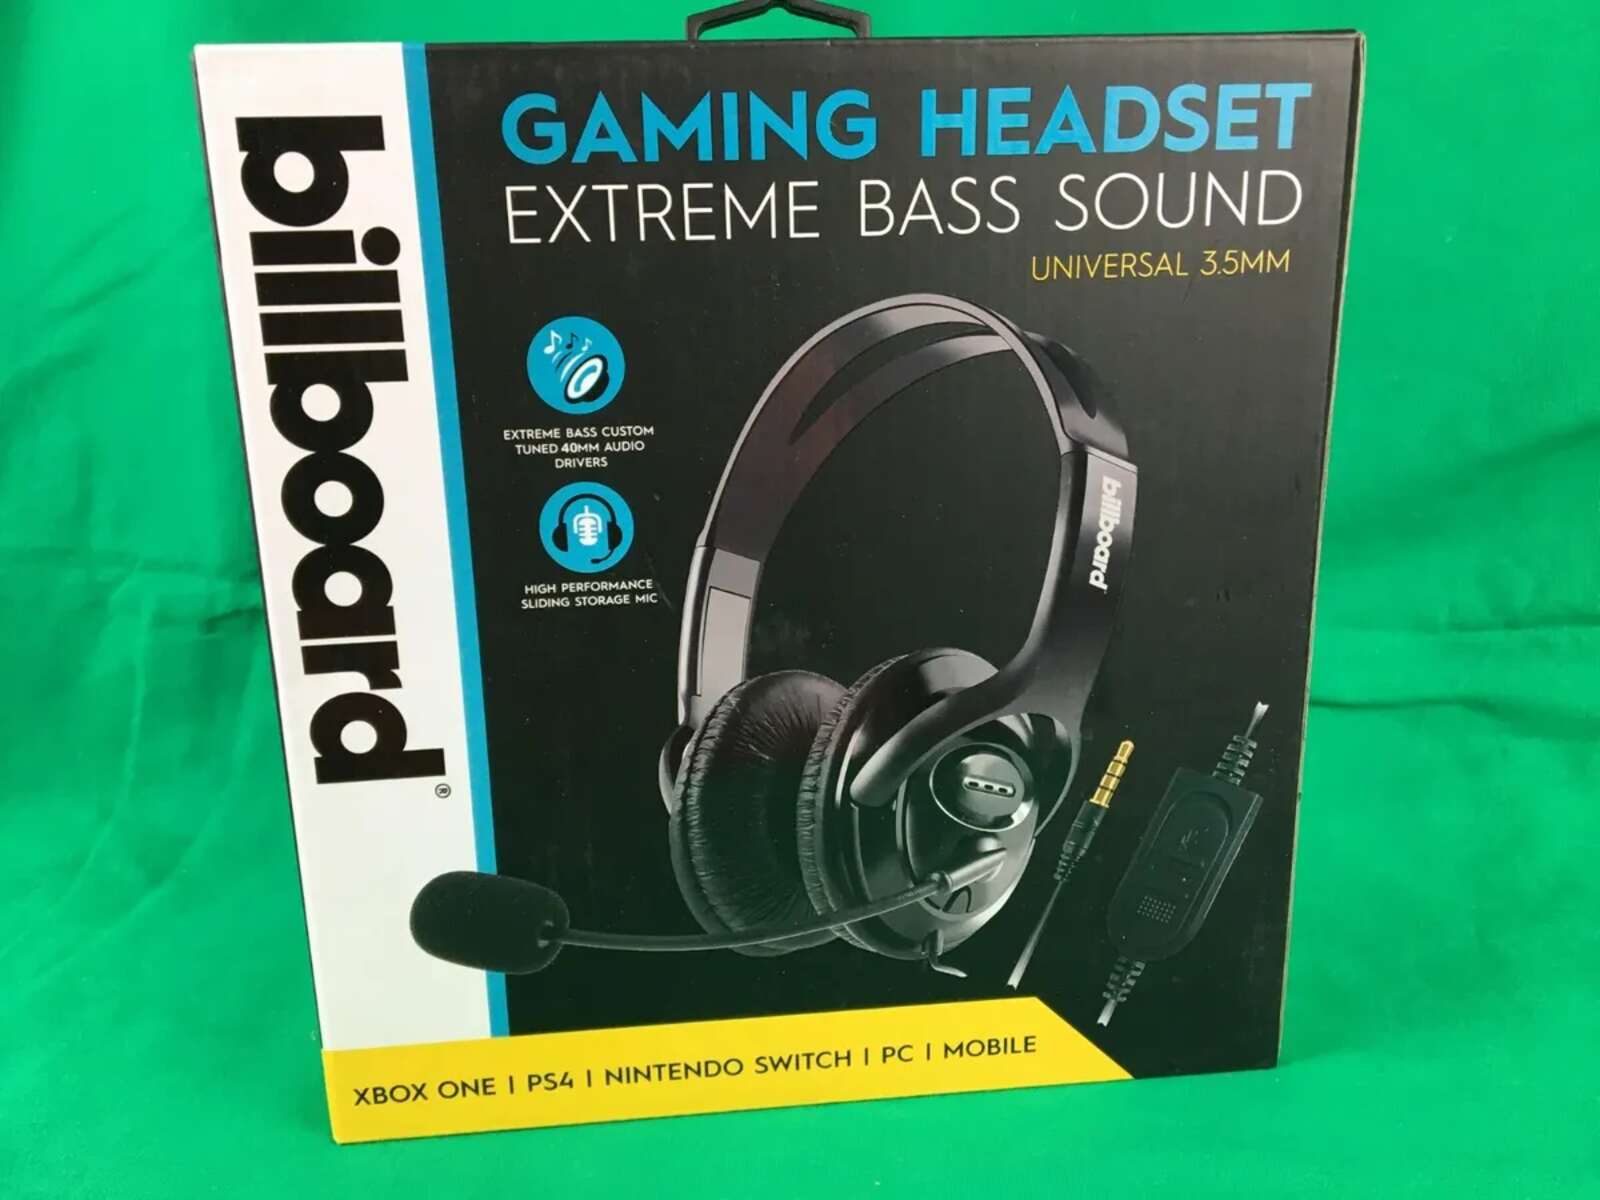
The Billboard Gaming Headset is designed to provide exceptional sound quality, comfort, and durability, making it a popular choice among gamers. With its adjustable headband, soft ear cushions, and a flexible, high-sensitivity microphone, this headset is engineered to deliver an immersive gaming experience while ensuring clear communication with other players.
Connecting the headset to your PS4 is a straightforward process that requires minimal effort. Whether you're gearing up for an intense multiplayer battle or immersing yourself in a captivating single-player adventure, the Billboard Gaming Headset is your reliable companion for delivering high-fidelity sound and seamless voice chat.
Now, let's delve into the step-by-step guide to unbox, connect, and optimize the audio and microphone settings for your Billboard Gaming Headset on your PS4. Get ready to elevate your gaming experience and engage in thrilling adventures with the perfect blend of audio precision and seamless communication. Let's dive in and unleash the full potential of your gaming setup with the Billboard Gaming Headset and your PS4 console.
Step 1: Unboxing the Billboard Gaming Headset
Before you embark on your gaming journey with the Billboard Gaming Headset on your PS4, the first step is to unbox the headset and familiarize yourself with its components. The packaging of the headset typically includes the following items:
- The Billboard Gaming Headset
- Detachable microphone
- Instruction manual
Once you have all the components laid out, carefully inspect the headset for any visible damage that may have occurred during shipping. It’s crucial to ensure that the headset is in pristine condition before proceeding with the setup.
Next, familiarize yourself with the various features of the headset, including the adjustable headband, cushioned ear cups, volume control, and microphone. Understanding the layout and functionality of these features will facilitate a smoother setup process and optimize your gaming experience.
Additionally, take a moment to review the instruction manual to gain insights into the specific functions and capabilities of the headset. The manual provides valuable information on adjusting the headband for a comfortable fit, attaching the detachable microphone, and accessing the volume controls.
By unboxing the Billboard Gaming Headset and acquainting yourself with its components and features, you’re one step closer to immersing yourself in the captivating world of gaming on your PS4. With the headset ready for setup, let’s proceed to the next step and connect it to your PS4 controller to unlock its full potential.
Step 2: Connecting the Headset to the PS4 Controller
Now that you have unboxed the Billboard Gaming Headset and familiarized yourself with its components, it’s time to connect the headset to your PS4 controller. This seamless process allows you to harness the power of the headset’s audio capabilities and microphone for an enriched gaming experience.
Begin by locating the 3.5mm audio jack on your PS4 controller. The headset’s cable features a 3.5mm audio connector, which is designed to plug directly into the controller, ensuring a secure and stable connection. Insert the 3.5mm connector into the audio jack until it clicks into place, indicating a successful connection.
Once the headset is connected to the controller, you’ll experience a seamless integration that channels the game’s audio directly into the headset, delivering immersive sound while maintaining the convenience of using the controller for in-game actions.
Additionally, if your headset features an inline remote with volume control and microphone mute functions, familiarize yourself with its placement and functionality. This remote allows you to adjust the audio volume and conveniently mute the microphone during gameplay, providing greater control over your audio experience.
With the headset successfully connected to the PS4 controller, you’re now poised to experience the full spectrum of audio details and engage in seamless communication with fellow gamers. The next step involves optimizing the audio and microphone settings on your PS4 to ensure an immersive and personalized gaming experience.
Step 3: Adjusting Audio and Mic Settings on the PS4
After connecting the Billboard Gaming Headset to your PS4 controller, it’s essential to optimize the audio and microphone settings on your console to maximize the performance of the headset. By customizing these settings, you can tailor the audio output and microphone input to suit your preferences and gaming requirements.
Begin by turning on your PS4 console and accessing the main dashboard. Navigate to the “Settings” menu using the controller and select “Devices” to access the audio devices settings. Here, you can fine-tune the audio output and microphone input to enhance your gaming experience.
Under the audio devices settings, you have the option to adjust the volume levels for both the headphones and the microphone. By selecting “Adjust Microphone Level,” you can calibrate the microphone sensitivity to ensure clear and accurate voice transmission during gameplay and communication with other players.
Furthermore, explore the “Output to Headphones” option, which allows you to choose between “All Audio” or “Chat Audio” output. Selecting “All Audio” ensures that all game audio is transmitted to your headset, providing an immersive gaming experience. On the other hand, opting for “Chat Audio” directs only the chat audio to the headset, which is useful for prioritizing communication during multiplayer sessions.
If your headset features surround sound capabilities, you can enable or customize the surround sound settings in the audio devices menu to elevate the spatial awareness and immerse yourself in the game’s audio landscape.
Once you have fine-tuned the audio settings, proceed to the microphone settings to verify that the headset’s microphone is recognized by the console. Check the input level and adjust it as needed to ensure that your voice is captured clearly and accurately during in-game communication.
By customizing the audio and microphone settings on your PS4, you can unleash the full potential of the Billboard Gaming Headset, immersing yourself in high-fidelity audio and seamless communication while gaming. With the settings optimized, you’re now ready to put the headset to the test and experience its performance firsthand.
Step 4: Testing the Headset and Mic
With the Billboard Gaming Headset connected to your PS4 and the audio and microphone settings optimized, it’s time to put the headset to the test and ensure that both the audio and microphone functions are working seamlessly. Testing the headset and microphone allows you to verify the quality of sound reproduction, the clarity of in-game audio, and the effectiveness of voice communication with other players.
Start by launching a game on your PS4 that features a diverse range of audio elements, such as environmental sounds, character dialogue, and in-game effects. As you delve into the game, pay close attention to the audio quality delivered through the headset. Notice the richness of sound, the clarity of individual audio components, and the overall immersive experience facilitated by the headset’s audio capabilities.
During gameplay, engage in communication with other players using the headset’s microphone. Coordinate strategies, exchange information, or engage in casual banter to gauge the microphone’s performance. Verify that your voice is transmitted clearly and accurately, allowing for seamless interaction with your gaming peers.
Test the microphone’s mute function and volume control, ensuring that you can effortlessly adjust these settings during gameplay without interrupting the immersive experience. By muting and unmuting the microphone, you can confirm that the headset’s controls are responsive and easy to access, providing convenience during intense gaming sessions.
Additionally, if your headset features inline controls for audio settings, such as volume adjustment and microphone muting, evaluate the responsiveness and ease of use of these controls. Seamless access to these functions enhances your gaming experience by allowing you to fine-tune audio levels and manage voice communication without interrupting gameplay.
By thoroughly testing the Billboard Gaming Headset and its microphone, you can ensure that both components meet your expectations for audio fidelity and communication clarity. The testing phase allows you to make any necessary adjustments to the settings and familiarize yourself with the headset’s features, empowering you to fully leverage its capabilities during your gaming sessions.
Conclusion
Congratulations! You have successfully navigated the process of unboxing, connecting, and optimizing the Billboard Gaming Headset with a microphone for use on your PS4. By following the step-by-step guide, you’ve unlocked the full potential of the headset, allowing for immersive audio experiences and seamless communication during gameplay.
Throughout this journey, you unboxed the headset, familiarized yourself with its components, and connected it to the PS4 controller, laying the foundation for an enriched gaming experience. By adjusting the audio and microphone settings on your console, you personalized the audio output and microphone input to suit your preferences, enhancing the overall gaming environment.
Testing the headset and microphone allowed you to verify the quality of sound reproduction, the clarity of voice transmission, and the responsiveness of the headset’s controls. This comprehensive testing phase ensured that the headset met your expectations for audio fidelity and communication clarity, setting the stage for captivating gaming sessions.
As you venture into the realm of gaming with the Billboard Gaming Headset, remember to explore the diverse array of games and genres, immersing yourself in captivating narratives, intense multiplayer battles, and thrilling adventures. The headset’s high-fidelity audio and reliable microphone will accompany you on this journey, enhancing every moment and elevating your gaming experiences.
Whether you’re engaging in intense multiplayer battles, unraveling the mysteries of a single-player adventure, or connecting with fellow gamers from around the world, the Billboard Gaming Headset stands as your steadfast companion, delivering exceptional audio quality and seamless communication. Embrace the immersive world of gaming, empowered by the unparalleled audio precision and connectivity offered by the Billboard Gaming Headset on your PS4.
With your gaming setup now optimized and the Billboard Gaming Headset ready to amplify your gaming experiences, it’s time to embark on unforgettable adventures, forge new alliances, and immerse yourself in the captivating landscapes of virtual worlds. Let the Billboard Gaming Headset be your gateway to unparalleled audio immersion and seamless communication as you embark on your gaming odyssey.