Introduction
So, you've just purchased an Ipega game controller and you're eager to dive into the world of mobile gaming with a more immersive experience. Setting up your Ipega game controller is the first step towards unlocking its full potential and enjoying your favorite games with enhanced control and precision.
The Ipega game controller is a versatile and user-friendly device that is compatible with a wide range of smartphones, tablets, and even PCs. Whether you're a casual gamer or a dedicated enthusiast, this controller offers a seamless and intuitive way to interact with your games, providing a level of control and responsiveness that can elevate your gaming experience to new heights.
In this guide, we'll walk you through the process of setting up your Ipega game controller, from unboxing to customizing settings and testing it with your favorite games. By following these simple steps, you'll be ready to immerse yourself in a world of gaming excitement, all at the tip of your fingers.
Let's embark on this journey together and unleash the full potential of your Ipega game controller. Get ready to elevate your gaming experience and take your skills to the next level as we delve into the exciting world of mobile gaming with the Ipega game controller.
Step 1: Unboxing the Ipega Game Controller
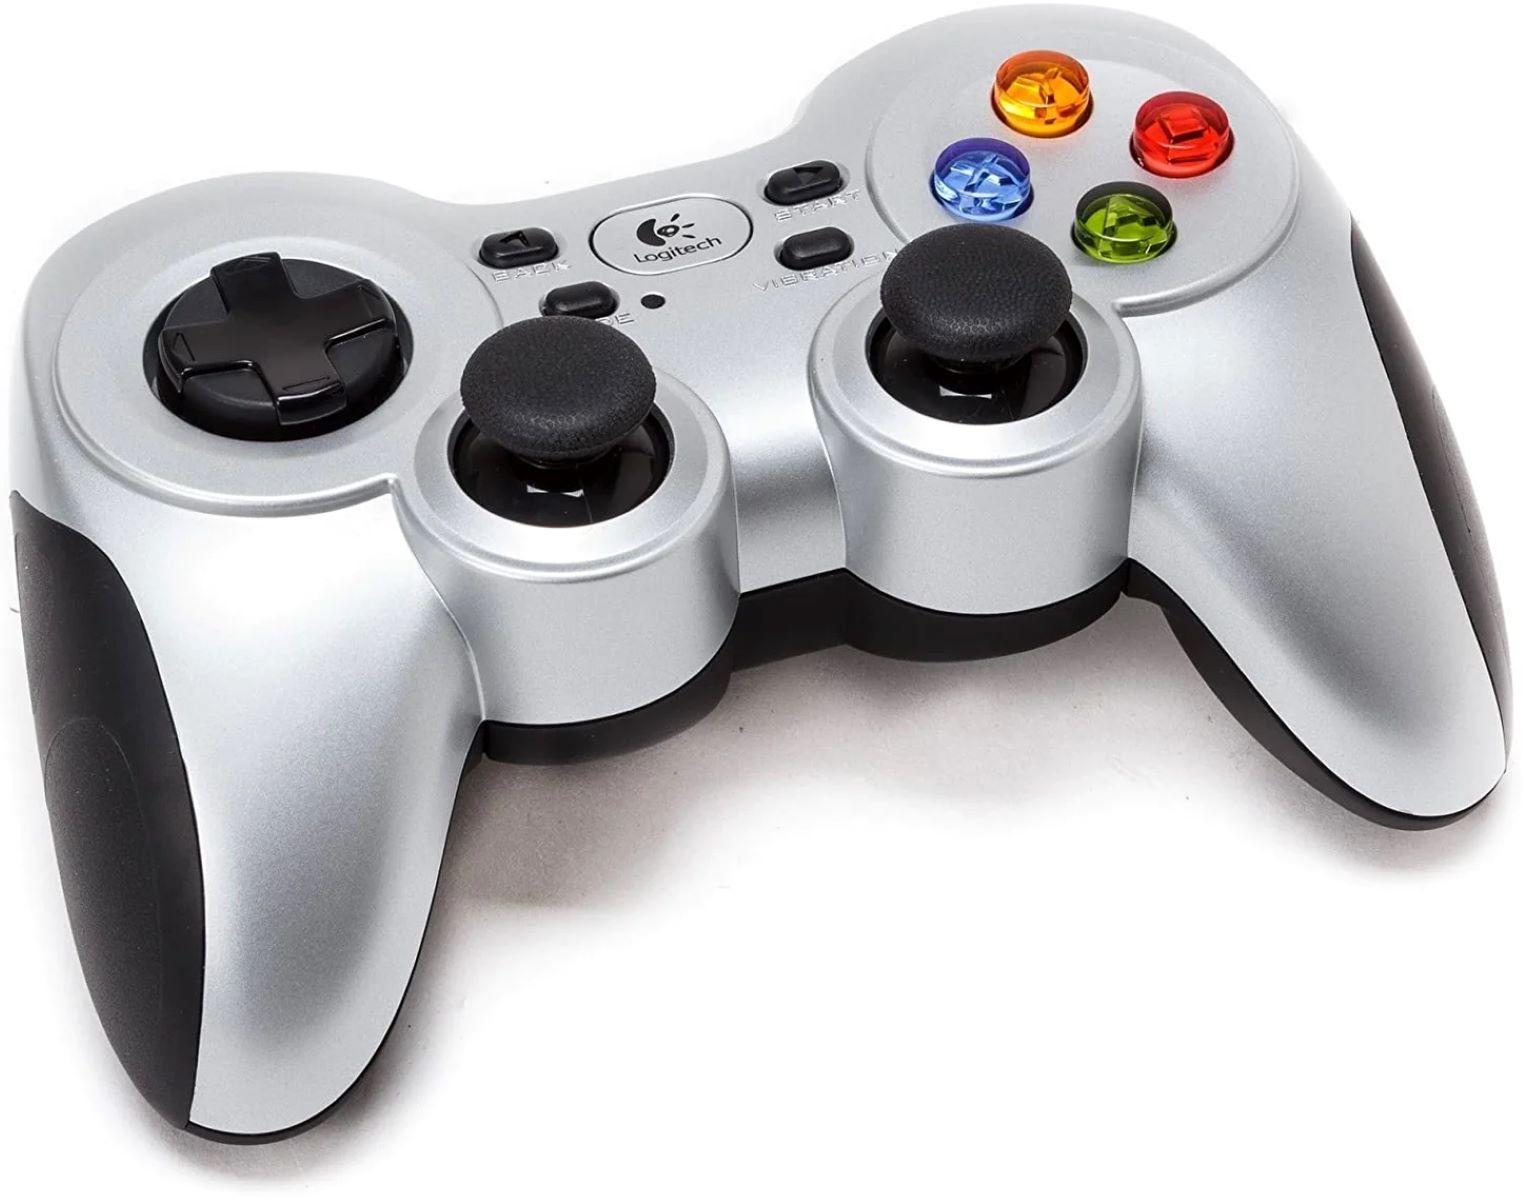
Unboxing your Ipega game controller is the first exciting step towards enhancing your gaming experience. As you carefully open the package, you’ll find the controller nestled snugly within, accompanied by essential accessories to ensure a seamless setup process.
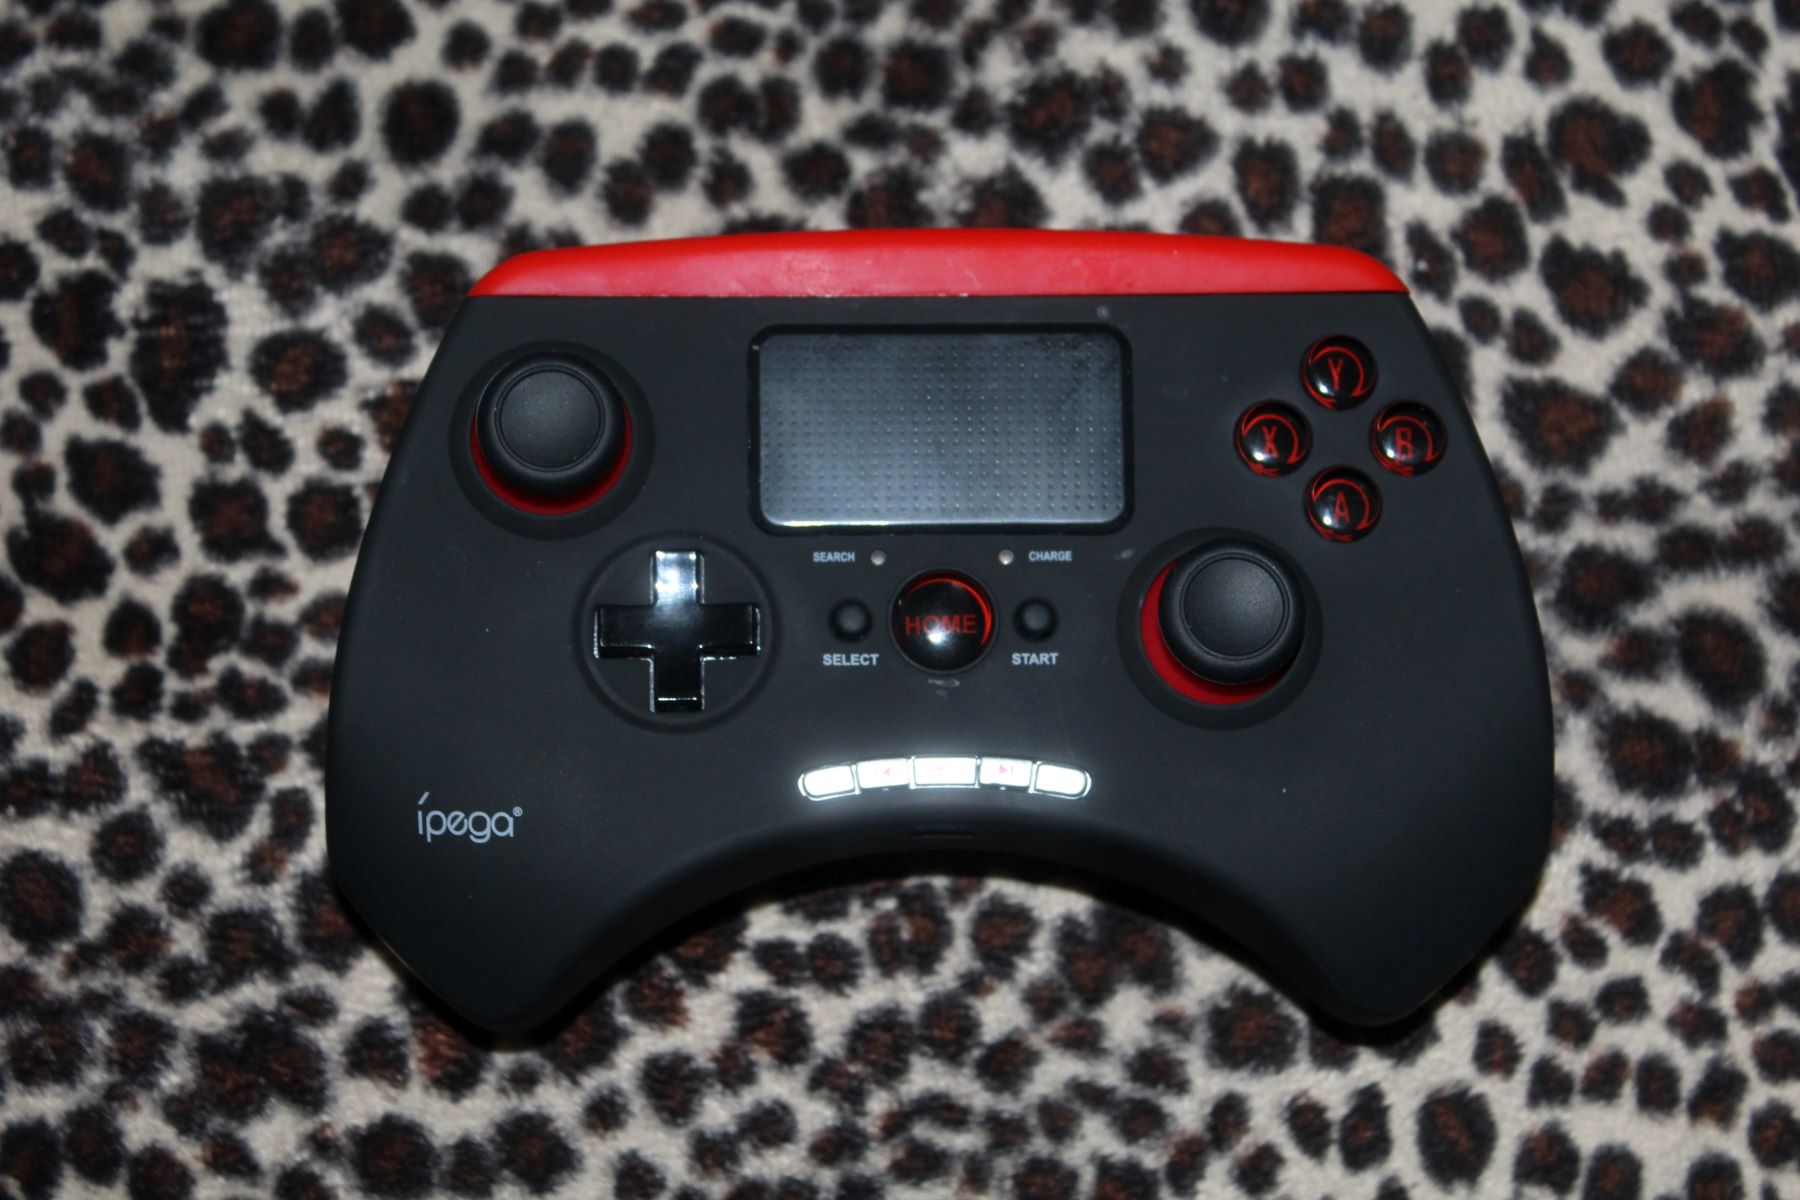
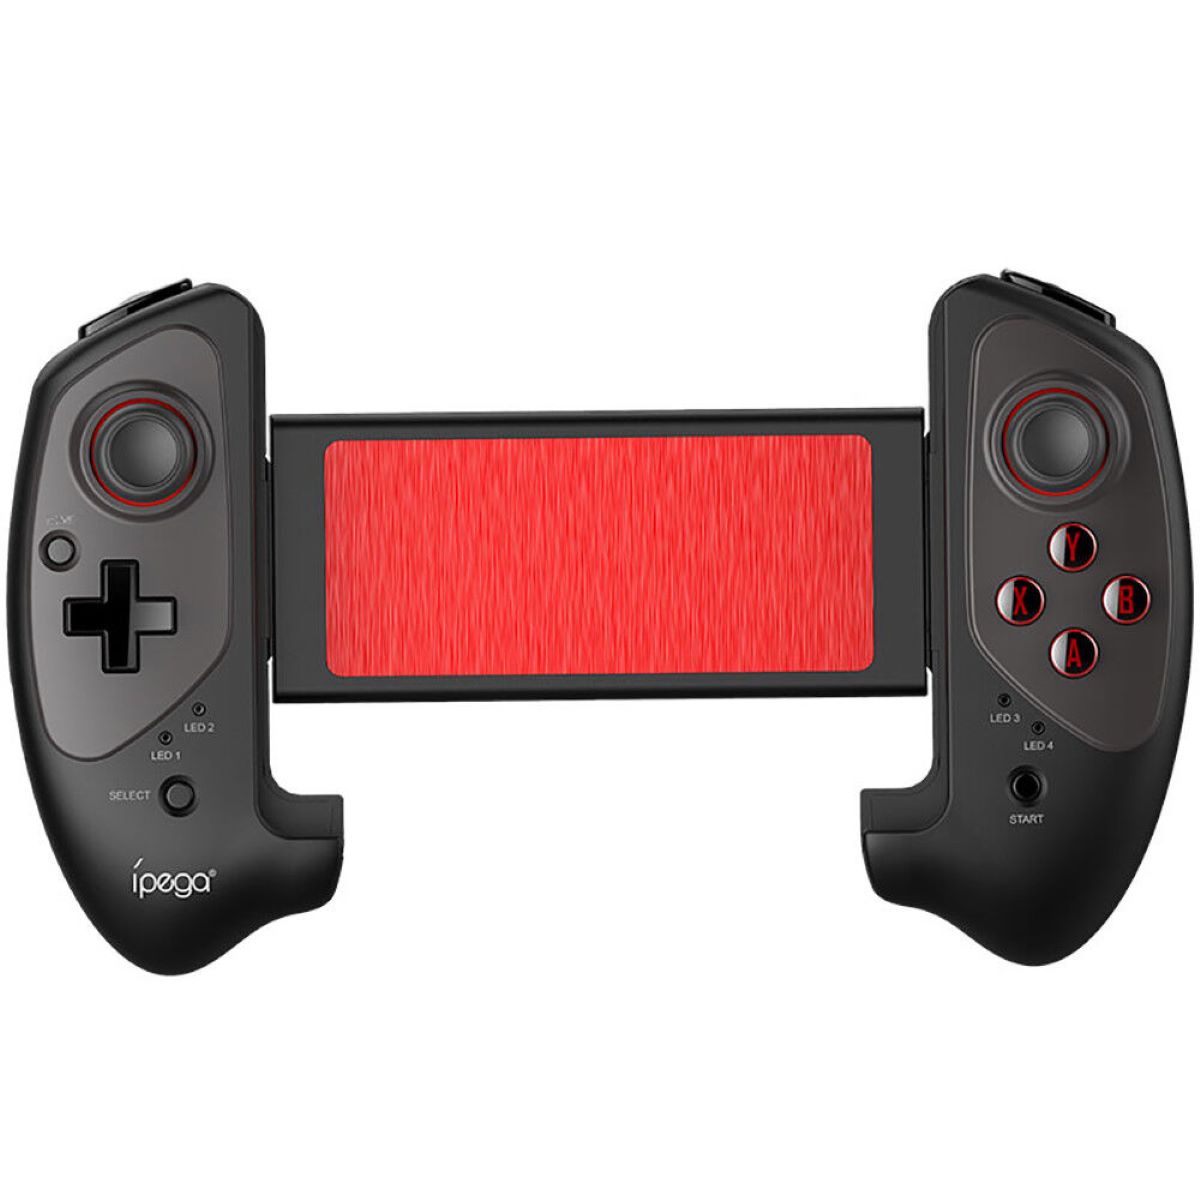
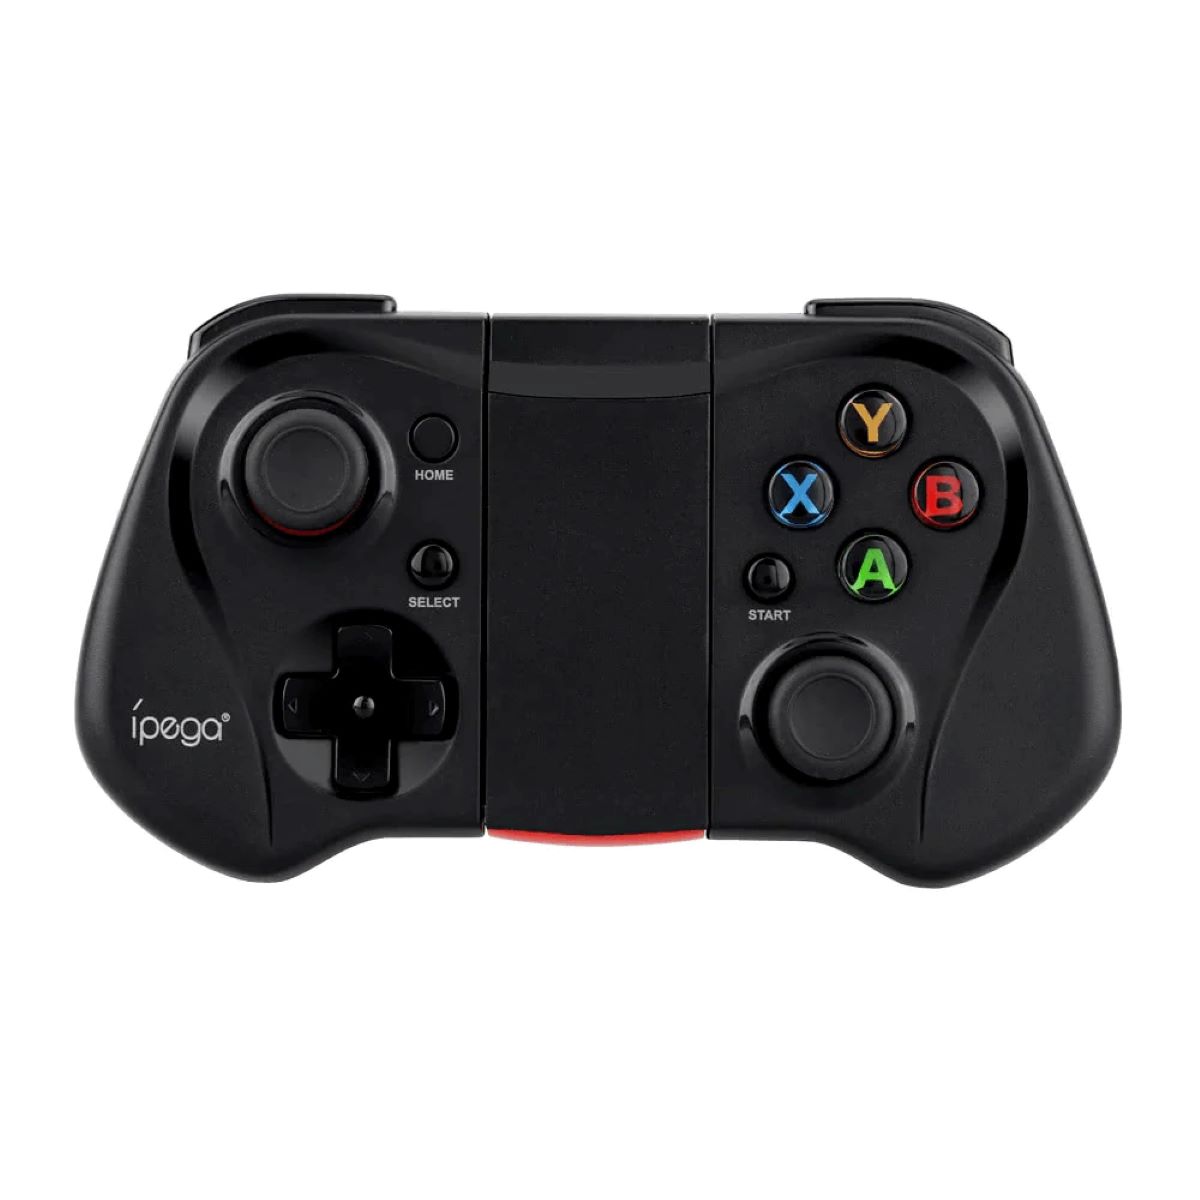
Upon lifting the lid of the box, you’ll be greeted by the sleek and ergonomic design of the Ipega game controller. Its intuitive layout and comfortable grip are immediately noticeable, promising hours of comfortable gameplay ahead. Alongside the controller, you’ll discover a USB charging cable to power up your device, as well as a user manual that provides valuable insights into the controller’s features and functionality.
Take a moment to appreciate the craftsmanship and attention to detail that has gone into creating the Ipega game controller. From its responsive buttons to the precision-engineered joysticks, every element has been designed to enhance your gaming experience and provide unparalleled control over your favorite games.
As you remove the controller from its packaging, you’ll notice the tactile feel of the buttons and triggers, each promising a satisfying click with every press. The ergonomic design ensures that the controller sits comfortably in your hands, allowing for extended gaming sessions without discomfort.
With the Ipega game controller in hand and the accessories at the ready, you’re now prepared to move on to the next step in the setup process. The unboxing experience sets the stage for the exciting journey ahead, where you’ll harness the full potential of the controller to immerse yourself in a world of gaming excitement.
Step 2: Charging the Controller
Before you embark on your gaming adventure with the Ipega game controller, it’s essential to ensure that the device is fully charged. The process of charging the controller is straightforward and ensures that you can enjoy uninterrupted gameplay without the worry of a drained battery.
To begin, locate the USB charging cable that came with the controller during the unboxing process. This cable is designed to provide a convenient and reliable way to charge the controller, allowing you to power up the device using a variety of sources, such as a computer, USB wall adapter, or power bank.
With the charging cable in hand, connect one end to the charging port on the Ipega game controller, ensuring a secure and snug fit. The other end of the cable can then be plugged into a power source, such as a USB port on your computer or a compatible wall adapter. As the controller begins to charge, you may notice a small LED indicator light that signals the charging status, providing a visual cue to indicate when the device is fully charged and ready for use.
While the controller is charging, take this time to explore the user manual and familiarize yourself with the various features and functions it offers. This is also an opportune moment to download any companion apps or software that may enhance the controller’s capabilities, ensuring that you’re fully prepared to unleash its potential once it’s fully charged.
Once the controller has been charged to completion, you’re now ready to move on to the next step in the setup process, where you’ll pair the controller with your preferred gaming device and begin customizing its settings to suit your gaming style.
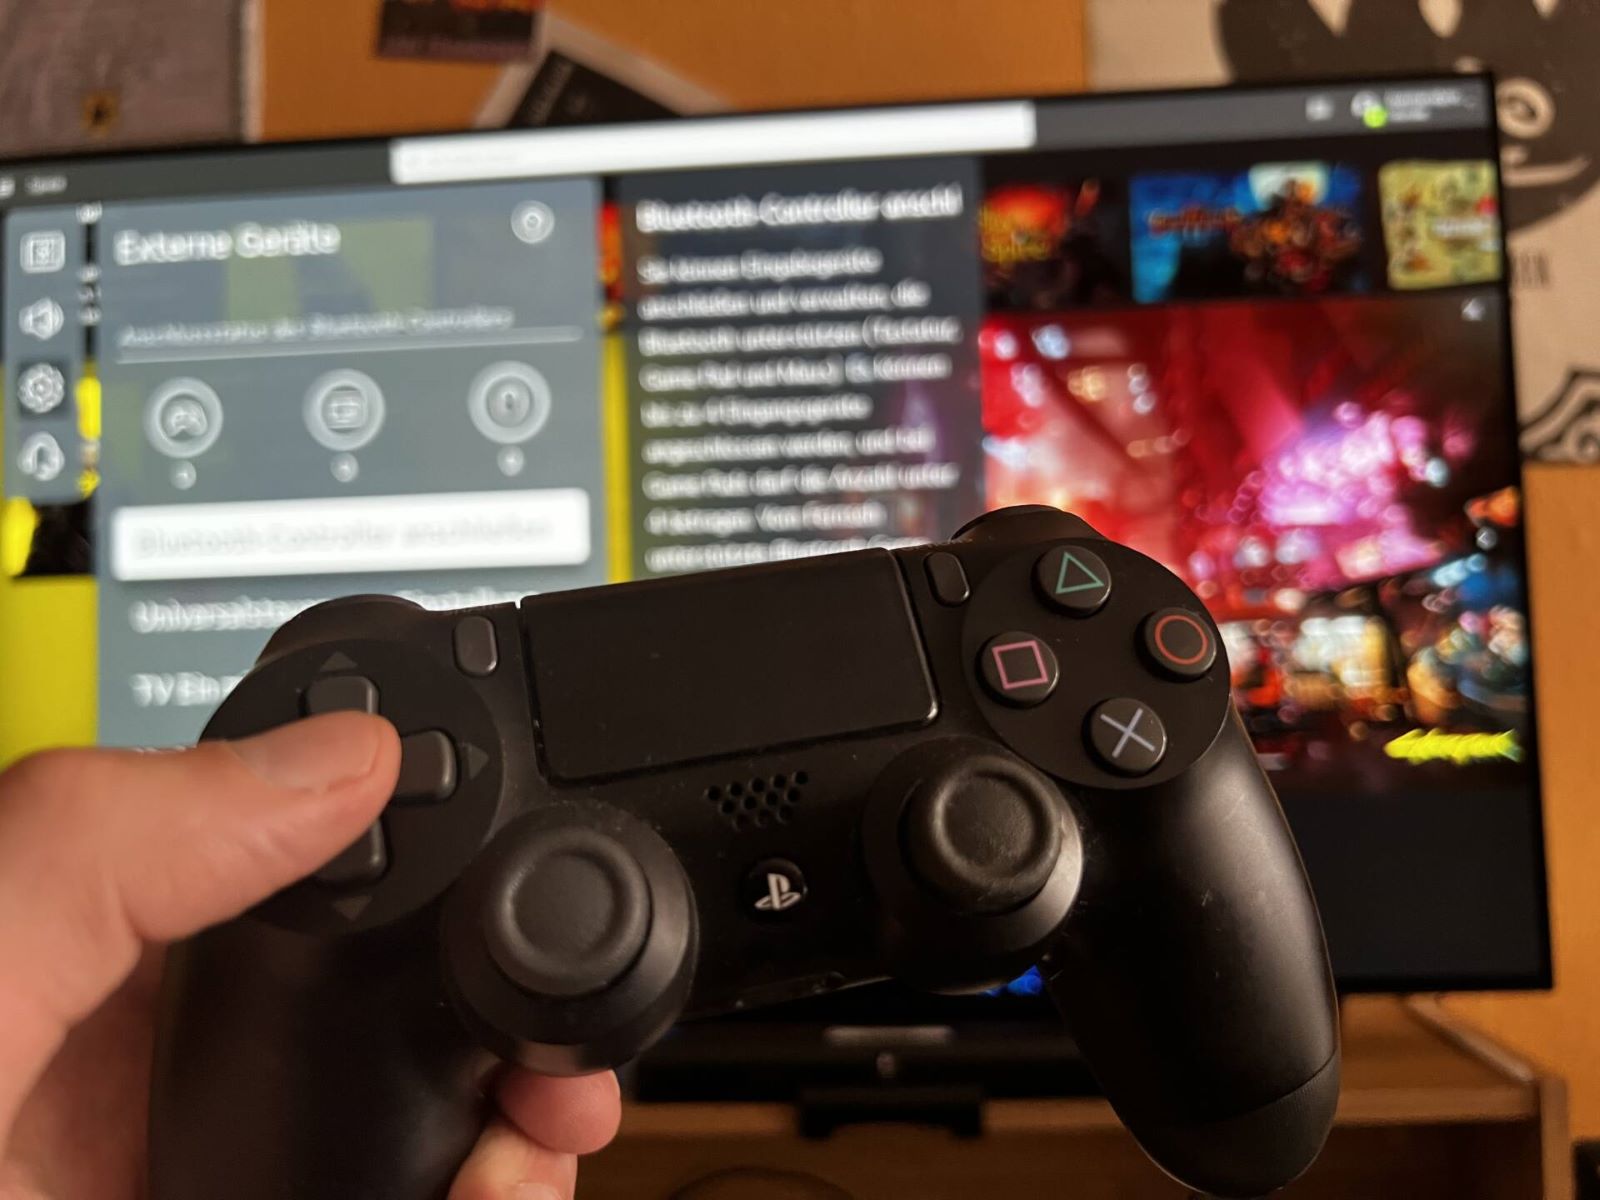
Step 3: Pairing the Controller with Your Device
Pairing your Ipega game controller with your preferred gaming device is a crucial step that sets the stage for seamless and immersive gameplay. Whether you’re using a smartphone, tablet, or PC, the process of pairing the controller is designed to be intuitive and straightforward, ensuring that you can quickly connect and begin enjoying your favorite games with enhanced control and precision.
To initiate the pairing process, ensure that the Ipega game controller is fully charged and powered on. Next, navigate to the Bluetooth settings on your gaming device and enable Bluetooth connectivity. Once Bluetooth is activated, the device will begin searching for nearby Bluetooth-enabled accessories, including the Ipega game controller.
On the Ipega game controller, locate the pairing button, typically found near the top or along the sides of the device. Press and hold this button to initiate the pairing mode, indicated by a flashing LED light or other visual cues. As the controller enters pairing mode, it becomes discoverable to nearby Bluetooth devices, allowing your gaming device to detect and establish a connection with the controller.
Upon detecting the Ipega game controller, your gaming device will display the controller’s name or model number as an available Bluetooth accessory. Select the controller from the list of available devices to initiate the pairing process. Once the pairing is successful, a confirmation message or indicator light on both the controller and your gaming device will signal that the connection has been established.
With the controller successfully paired with your gaming device, you’re now ready to explore the customization options and settings that the controller offers. This step allows you to tailor the controller’s functionality to suit your gaming preferences, ensuring that you have precise control over your gaming experience and can fully immerse yourself in the world of mobile gaming with the Ipega game controller.
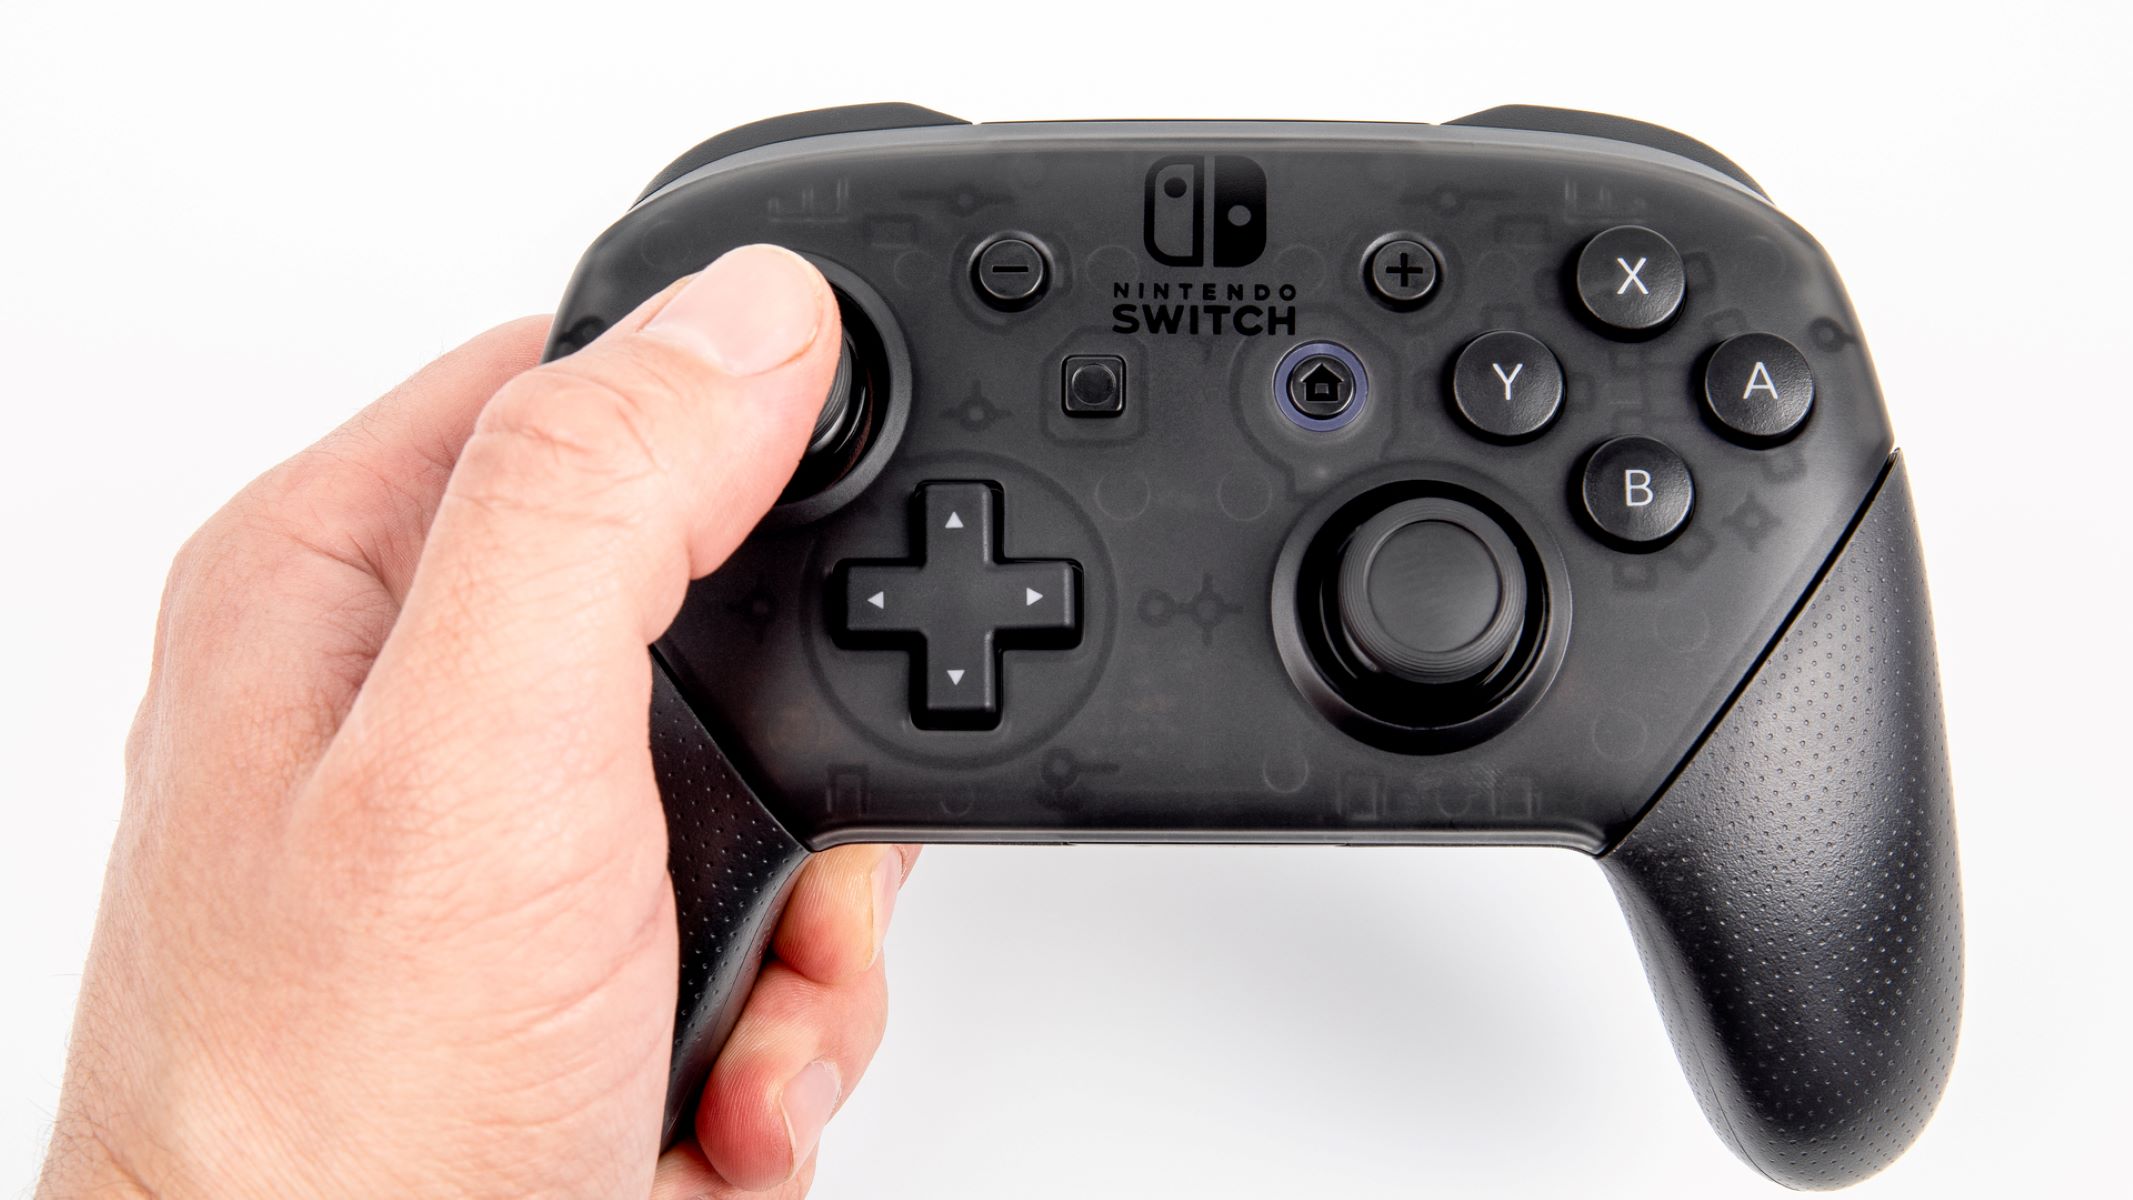
Step 4: Customizing Controller Settings
Customizing the settings of your Ipega game controller is a pivotal aspect of the setup process, allowing you to tailor the controller’s functionality to match your gaming preferences and play style. By delving into the customization options, you can fine-tune the controller’s responsiveness, button mapping, and other features to create a personalized gaming experience that aligns with your unique gaming needs.
Depending on the specific model of the Ipega game controller you own, the customization options may vary, but common features often include the ability to remap buttons, adjust sensitivity levels, and configure additional functions to enhance your gaming experience.
Begin by exploring the companion app or software that accompanies the Ipega game controller, as it often provides a user-friendly interface for customizing settings and accessing advanced features. Within the app, you may find options to create custom profiles for different games, allowing you to switch between personalized configurations with ease.
Button mapping is a particularly valuable customization feature, enabling you to assign specific in-game actions to different buttons on the controller. This flexibility allows you to optimize the controller layout for individual games, ensuring that essential functions are readily accessible and intuitive to use during gameplay.
Additionally, sensitivity adjustments can fine-tune the responsiveness of the controller’s joysticks and triggers, providing precise control over character movement, camera angles, and aiming in games that demand quick reflexes and accuracy. By adjusting sensitivity settings to match your preferences, you can achieve a level of control that enhances your gaming performance.
Exploring the customization options available for your Ipega game controller empowers you to create a gaming experience that feels tailored to your unique play style. By taking the time to personalize the controller’s settings, you’ll be well-equipped to immerse yourself in a world of gaming excitement with enhanced control and precision at your fingertips.
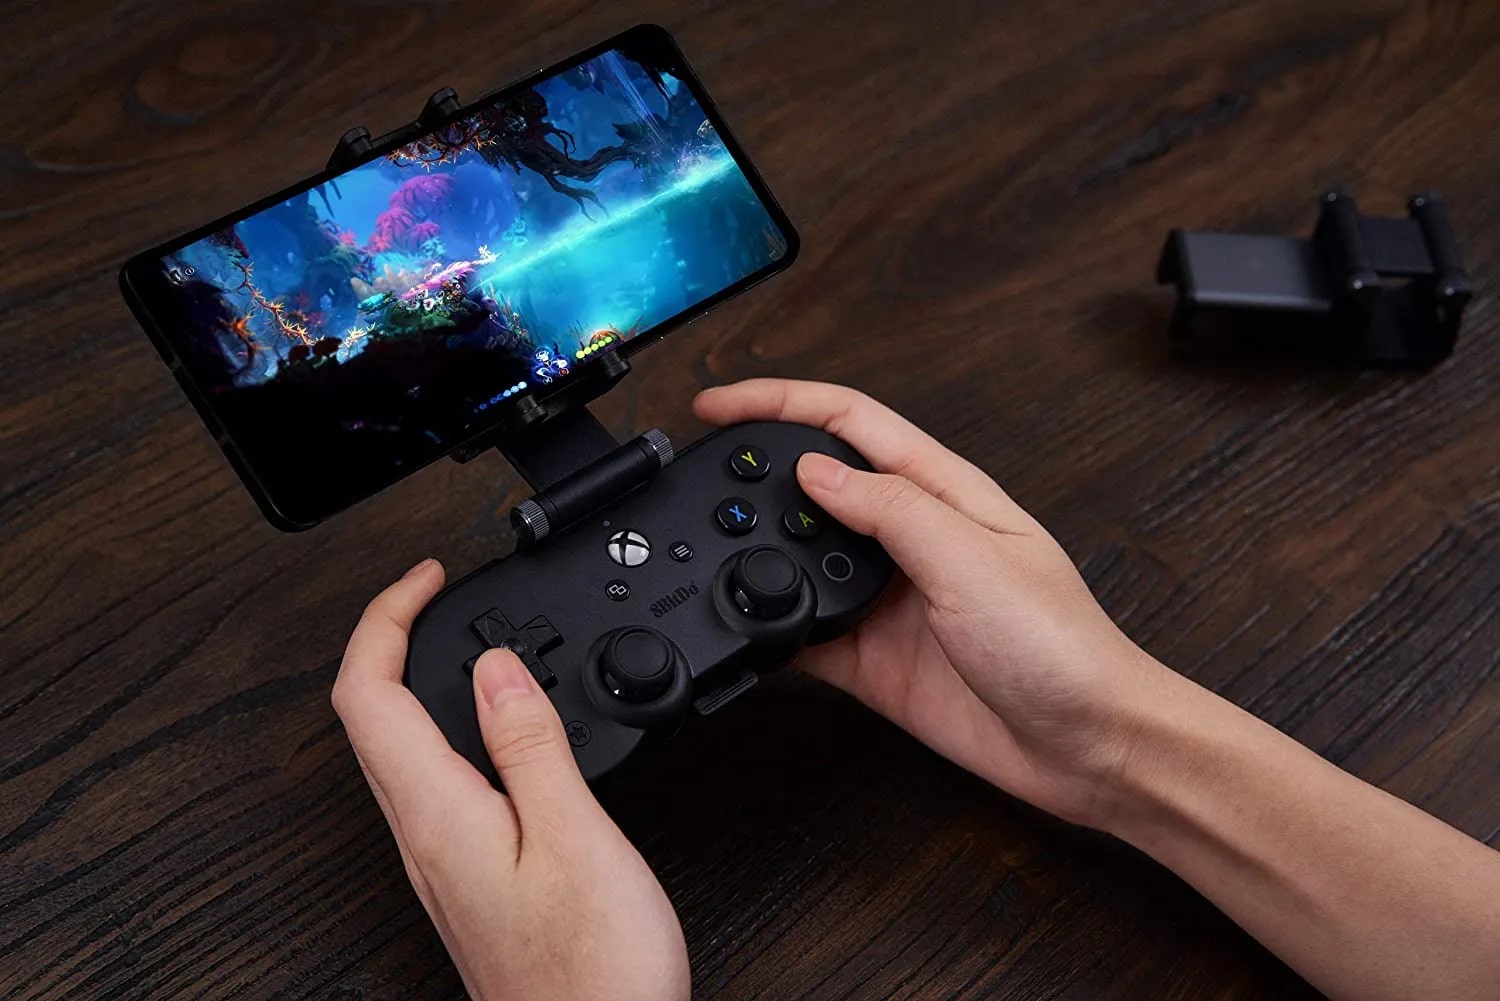
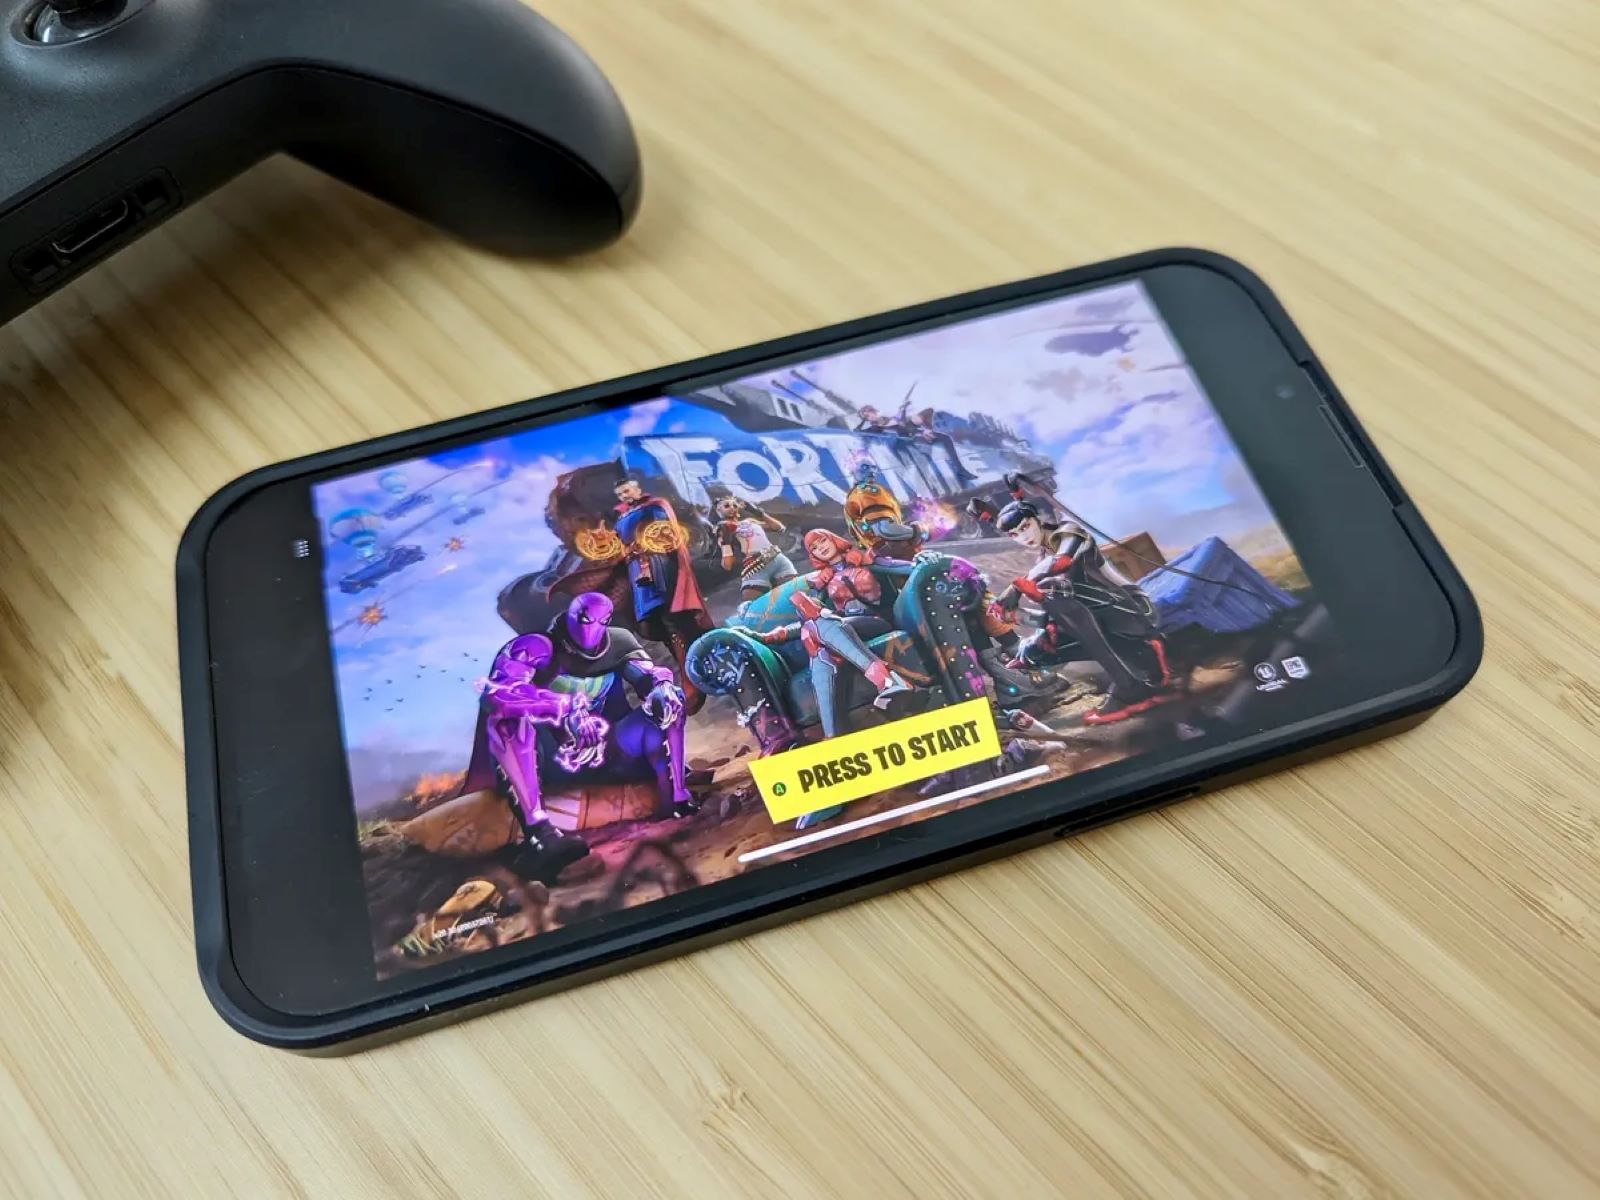
Step 5: Testing the Controller with Games
With the Ipega game controller fully set up and customized to your preferences, it’s time to put it to the test by diving into your favorite games. Whether you’re a fan of action-packed adventures, immersive role-playing games, or fast-paced racing titles, the Ipega game controller is designed to enhance your gaming experience across a wide variety of genres.
Begin by launching a game that is compatible with external controllers on your gaming device. Many popular mobile games offer native support for external controllers, allowing you to seamlessly integrate the Ipega game controller for an enhanced gaming experience.
As you delve into the game, take note of how the controller’s responsive buttons, precise joysticks, and ergonomic design elevate your gameplay. The tactile feedback of the buttons, coupled with the intuitive layout of the controller, ensures that you have precise control over your in-game actions, allowing you to execute maneuvers and commands with ease.
Explore the various functions and actions within the game, from navigating expansive environments to engaging in intense combat or executing intricate maneuvers. The Ipega game controller’s customizable settings and button mapping capabilities come into play, empowering you to tailor the controller’s layout to match the specific demands of the game you’re playing.
Engage in diverse gaming experiences to fully appreciate the versatility of the Ipega game controller. Whether you’re embarking on an epic quest, competing in multiplayer battles, or exploring virtual worlds, the controller’s seamless integration with a wide range of games allows you to immerse yourself in the action with unparalleled control and precision.
By testing the Ipega game controller with a variety of games, you’ll gain a comprehensive understanding of its capabilities and the ways in which it enhances your gaming experience. The controller’s seamless compatibility, coupled with its customizable features, ensures that you can enjoy a diverse array of games with a level of control that elevates your gameplay to new heights.
Conclusion
Congratulations! You’ve successfully embarked on the journey of setting up and optimizing your Ipega game controller, unlocking a world of gaming excitement and immersive experiences at your fingertips. Through the unboxing process, charging the controller, pairing it with your device, customizing its settings, and testing it with various games, you’ve gained valuable insights into harnessing the full potential of this versatile gaming accessory.
The unboxing experience provided a glimpse into the sleek and ergonomic design of the Ipega game controller, setting the stage for the exciting adventures that await. Charging the controller ensured that you’re equipped with uninterrupted gameplay sessions, while the pairing process established a seamless connection between the controller and your preferred gaming device.
Customizing the controller’s settings allowed you to tailor its functionality to match your unique gaming preferences, providing a level of control and responsiveness that enhances your gaming performance. Finally, testing the controller with a variety of games showcased its versatility and seamless integration across different gaming genres, highlighting its ability to elevate your gaming experiences.
As you continue to explore the world of mobile gaming with your Ipega game controller, remember to stay updated with any firmware updates or new features that may further enhance your gaming experience. Additionally, don’t hesitate to explore additional companion apps or software that may offer advanced customization options, further tailoring the controller to your specific gaming needs.
By mastering the setup and optimization of your Ipega game controller, you’ve positioned yourself to enjoy countless hours of gaming excitement, all with the precision and control that the controller provides. Whether you’re engaging in intense battles, embarking on epic quests, or competing in thrilling races, the Ipega game controller is your trusted companion, ready to elevate your gaming adventures to new heights.
So, with your Ipega game controller in hand and a world of gaming possibilities at your fingertips, it’s time to immerse yourself in the captivating realms of virtual worlds, epic battles, and thrilling challenges. Let the controller be your guide as you navigate through the immersive experiences that mobile gaming has to offer, all while enjoying the unparalleled control and precision that the Ipega game controller delivers.