Introduction
Gaming on the PC has evolved to be a popular choice for gamers around the world. With the rise of digital distribution platforms like Steam, PC gaming offers a wide array of titles and a vibrant community. One aspect that can greatly enhance the gaming experience on PC is the use of a controller. While there are many controllers available, Logitech controllers are known for their quality and reliability.
Logitech, a renowned name in the gaming industry, offers a range of controllers designed to provide seamless gameplay and precise control. Whether you’re a casual gamer or a competitive player, using a Logitech controller on Steam can bring a new level of immersion to your gaming sessions.
This article will guide you through the process of setting up and configuring your Logitech controller on Steam. We will cover the necessary steps to install the Logitech Gaming Software, connect your controller to your PC, and configure the controller settings within the Steam platform. Additionally, we will address common troubleshooting issues that you may encounter along the way.
By the end of this article, you will have the knowledge and tools to seamlessly integrate your Logitech controller into your PC gaming experience and fully enjoy the wide range of games available on Steam.
Overview of Logitech Controllers
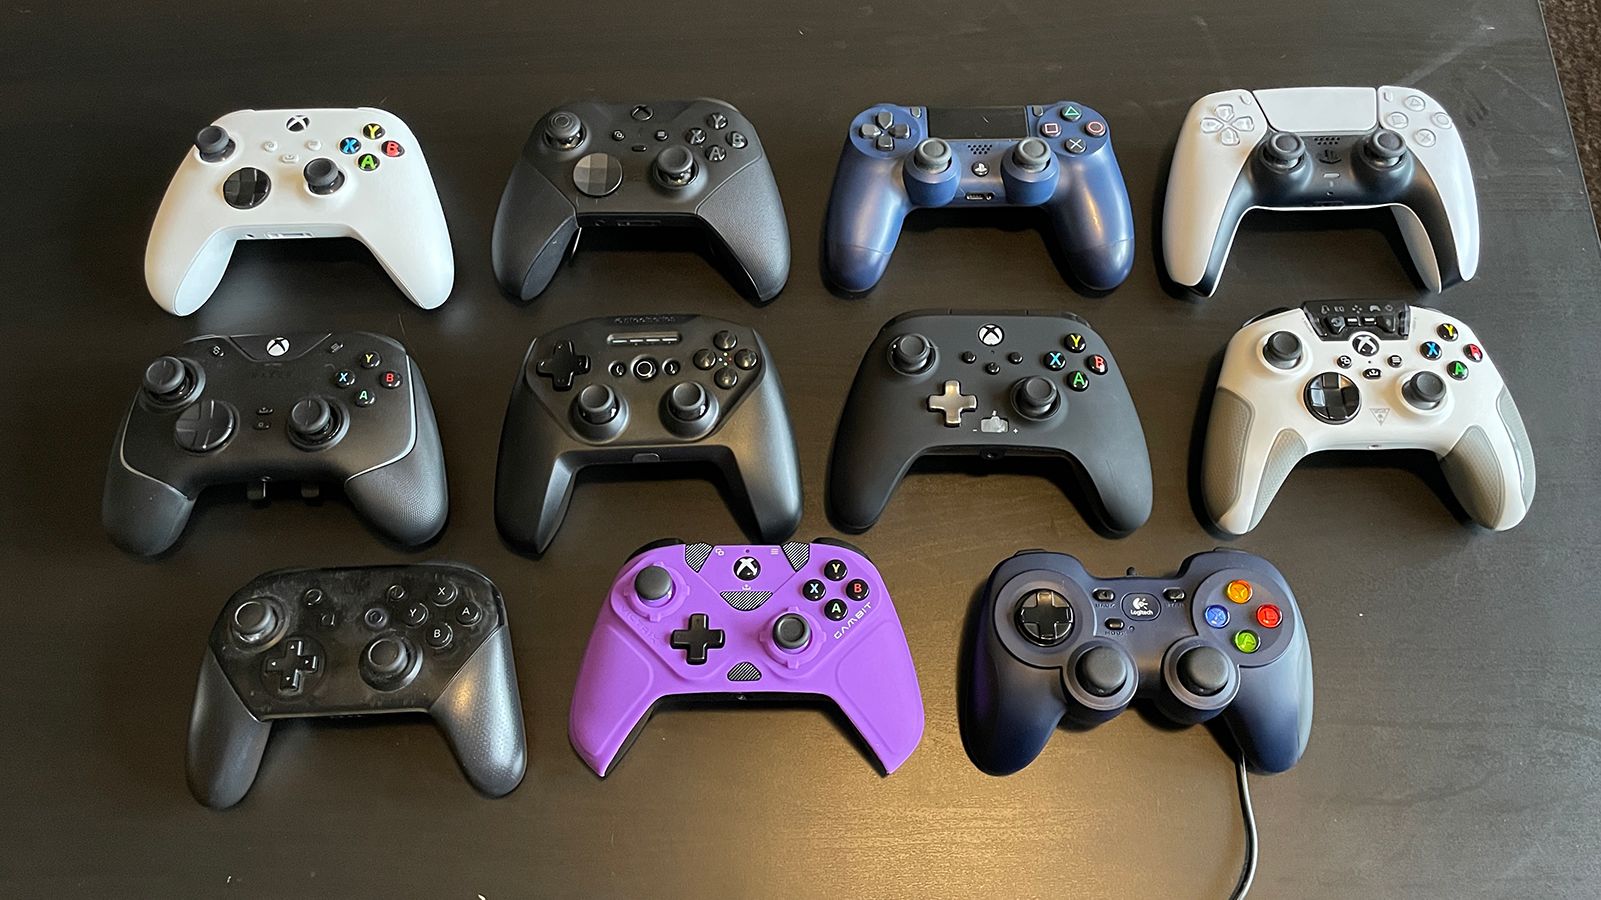
Logitech offers a diverse range of controllers specifically designed for gaming. Each controller is built to cater to different gaming preferences and needs, ensuring that there is an option available for every type of gamer. Let’s take a closer look at some popular Logitech controllers.
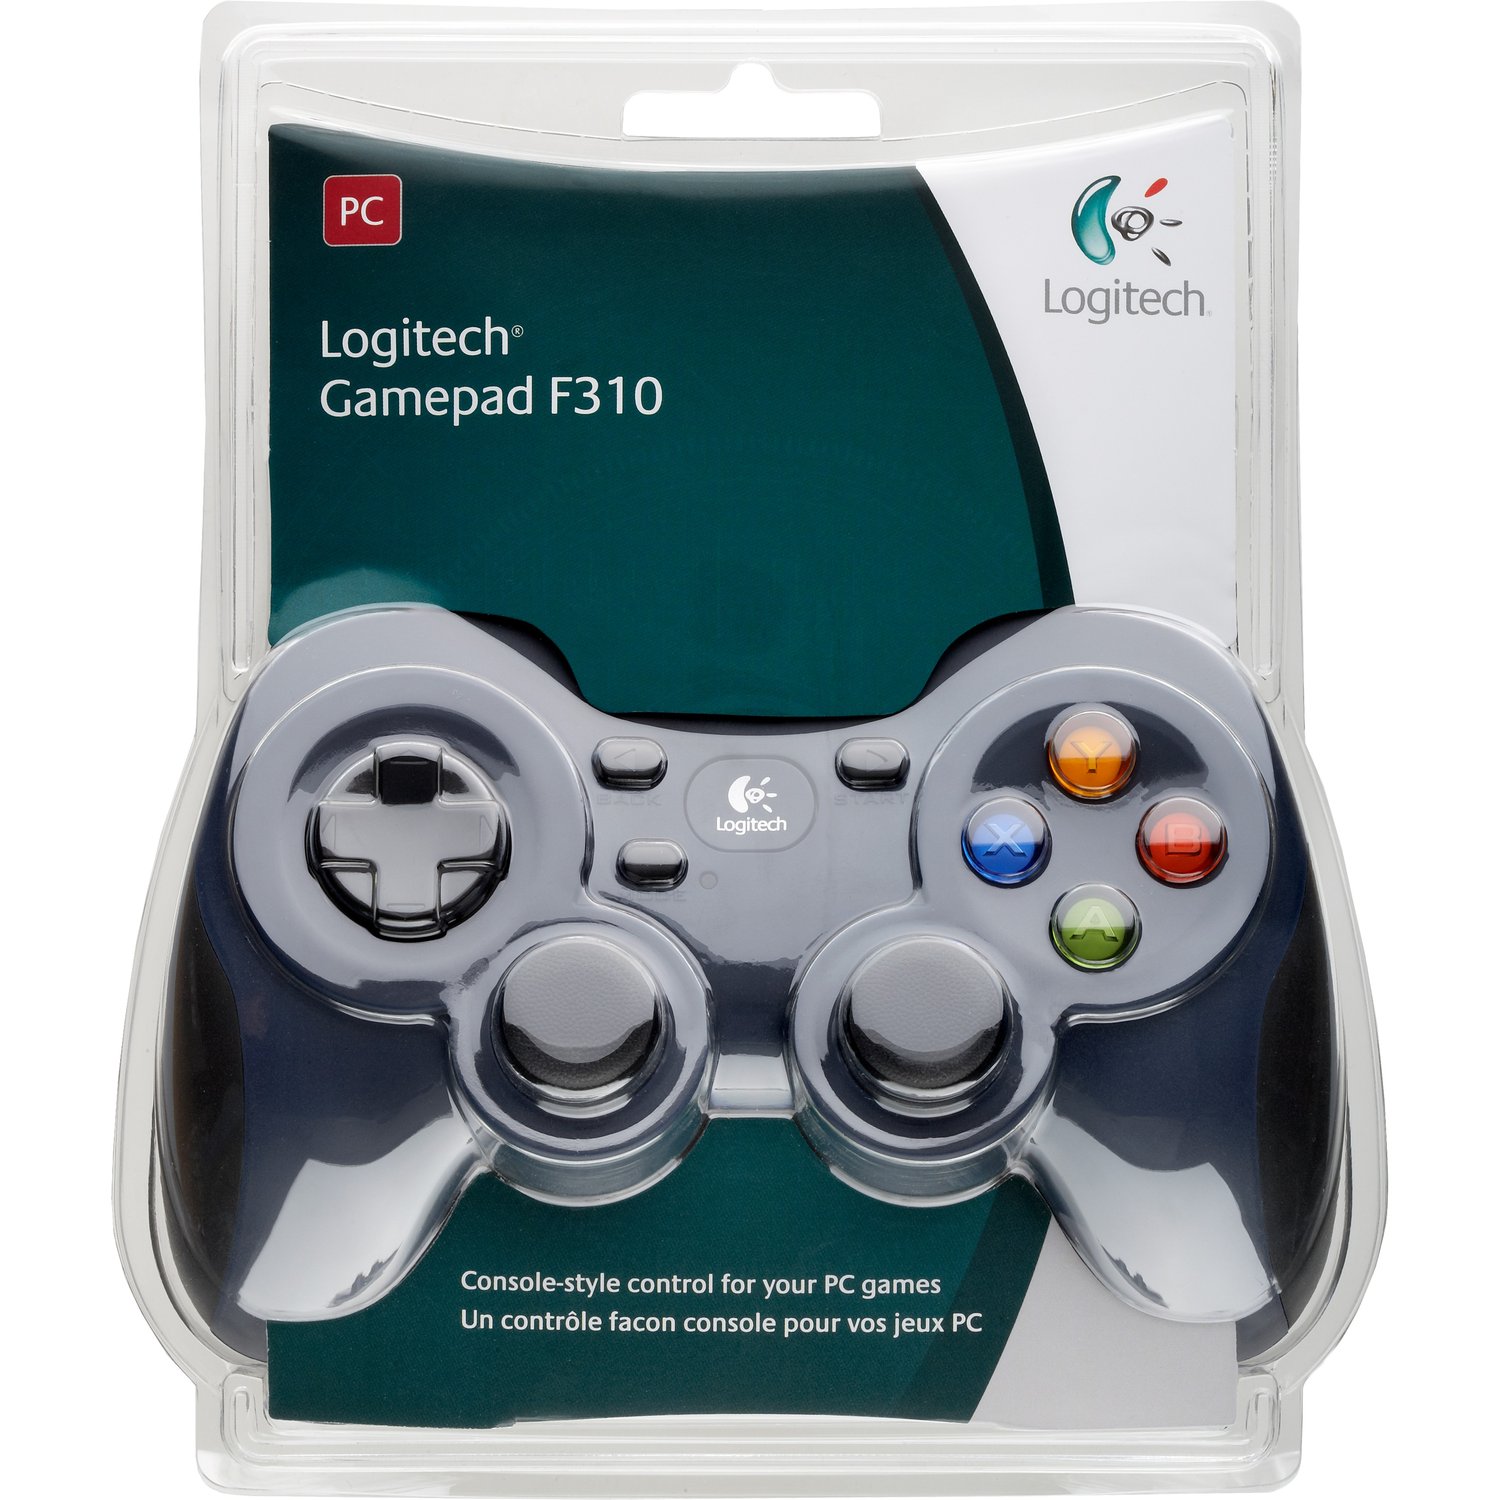
Logitech F310: The Logitech F310 is a versatile controller that offers a familiar layout similar to a console controller. It features a comfortable grip, responsive buttons, and precise analog sticks. The F310 is compatible with both Windows and Steam, making it an excellent choice for gamers seeking a reliable and affordable controller.
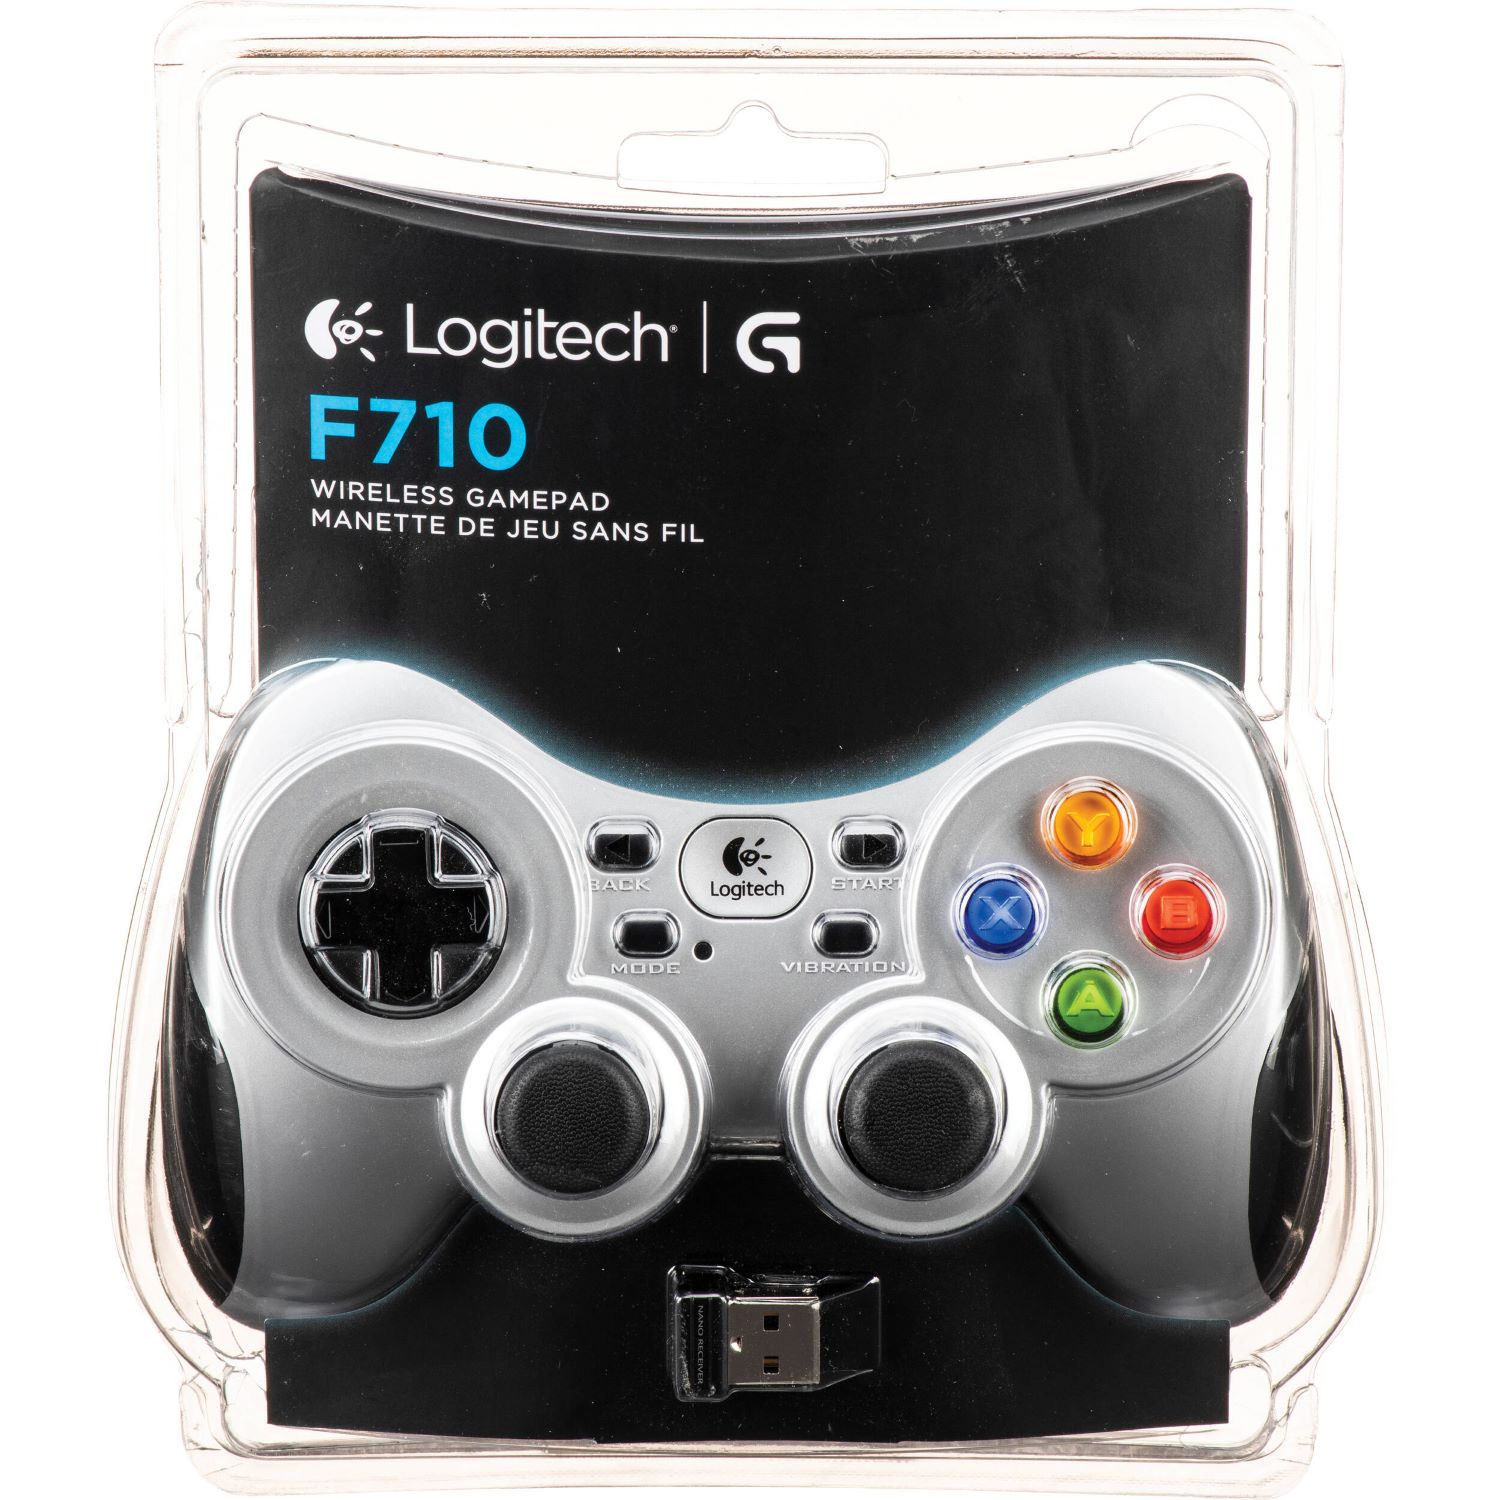
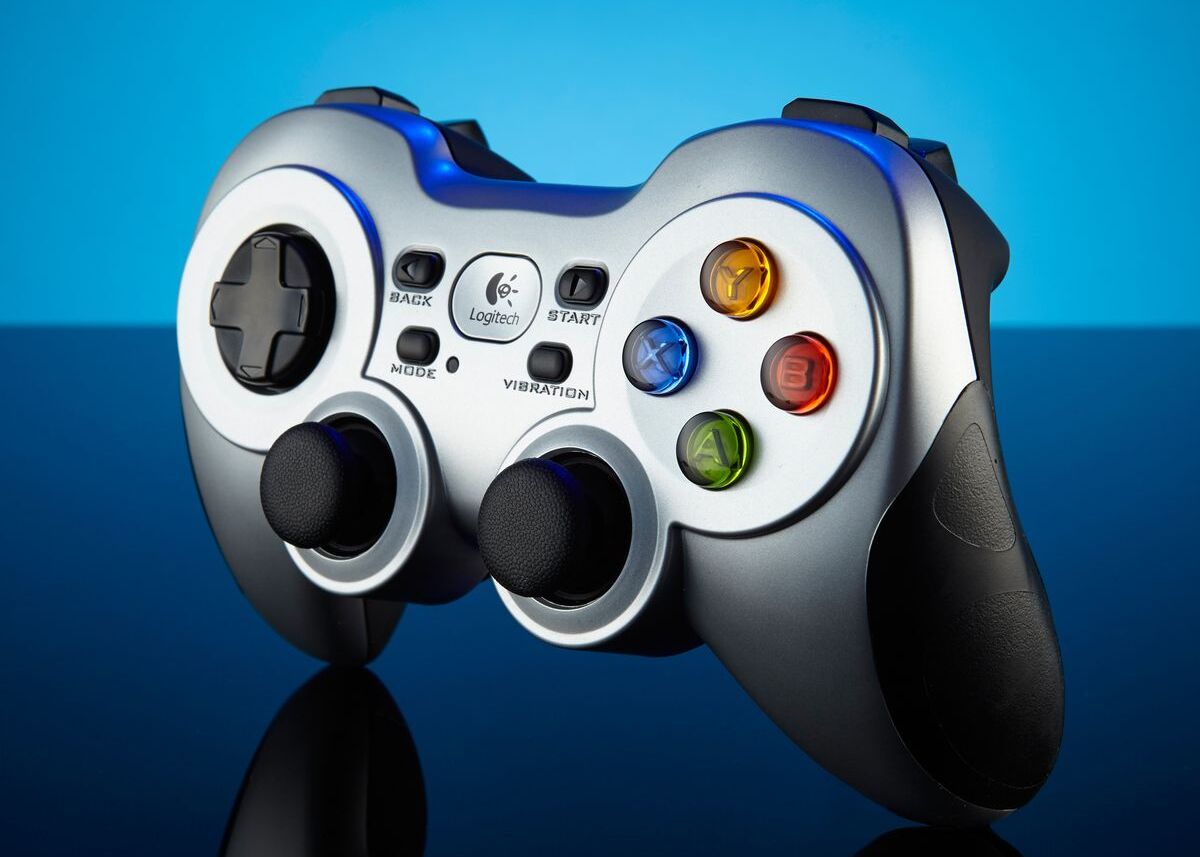
Logitech F710: The Logitech F710 is an advanced wireless controller that offers the freedom to play without the constraints of cables. With a wireless range of up to 10 meters, this controller allows for comfortable gameplay from any part of the room. The F710 also features dual vibration motors for enhanced immersion and supports a wide range of games on Steam.
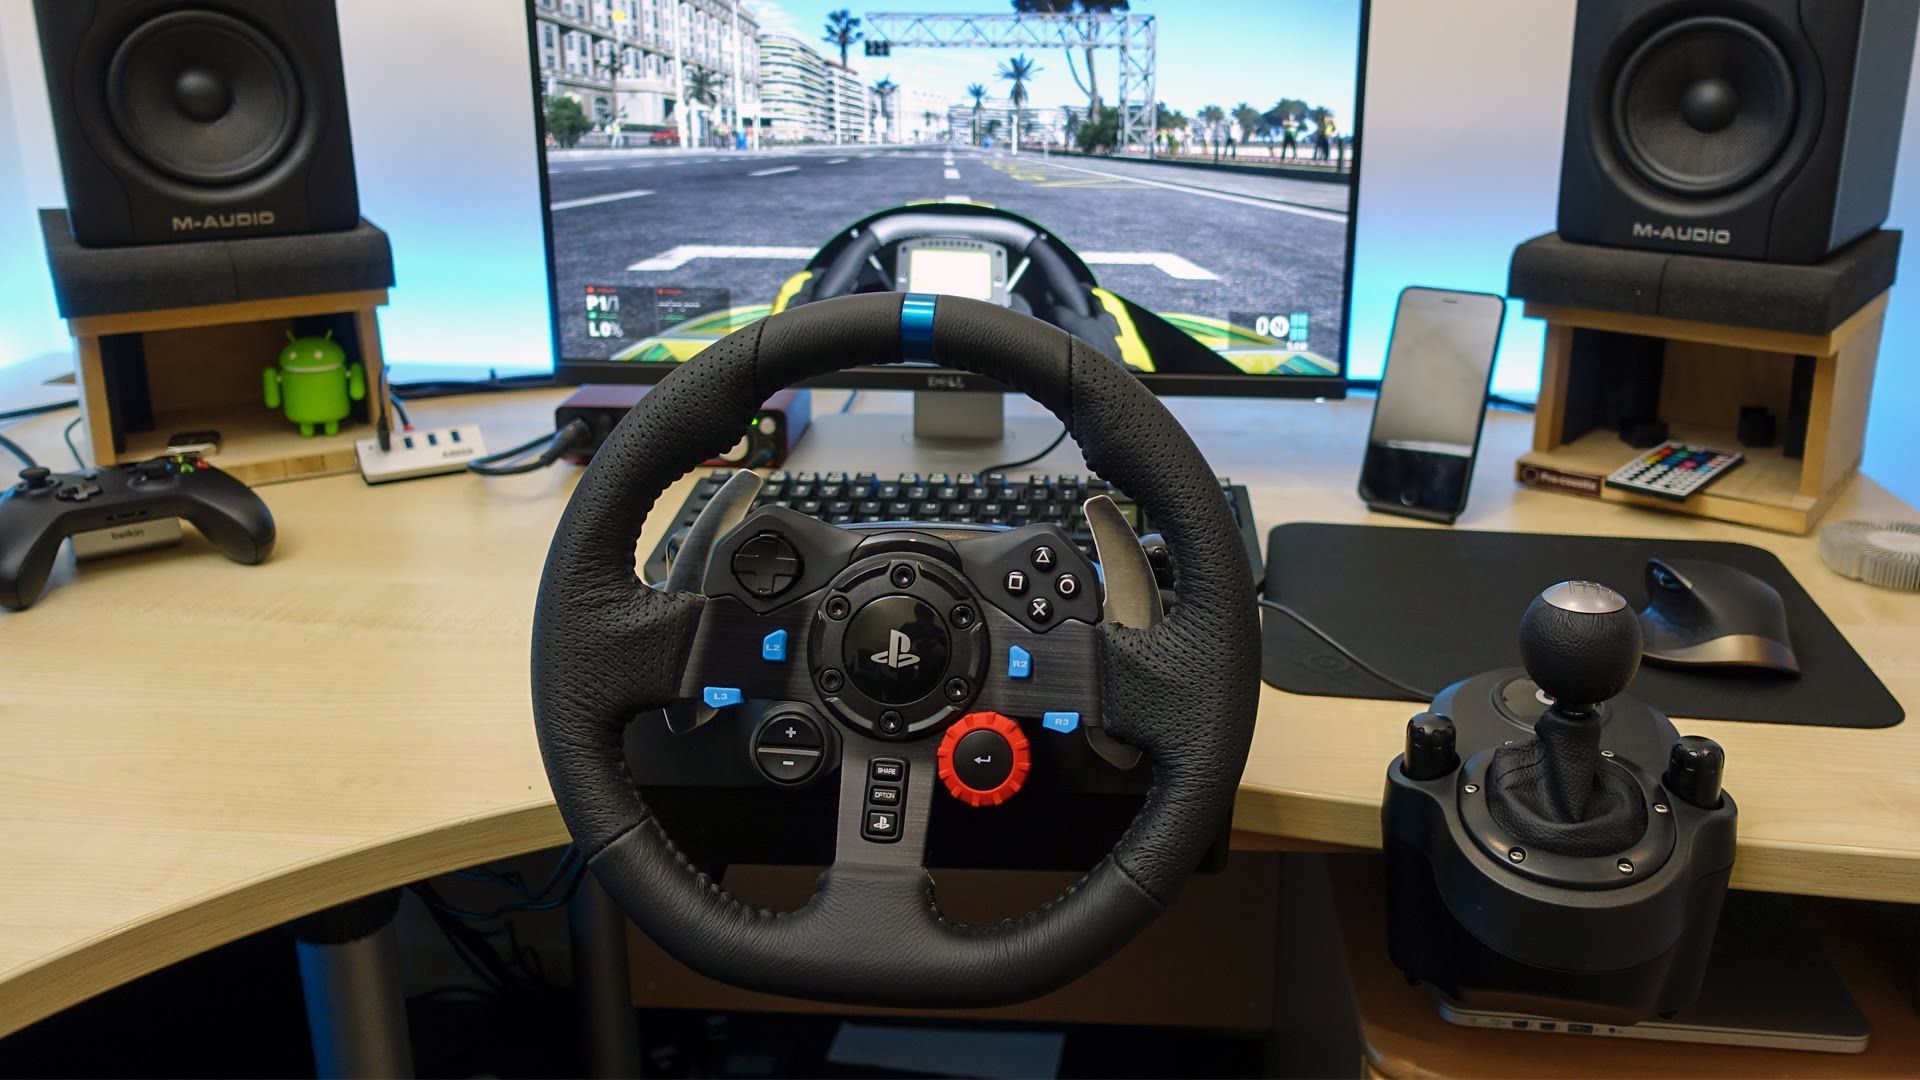
Logitech G29/G920: The Logitech G29 (for PlayStation) and G920 (for Xbox) are popular racing wheel and pedal sets. These high-quality controllers are designed to provide a realistic driving experience, complete with force feedback and responsive pedals. Whether you’re a casual racing enthusiast or a hardcore sim racer, the G29/G920 delivers unparalleled precision and immersion.
Logitech F310: The Logitech F310 is a versatile controller that offers a familiar layout similar to a console controller. It features a comfortable grip, responsive buttons, and precise analog sticks. The F310 is compatible with both Windows and Steam, making it an excellent choice for gamers seeking a reliable and affordable controller.
Logitech G Pro: The Logitech G Pro is a premium controller tailored for esports and competitive gaming. It offers a lightweight and ergonomic design coupled with customizable buttons and triggers. With its high-performance features, the G Pro ensures every input is delivered with precision and speed, giving gamers a competitive edge.
These are just a few examples of the wide range of Logitech controllers available for gamers. Whether you prefer a traditional layout, wireless convenience, or specialized controllers for specific game genres, Logitech has you covered. Now that we have an overview of the Logitech controller options, let’s move on to setting up your controller on Steam.
Setting Up Logitech Controller on Steam
Before you can start using your Logitech controller with Steam, there are a few initial setup steps to follow. Let’s go through the process step by step.
Step 1: Install Logitech Gaming Software
The Logitech Gaming Software is essential for configuring your Logitech controller and ensuring compatibility with Steam. Visit the Logitech website and download the appropriate version of the software for your controller model. Follow the on-screen instructions to complete the installation.
Step 2: Connecting the Logitech Controller to Your PC
Once the Logitech Gaming Software is installed, connect your Logitech controller to your PC using the provided USB cable or wireless receiver, depending on the model. Ensure that the controller is securely plugged in or the wireless receiver is connected to an available USB port.
Step 3: Configuring Logitech Controller Settings in Steam
Launch the Steam client on your PC and log in to your account. Click on the “Steam” menu in the top left corner and select “Settings” from the dropdown menu. In the Settings window, click on the “Controller” tab.
In the Controller settings, make sure that the checkbox for “Generic Gamepad Configuration Support” is checked. This will enable Steam to recognize your Logitech controller. Additionally, you can customize the controller settings by clicking on the “General Controller Settings” button and adjusting options such as vibration intensity and button assignments.
Step 4: Testing the Logitech Controller in Steam
To ensure that your Logitech controller is working correctly, select a game from your Steam library that supports controller input. Launch the game and navigate to the settings menu. Look for an option to enable controllers and select the Logitech controller as the preferred input device.
Start playing the game and test the controller’s buttons, triggers, and analog sticks to ensure they are functioning as expected. If you encounter any issues, review the troubleshooting section of this article for possible solutions.
With the steps above, you should now have successfully set up your Logitech controller on Steam. Take some time to explore different games and genres that best suit your gaming preferences. Whether you’re playing action-packed adventures, immersive racing simulations, or competitive multiplayer games, your Logitech controller will provide you with the control and precision needed for an enhanced gaming experience.
Installing Logitech Gaming Software
The Logitech Gaming Software is a crucial component for configuring and customizing your Logitech controller. By following the steps below, you’ll be able to install the software and start using your Logitech controller with ease.
Step 1: Visit the Logitech Official Website
Open your preferred web browser and visit the official Logitech website. Navigate to the “Support” or “Downloads” section of the website to find the Logitech Gaming Software.
Step 2: Choose the Correct Version
Ensure that you select the correct version of the Logitech Gaming Software that matches your controller and operating system. Logitech provides software for both Windows and Mac systems, so choose accordingly.
Step 3: Download the Logitech Gaming Software
Once you’ve selected the appropriate software version, click on the download button. The software package will be downloaded onto your computer.
Step 4: Install the Logitech Gaming Software
Locate the downloaded setup file on your computer and double-click to launch the installation wizard. Follow the on-screen instructions to complete the installation process. Make sure to read and accept the End User License Agreement (EULA) before proceeding.
Step 5: Connect Your Logitech Controller
After the installation is complete, connect your Logitech controller to your computer using the provided USB cable or wireless receiver, depending on the model. Ensure that the controller is properly connected and detected by your computer.
The Logitech Gaming Software will automatically recognize your Logitech controller and provide you with options to customize its settings. You can configure button mappings, adjust sensitivity levels, and even create custom profiles for different games.
With the Logitech Gaming Software installed and your Logitech controller connected, you are now ready to unleash the full potential of your gaming experience. Take some time to explore the various settings and personalize your controller to suit your preferences. This software ensures that your Logitech controller works seamlessly with your PC, providing you with precise control and an enhanced gaming experience.
Connecting Logitech Controller to PC
Connecting your Logitech controller to your PC is a simple and straightforward process. Follow the steps below to ensure a successful connection.
If you have a wired Logitech controller:
Plug one end of the USB cable into the controller and the other end into an available USB port on your computer. Make sure the connection is secure.
If you have a wireless Logitech controller:
Connect the wireless receiver to an available USB port on your computer. Press the Connect button on the receiver and then press the Connect button on the controller. The LED lights on the receiver and controller will indicate a successful connection.
Once the Logitech controller is connected to your PC, it should be recognized by the operating system. You can verify this by checking the device manager on your computer.
If your controller is not being recognized, try the following troubleshooting steps:
- Ensure that the USB cable or wireless receiver is properly connected and functioning.
- Try using a different USB port on your computer.
- Restart your computer and try connecting the controller again.
- Make sure that the Logitech Gaming Software is installed and up to date.
- Check if there are any driver updates available for your Logitech controller on the Logitech website.
If you have followed these steps and are still encountering issues, it’s recommended to contact Logitech support for further assistance.
Once your Logitech controller is successfully connected to your PC, you can start using it to play games on Steam. Just launch a game that supports controller input, configure the controller settings within the game, and you’re ready to enjoy a more immersive gaming experience with your Logitech controller.
Whether you prefer the wired or wireless option, Logitech controllers offer flexibility and precision for a variety of gaming genres. Take the time to explore different games and find the one that best suits your gaming preferences. With your Logitech controller connected, get ready to embark on exciting gaming adventures with enhanced control and responsiveness.
Configuring Logitech Controller Settings in Steam
Once you have successfully connected your Logitech controller to your PC, it’s time to configure its settings within the Steam platform. Follow the steps below to ensure optimal performance and customization.
Step 1: Launch Steam and Access Settings
Open the Steam client on your PC and log in to your Steam account. Once logged in, click on the “Steam” menu located in the top left corner of the screen. From the dropdown menu, select “Settings”.
Step 2: Navigate to Controller Settings
In the Settings window, click on the “Controller” tab located on the left-hand side.
Step 3: Enable Generic Gamepad Configuration Support
In the Controller settings, ensure that the checkbox for “Generic Gamepad Configuration Support” is checked. This enables Steam to recognize your Logitech controller and provides compatibility with a wide range of games.
Step 4: Customize Controller Settings
To customize your Logitech controller settings in Steam, click on the “General Controller Settings” button. Here, you can adjust various options to suit your preferences.
You can modify settings such as:
- Vibration intensity: Adjust the strength of controller vibration feedback.
- Button assignments: Reassign buttons to better suit your gaming style.
- Thumbstick sensitivity: Fine-tune the sensitivity of the analog sticks.
- Trackpad configuration (if applicable): Customize the behavior of the trackpad.
- Load and save configurations: Create and save different controller configurations for different games or scenarios.
Take the time to explore these settings and make adjustments based on your personal preferences. Customizing your Logitech controller settings ensures a more comfortable and intuitive gaming experience.
Step 5: Save your Settings
After customizing your Logitech controller settings, click on the “OK” button to save your changes. Your Logitech controller is now configured and ready to use with your Steam games.
It’s worth noting that some games may have additional controller configuration options within their settings menu. Be sure to check each game’s options to fully optimize the control scheme for the best gaming experience.
With your Logitech controller settings configured in Steam, you’re now ready to dive into your favorite games and enjoy precise control and responsiveness. Experiment with different configurations to find what works best for you and elevate your gaming experience to new heights.
Testing Logitech Controller in Steam
Once you have connected and configured your Logitech controller in Steam, it’s time to put it to the test. Follow the steps below to ensure that your Logitech controller is functioning correctly within the Steam platform.
Step 1: Launch a Game
Open Steam and navigate to your game library. Choose a game that supports controller input and click on the “Play” button to launch the game.
Step 2: Access Game Settings
Once the game is launched, access the game settings or options menu. Look for a section that allows you to configure the input or controller settings.
Step 3: Enable Controller Support
In the game settings, make sure that the option to enable controller support is selected. This allows the game to recognize and respond to your Logitech controller input.
Step 4: Customize Controller Settings (Optional)
Some games provide additional options to customize controller settings within their own settings menu. Take a moment to explore these options and adjust them according to your preferences.
Step 5: Test the Logitech Controller
Begin playing the game and test your Logitech controller to ensure all buttons, triggers, and analog sticks are functioning correctly. Experiment with different actions and movements to ensure that the controller responds accurately and smoothly.
Pay attention to any specific features supported by your Logitech controller, such as vibration feedback or additional buttons. These features can greatly enhance your gaming experience and provide a higher level of immersion.
If you encounter any issues during the testing phase, try the following troubleshooting steps:
- Ensure that your Logitech controller is properly connected to your PC.
- Check that the Logitech Gaming Software is installed and up to date.
- Verify that Steam and the game you are playing have the latest updates installed.
- Restart both Steam and the game to refresh the settings.
If the issue persists, consult the game’s support forums or Logitech’s support resources for further assistance.
With thorough testing, you can ensure that your Logitech controller is functioning flawlessly within the Steam platform. Enjoy the seamless control and immersive experience that your Logitech controller brings to your gaming sessions.
Troubleshooting Common Issues
While using a Logitech controller on Steam can greatly enhance your gaming experience, you may occasionally encounter some issues. Here are some common problems that users face and possible solutions to troubleshoot them.
Issue 1: Controller not recognized by Steam
– Check if the controller is securely connected to your PC via USB or if the wireless receiver is properly connected.
– Make sure that you have installed the Logitech Gaming Software and that it is up to date.
– Restart your computer and relaunch Steam to refresh the connection.
– Try using a different USB port on your PC.
Issue 2: Button mapping or sensitivity issues
– Open the Steam Big Picture mode by clicking on the “Big Picture Mode” icon in the top right corner of the Steam client.
– Navigate to the “Settings” menu and select “Controller Settings”.
– Click on the “Calibrate” button and follow the on-screen instructions to recalibrate your controller.
– Verify that the button mappings and sensitivity settings are properly configured within the game’s settings menu.
Issue 3: Vibration not working
– Ensure that vibration feedback is enabled in both the Steam controller settings and the in-game settings if available.
– Check if the vibration function is enabled within the Logitech Gaming Software.
– If using a wireless Logitech controller, try reconnecting the controller to the wireless receiver to re-establish the connection.
Issue 4: Controller drifting or unresponsive analog sticks
– Open the Steam Big Picture mode and navigate to “Settings” > “Controller Settings”.
– Click on “Calibrate” and follow the on-screen instructions to recalibrate the analog sticks.
– Verify that the analog stick dead zones are appropriately set within the Logitech Gaming Software and adjust if necessary.
Issue 5: Game-specific issues
– Some games may not fully support controllers or require additional configuration steps. Check the game’s official forums or support page for any known issues or recommended settings.
– Update the game to the latest version, as developers often release patches to improve controller compatibility.
– Restart both Steam and the game to refresh the settings and ensure proper controller integration.
If you continue to experience issues after following these troubleshooting steps, consider reaching out to Logitech customer support or consulting the Steam community for further assistance. They may have additional insights or specialized knowledge to help resolve any persistent problems.
By addressing these common issues and applying the appropriate solutions, you can ensure a smooth and enjoyable gaming experience with your Logitech controller on Steam.
Conclusion
Integrating your Logitech controller with Steam opens up a world of possibilities for enhancing your gaming experience on PC. The Logitech Gaming Software allows you to customize and configure your controller to suit your preferences, while Steam provides seamless compatibility with a wide range of games. Whether you’re using a wired or wireless Logitech controller, the process of setting it up and connecting it to your PC is straightforward.
By following the steps outlined in this guide, you can ensure a smooth setup process, from installing the Logitech Gaming Software to connecting your Logitech controller to your PC and configuring its settings within Steam. Testing your controller in-game allows you to verify its functionality and make any necessary adjustments to button mappings or sensitivity settings.
Troubleshooting common issues is an integral part of optimizing your Logitech controller experience. By following the provided troubleshooting steps, you can address connectivity, button mapping, vibration, and other potential problems that may arise. Remember to consult support resources or forums for specific games if you encounter game-specific issues.
With your Logitech controller set up and functioning correctly, you can fully immerse yourself in the world of PC gaming. Enjoy the precision and control that Logitech controllers offer, and explore the vast library of games available on Steam. Whether you’re engaging in intense battles, embarking on epic adventures, or racing to victory, your Logitech controller will elevate your gaming experience to new heights.
So, grab your Logitech controller, fire up Steam, and get ready for hours of immersive gaming enjoyment. Play with confidence, knowing that your Logitech controller is designed to provide precision, comfort, and reliability, enhancing every gaming moment. Happy gaming!