Introduction
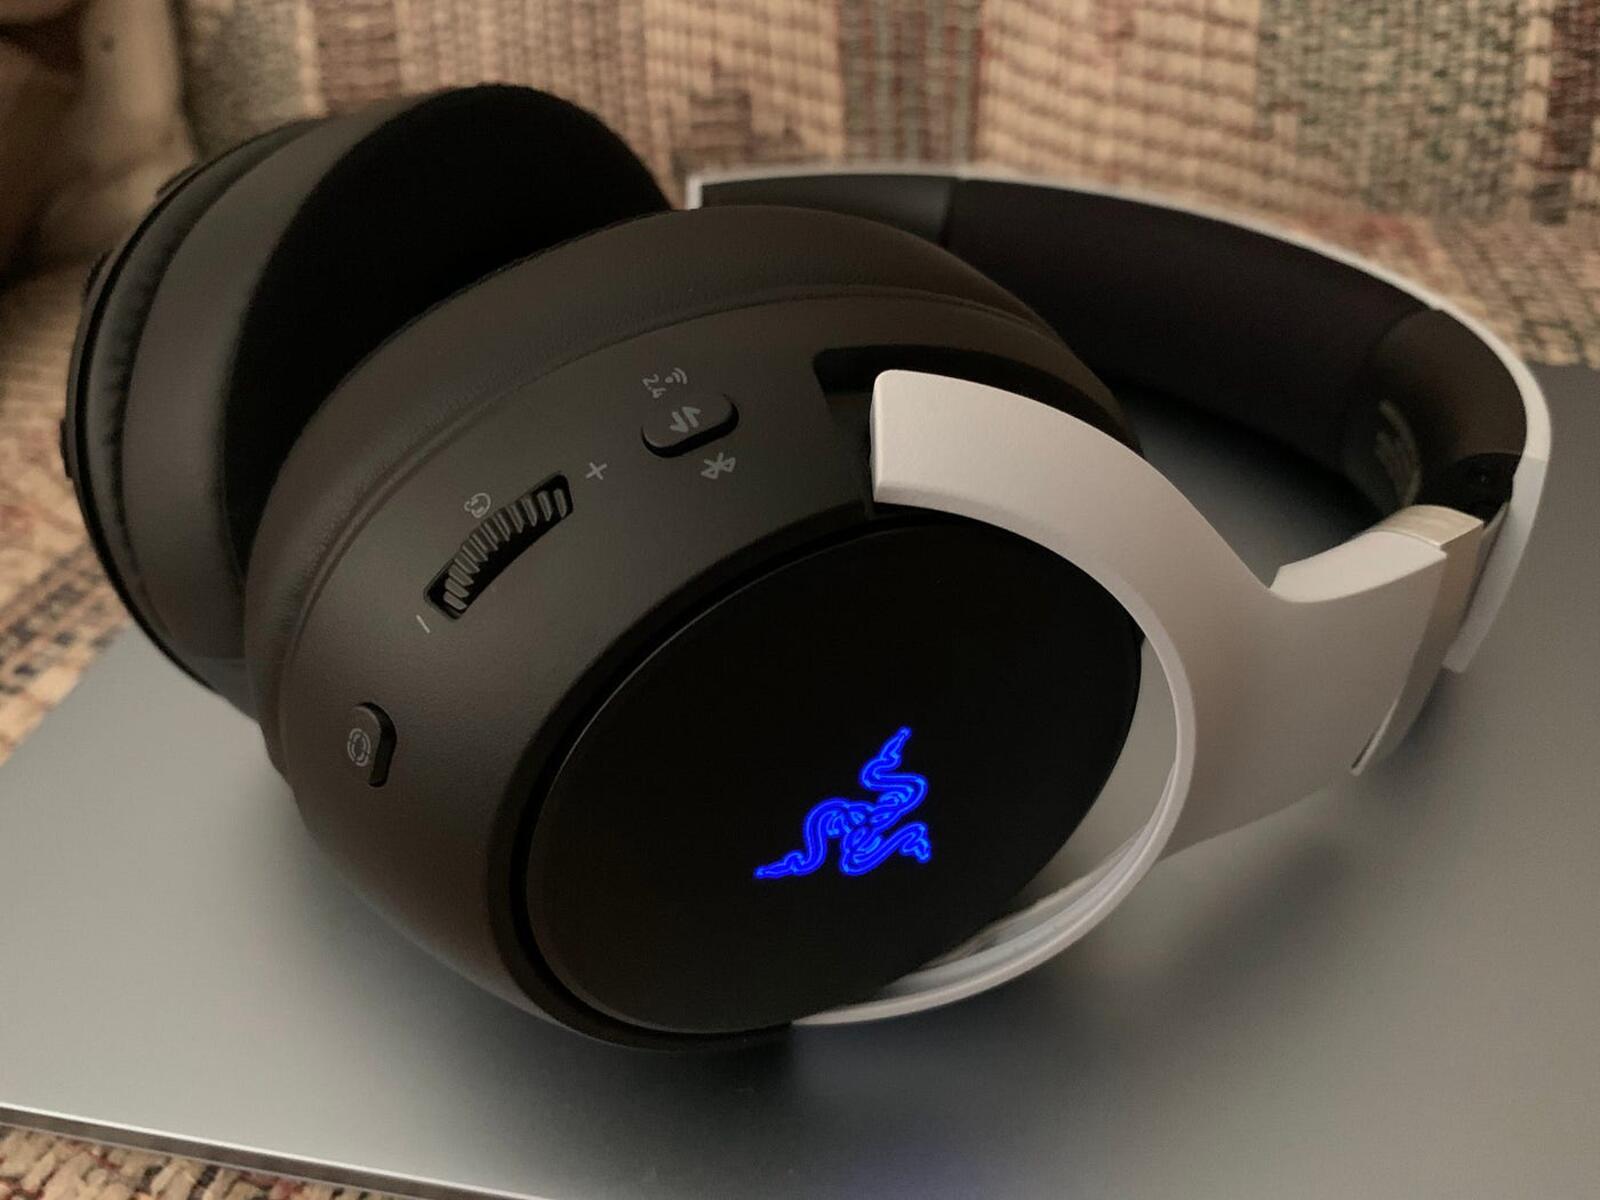
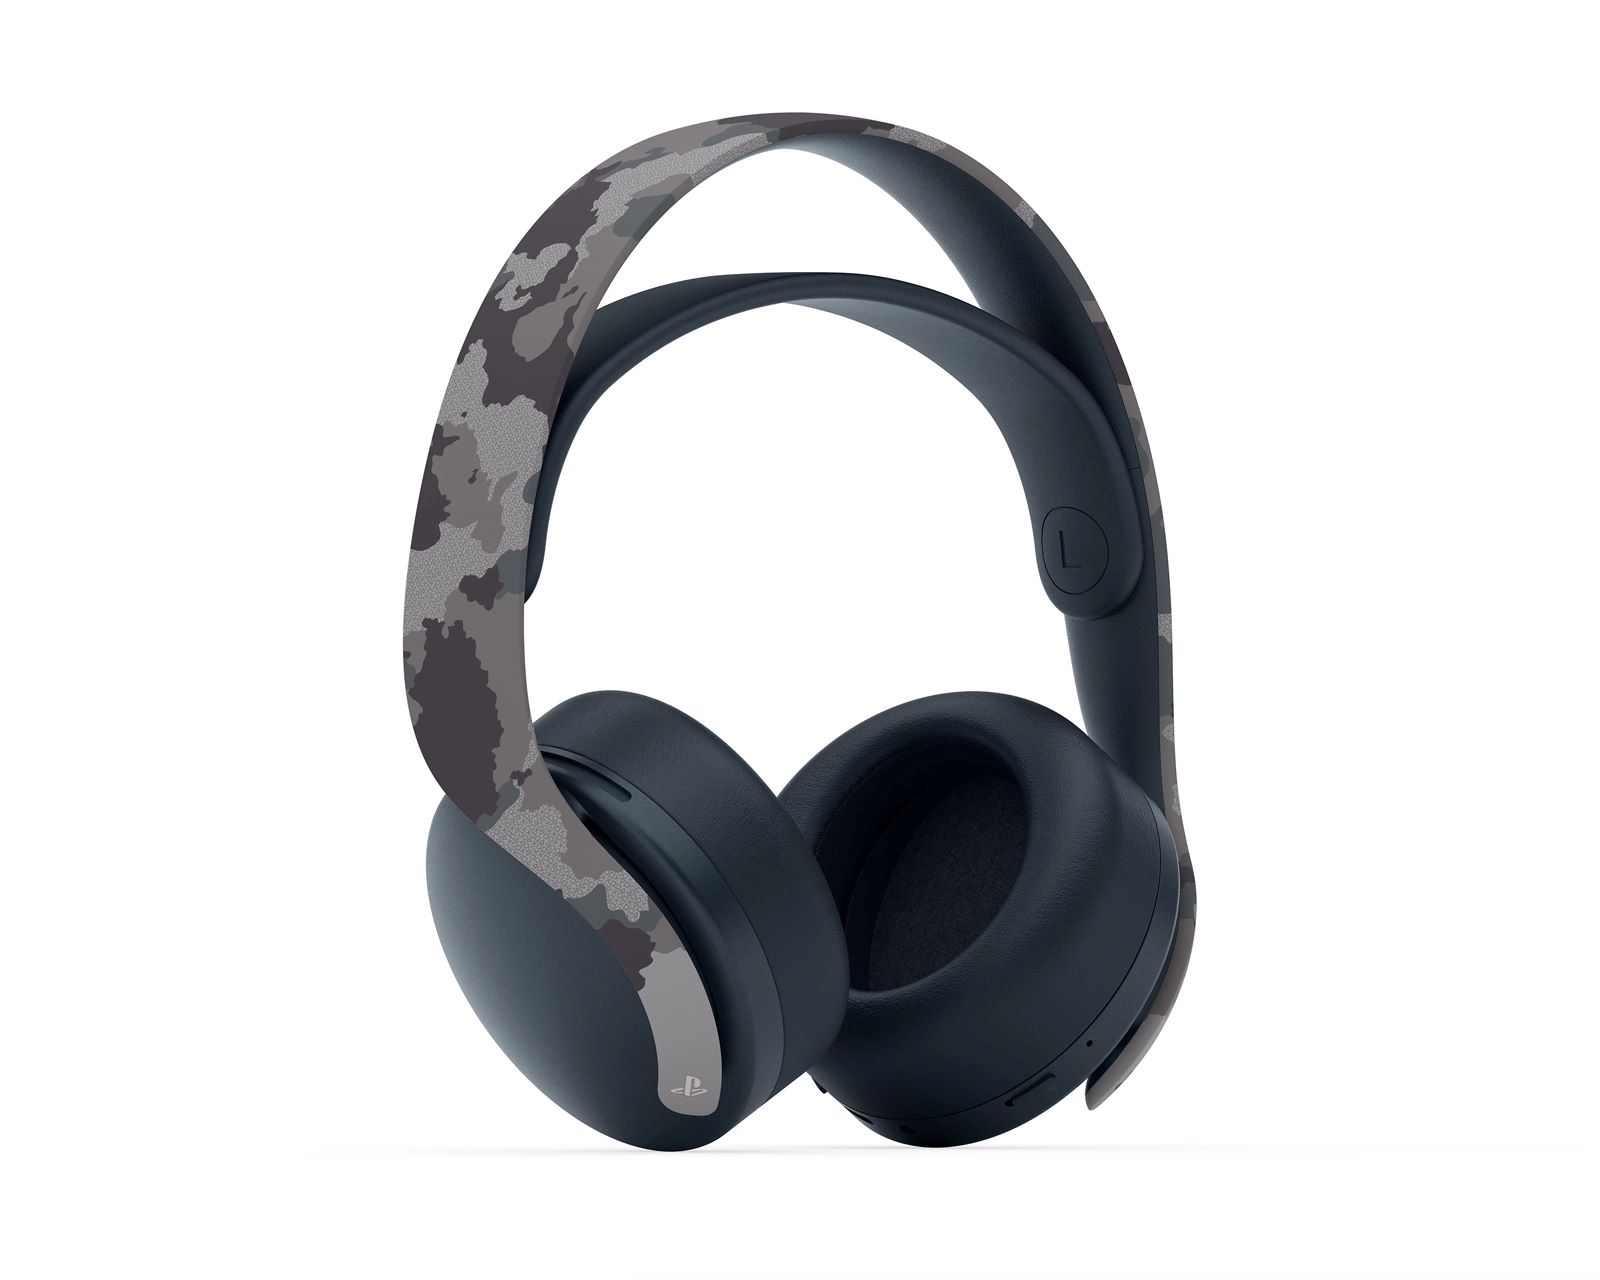
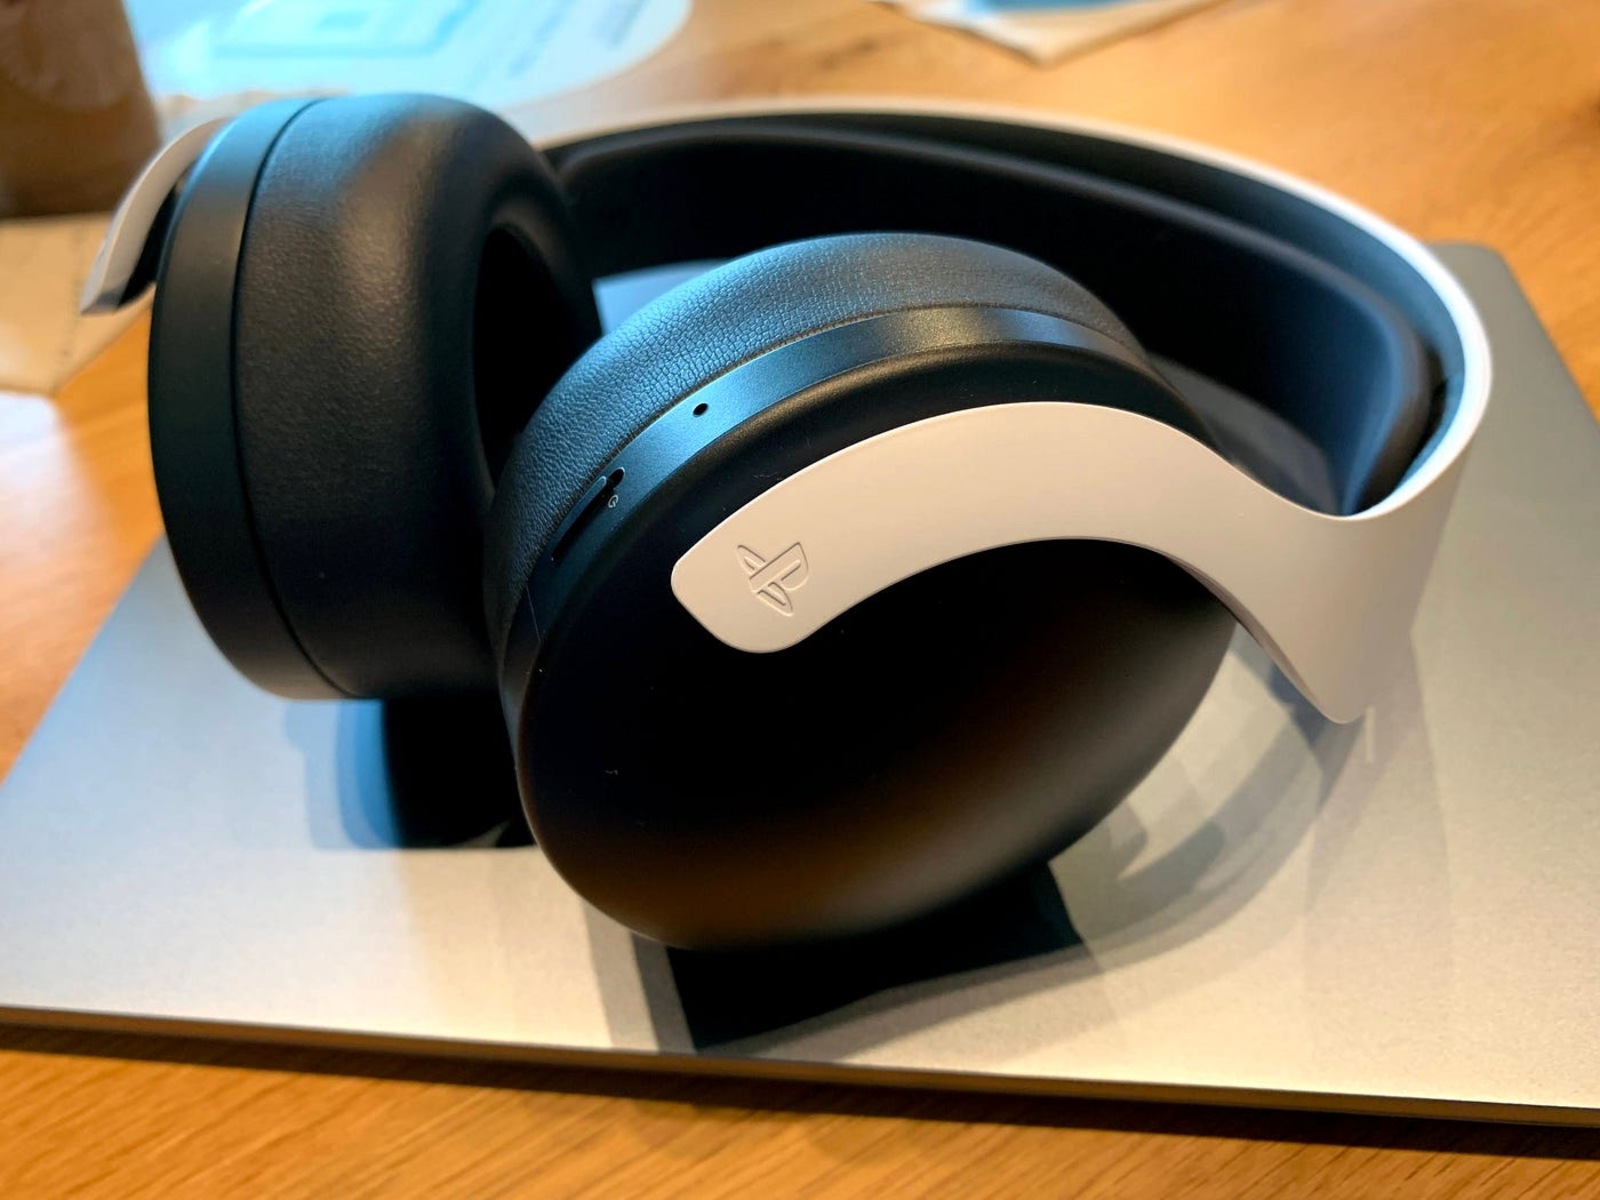
Connecting a headset to your PS3 can elevate your gaming experience to new heights. Whether you're gearing up for an intense multiplayer battle or immersing yourself in a captivating single-player adventure, a quality headset can enhance the audio and communication aspects of your gaming sessions. By syncing your headset with your PS3, you can enjoy crystal-clear sound and seamless communication with fellow gamers, adding a new dimension to your gameplay.
In this guide, we will walk you through the step-by-step process of syncing your headset to your PS3, ensuring that you can seamlessly integrate this essential accessory into your gaming setup. Whether you're a seasoned gamer or a newcomer to the world of gaming peripherals, this guide will provide you with the knowledge and confidence to connect your headset with ease.
So, grab your favorite headset, power up your PS3, and get ready to embark on a journey toward enhanced audio quality and seamless communication. Let's dive into the process of syncing your headset to your PS3 and unlock the full potential of your gaming experience.
Step 1: Prepare Your Headset
Before diving into the process of syncing your headset to your PS3, it's crucial to ensure that your headset is in optimal condition for the pairing process. This step is essential for establishing a seamless connection and maximizing the performance of your headset during gaming sessions. Here's how to prepare your headset for the syncing process:
-
Charge Your Headset: If your headset is equipped with a rechargeable battery, it's essential to ensure that it is sufficiently charged before initiating the syncing process. Connect your headset to a power source using the provided charging cable and allow it to charge for the recommended duration. A fully charged headset will ensure uninterrupted gameplay and clear communication with other players.
-
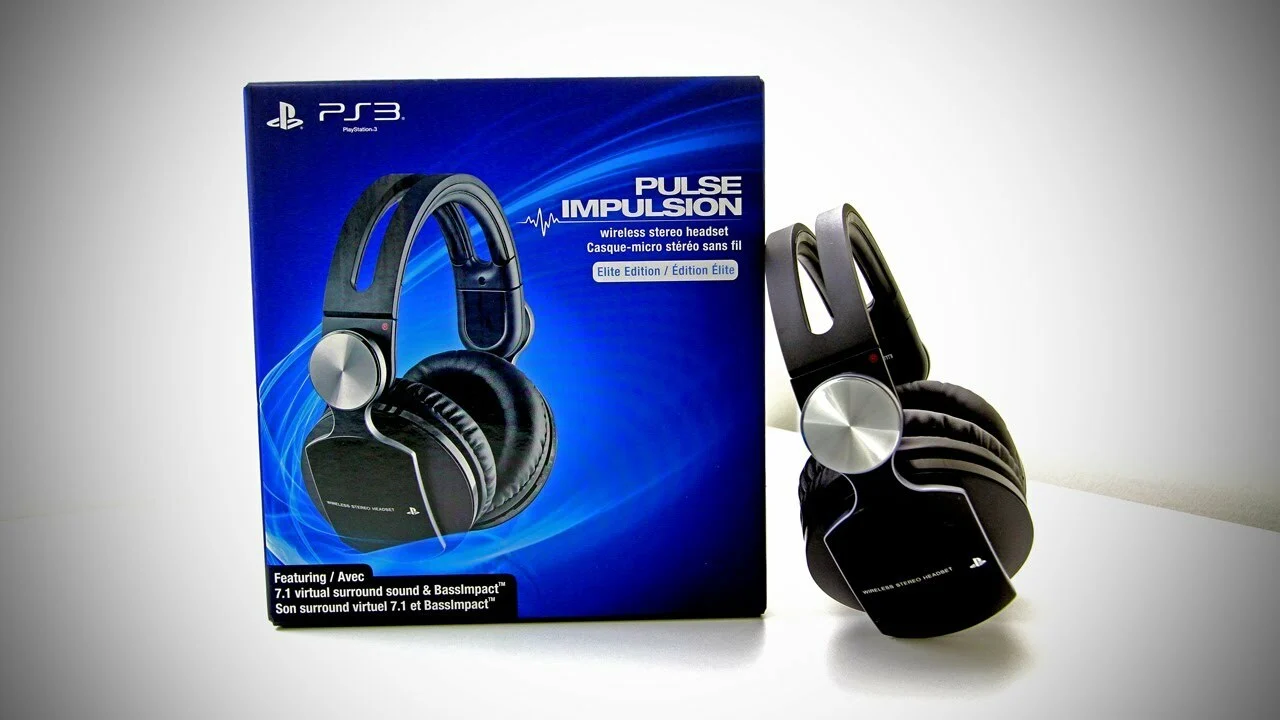
Check for Compatibility: Verify that your headset is compatible with the PS3 system. Consult the user manual or the manufacturer's website to confirm that your headset is designed to work with the PS3. Compatibility is key to a successful syncing process and optimal performance during gaming.
-
Inspect the Headset: Take a moment to inspect your headset for any signs of damage or wear. Check the ear cushions, headband, and microphone for any wear and tear that may affect the functionality of the headset. Ensuring that your headset is in good condition will contribute to a seamless syncing process and prolonged usability.
-
Update Firmware (if applicable): Some advanced headsets may require firmware updates to ensure compatibility with the PS3 system. Check for any available firmware updates for your headset model and follow the manufacturer's instructions to update the firmware if necessary. Keeping the firmware up to date will enhance the performance and compatibility of your headset with the PS3.
By meticulously preparing your headset for the syncing process, you set the stage for a smooth and successful connection to your PS3. This proactive approach not only ensures a hassle-free syncing experience but also contributes to the longevity and optimal performance of your headset. With your headset primed and ready, you're now prepared to move on to the next step in the process of syncing your headset to your PS3.
Step 2: Turn on Your PS3
Before delving into the intricacies of syncing your headset to your PS3, the initial step involves powering up your gaming console. The PlayStation 3 (PS3) has been a cornerstone of gaming for many enthusiasts, offering a diverse range of gaming experiences and entertainment options. To initiate the syncing process for your headset, you must ensure that your PS3 is powered on and ready to establish a seamless connection with your headset.
To turn on your PS3, follow these straightforward steps:
-
Locate the Power Button: The power button on the PS3 is situated on the front of the console, typically towards the right-hand side. It is essential to identify this button to initiate the power-up sequence.
-
Press the Power Button: Using your finger, gently press the power button to activate the PS3. Upon pressing the power button, you will notice the console's indicator light illuminating, indicating that the system is booting up.
-
Wait for the Startup Sequence: After pressing the power button, allow the PS3 to undergo its startup sequence. During this process, the system will initialize its hardware and software components in preparation for operation.
-
Navigate to the Home Screen: Once the startup sequence is complete, the PS3 will display the home screen, showcasing various options for gaming, media playback, and system settings.
By following these simple steps, you can successfully power up your PS3 and prepare it for the subsequent steps in the headset syncing process. With your PS3 now powered on and ready for action, you are poised to progress to the next phase of syncing your headset, where the intricate process of establishing a seamless connection between your headset and the PS3 will unfold.
As the PS3 springs to life, it sets the stage for an immersive gaming experience, complemented by the enhanced audio quality and communication facilitated by your headset. With your gaming console now powered on, you are one step closer to unlocking the full potential of your gaming setup and immersing yourself in captivating gaming adventures.
Step 3: Access the Settings Menu
Accessing the settings menu on your PS3 is a pivotal step in the process of syncing your headset, as it grants you access to the configuration options necessary for establishing a seamless connection and optimizing the audio settings. By navigating through the settings menu, you can fine-tune the audio output, adjust communication settings, and ensure that your headset is recognized and integrated into the gaming system.
To access the settings menu on your PS3, follow these steps:
-
From the home screen of your PS3, use the game controller to navigate to the "Settings" option located in the top menu bar. The settings icon typically resembles a toolbox or gear, serving as the gateway to a myriad of system configuration options.
-
Once you have highlighted the "Settings" option, press the X button on the controller to enter the settings menu. This action will transition you from the home screen to the settings interface, where you will encounter a range of configuration categories and options.
-
Within the settings menu, locate and select the "Accessory Settings" category, which houses the configuration options for peripherals and accessories, including headsets. By entering the "Accessory Settings" category, you gain access to the specific settings tailored to peripheral devices, enabling you to configure and manage your headset seamlessly.
-
After selecting "Accessory Settings," navigate to the "Audio Device Settings" option, which serves as the gateway to configuring the audio output and communication settings for your headset. This crucial step allows you to specify the audio input and output sources, ensuring that your headset is recognized and configured for optimal performance.
-
Upon entering the "Audio Device Settings," you will be prompted to select the input and output devices for audio and communication. Here, you can designate your headset as the primary audio input and output device, ensuring that game audio and communication signals are routed through your headset for an immersive and seamless gaming experience.
By accessing the settings menu and navigating to the "Accessory Settings" and "Audio Device Settings" categories, you pave the way for a streamlined and effective syncing process, setting the stage for enhanced audio quality and seamless communication during gaming sessions. With this crucial step completed, you are now poised to proceed to the next phase of the syncing process, where you will establish a direct connection between your headset and the PS3, solidifying its integration into your gaming setup.
Step 4: Connect Your Headset
Connecting your headset to your PS3 is the pivotal step that solidifies its integration into your gaming setup, enabling you to experience immersive audio and seamless communication during gameplay. The process of establishing a connection between your headset and the PS3 involves a series of straightforward yet essential steps, ensuring that your headset is recognized and configured for optimal performance. Here's a detailed walkthrough of the process of connecting your headset to your PS3:
-
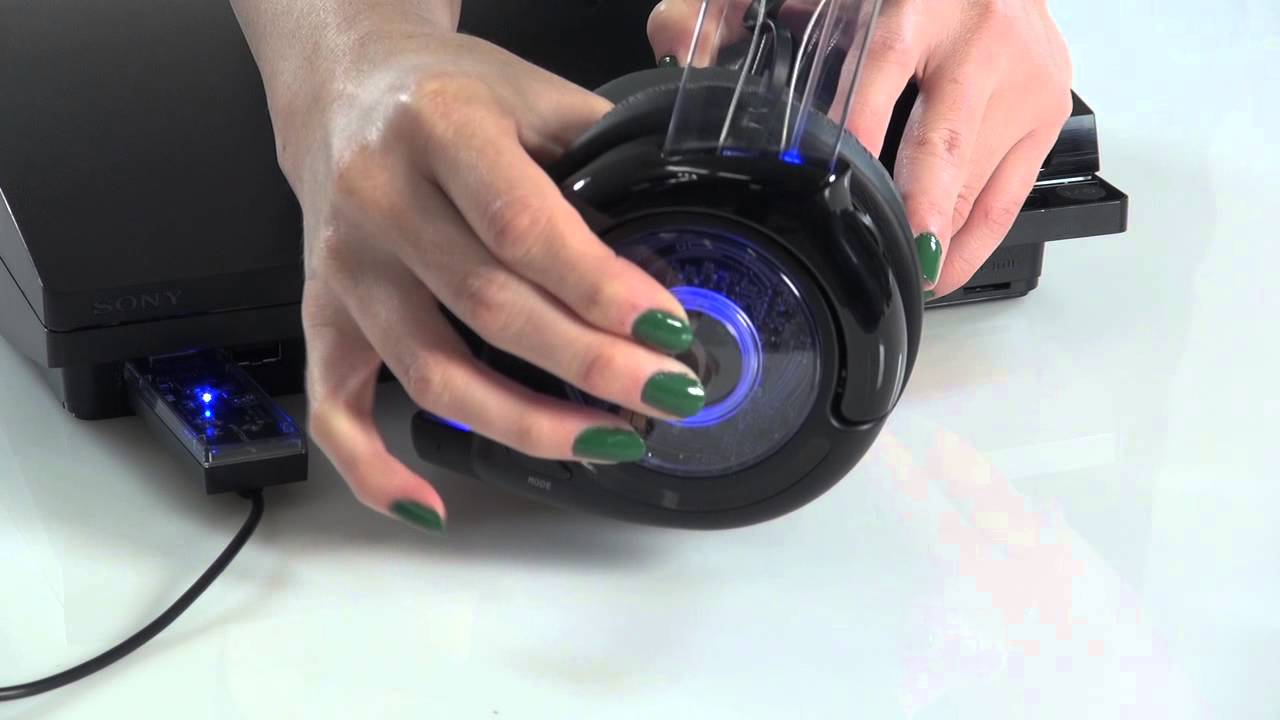
Prepare the Headset: Before initiating the connection process, ensure that your headset is powered on and in pairing mode. Refer to the user manual for specific instructions on activating the pairing mode for your headset. Typically, this involves pressing and holding the designated pairing button or following a specific sequence of button presses to enable the headset's wireless connectivity.
-
Access Bluetooth Settings: On your PS3, navigate to the settings menu and select the "Accessory Settings" category. Within this category, locate and select the "Manage Bluetooth Devices" option. This action will prompt the PS3 to scan for available Bluetooth devices, including your headset.
-
Initiate Pairing: With the "Manage Bluetooth Devices" option selected, choose the "Register New Device" option to initiate the pairing process. The PS3 will commence scanning for nearby Bluetooth devices, including your headset, and prompt you to select the desired device for pairing.
-
Select Your Headset: Upon detecting your headset, the PS3 will display it as an available device for pairing. Select your headset from the list of available devices to initiate the pairing process. Follow any on-screen prompts to confirm the pairing and establish a secure connection between your headset and the PS3.
-
Confirmation and Configuration: Once the pairing process is complete, the PS3 will confirm the successful connection and prompt you to configure the audio input and output settings for your headset. Follow the on-screen instructions to specify your headset as the primary audio input and output device, ensuring that game audio and communication signals are routed through your headset.
By meticulously following these steps, you can successfully connect your headset to your PS3, setting the stage for enhanced audio quality and seamless communication during gaming sessions. With your headset now seamlessly integrated into your gaming setup, you are primed to delve into captivating gaming experiences, enriched by the immersive audio and clear communication facilitated by your headset.
Step 5: Adjust Audio Settings
Fine-tuning the audio settings on your PS3 is a crucial step in optimizing the audio output and communication capabilities of your newly connected headset. By adjusting the audio settings, you can tailor the sound profile to suit your preferences, ensuring immersive gameplay experiences and clear communication with fellow gamers. Here's a comprehensive guide to adjusting the audio settings on your PS3:
-
Navigate to Audio Device Settings: From the settings menu on your PS3, select the "Accessory Settings" category and choose "Audio Device Settings." This option serves as the gateway to configuring the audio input and output settings for your headset, allowing you to customize the audio output to align with your preferences.
-
Adjust Audio Output: Within the "Audio Device Settings" menu, you can specify the audio output settings for your headset. This includes adjusting the volume levels, enabling surround sound features if supported by your headset, and fine-tuning the equalization settings to enhance the audio quality based on your preferences.
-
Configure Communication Settings: In addition to optimizing the audio output, the "Audio Device Settings" menu allows you to configure the communication settings for your headset. This involves specifying the microphone input level, adjusting the microphone sensitivity, and enabling noise-cancellation features to ensure clear and uninterrupted communication during multiplayer gaming sessions.
-
Test Audio and Communication: After making adjustments to the audio settings, it's advisable to test the audio output and communication capabilities of your headset within the settings menu. This allows you to verify the effectiveness of your adjustments and make further refinements if necessary, ensuring that the audio settings are tailored to deliver an optimal gaming experience.
-
Save Settings: Once you are satisfied with the adjustments made to the audio settings, be sure to save the configurations within the "Audio Device Settings" menu. This ensures that your customized audio and communication settings are retained for future gaming sessions, eliminating the need to readjust the settings each time you use your headset.
By meticulously adjusting the audio settings on your PS3, you can tailor the audio output and communication capabilities of your headset to align with your preferences, enhancing the overall gaming experience. With the audio settings optimized to your liking, you are now poised to immerse yourself in captivating gaming adventures, enriched by the enhanced audio quality and seamless communication facilitated by your headset integration with the PS3.
Conclusion
In conclusion, the process of syncing your headset to your PS3 culminates in a seamless integration that elevates your gaming experience to new heights. By meticulously preparing your headset, powering up your PS3, accessing the settings menu, establishing a direct connection, and fine-tuning the audio settings, you have successfully unlocked the full potential of your gaming setup.
With your headset seamlessly integrated into your gaming environment, you are now poised to embark on captivating gaming adventures, enriched by immersive audio quality and seamless communication. The meticulous preparation of your headset, including ensuring its compatibility, inspecting for damage, and updating firmware if necessary, sets the stage for a smooth syncing process and prolonged usability.
Powering up your PS3 is the gateway to a world of gaming possibilities, and by navigating through the settings menu, you gain access to the configuration options necessary for establishing a seamless connection and optimizing the audio settings. The process of connecting your headset to your PS3 solidifies its integration, enabling you to experience immersive audio and seamless communication during gameplay.
Furthermore, adjusting the audio settings allows you to tailor the sound profile to suit your preferences, ensuring immersive gameplay experiences and clear communication with fellow gamers. By fine-tuning the audio output and communication capabilities of your headset, you have personalized the gaming experience to align with your preferences, enhancing the overall gaming immersion.
As you delve into captivating gaming experiences, the enhanced audio quality and seamless communication facilitated by your headset integration with the PS3 will undoubtedly enrich your gaming sessions. The successful syncing of your headset to your PS3 marks the beginning of a new chapter in your gaming journey, where every sound and communication exchange is delivered with clarity and precision.
With your headset seamlessly integrated into your gaming setup, you are now ready to immerse yourself in the captivating worlds of your favorite games, where every audio nuance and communication exchange is enhanced by the seamless integration of your headset with the PS3. This marks the beginning of a new era in your gaming adventures, where every sound and communication exchange is delivered with crystal-clear precision, enhancing the overall immersion and enjoyment of your gaming sessions.