Introduction
Welcome to the world of dual monitors! In this digital age, many people find themselves needing more screen real estate to boost productivity and enhance their multimedia experience. Whether you’re a professional working on multiple projects simultaneously or a gamer craving a more immersive gameplay, connecting dual monitors can significantly elevate your computing experience.
With the advancement in technology, most computers and laptops come equipped with HDMI ports, making it easier than ever to connect multiple monitors. HDMI, short for High-Definition Multimedia Interface, is a universal standard for transmitting audio and video signals between devices.
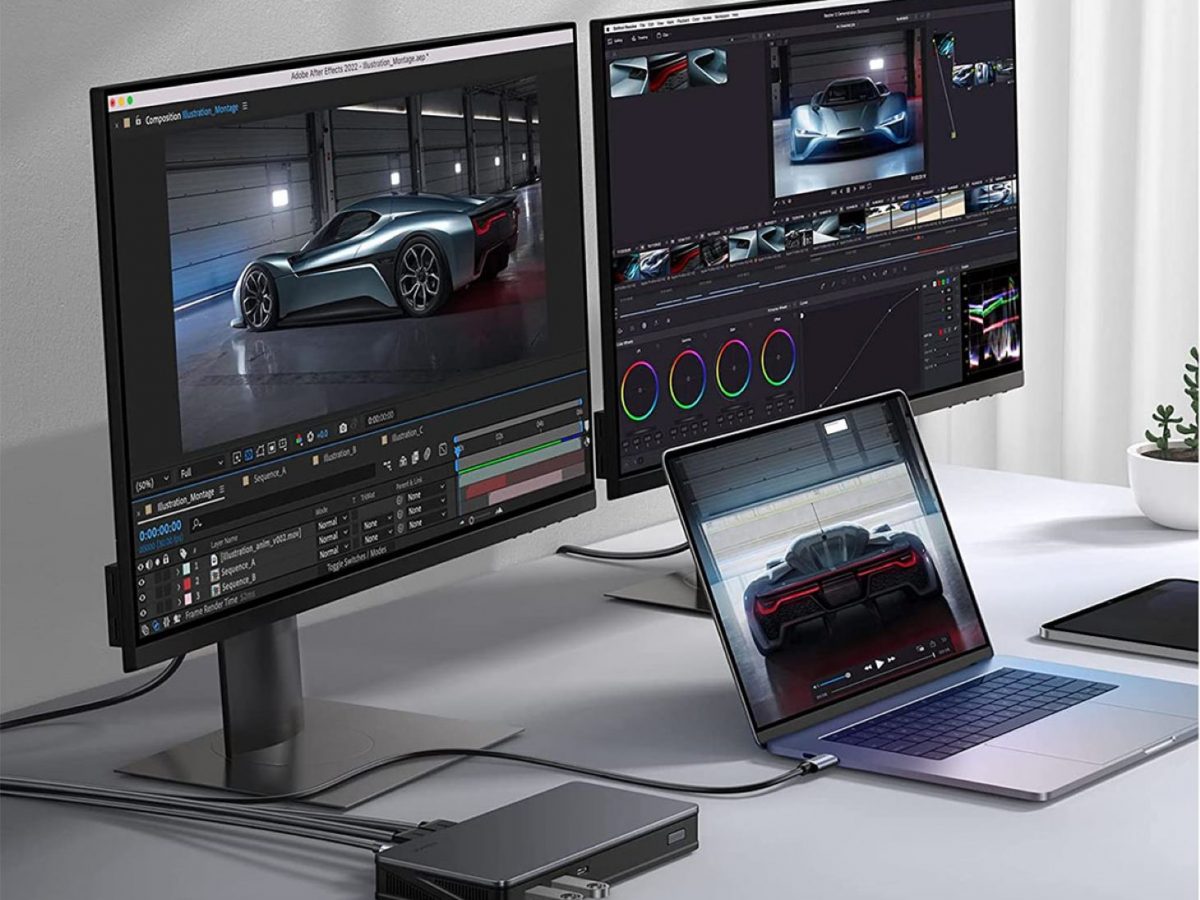
By utilizing dual monitors, you can have two screens side by side, extending your workspace and allowing you to multitask more efficiently. Imagine having a spreadsheet open on one screen while browsing the internet or referencing a document on the other. It’s like having two sets of eyes, enabling you to see more information at once without constantly switching between applications.
Besides increasing productivity, dual monitors also enhance the gaming and multimedia experience. Immersing yourself in a virtual world with a wide field of view, or enjoying movies and videos on a larger screen, becomes more enjoyable and visually captivating.
In this comprehensive guide, we will walk you through the process of connecting dual monitors using HDMI. We will cover everything from checking your computer and graphics card compatibility to configuring display settings and troubleshooting common issues. So, let’s dive in and unlock the potential of dual monitors!
Benefits of Using Dual Monitors
Using dual monitors offers a wide range of benefits that can greatly enhance your productivity and overall computing experience. Let’s explore some of the key advantages:
- Increased Productivity: With dual monitors, you have ample space to work on multiple tasks simultaneously. You can have reference materials open on one screen while working on a document or spreadsheet on the other. This eliminates the need for constant window switching and allows for a more seamless and efficient workflow.
- Better Multitasking: Multitasking becomes a breeze with dual monitors. You can have a web browser open on one screen while attending to emails or chat messages on the other. This enables you to stay organized and respond promptly to various tasks without feeling overwhelmed.
- Enhanced Visualization: Having two monitors side by side expands your visual workspace, making it easier to view and compare information. You can have multiple documents, charts, or images open simultaneously, allowing for easier data analysis and decision-making.
- Improved Gaming Experience: Gamers can benefit greatly from dual monitors. Having a wide field of view can immerse them in the gaming environment, providing a more immersive and realistic experience. It also allows for multitasking, such as watching walkthrough videos or live streaming chats while gaming.
- Efficient Content Creation: Content creators, such as graphic designers, video editors, or coders, can take full advantage of dual monitors. They can have their editing software open on one screen while referencing source materials or code on the other. This makes editing, designing, and coding more streamlined and efficient.
- Seamless Collaboration: Dual monitors are ideal for collaborative work environments. You can share one screen with a colleague during a presentation or when working on joint projects. This allows for easier communication and collaboration, minimizing the need for physical handoffs or crowding around a single monitor.
These are just a few of the many benefits of using dual monitors. Whether you’re a professional, gamer, or creative individual, the added screen real estate can significantly enhance your productivity and overall computing experience.
Things You Will Need
Before you can connect dual monitors with HDMI, there are a few things you will need to ensure a seamless setup. Here’s a checklist of the essential items:
- Computer or Laptop: You will need a computer or laptop with an available HDMI port. Most modern computers come equipped with HDMI ports, but it’s essential to double-check yours before proceeding.
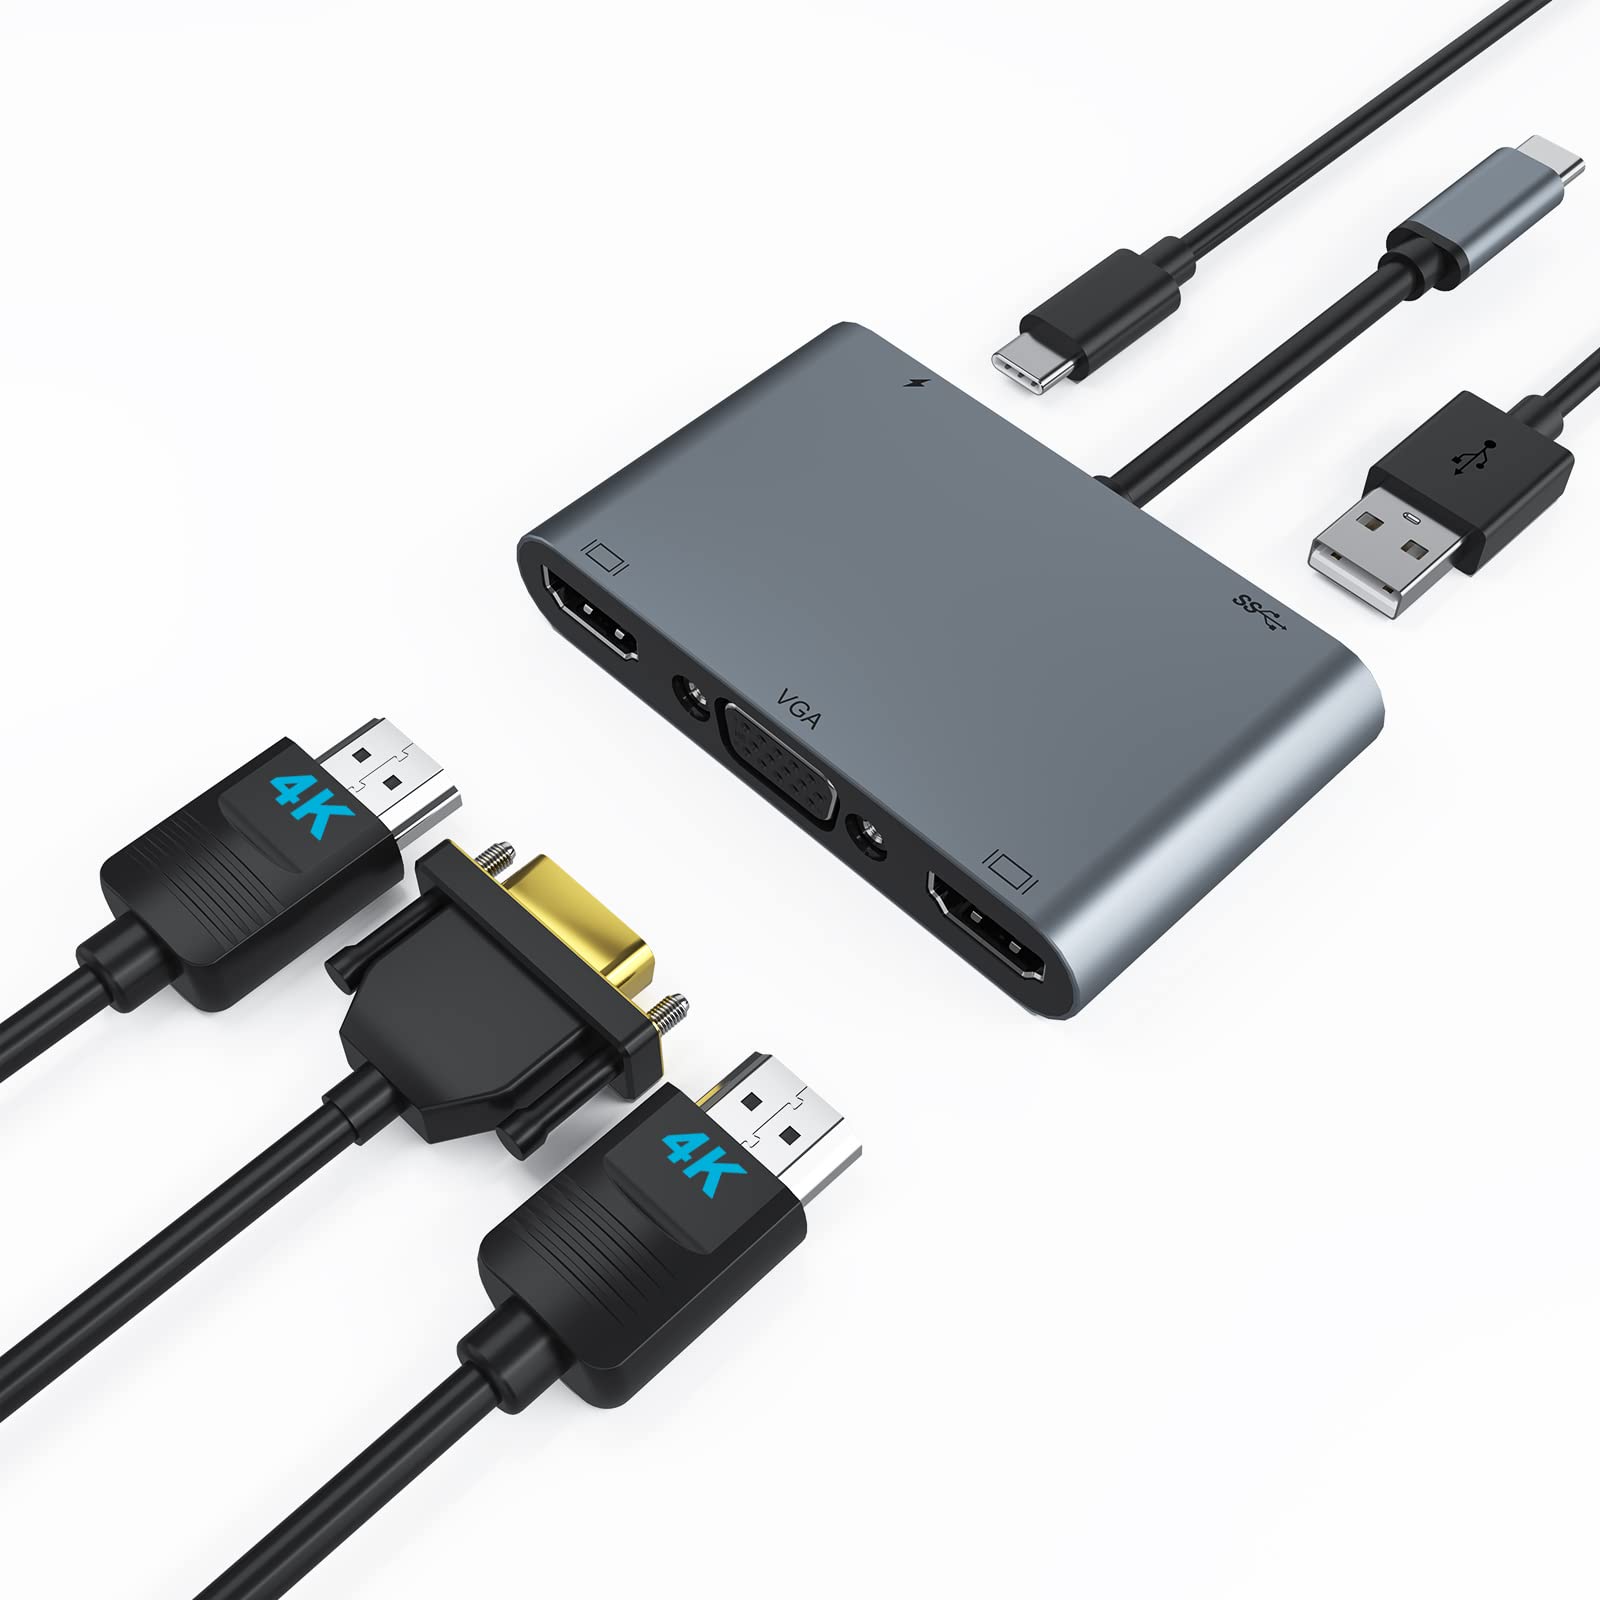
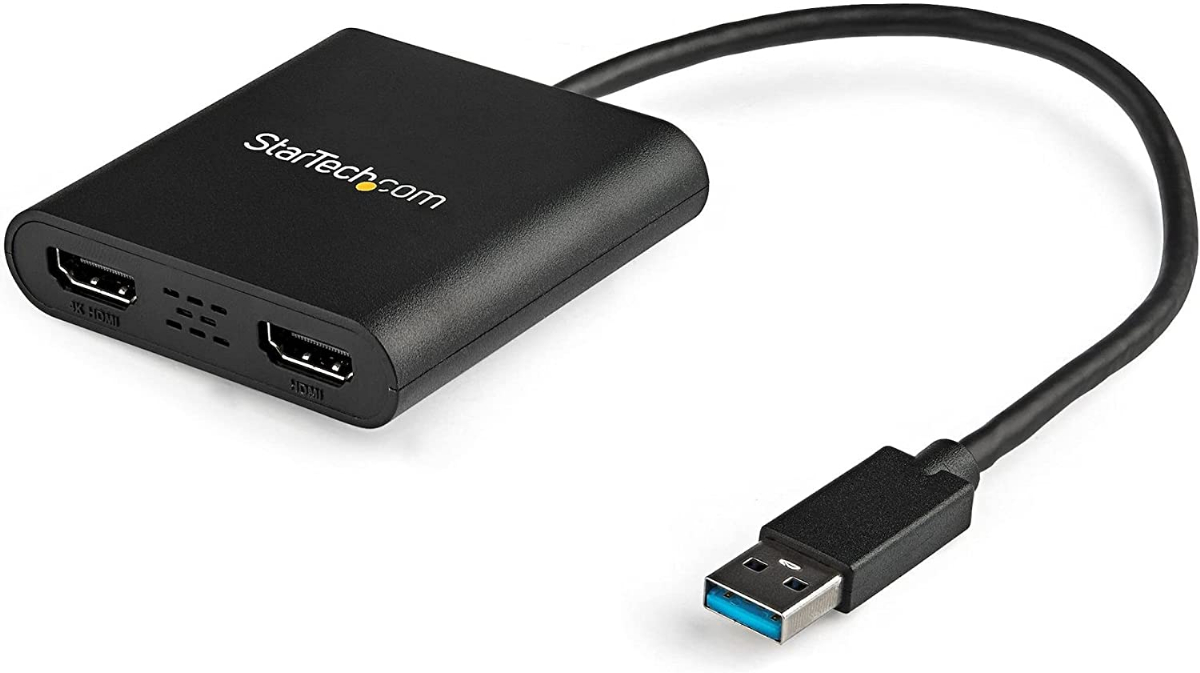
- Dual Monitors: Of course, you will need two monitors to set up a dual monitor configuration. Ensure that both monitors have HDMI input ports. If not, you may need to use HDMI to VGA or HDMI to DVI adapters.
- HDMI Cables: Purchase two HDMI cables of sufficient length to connect your computer and monitors. The length will depend on the distance between your computer and monitors, so measure accordingly to avoid any cable strain or limitation.
- Graphics Card: While not necessary in most cases, having a dedicated graphics card can improve performance when using dual monitors, especially for gaming or graphic-intensive tasks. If you’re using a desktop computer, check if your graphics card supports dual monitor configurations.
- Power Cords: Ensure that you have the necessary power cords for both your computer and monitors. This may include power cables and adapters, depending on the specific requirements of your devices.
- Driver Updates: It’s a good idea to update your graphics card drivers to the latest version for optimal compatibility and performance. Visit the manufacturer’s website to download and install any necessary updates.
Once you have gathered all the necessary items, you are ready to start setting up your dual monitor configuration. Don’t worry if you’re unsure about any of the technical aspects – we will guide you through the process, step by step.
Step 1: Check Your Computer and Graphics Card
Before connecting dual monitors with HDMI, it’s crucial to ensure that your computer and graphics card are compatible with a dual monitor setup. Here are the steps to verify compatibility:
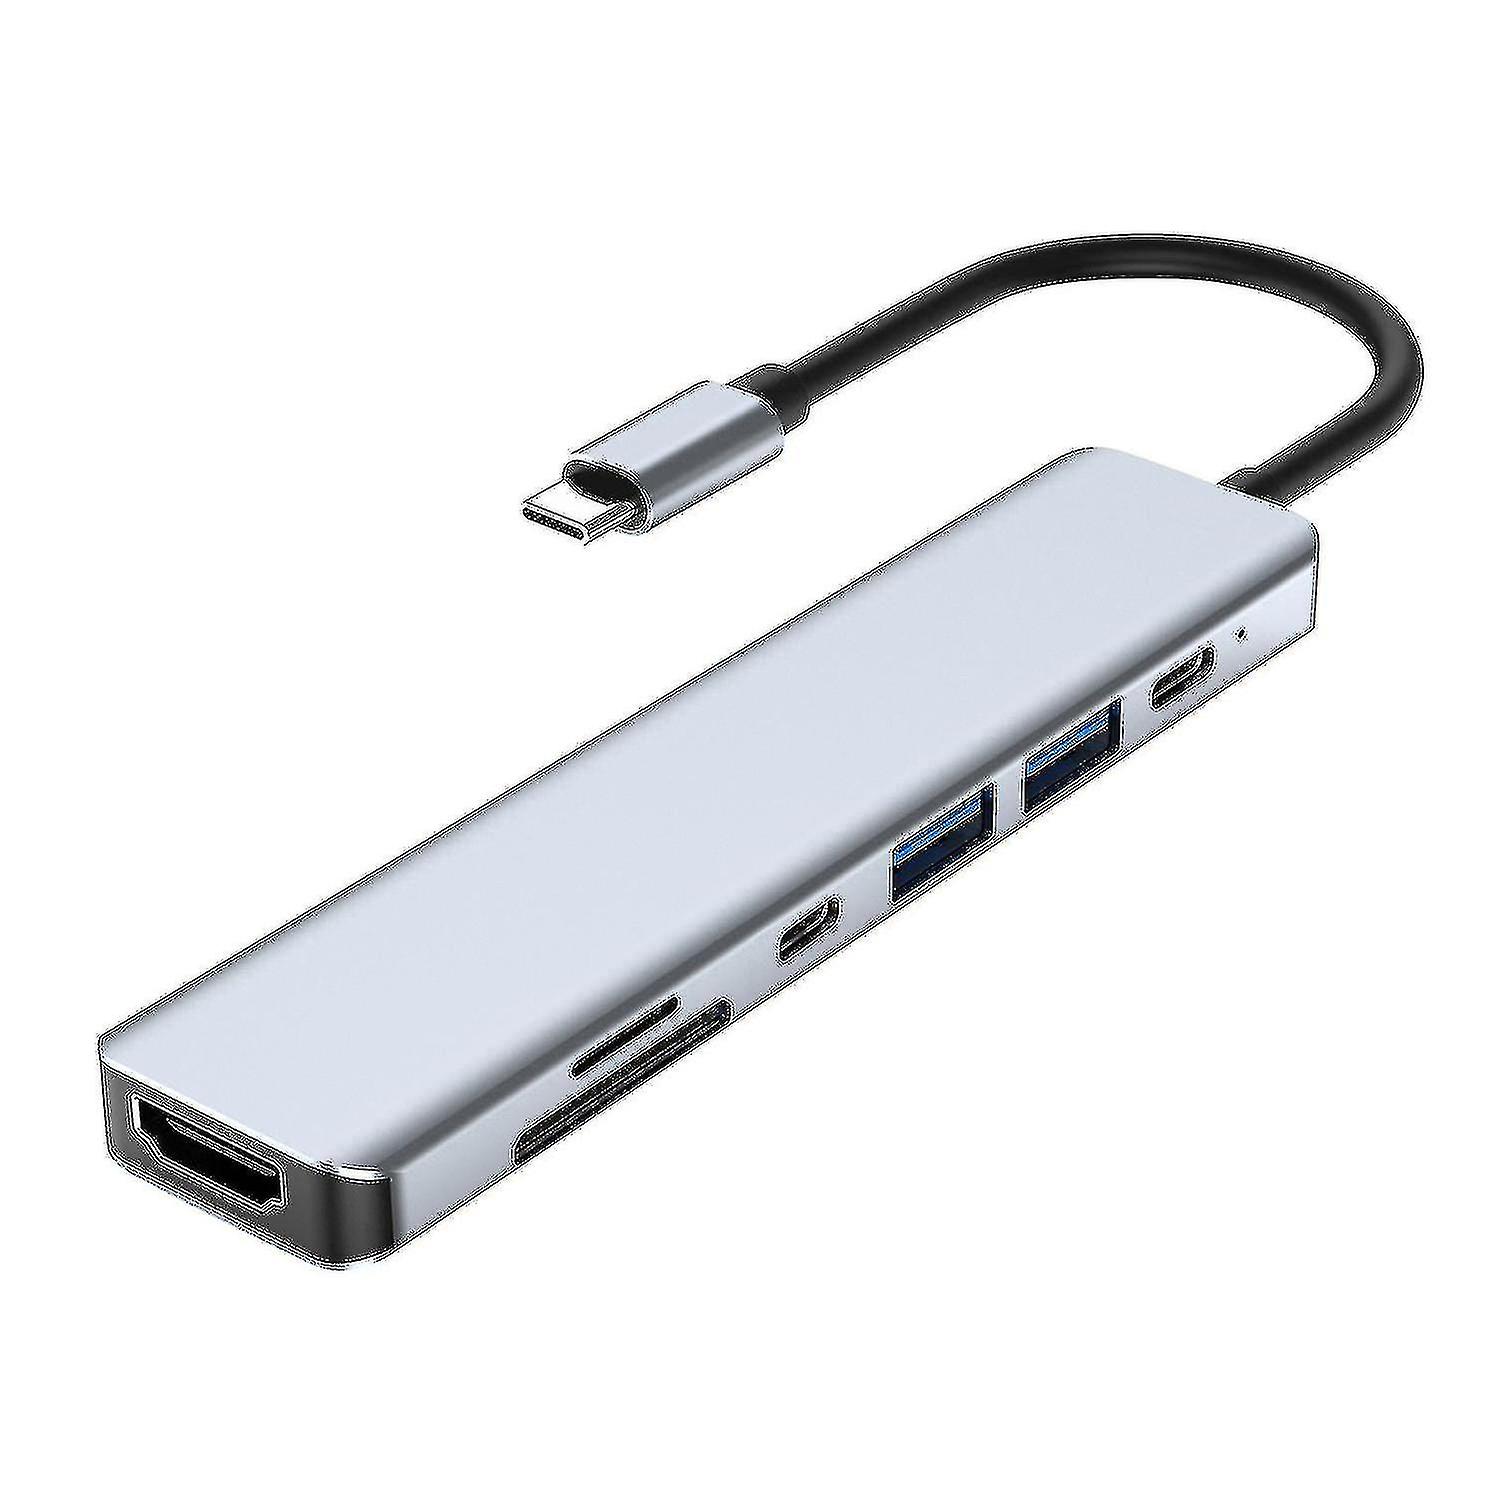
- Check your computer’s ports: Look for an available HDMI port on your computer or laptop. If you have a desktop computer, the HDMI port is usually located at the back of the tower. Laptops often have HDMI ports on the side or back of the device. If you cannot find an HDMI port, check if you have any other display ports, such as DisplayPort or DVI. In this case, you may need an adapter to connect your monitors.
- Review your graphics card specifications: Determine if your graphics card supports dual monitor configurations. If you have a dedicated graphics card, consult the manufacturer’s website or user manual for information on multiple monitor support. Integrated graphics cards on laptops or some desktop computers may have restrictions on the number of monitors they can handle simultaneously.
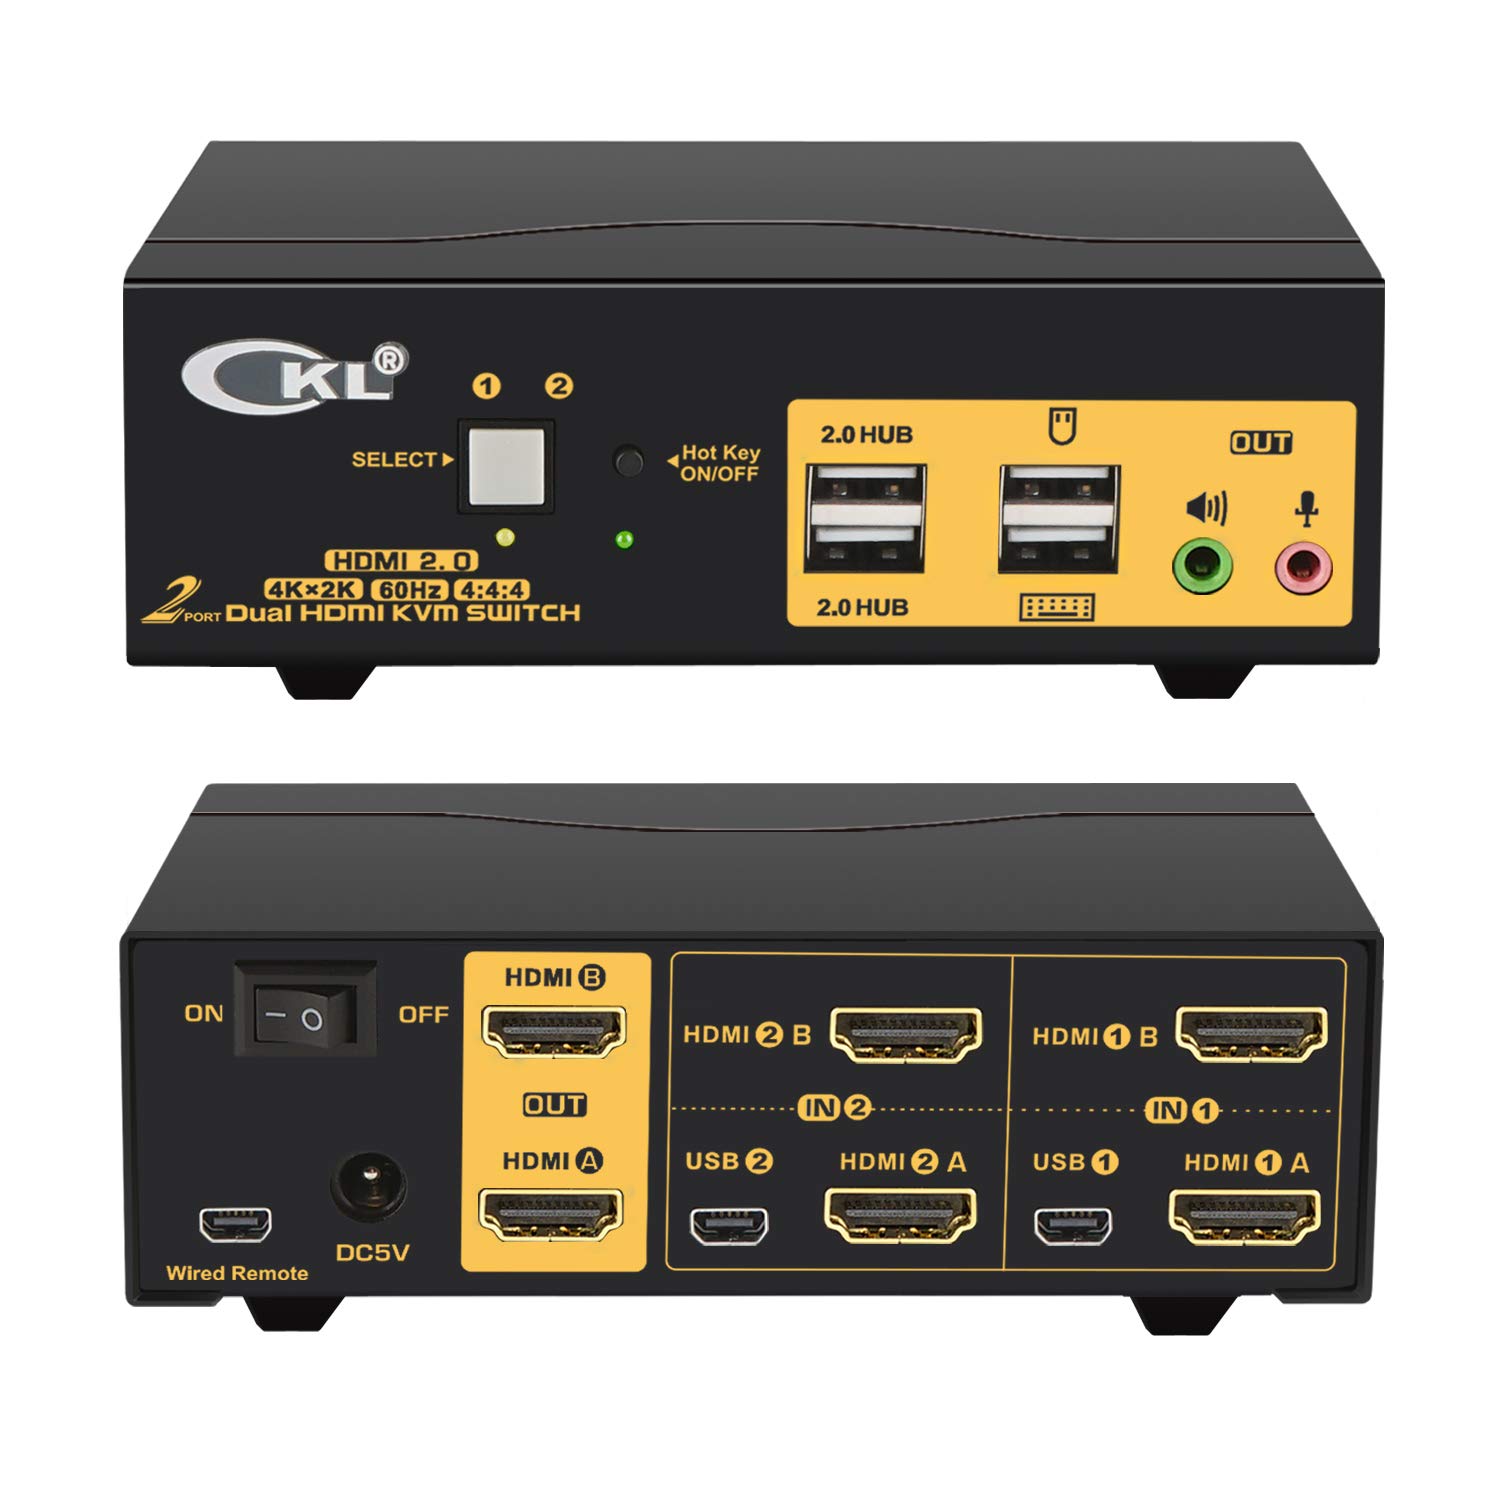
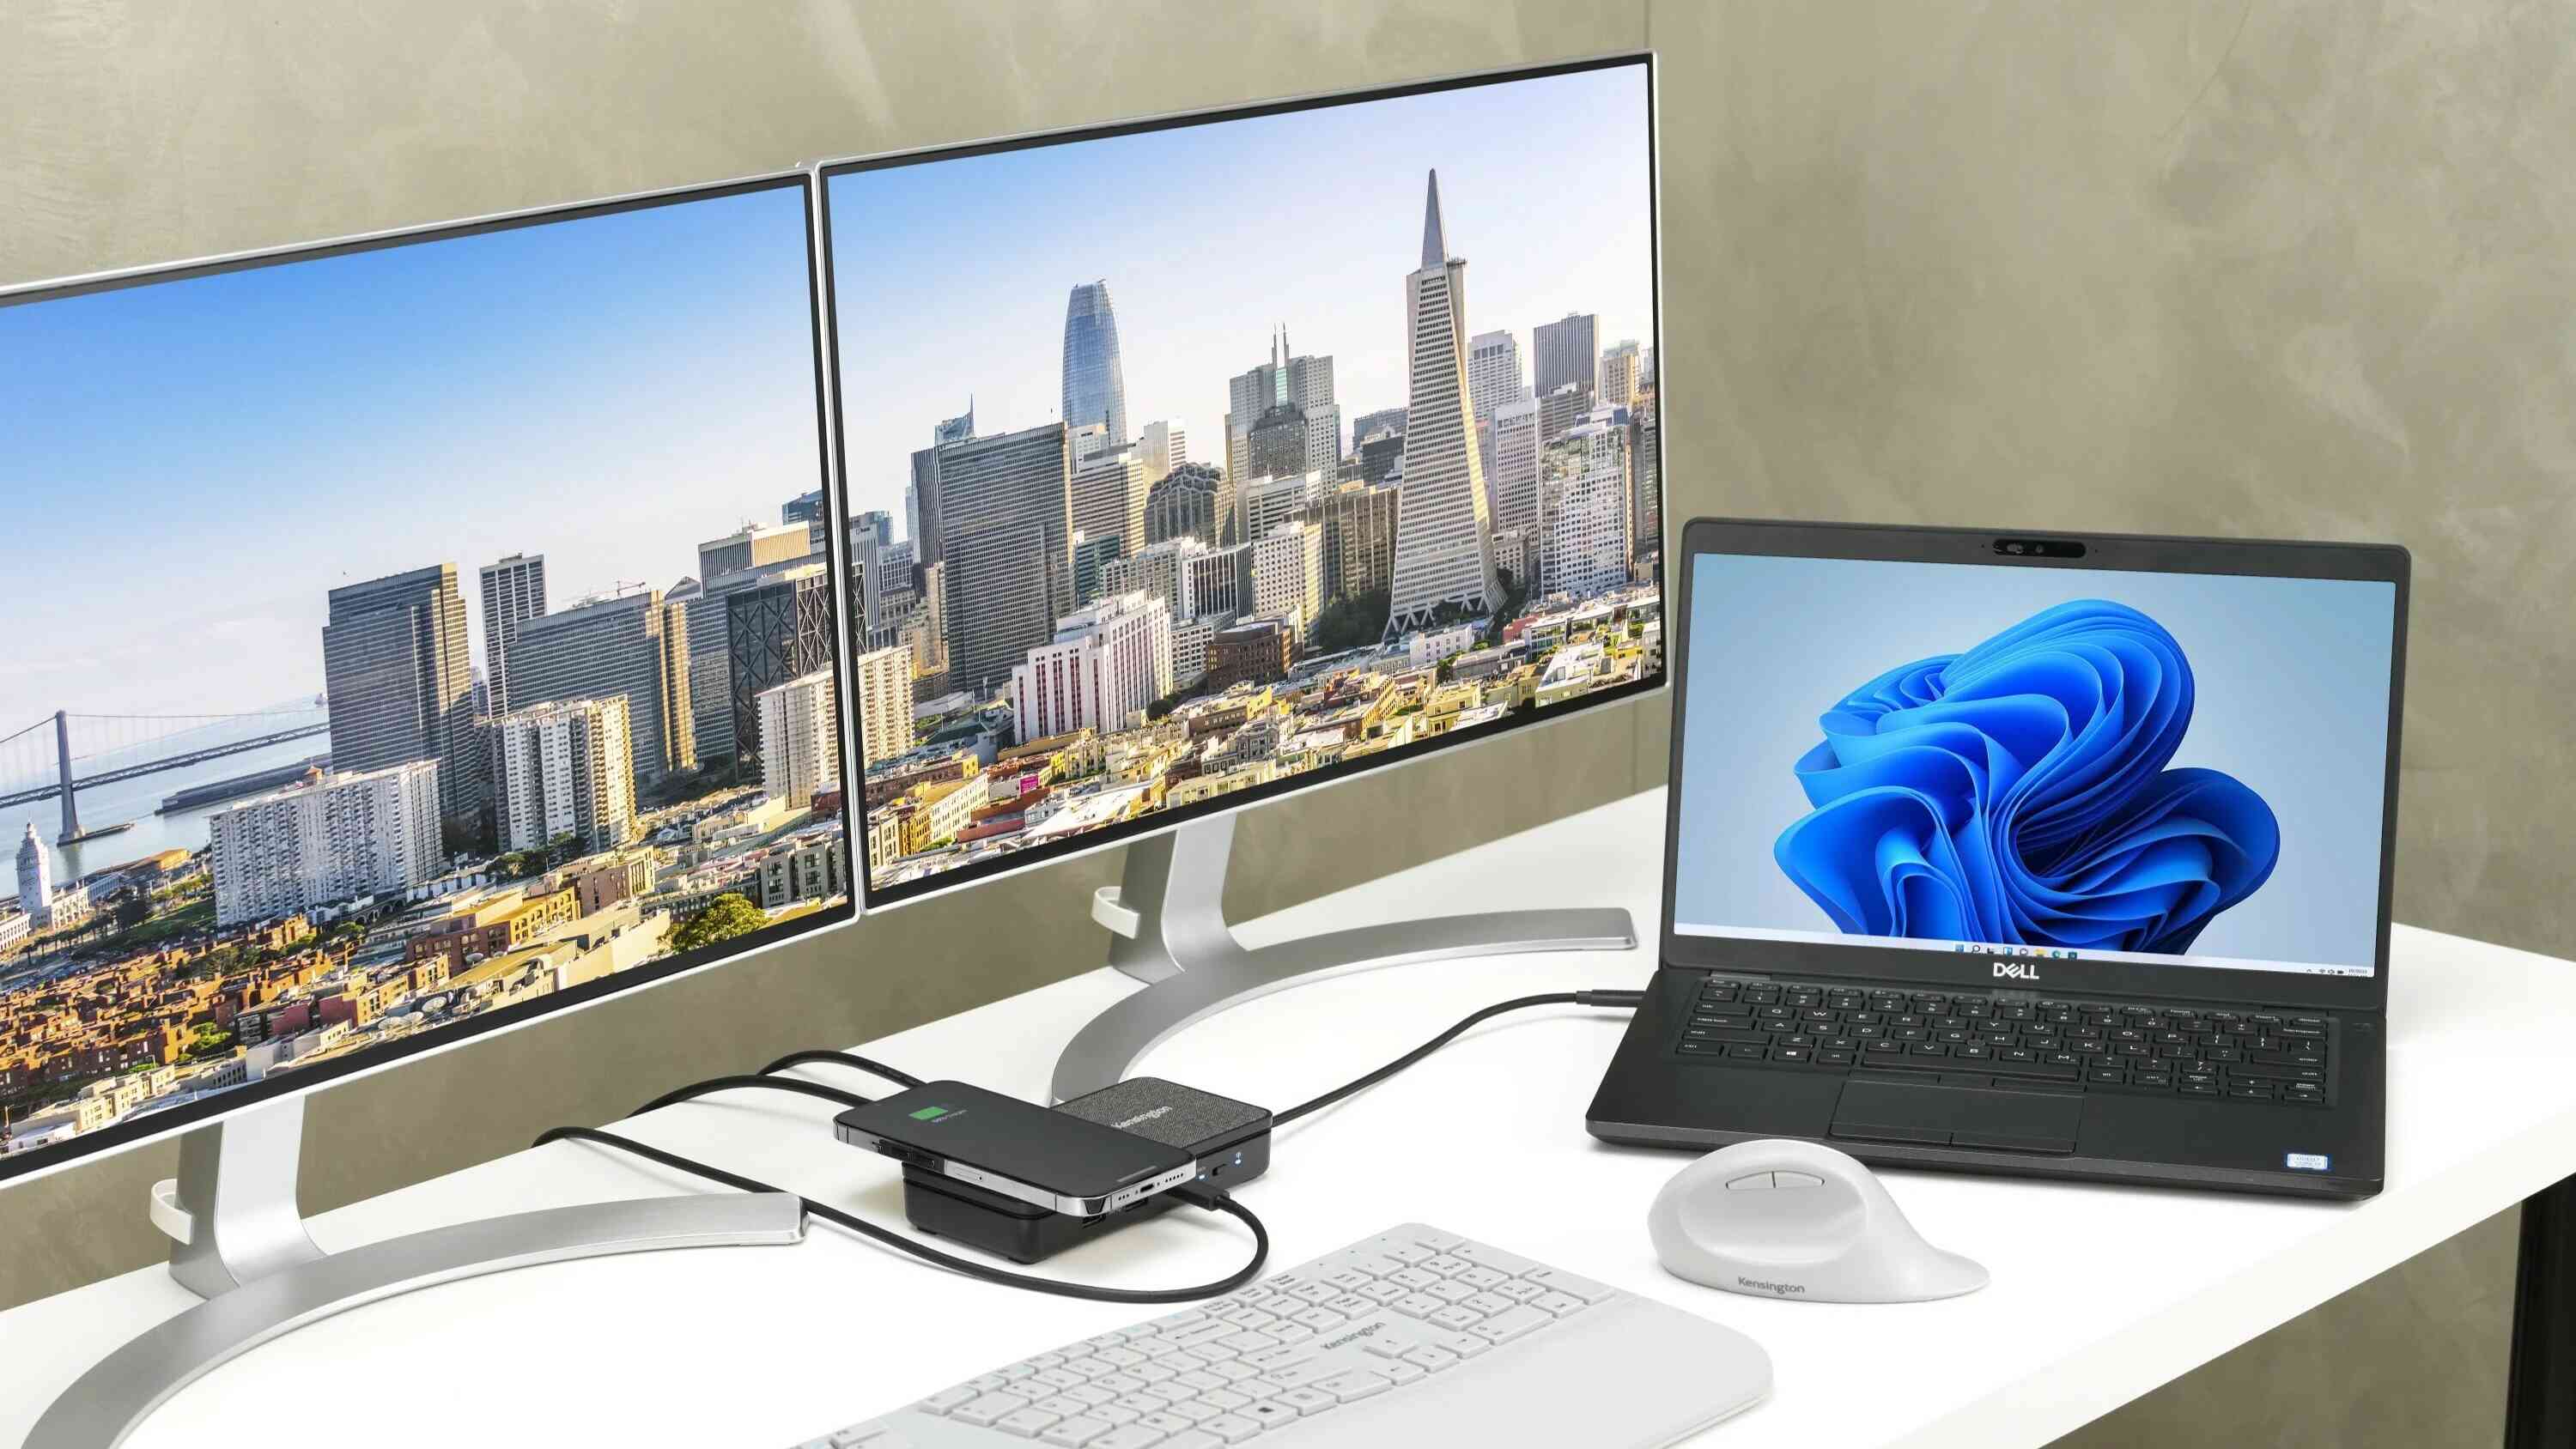
- Consider additional hardware: If your computer or graphics card does not support dual monitors out of the box, you may need to upgrade your graphics card or consider using a docking station that supports multiple monitors.
- Check system requirements: Ensure that your computer meets the minimum system requirements for running dual monitors. This includes having sufficient RAM, processor speed, and available hard drive space.
Verifying compatibility is an essential first step to ensure that you can successfully connect and use dual monitors. Don’t worry if your current setup doesn’t support dual monitors – there are often solutions and workarounds available, such as upgrading your hardware or using specific adapters. Let’s move on to the next step once you’ve confirmed compatibility!
Step 2: Locate the HDMI Ports on Your Computer and Monitors
Now that you’ve verified the compatibility of your computer and graphics card, the next step is to locate the HDMI ports on your computer and monitors. Here’s how:
- Identify the HDMI port on your computer: Look for an HDMI port on the back of your computer tower or the side of your laptop. HDMI ports are usually labeled with “HDMI” and have a distinct rectangular shape. Some computers may have multiple HDMI ports, so make sure to identify the correct one.
- Locate the HDMI ports on your monitors: Check the back or side of each monitor to locate the HDMI input ports. Most modern monitors come equipped with HDMI ports for easy connectivity. The HDMI port on the monitor is typically labeled as “HDMI” and may be accompanied by a number indicating the HDMI version (e.g., HDMI 1.4, HDMI 2.0).
Once you’ve identified the HDMI ports on your computer and monitors, you’re one step closer to setting up your dual monitor configuration. It’s important to make sure you have the necessary HDMI cables to connect your devices, as we’ll cover in the next step. If your monitors do not have HDMI ports, don’t worry! You can utilize adapters, such as HDMI to VGA or HDMI to DVI, to connect your devices using alternate ports. Now, let’s move on to the next step and start connecting the HDMI cables.
Step 3: Connect the HDMI Cable to Your Computer and Monitors
Now that you have located the HDMI ports on your computer and monitors, it’s time to connect them using HDMI cables. Follow these steps:
- Power off your computer and monitors: Before making any connections, ensure that your computer and monitors are powered off. This will prevent any accidental damage to the devices during the setup process.
- Plug one end of the HDMI cable into the HDMI port on your computer: Take one end of the HDMI cable and firmly plug it into the HDMI port on your computer. Ensure a secure connection by pushing the cable in until it fits snugly.
- Connect the other end of the HDMI cable to the HDMI port on your primary monitor: Take the other end of the HDMI cable and connect it to the HDMI port on your primary monitor. The primary monitor is usually designated as the one you want to use as the main display or the one where your operating system’s taskbar is located.
- If using a third monitor, connect the HDMI cable to its HDMI port: If you are using a third monitor, connect the HDMI cable from the second monitor’s HDMI output port to the third monitor’s HDMI input port.
- Repeat the process for the second monitor: If you have only two monitors, you are done with the setup. However, if you have more than two monitors, connect the HDMI cable from the HDMI output port of the primary monitor (connected to the computer) to the HDMI input port of the second monitor.
- Double-check the connections: Once all the HDMI cables are connected, double-check that each cable is securely plugged into the correct HDMI port on both the computer and the monitors. Loose connections can result in signal loss or display issues.
Once you have successfully connected the HDMI cables to your computer and monitors, you’re ready to move on to configuring the display settings on your computer. This will ensure that your dual monitor setup works optimally and allows you to make the most of the additional screen real estate.
Step 4: Configure Display Settings on Windows/Mac
Now that you have connected your dual monitors with HDMI, it’s time to configure the display settings on your computer. The process may vary slightly depending on whether you are using the Windows or Mac operating system. Follow the instructions below based on your operating system:
On Windows:
- Right-click on your desktop: Find an empty area on your desktop and right-click to open the context menu.
- Select “Display settings”: Click on “Display settings” from the context menu to open the display settings window.
- Identify the monitors: You will see a visual representation of your monitors in the display settings window. They may be labeled as “1” and “2” or have their respective names.
- Adjust the display mode: Choose the desired display mode from the multiple display options. You can either extend the displays to have one continuous desktop across both monitors or duplicate the displays to show the same content on both monitors.
- Arrange the displays: Drag and drop the monitors’ icons in the display settings window to match their physical positions. This ensures that moving the cursor from one monitor to another feels seamless.
- Adjust resolution, orientation, and other settings: If desired, you can adjust the resolution, orientation (landscape or portrait), scaling, and other display settings for each monitor individually.
- Apply the changes: Once you have made the necessary adjustments, click on the “Apply” button to save the changes. You may be prompted to confirm the changes.
On Mac:
- Click on the Apple menu: Click on the Apple logo in the top-left corner of your screen to open the drop-down menu.
- Select “System Preferences”: From the drop-down menu, select “System Preferences” to open the system preferences window.
- Click on “Displays”: In the system preferences window, locate and click on the “Displays” icon.
- Identify the monitors: You will see a visual representation of your monitors in the displays window. They may be labeled as “Built-in Display,” “Display 1,” “Display 2,” or have their respective names.
- Adjust the display arrangement: Drag the monitors’ icons in the displays window to match their physical positions. This ensures that moving the cursor from one monitor to another feels seamless.
- Adjust resolution and other settings: If desired, you can adjust the resolution, color profile, brightness, and other display settings for each monitor individually.
- Apply the changes: Once you have made the necessary adjustments, close the “Displays” window, and the changes will be applied automatically.
Now that you have configured the display settings, your dual monitor setup is ready to go! You can now enjoy the expanded workspace and take advantage of the increased productivity and functionality that dual monitors offer.
Step 5: Adjust Display Arrangement and Orientation
After configuring the display settings on your computer, the next step is to fine-tune the display arrangement and orientation of your dual monitors. This will ensure that the visuals align with the physical placement of the monitors and meet your preferences. Follow these steps:
- Access the display settings: On Windows, right-click on your desktop and select “Display settings.” On Mac, click on the Apple menu, select “System Preferences,” and then click on “Displays.”
- Identify the monitors: In the display settings window, you will see a visual representation of your monitors. They may be labeled as “1” and “2” or have their respective names. Take note of the monitor identifiers to make adjustments easier.
- Drag and drop to rearrange: To adjust the display arrangement, click and drag the monitors’ icons to the desired positions in the display settings window. Move them horizontally or vertically to match their physical placement.
- Set the primary monitor: If you have a preferred primary monitor, ensure it is designated as the main display. In Windows, check the box that says “Make this my main display” under the display settings. On Mac, click on the “Arrangement” tab and drag the white menu bar to the desired display.
- Configure screen orientation: Depending on your preferences and the position of your monitors, you may need to adjust the screen orientation. In Windows, click on the dropdown menu under “Orientation” and select either “Landscape” or “Portrait.” On Mac, go to the “Display” tab and choose the desired orientation from the “Rotation” dropdown menu.
- Test and make adjustments: After making the initial adjustments, test the configuration by moving the cursor across the monitors and checking for consistent movement. If needed, fine-tune the display arrangement and orientation until you are satisfied.
- Apply and save changes: Once you have finalized the display arrangement and orientation, click on the “Apply” or “OK” button in the display settings window to save the changes.
By adjusting the display arrangement and orientation, you can ensure that your dual monitors seamlessly work together, offering a cohesive and intuitive user experience. Take your time to experiment with the settings until you find the setup that best suits your needs and preferences.
Troubleshooting Common Issues
While setting up dual monitors with HDMI is usually a straightforward process, you may encounter some common issues. Here are troubleshooting tips for resolving these problems:
- No signal or black screen: If one or both of your monitors display a black screen or show a “no signal” message, double-check the HDMI cable connections. Ensure that the cables are securely plugged into the correct HDMI ports on both the computer and the monitors. If the issue persists, try using different HDMI cables or testing the monitors individually to isolate the problem.
- Mismatched resolutions: In some cases, dual monitors may have different resolutions, resulting in a mismatched display. To fix this, adjust the resolution settings for each monitor in the display settings. Make sure the resolution settings are appropriate for each monitor and try to match them for a consistent display across both screens.
- Mouse cursor not moving correctly: If you find that the mouse cursor does not move smoothly between the dual monitors, check the display arrangement in the settings. Ensure that the placement of the monitors in the virtual display matches their physical positions. Changing the display arrangement should resolve any cursor movement issues.
- Incompatible graphics driver: Outdated or incompatible graphics drivers can cause display problems. Check the manufacturer’s website for the latest graphics driver updates and download/install them if necessary. Restart your computer after installing the updated drivers to ensure the changes take effect.
- Inconsistent display colors: If the colors on one or both monitors appear different or inconsistent, adjust the color calibration settings in the display settings. Use the built-in color calibration tools or third-party software to achieve a balanced and accurate color representation across both monitors.
- Monitor not detected: If one of your monitors is not being detected by the computer, make sure it is powered on and connected correctly. Try swapping the HDMI cables between the monitors to determine if the issue lies with a specific monitor or the HDMI cable. Additionally, check the display settings for any disabled or disconnected monitors that need to be enabled or reconnected.
If you encounter any other issues not mentioned here, refer to the user manual of your computer, graphics card, or monitors for troubleshooting guidance. You can also seek assistance from customer support or online forums for further help in resolving specific issues.
Conclusion
Congratulations! You have successfully learned how to connect dual monitors using HDMI. By following the step-by-step guide outlined in this article, you have expanded your workspace, improved your multitasking abilities, and enhanced your overall computing experience.
Connecting dual monitors with HDMI offers numerous benefits, including increased productivity, better multitasking capabilities, improved visualization, enhanced gaming experiences, and more efficient content creation. With the added screen real estate and seamless display setup, you can work, game, and create with ease.
Remember to check the compatibility of your computer and graphics card, locate the HDMI ports on your devices, and connect the HDMI cables securely. After that, configure the display settings on your Windows or Mac system, adjust the display arrangement and orientation, and troubleshoot any common issues that may arise.
With your dual monitor setup in place, you can enjoy a more efficient, organized, and immersive computing experience. Take advantage of the expanded workspace, unleash your productivity, and unlock new possibilities for work or play.
Now it’s time to dive in and embrace the power of dual monitors. Whether you’re a professional, gamer, or creative individual, the versatility and benefits of a dual monitor setup can greatly enhance your daily routine. So, go ahead and make the most of your newfound productivity and enjoyment with dual monitors!