Introduction
Welcome to our guide on how to set up an HDMI splitter. With the increasing popularity of multimedia devices such as gaming consoles, Blu-ray players, and streaming devices, the need to connect multiple output devices to a single source has become commonplace. This is where an HDMI splitter comes in handy.
An HDMI splitter is a device that allows you to duplicate and distribute the audio and video signals from one HDMI source to multiple HDMI output devices simultaneously. It eliminates the hassle of constantly switching cables or changing inputs when you want to connect multiple displays or audio systems to your source device.
Whether you need to connect multiple TVs in different rooms, set up a presentation with multiple projectors, or share your gaming console across multiple monitors, an HDMI splitter simplifies the process and provides a convenient solution.
In this guide, we will walk you through the step-by-step process of setting up an HDMI splitter. We will explain how to choose the right splitter for your needs, gather the necessary equipment, and walk you through each of the setup steps. Additionally, we will provide troubleshooting tips to help you resolve common issues you may encounter during the setup process.
By the end of this guide, you will have the knowledge and confidence to set up your own HDMI splitter and enjoy seamless connectivity across multiple devices. So let’s dive in and get started!
What is an HDMI Splitter?
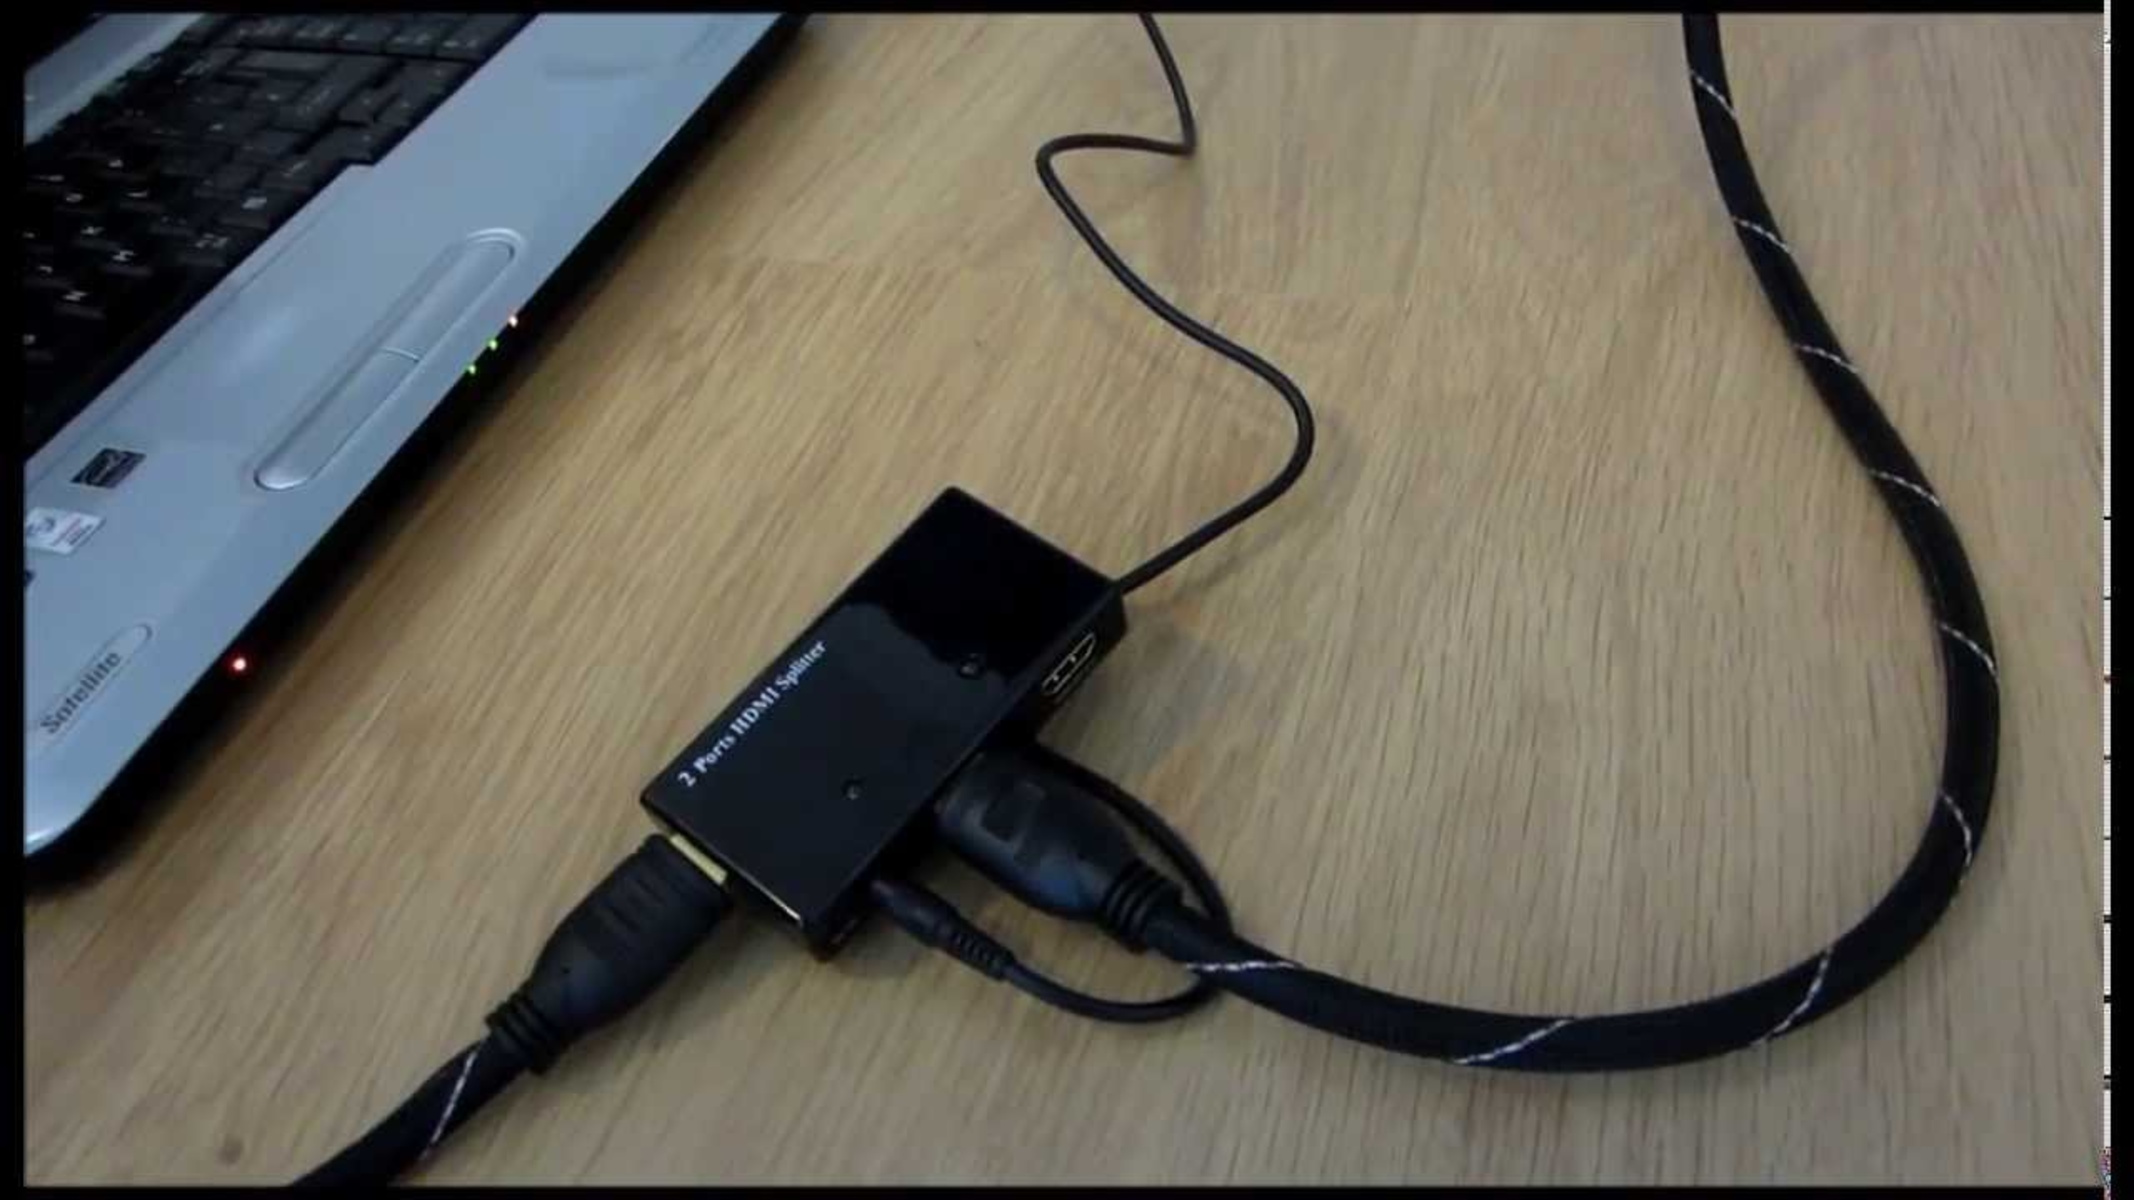
An HDMI splitter is a device that allows you to share the audio and video output from a single HDMI source to multiple display devices simultaneously. It takes the signal from your source device, such as a DVD player, gaming console, or cable box, and duplicates it to multiple TVs, projectors, or monitors. This eliminates the need to constantly switch cables or inputs to display content on different screens.
HDMI splitters come in different configurations, allowing you to split the signal into various outputs, such as 2, 4, 8, or even more. They support high-definition video and audio signals, making them suitable for home entertainment systems, presentations, and commercial installations.
When using an HDMI splitter, it’s essential to choose one that supports the desired resolution and features of your source device. Most splitters are backward compatible, meaning they can handle lower resolutions if your display devices do not support the higher resolutions from the source device.
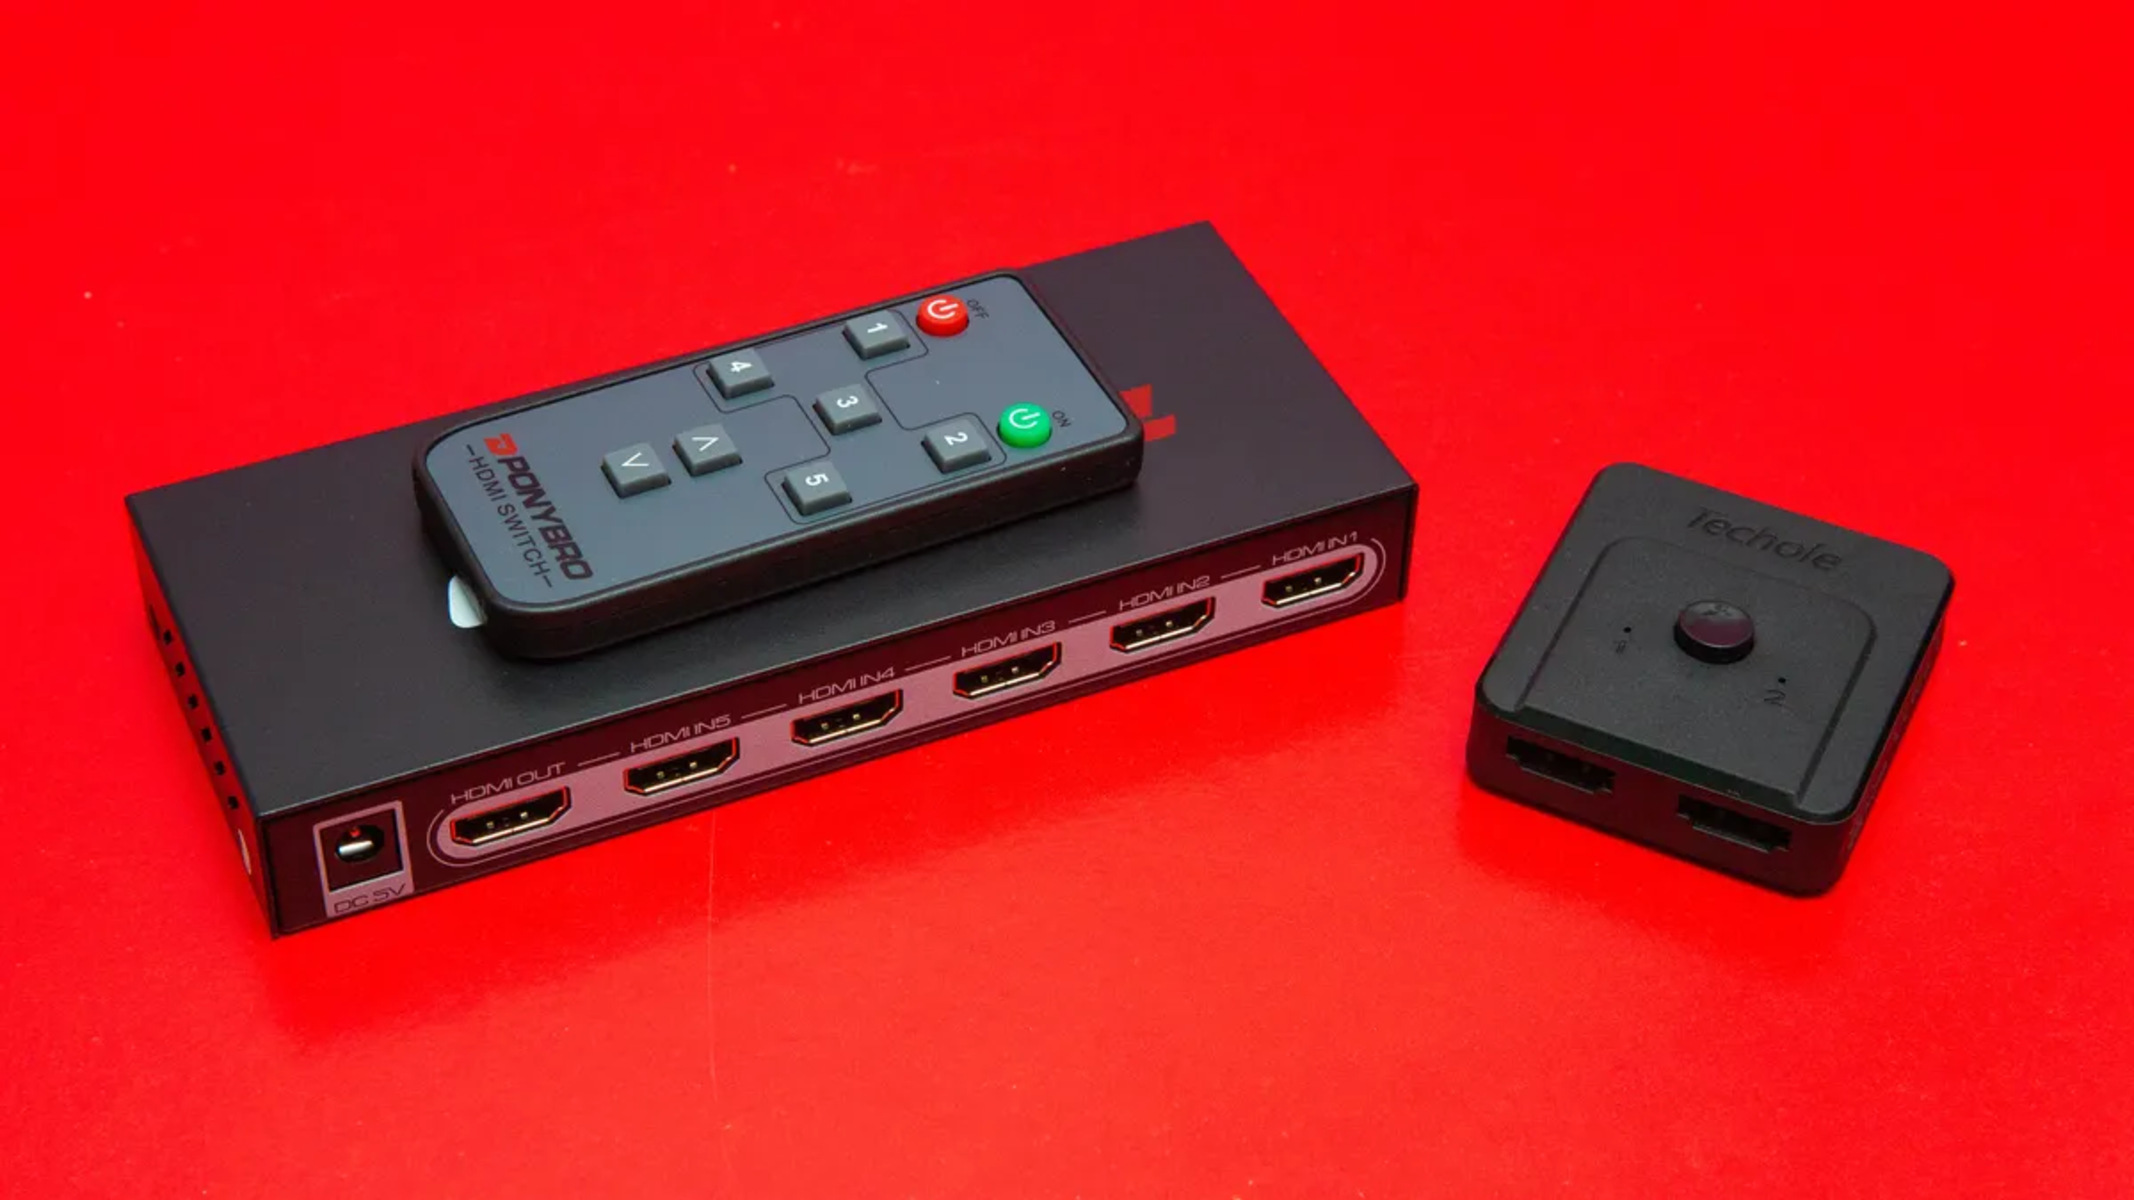
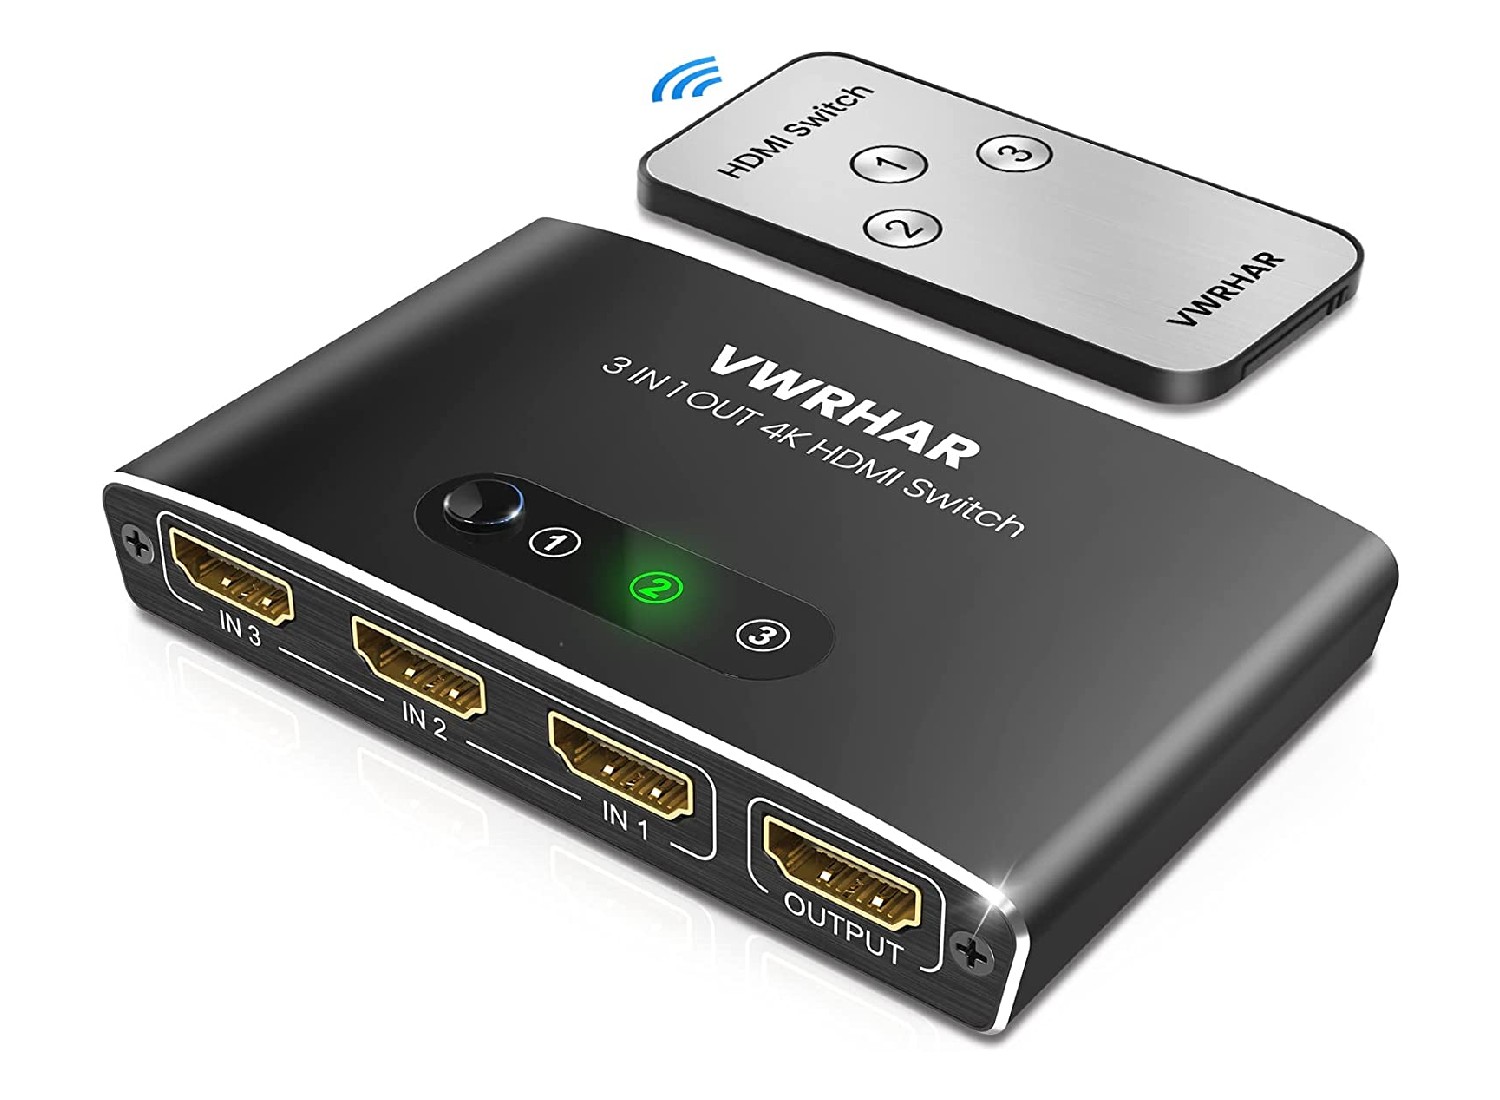
It’s important to note that an HDMI splitter works differently from an HDMI switch. While a switch allows you to connect multiple source devices to a single display, a splitter does the opposite. It takes one source and distributes it to multiple displays.
Some HDMI splitters also offer additional features such as EDID management, which ensures compatibility between the source device and the connected displays, and HDCP (High-bandwidth Digital Content Protection) compliance, which prevents unauthorized copying of HD content.
The setup of an HDMI splitter is typically simple. Most splitters require only the HDMI cables to connect devices and a power source for operation. Some splitters also have built-in amplifiers to ensure the signal strength remains consistent across all output devices, especially when using longer cables.
Now that we have a good understanding of what an HDMI splitter is and how it functions, let’s move on to the next section, where we will discuss how to select the right HDMI splitter for your specific needs.
Selecting the Right HDMI Splitter
Choosing the right HDMI splitter is crucial to ensure optimal performance and compatibility with your devices. Here are some factors to consider when selecting an HDMI splitter:
1. Number of Outputs: Determine the number of displays or devices you want to connect. HDMI splitters come in various configurations, such as 2-way, 4-way, 8-way, or even higher. Choose a splitter that provides enough outputs for your needs.
2. Resolution Support: Check if the splitter supports the resolution of your source device and displays. Most splitters are compatible with common resolutions like 1080p, but if you require 4K or higher resolutions, ensure that the splitter is capable of handling those.
3. HDCP Compatibility: If you plan to watch copyrighted content or connect devices that support HDCP, ensure that the splitter is HDCP compliant. This will prevent any compatibility issues between your devices.
4. EDID Management: EDID (Extended Display Identification Data) is information that your display devices send to the source device to communicate their capabilities and specifications. Some HDMI splitters have EDID management features, allowing you to customize or match the EDID information between your source and display devices for better compatibility.
5. Audio Support: If you need to distribute audio along with the video signal, verify that the splitter supports the audio format you require, such as Dolby Digital or DTS. Additionally, check if it provides options for audio extraction to connect to external speakers or audio systems.
6. Cable Length and Quality: Consider the distance between your source device and the displays. Ensure that the HDMI cables for both the input and output connections are of sufficient length and good quality to maintain signal integrity and reduce signal loss.
7. Power Supply: Check if the HDMI splitter requires an external power source or if it can be powered through the HDMI cable. External power supplies are generally recommended for reliable performance, especially when distributing the signal to multiple displays.
8. Budget: Set a budget for your HDMI splitter purchase. Prices can vary based on the number of outputs, features, and brand. Research different options to find the best value for your needs.
By considering these factors, you can select an HDMI splitter that meets your specific requirements and ensures seamless connectivity between your source device and multiple displays. In the next section, we will discuss the equipment you need to gather before setting up your HDMI splitter.
Gathering the Required Equipment
Before setting up your HDMI splitter, it’s important to gather all the necessary equipment to ensure a smooth and hassle-free installation. Here’s a list of the equipment you’ll need:
1. HDMI Splitter: Select the HDMI splitter that suits your requirements based on the number of outputs and supported features. Make sure it meets your desired resolution and audio capabilities.
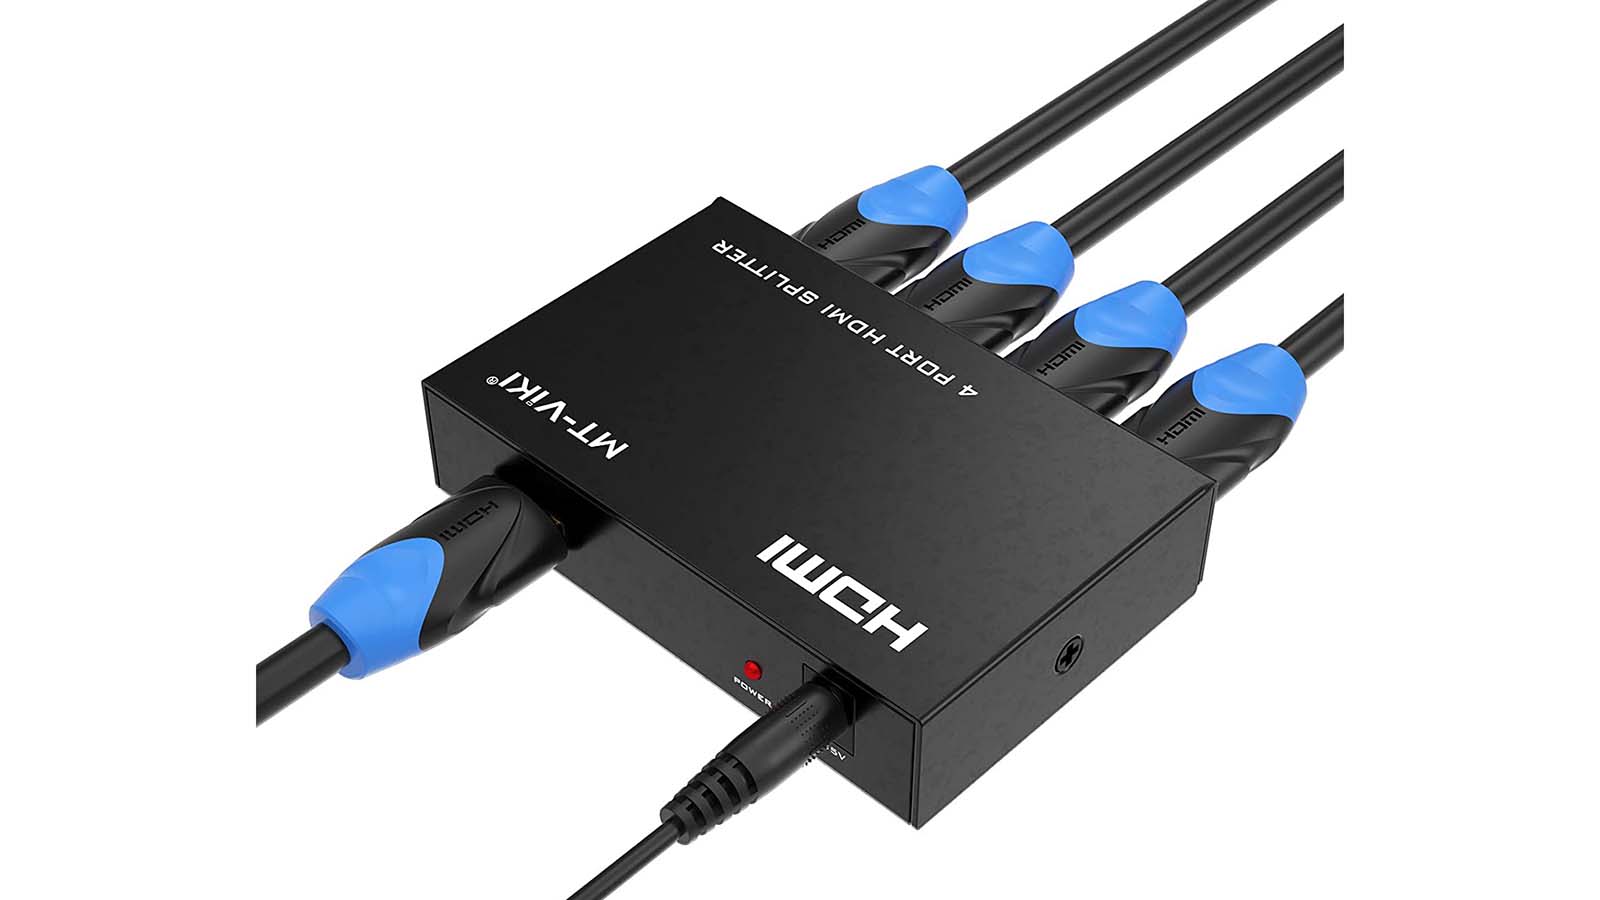
2. HDMI Cables: Purchase high-quality HDMI cables of appropriate lengths to connect your source device to the splitter’s input and the splitter’s output to the display devices. Ensure that the cables are compatible with the HDMI version supported by your devices.
3. Power Supply: If your HDMI splitter requires external power, ensure that you have the appropriate power supply. Check the specifications of the splitter to determine the required voltage and current rating for the power supply.
4. Source Device: Identify the device from which you want to split the HDMI signal. It could be a DVD player, gaming console, cable box, or any other HDMI-enabled device.
5. Display Devices: Determine the number of displays you want to connect to the HDMI splitter. These can include televisions, projectors, monitors, or any other HDMI-compatible devices that you need to distribute the signal to.
6. Audio Devices (optional): If you intend to distribute audio along with the video signal, gather the necessary audio devices, such as speakers or audio systems, that you want to connect to your HDMI splitter.
7. Power Outlets: Ensure that there are nearby power outlets for both the HDMI splitter and any connected devices that require power, such as the source device, displays, or audio devices.
8. Preparation Tools: While not essential, having a screwdriver or cable ties can be useful for organizing and securing cables during the setup process.
By gathering all of these necessary equipment and tools in advance, you’ll be well-prepared to connect and set up your HDMI splitter. In the next section, we will guide you through the step-by-step process of setting up the HDMI splitter.
Step 1: Unpack the HDMI Splitter
Once you have gathered all the necessary equipment, it’s time to start setting up your HDMI splitter. The first step is to unpack the HDMI splitter and familiarize yourself with its components.
1. Remove the HDMI Splitter from the Packaging: Carefully open the packaging of the HDMI splitter and take it out. Be mindful of any packaging materials like bubble wrap or foam, as you may need to discard them.
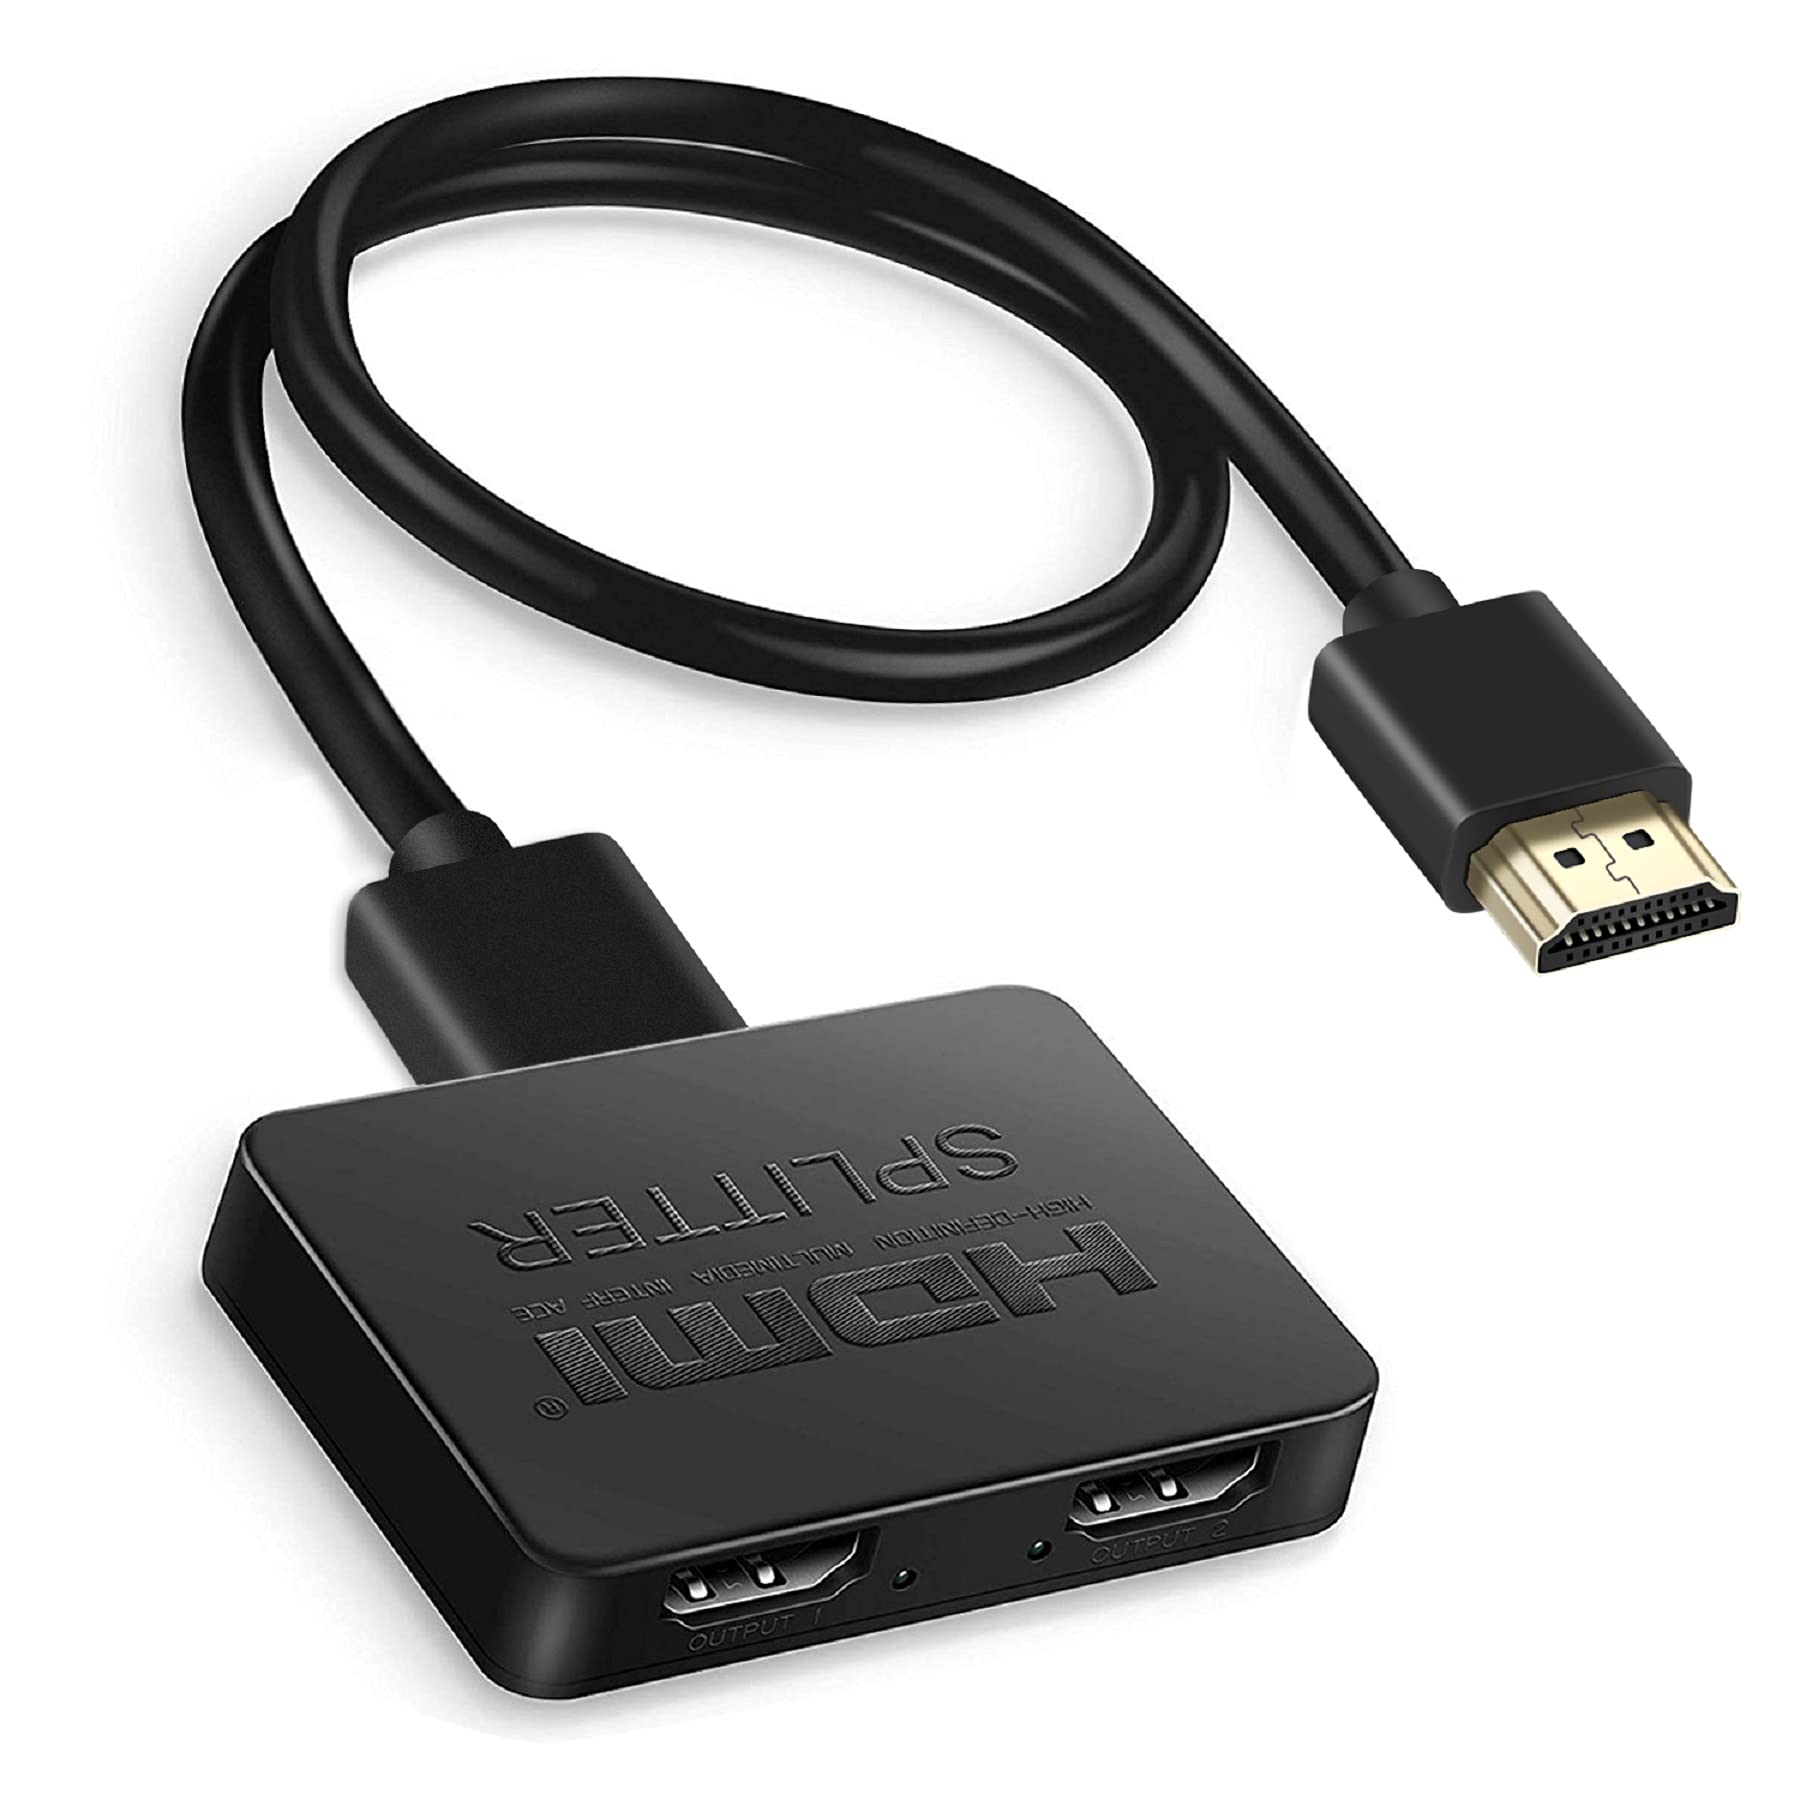
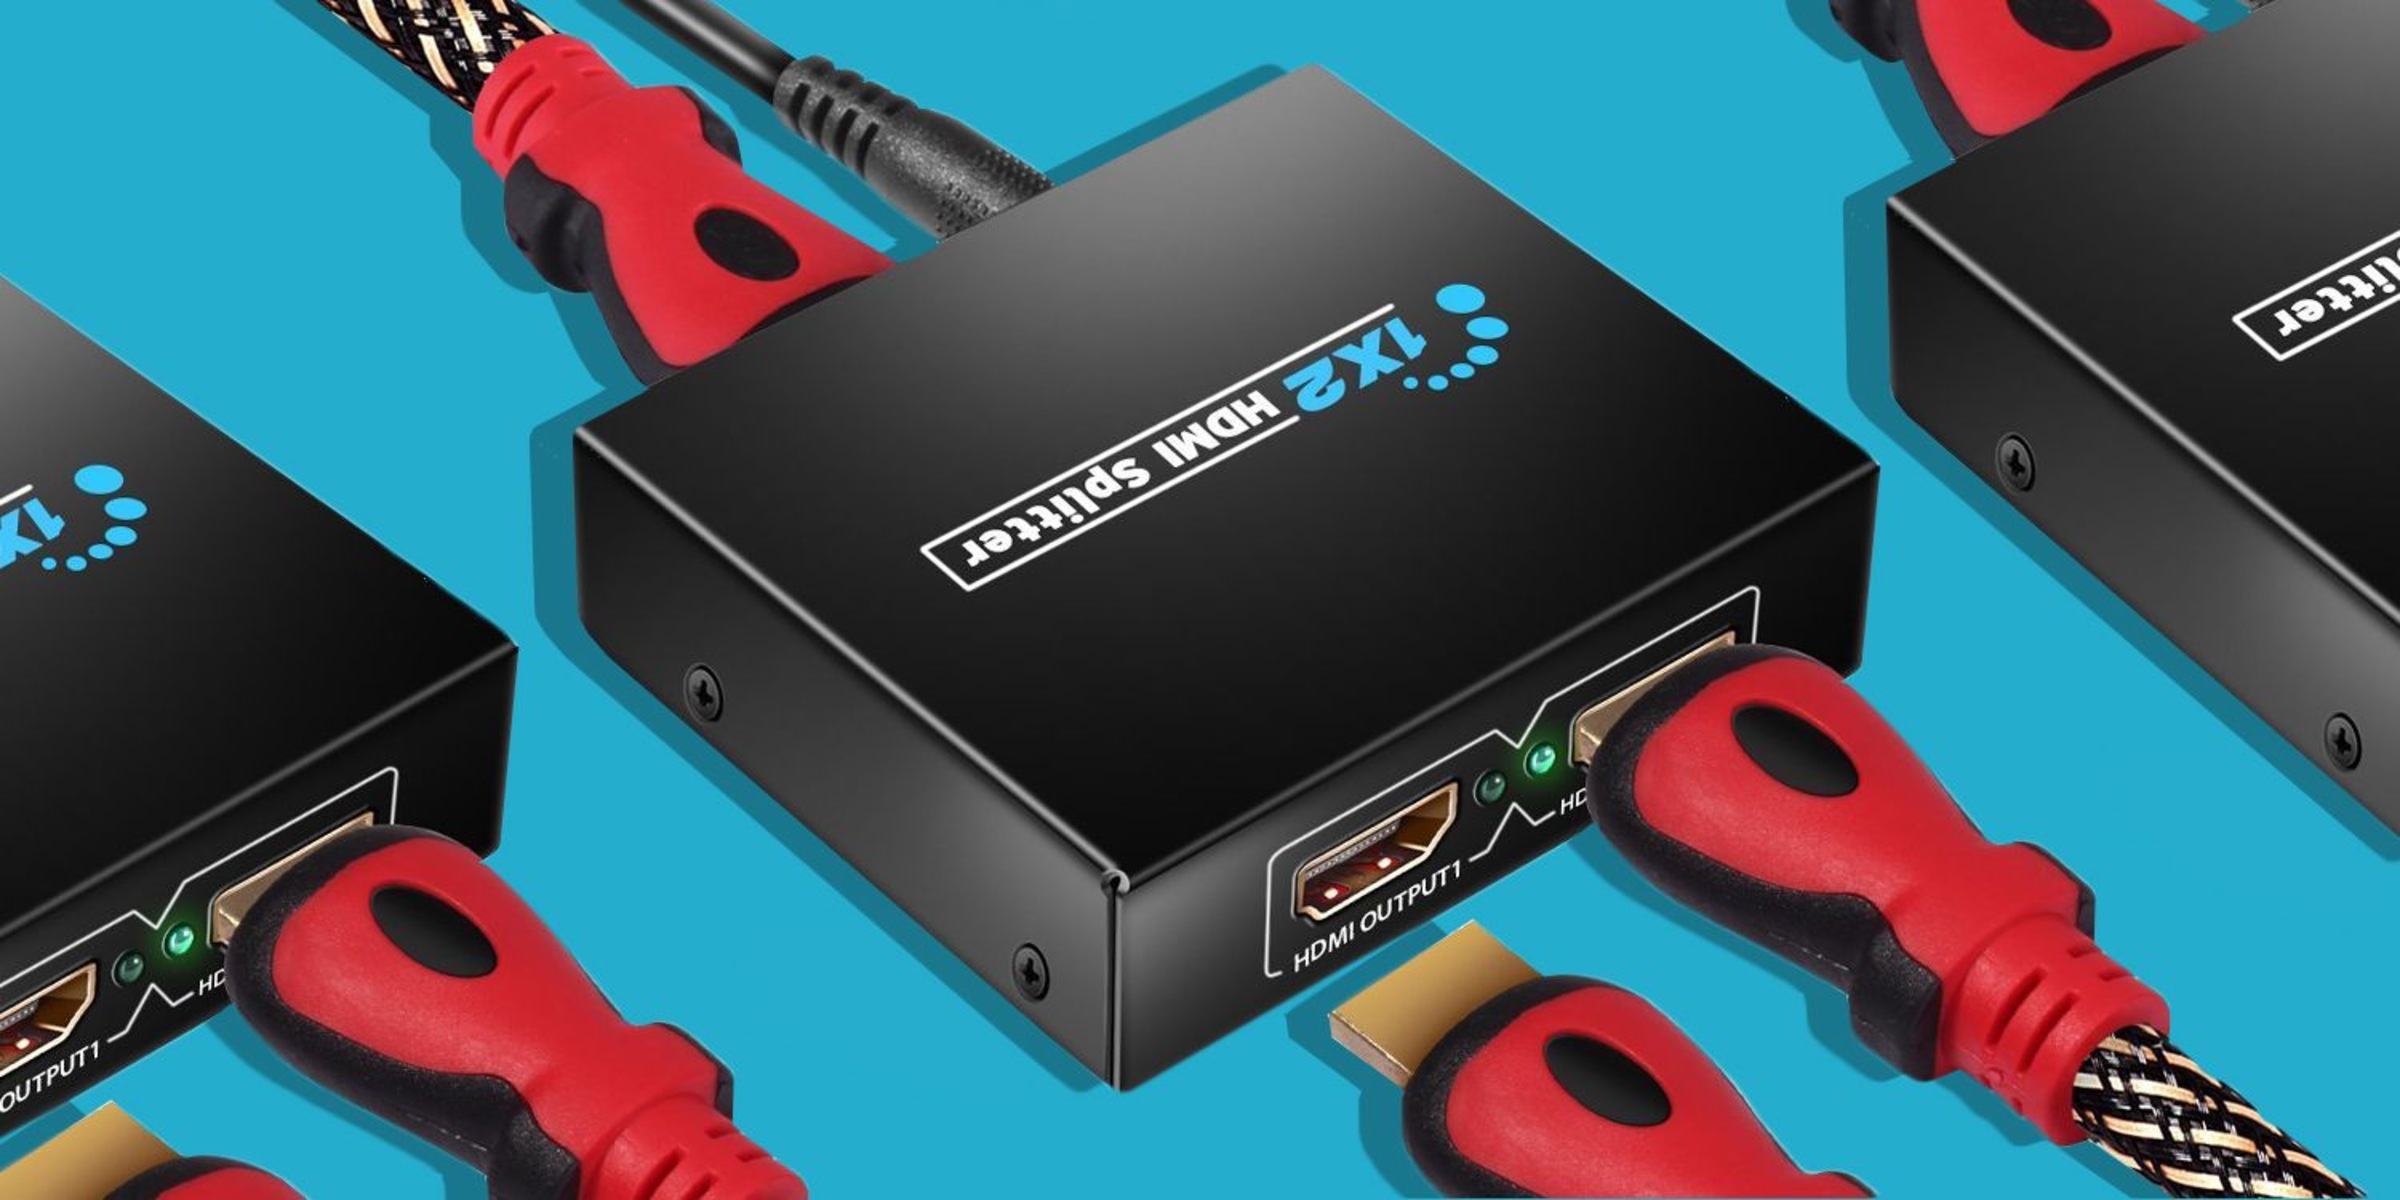
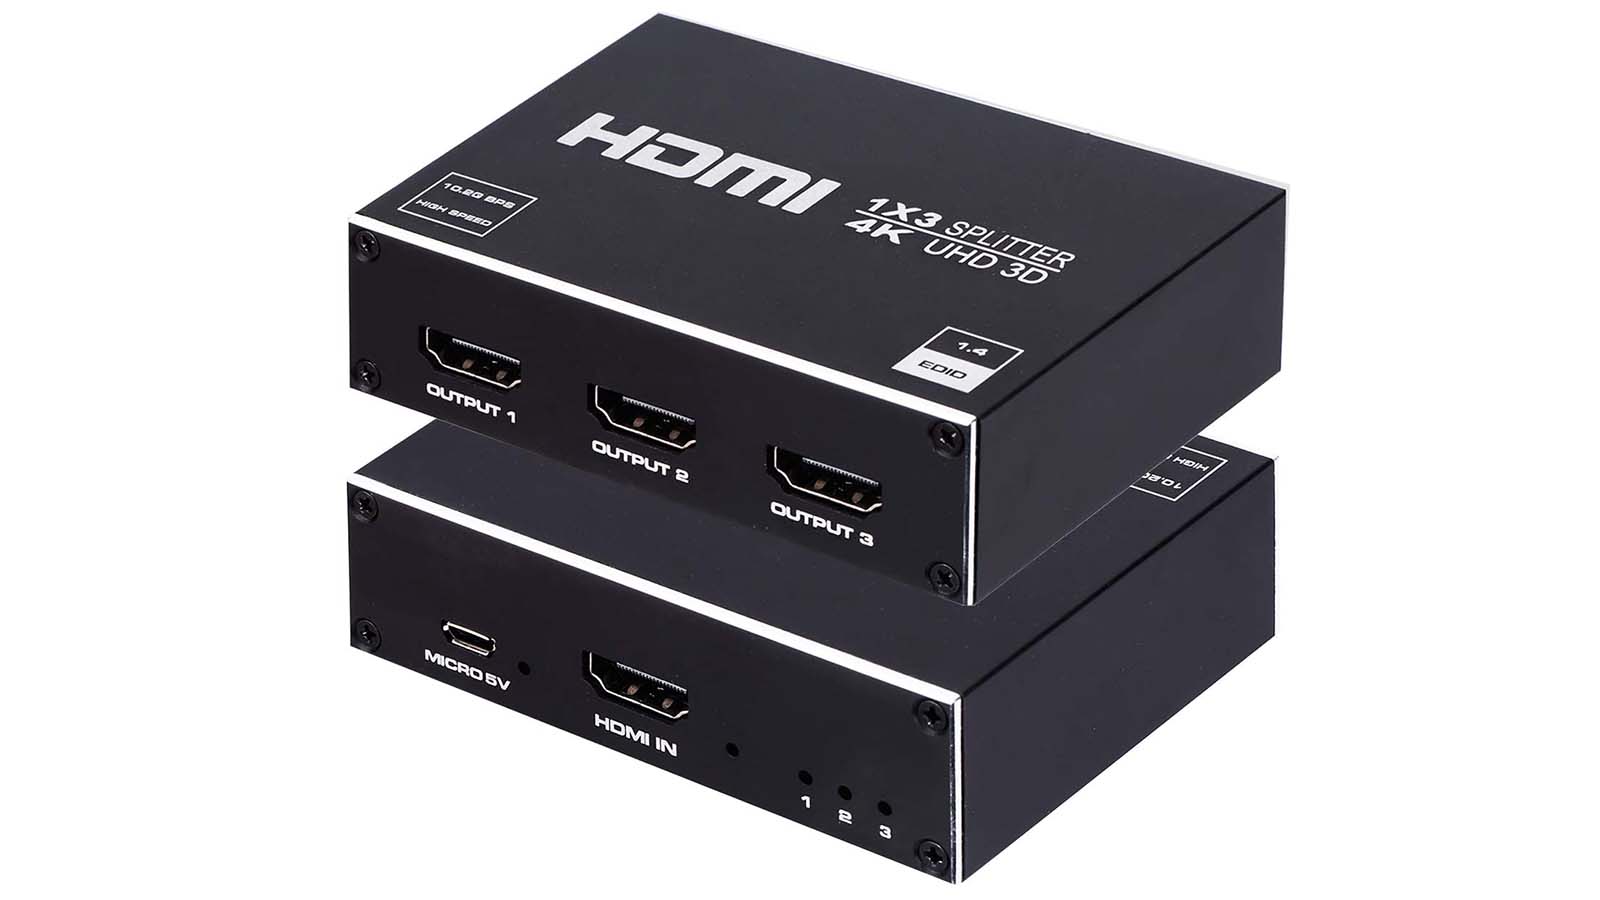
2. Inspect the HDMI Splitter: Take a close look at the HDMI splitter and examine its physical features. You will typically find an HDMI input port, multiple HDMI output ports, and a power port. Some splitters may also have additional buttons or switches for advanced settings.
3. Check for Any Included Accessories: Look inside the packaging for any accessories or cables that may have come with the HDMI splitter. These could include power adapters, HDMI cables, or user manuals. Ensure that you have all the necessary items before proceeding to the next steps.
4. Read the User Manual (if provided): If a user manual is included, it is advisable to read through it to familiarize yourself with the specific instructions and recommendations for setting up and using the HDMI splitter. The manual may also provide troubleshooting tips and additional information about the device.
By carefully unpacking the HDMI splitter and familiarizing yourself with its components, you are now ready to move on to the next step of the setup process. In the following sections, we will guide you through the remaining steps to successfully connect and configure your HDMI splitter.
Step 2: Connect the Power Supply
The next step in setting up your HDMI splitter is to connect the power supply. Most HDMI splitters require an external power source to function properly. Here’s how to connect the power supply:
1. Locate the Power Port: Identify the power port on the HDMI splitter. It is usually labeled “Power” or marked with a power symbol (usually a circle with a line in the middle).
2. Plug in the Power Adapter: Take the power adapter that came with the HDMI splitter and insert it into a nearby power outlet. Ensure that the voltage and current rating of the power supply match the requirements of the HDMI splitter. If the splitter supports USB power, you may be able to connect it to a USB port instead of using a separate power adapter.
3. Connect the Power Cable: Attach the other end of the power adapter cable to the power port on the HDMI splitter. Make sure the connection is secure.
4. Verify Power Indicator: Once the power supply is connected, check if there is a power indicator light on the HDMI splitter. This light will typically indicate if the splitter is receiving power.
It is important to note that some HDMI splitters may have different power requirements or methods of power connection. Always refer to the user manual or manufacturer’s instructions for specific guidance on connecting the power supply.
By connecting the power supply to your HDMI splitter, you have provided the necessary power to ensure its proper functioning. In the next step, we will guide you through connecting the input source to the HDMI splitter.
Step 3: Establish the Input Connection
After connecting the power supply to your HDMI splitter, the next step is to establish the input connection. This involves connecting the source device, such as a DVD player or gaming console, to the HDMI splitter. Follow these steps:
1. Locate the HDMI Input Port: Identify the HDMI input port on the HDMI splitter. It is typically labeled “Input” or marked with an “In” symbol.
2. Connect the HDMI Cable: Take one end of the HDMI cable and insert it into the HDMI output port on your source device. The HDMI output port is usually labeled “HDMI Out” or marked with an arrow indicating the direction of the signal.
3. Insert the Other End into the HDMI Input Port: Connect the other end of the HDMI cable into the HDMI input port on the HDMI splitter. Ensure a secure and snug connection.
4. Verify the Input Connection: Once the HDMI cable is connected, ensure that the input connection is properly established. Refer to the user manual or the manufacturer’s instructions to confirm the specific indicator light or display indicating a successful input connection on the HDMI splitter.
It’s worth noting that some HDMI splitters may also support other types of audio and video connections, such as VGA or component. However, HDMI is the most common and recommended connection type for optimal audio and video quality.
By establishing the input connection between your source device and the HDMI splitter, you have successfully set up the first part of the HDMI signal distribution. In the following step, we will guide you through connecting the output devices to the HDMI splitter.
Step 4: Connect the Output Devices
After establishing the input connection between your source device and the HDMI splitter, the next step is to connect the output devices. These could be TVs, projectors, monitors, or any other devices you want to display the content on. Follow these steps to connect the output devices:
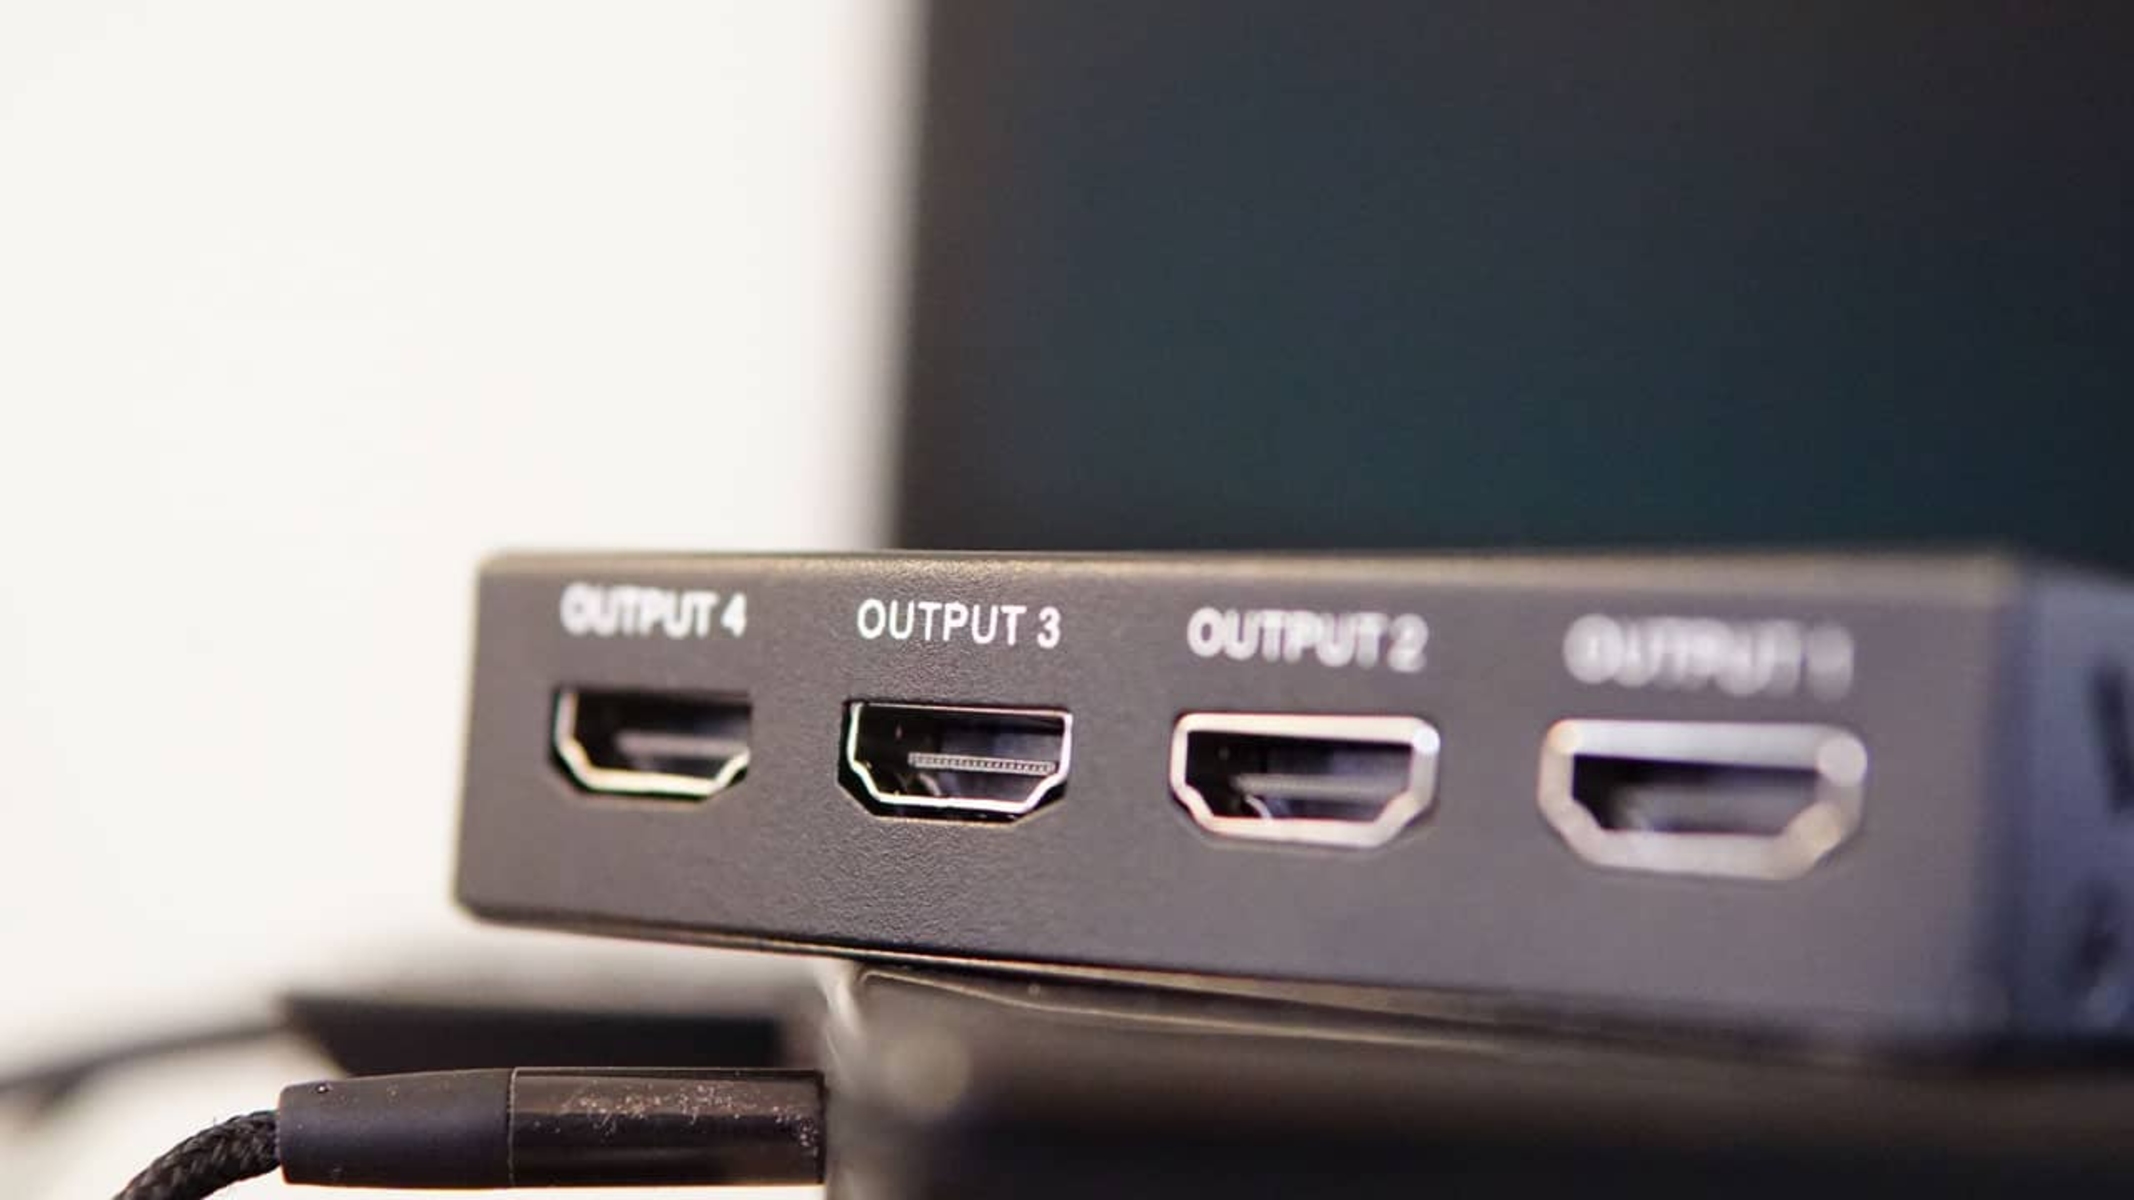
1. Locate the HDMI Output Ports: Identify the HDMI output ports on the HDMI splitter. These are usually labeled “Output” or marked with numbers indicating the specific outputs.
2. Connect HDMI Cables to the Output Devices: Take an HDMI cable and connect one end to an HDMI output port on the HDMI splitter. Choose the port that corresponds to the output device you want to connect. Repeat this step for each output device you wish to connect.
3. Insert the Other End into the Input Ports of the Output Devices: Connect the other end of each HDMI cable into the HDMI input port of the respective output device. Ensure a secure and proper connection for each output device.
4. Verify the Output Connections: Once all the HDMI cables are connected, check the HDMI splitter and the connected output devices for any visual indicators or displays that confirm a successful output connection. Refer to the user manual or the manufacturer’s instructions for specific guidance on verifying the output connections.
It’s important to note that HDMI splitters can distribute the same audio and video signal to all connected output devices simultaneously. This means that all the connected devices will display the same content at the same time.
By connecting the output devices to the HDMI splitter, you have completed the process of establishing the necessary connections for displaying the audio and video content across multiple screens. In the next step, we will guide you through powering up the HDMI splitter.
Step 5: Power Up the Splitter
Once you have connected all the input and output devices, the next step is to power up the HDMI splitter. Follow these steps to ensure proper power-up:
1. Confirm Power Connection: Double-check that the power supply is securely connected to both the HDMI splitter and the power outlet.
2. Switch on the Power Supply: If the HDMI splitter has a power switch, turn it on. You may need to refer to the user manual or the manufacturer’s instructions for specific guidance on powering up the splitter.
3. Check Power Indicator: Look for a power indicator light on the HDMI splitter. This light will typically indicate if the splitter is receiving power. If the power indicator is illuminated, it means the HDMI splitter is successfully powered up.
4. Verify Output Devices: Confirm that the output devices connected to the HDMI splitter are also powered on. Ensure that the displays, TVs, or projectors are receiving power and are set to the correct input/source. This will allow them to receive and display the audio and video signals from the splitter.
5. Switch on the Source Device: Turn on the source device, such as a DVD player, gaming console, or cable box, that is connected to the HDMI splitter. This will start sending the audio and video signal to the splitter.
6. Check Each Output Device: Ensure that each connected output device is receiving the audio and video signal from the HDMI splitter. It should display the content that is being played by the source device.
By following these steps and powering up the HDMI splitter and the connected devices, you have successfully completed the setup process. In the next step, we will guide you through testing the connection to ensure everything is working correctly.
Step 6: Test the Connection
After powering up the HDMI splitter and all the connected devices, it’s important to test the connection to ensure that the audio and video signals are being distributed correctly. Follow these steps to test the connection:
1. Select a Media Source: Choose a media source, such as a movie, video game, or television show, that you want to play on the source device connected to the HDMI splitter.
2. Set the Input Source: On each connected display device, select the corresponding HDMI input/source where the HDMI splitter is connected. Use the remote control or the buttons on the display to navigate through the input options.
3. Play the Media: Start playing the media on the source device. It could be a DVD, Blu-ray, streaming content, or any other source.
4. Check Output Devices: Verify that the media content is being displayed on each connected output device. Pay attention to the audio quality and video resolution to ensure they meet your expectations.
5. Verify Sync and Performance: Pay attention to the synchronicity of the audio and video. Ensure there is no noticeable delay or audio/video out of sync. Check for any visual artifacts or display issues such as flickering or image distortion.
6. Test Multiple Outputs: If you have connected more than two output devices, test the media playback on each individual output device to confirm that all the connected devices are receiving the audio and video signal simultaneously without any issues.
By conducting these tests, you can ensure that the HDMI splitter is functioning as expected and that the audio and video signals are successfully distributed to all the connected output devices.
If you encounter any issues during the testing process, you may need to refer to the troubleshooting section or consult the user manual for guidance on resolving common connectivity or compatibility problems.
Congratulations! You have now successfully set up and tested the connection of your HDMI splitter. Enjoy the convenience of seamless audio and video distribution across multiple displays.
Troubleshooting Tips
While setting up and using an HDMI splitter is generally straightforward, you may encounter some common issues or challenges along the way. Here are some troubleshooting tips to help you resolve them:
1. Check Cable Connections: Ensure that all the HDMI cables are securely connected to their respective ports. Loose or faulty connections can cause signal loss or interruptions.
2. Verify Power Supply: Double-check that the HDMI splitter is receiving power from the power supply. Make sure the power adapter is plugged in properly and the power outlet is functioning.
3. Restart Devices: If you’re experiencing connectivity issues or erratic behavior, try power cycling the HDMI splitter, source device, and the connected output devices. Sometimes, a simple restart can resolve the problem.
4. Use High-Quality HDMI Cables: Low-quality or damaged HDMI cables can lead to signal degradation. Replace the cables with high-quality ones and ensure they are compatible with the HDMI version supported by your devices.
5. Check HDMI Versions: Incompatibility between HDMI versions can cause display issues. Verify that all the connected devices support the same HDMI version to ensure proper signal transmission.
6. Update Firmware or Drivers: Check for any available firmware updates for your HDMI splitter. Similarly, make sure the source device and connected output devices have up-to-date firmware or drivers installed.
7. Disable HDCP (High-bandwidth Digital Content Protection): If you encounter issues with HDCP compliance, such as a blank screen or error messages, try temporarily disabling HDCP on the source device or adjusting the HDCP settings to a compatible level.
8. Test with Different Cables or Devices: If you suspect a specific HDMI cable or device is causing the problem, try swapping it out with a different one to isolate the issue.
9. Reset EDID Settings: If there are compatibility issues between the source device and the connected displays, try resetting the EDID settings on the HDMI splitter or adjusting the configuration to match your devices’ capabilities.
10. Contact Manufacturer Support: If you have exhausted all troubleshooting options and are still experiencing issues, reach out to the manufacturer’s customer support for further assistance. They may provide specific guidance or offer a solution based on your HDMI splitter model.
Remember, each HDMI splitter model may have unique troubleshooting steps, so consult the user manual or manufacturer’s website for specific troubleshooting guidance. With patience and persistence, most issues can be resolved, allowing you to enjoy uninterrupted audio and video distribution.
By following these troubleshooting tips, you can overcome common challenges and ensure a smooth and reliable HDMI splitter setup and usage experience.
Conclusion
Setting up an HDMI splitter provides a seamless way to distribute audio and video signals from a single source device to multiple displays. By following the step-by-step guide outlined in this article, you can easily connect your HDMI splitter and enjoy the convenience of simultaneous content display on multiple screens.
Throughout the setup process, it is essential to pay attention to selecting the right HDMI splitter based on your requirements and ensuring compatibility with your devices. Gathering the necessary equipment, establishing input and output connections, and powering up the splitter are all essential steps in the setup journey. Testing the connection and troubleshooting any issues that arise during the process will ensure optimal performance and a satisfactory viewing experience.
Remember to use high-quality HDMI cables, keep firmware and drivers up to date, and refer to the user manual or manufacturer’s instructions for specific guidance. Should you encounter any difficulties, the troubleshooting tips provided in this guide can help you overcome common challenges and resolve connectivity issues.
With your HDMI splitter properly set up, you can enjoy a wide range of applications, including multi-room viewing, commercial presentations, gaming setups, and much more. The flexibility and convenience of an HDMI splitter make it an invaluable tool for modern multimedia setups.
So, whether you’re a home entertainment enthusiast or a professional presenter, follow this guide and unleash the power of your HDMI splitter to enhance your audiovisual experience and take control of your display capabilities. Happy connecting!