Introduction
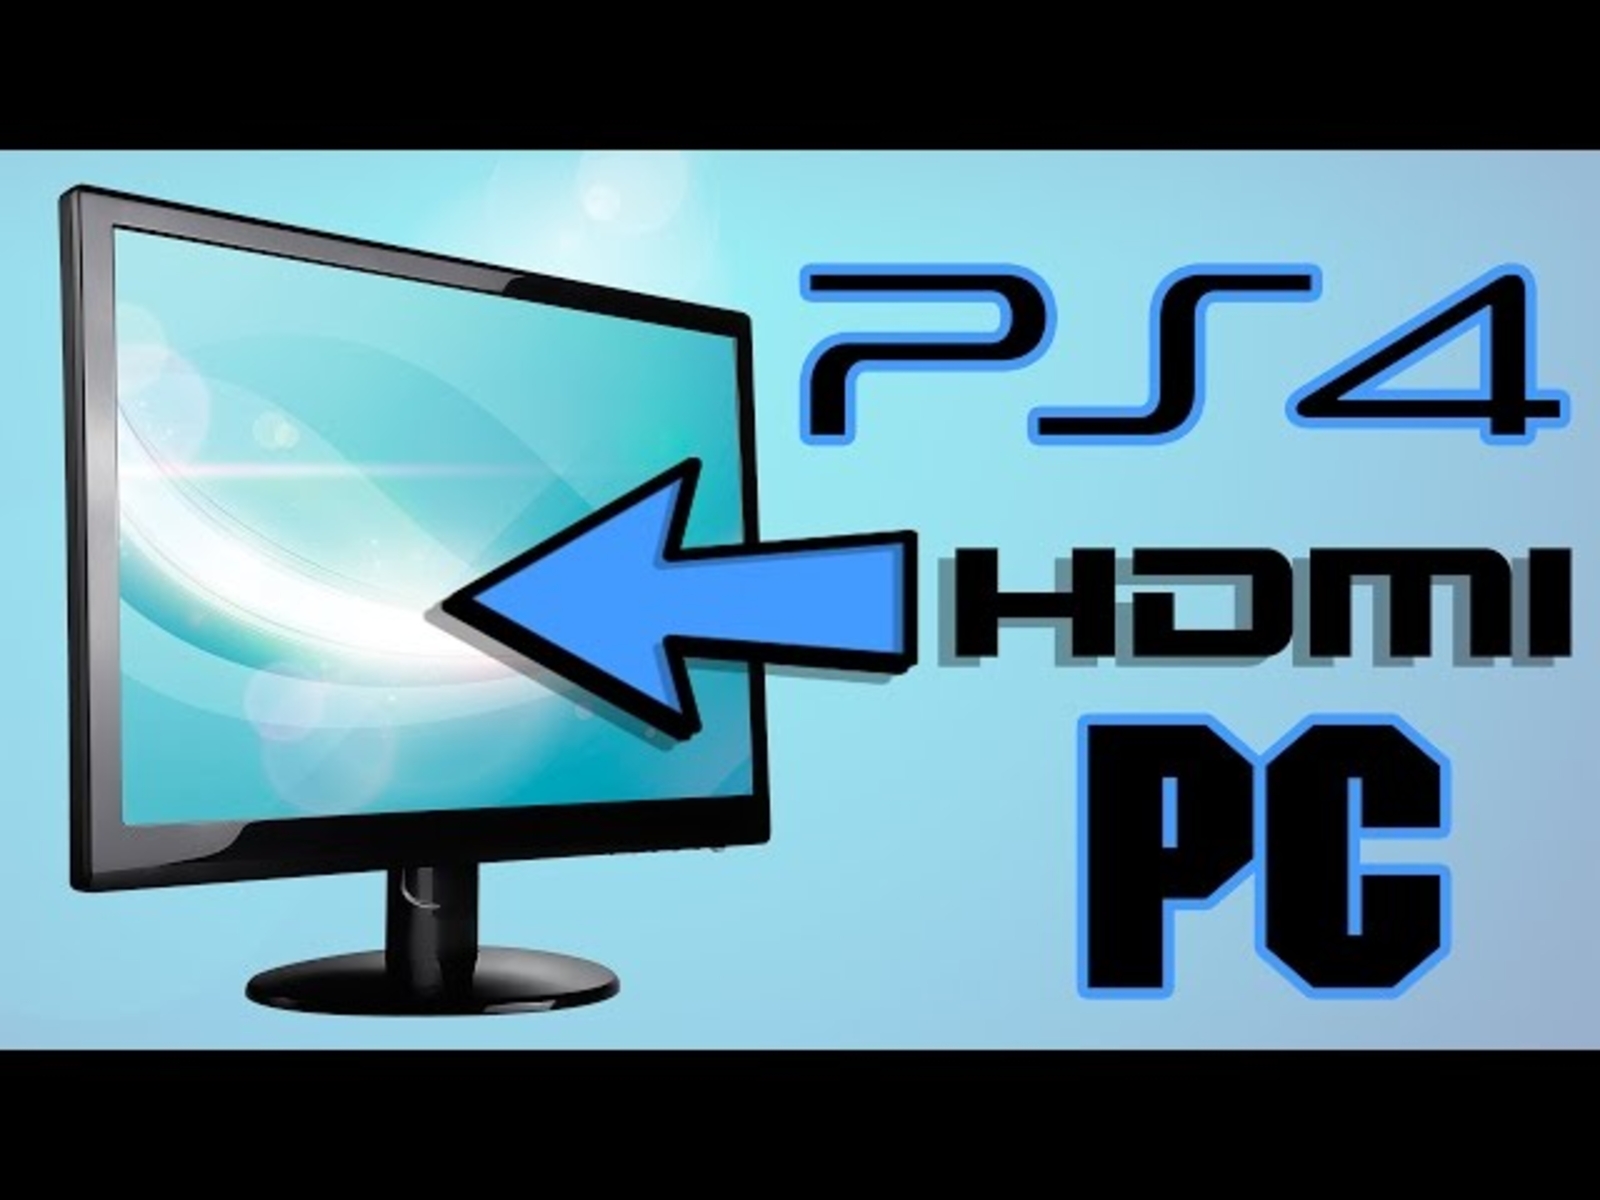
Welcome to this guide on how to connect your PS4 to a monitor! If you prefer gaming on a monitor rather than a TV, or if you want a dedicated setup for your PlayStation 4, then this tutorial is for you. Connecting your PS4 to a monitor can provide a more immersive gaming experience, with sharper graphics and faster response times.
Whether you’re a casual gamer or a competitive player, setting up your PS4 with a monitor can be a straightforward process. In this article, we will take you through the step-by-step instructions on how to connect your PS4 to a monitor, ensuring that you can start gaming with ease.
Before we get started, it’s important to note that the method may vary depending on the specific monitor and PS4 model that you have. However, the general steps outlined in this guide should be applicable to most setups.
So, if you’re ready to make the switch to gaming on a monitor, let’s dive right into the requirements and steps needed to connect your PS4!
Requirements
Before you begin connecting your PS4 to a monitor, you’ll need to gather a few essential items. Here’s a list of the requirements:
- A monitor: Ensure that you have a monitor with an HDMI input port. Most modern monitors have this feature, but it’s essential to check beforehand. If your monitor doesn’t have an HDMI port, you may need an HDMI to VGA adapter or an HDMI to DVI adapter.
- An HDMI cable: You’ll need an HDMI cable to establish a connection between your PS4 and the monitor. Make sure you have a high-speed HDMI cable to support the audio and video signals.
- A PlayStation 4: Of course, you’ll need a PS4 console for this setup. Any PS4 model, including the standard PS4, PS4 Slim, or PS4 Pro, can be connected to a monitor.
- A power source: Ensure that both the monitor and PS4 are connected to a power source. Make sure you have the necessary power cables and sockets available.
- Optional: External speakers or headphones. While most monitors have built-in speakers, they may not deliver the best audio quality. If you prefer a more immersive audio experience, consider connecting external speakers or headphones to your PS4.
Once you have gathered all the necessary requirements, you’re ready to proceed with the step-by-step process of connecting your PS4 to a monitor. The next section will guide you through the specific steps, ensuring a seamless setup.
Step 1: Check the Monitor’s Input Ports
The first step in connecting your PS4 to a monitor is to check the input ports on your monitor. Most modern monitors will have an HDMI input port, which is the easiest and most common way to connect your PS4. However, some monitors may have different types of input ports, such as VGA or DVI.
Start by locating the input ports on the back or side of your monitor. Look for an HDMI port labeled “HDMI In.” If you find one, you’re in luck, as this is the port you’ll be using to connect your PS4.
If your monitor doesn’t have an HDMI input port, you may need to use an adapter to connect your PS4. For example, if your monitor has a VGA input port, you’ll need an HDMI to VGA adapter. Alternatively, if your monitor has a DVI input port, you’ll need an HDMI to DVI adapter. These adapters can be easily purchased online or at electronics stores.
It’s worth noting that using adapters may affect the quality of the audio and video signal. HDMI is the preferred method of connection due to its ability to transmit both audio and video signals in high definition. If possible, it’s always best to use an HDMI connection for optimal gaming performance.
Once you have identified the appropriate input port on your monitor, you’re ready to move on to the next step: connecting the HDMI cable.
Step 2: Connect the HDMI Cable to the Monitor
Now that you have identified the HDMI input port on your monitor, it’s time to connect the HDMI cable. Follow these steps:
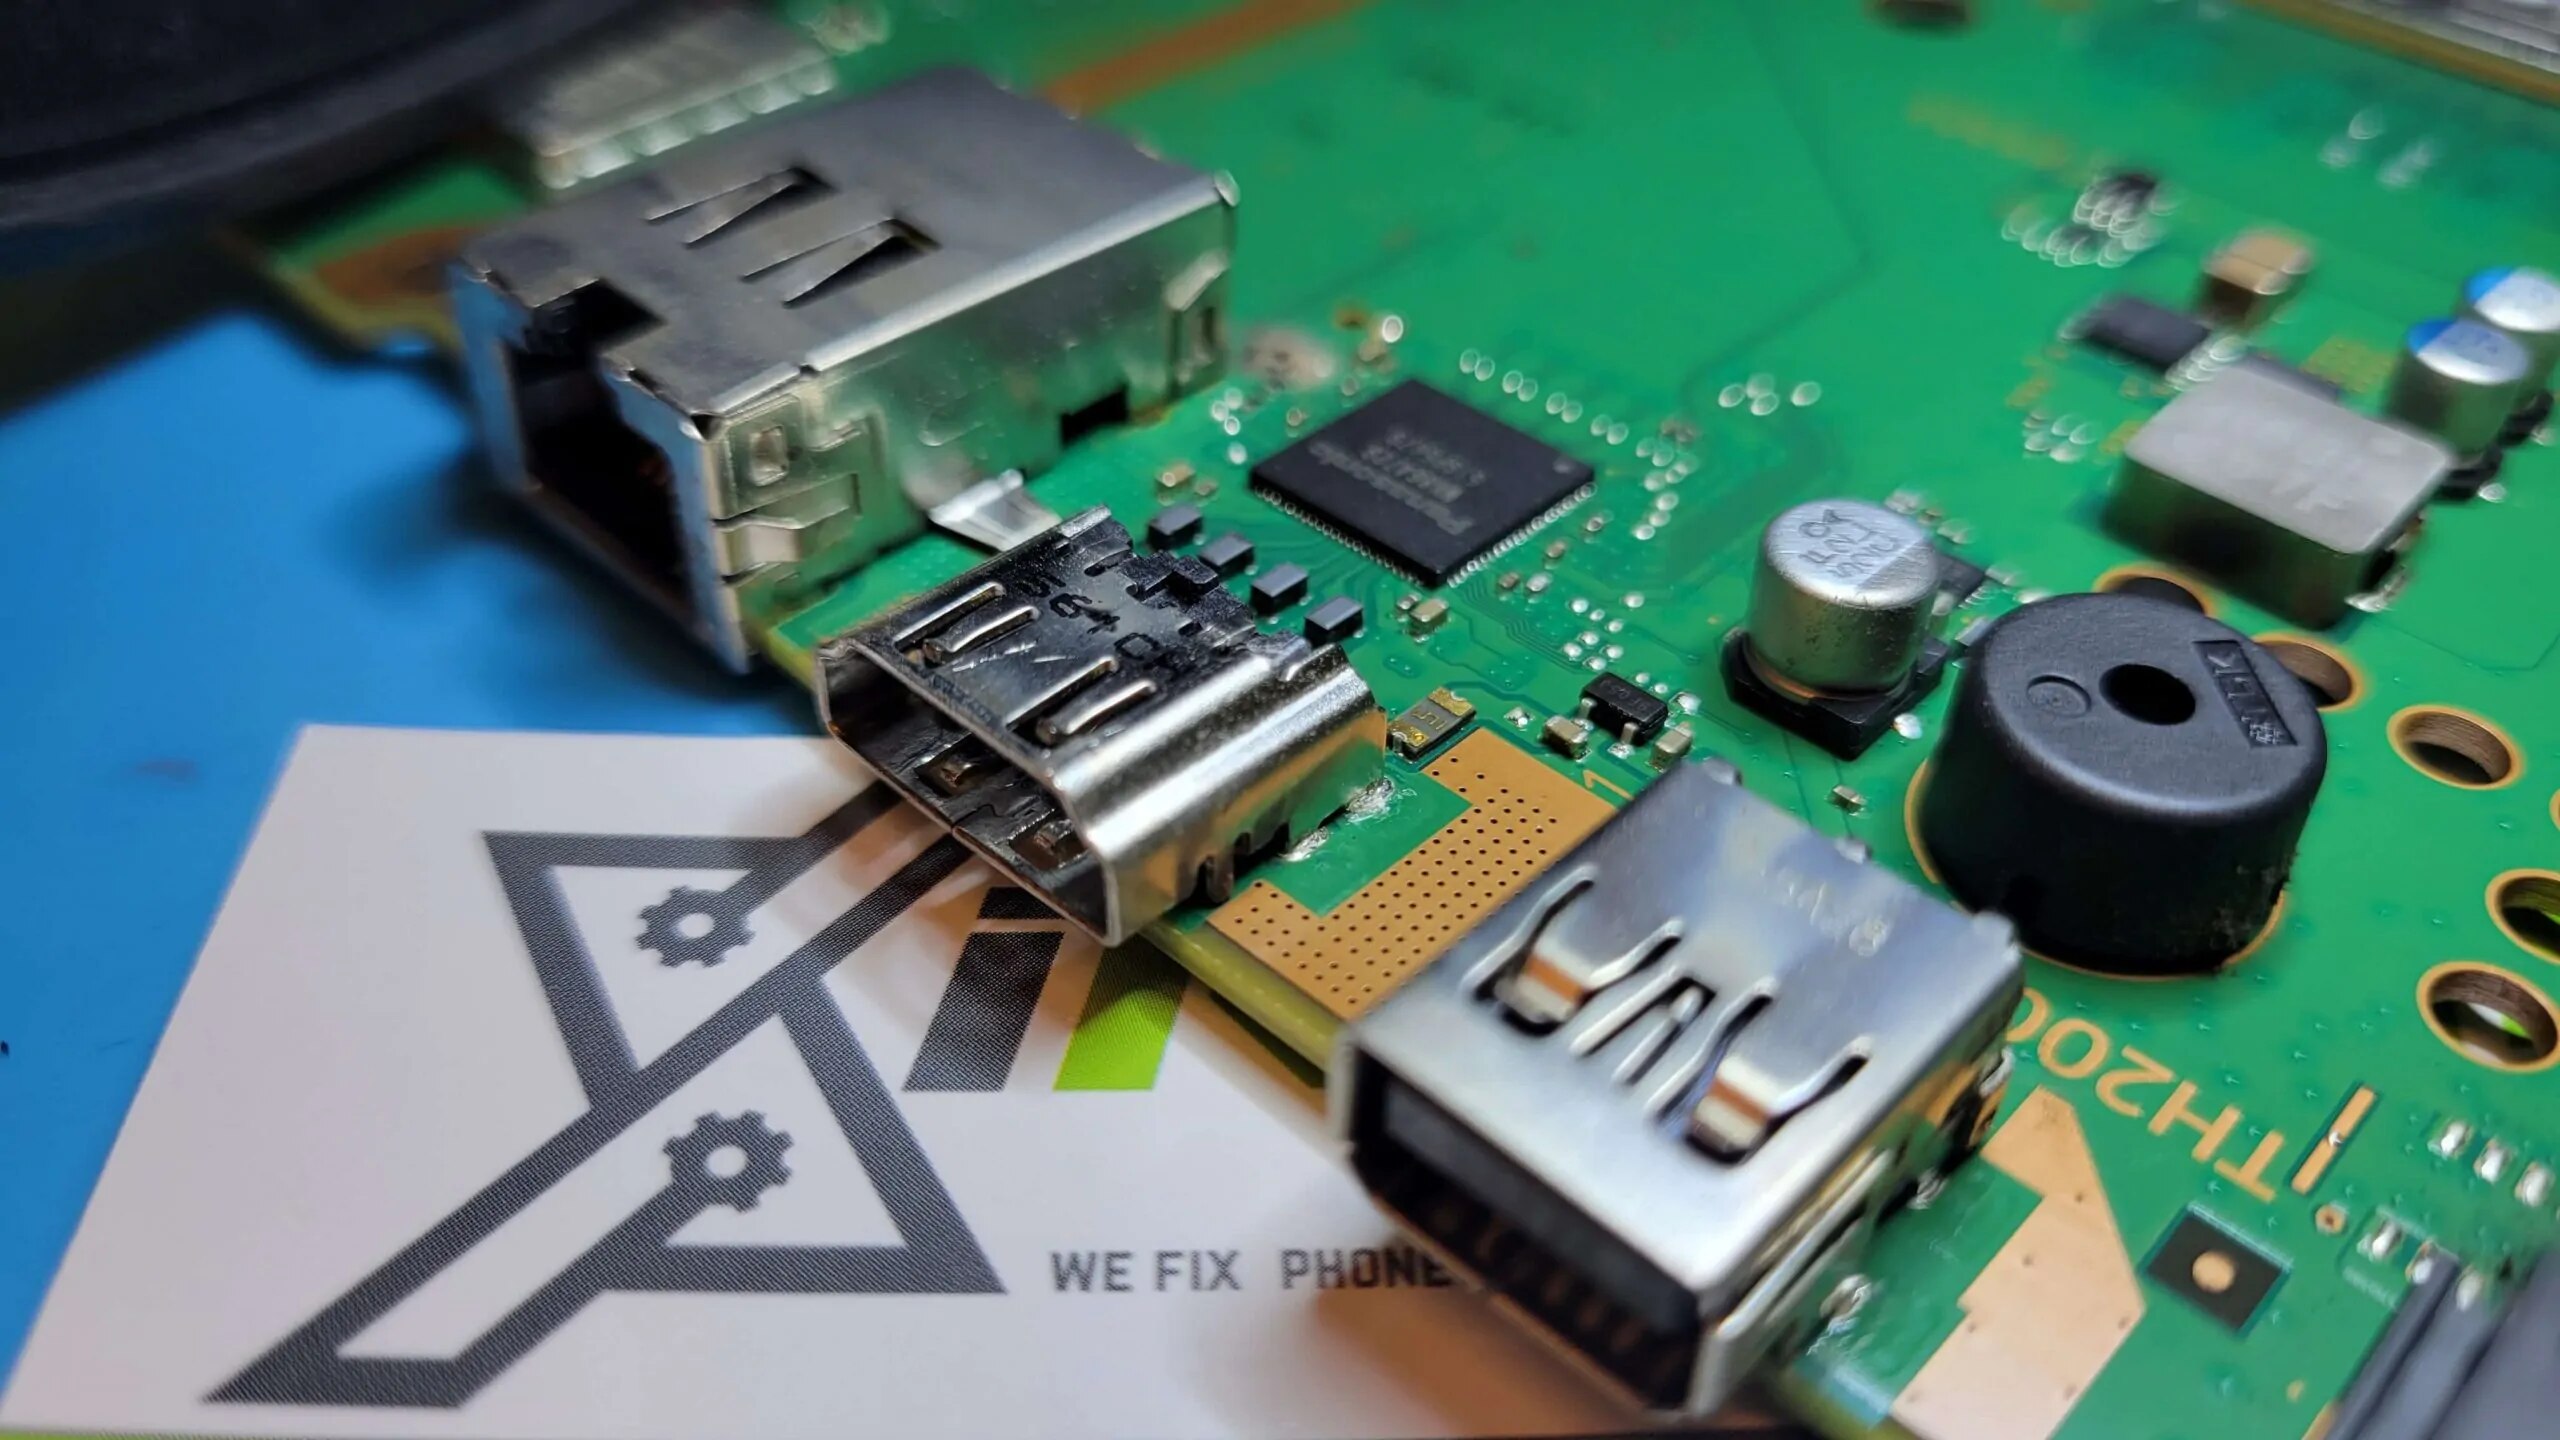
- Locate the HDMI output port on your PS4. It’s typically located on the back of the console.
- Take one end of the HDMI cable and insert it into the HDMI output port on your PS4. Make sure it’s securely connected.
- Next, take the other end of the HDMI cable and insert it into the HDMI input port on your monitor. Again, ensure that the connection is secure.
- If you are using an HDMI to VGA or HDMI to DVI adapter, connect the HDMI cable to the adapter and then connect the adapter to the respective input port on your monitor.
Once the HDMI cable is successfully connected to both the PS4 and the monitor, you’re ready to move on to the next step: connecting the HDMI cable to your PS4.
It’s important to note that you should only connect or disconnect the HDMI cable when both the PS4 and the monitor are powered off. Connecting or disconnecting the cable while the devices are powered on may cause damage or disrupt their functionality.
Now that the HDMI cable is securely connected to your monitor and PS4, let’s move on to the next step: turning on the monitor and PS4.
Step 3: Connect the HDMI Cable to the PS4
With the HDMI cable connected to your monitor in the previous step, it’s time to connect the other end of the cable to your PS4. Follow these steps:
- Ensure that both your monitor and PS4 are powered off before proceeding.
- Locate the PlayStation HDMI port on your PS4. It’s typically located on the back of the console.
- Take the other end of the HDMI cable that is connected to your monitor and insert it into the HDMI port on your PS4.
- Ensure that the HDMI cable is securely connected to the PS4. It should fit snugly into the HDMI port.
Once the HDMI cable is connected to both the monitor and the PS4, you’re ready to proceed to the next step: turning on the monitor and PS4.
It’s important to note that HDMI cables are designed to be plug-and-play, meaning that the connection should be established automatically once both devices are turned on. If you experience any issues with the connection, double-check that all cables are securely connected and try restarting both the monitor and the PS4.
Now that the HDMI cable is connected to your PS4, let’s move on to the next step: turning on the monitor and PS4!
Step 4: Turn on the Monitor and PS4
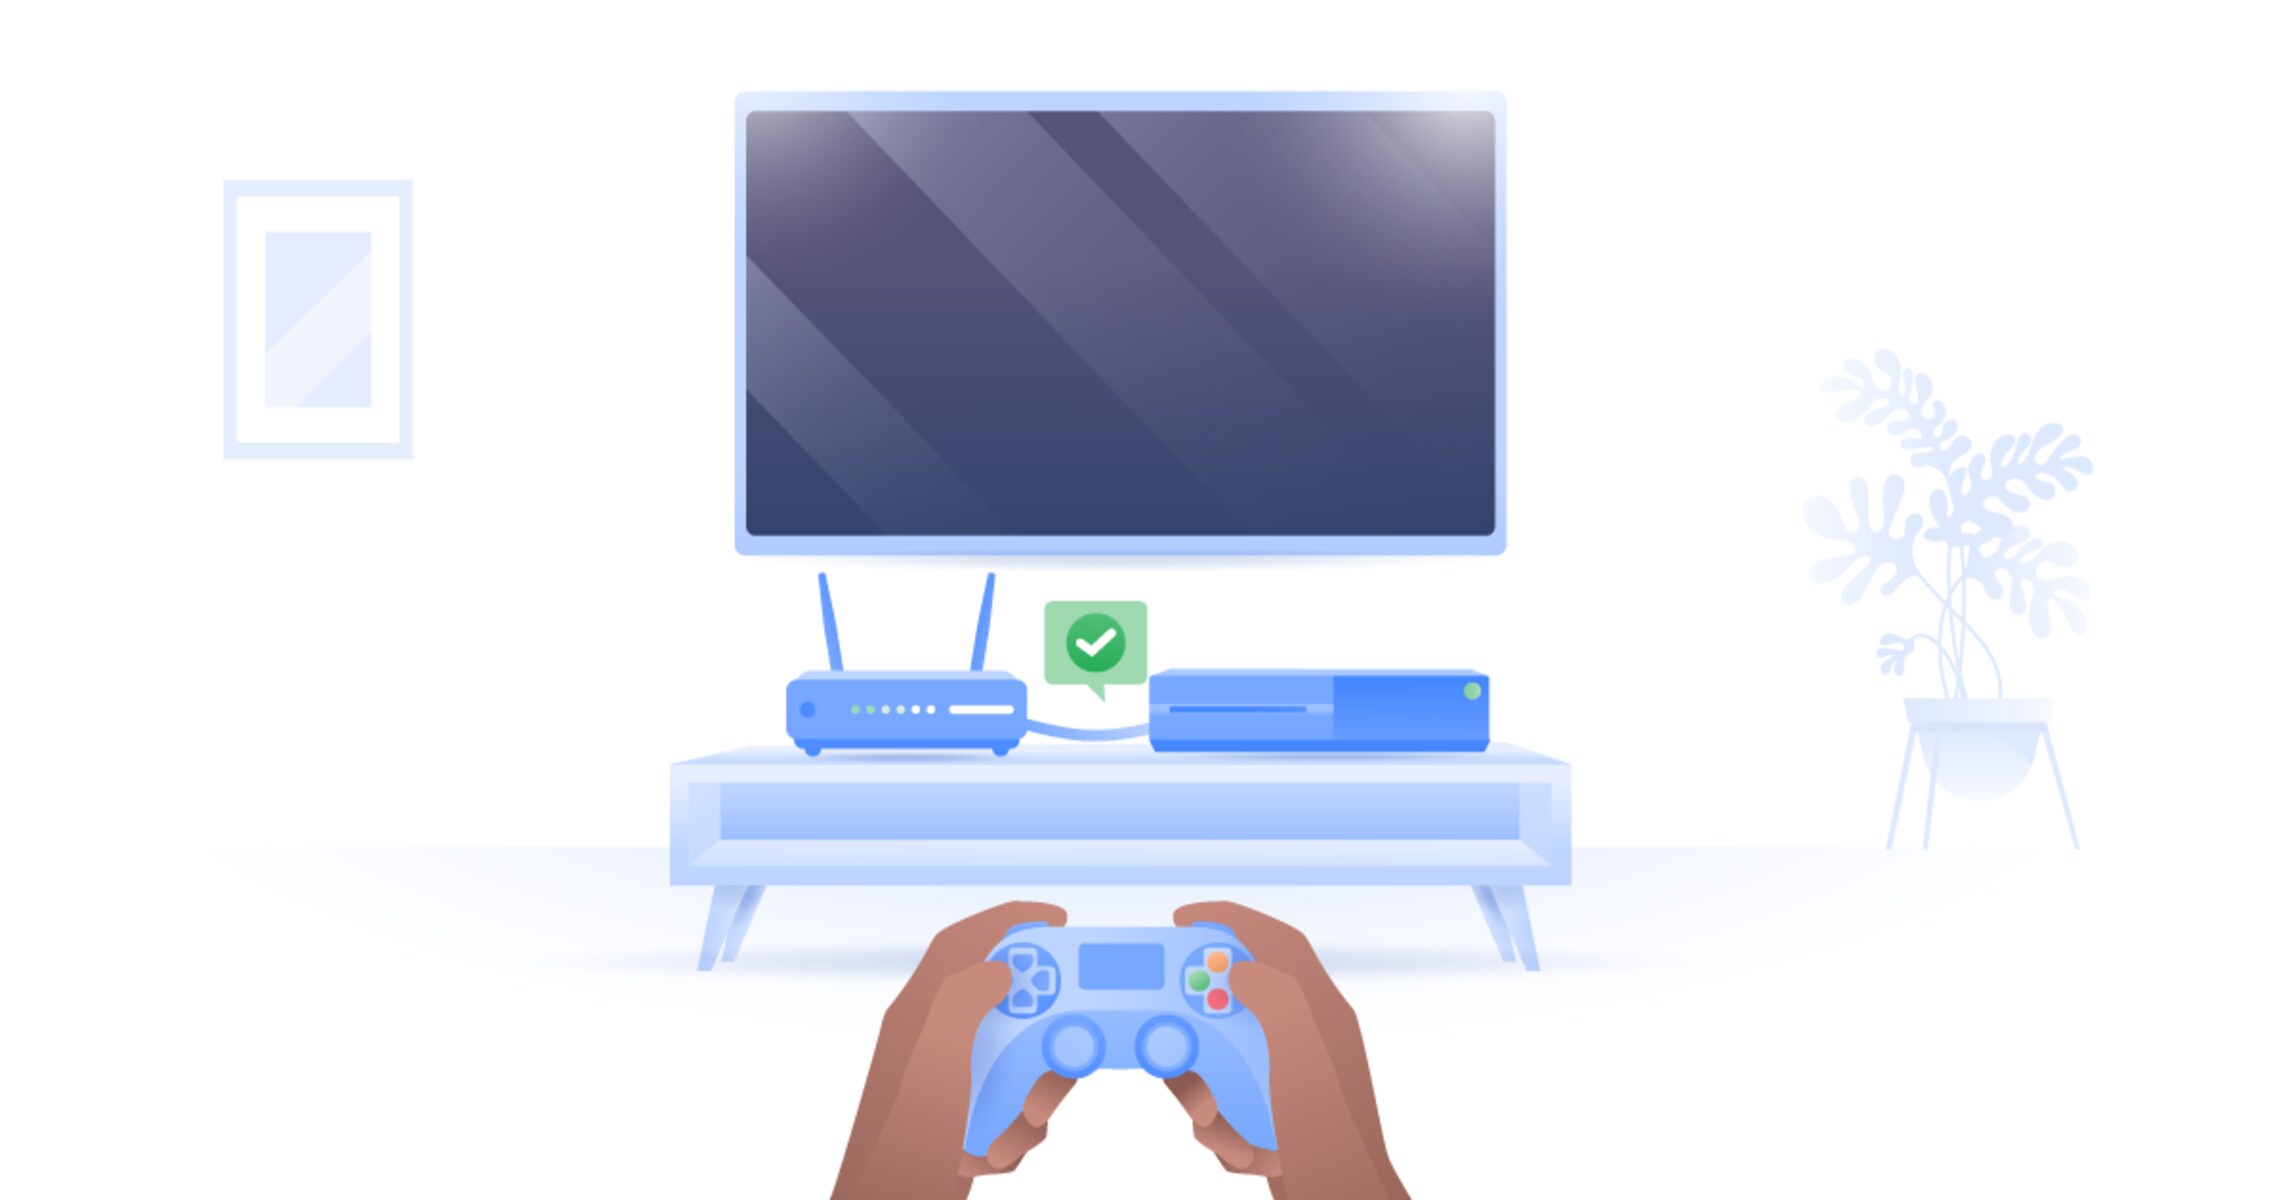
Now that the HDMI cable is connected to both the monitor and the PS4, it’s time to turn on both devices. Follow these steps:
- Ensure that both the monitor and the PS4 are plugged into a power source.
- Press the power button on your monitor to turn it on.
- Switch the input source on your monitor to the HDMI port that you connected your PS4 to. Most monitors have a dedicated input/source button or menu option that allows you to select the HDMI input.
- Next, press the power button on your PS4 console. It’s typically located on the front of the console.
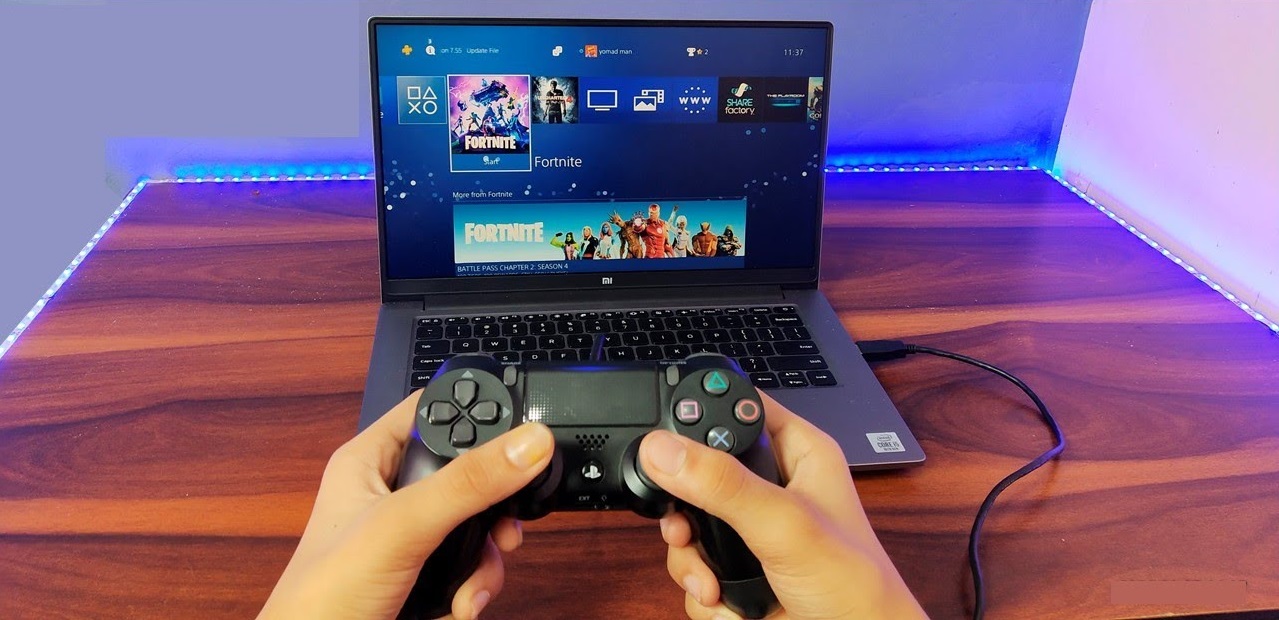
As both devices power on, you should see the display from your PS4 appearing on your monitor. If the display does not immediately appear, wait a few moments as it may take a moment for the devices to sync and establish a connection.
If you do not see the display or encounter any issues, consider checking the HDMI cable connections and ensuring that the correct input source is selected on your monitor. If necessary, try restarting both the monitor and the PS4.
Now that both the monitor and the PS4 are turned on, it’s time to proceed to the next step: configuring the display settings on your PS4
Step 5: Configure Display Settings on the PS4
Once you have your PS4 connected to the monitor and both devices powered on, it’s time to configure the display settings on your PS4. Follow these steps:
- On your PS4, navigate to the home screen by pressing the PlayStation button on your controller.
- Scroll to the right and select the “Settings” menu, represented by an icon with a toolbox.
- In the Settings menu, select “Sound and Screen.”
- Within the Sound and Screen menu, select “Video Output Settings.”
- Under Video Output Settings, choose “Resolution” and select the desired resolution for your monitor. It’s recommended to select the highest resolution supported by your monitor for the best visual experience.
- Next, select “RGB Range” and choose the appropriate setting based on your monitor’s capabilities. Most monitors support the “Automatic” setting, but you can adjust it to “Limited” or “Full” if needed.
- Finally, navigate to “Deep Color Output” and enable it if your monitor supports it. This feature enhances color reproduction for a more vibrant gaming experience.
- Once you have configured the desired display settings, select “OK” to save the changes.
By following these steps, you can ensure that your PS4’s display settings are optimized for your monitor’s capabilities. If you’re unsure of the ideal settings for your specific monitor, refer to the manufacturer’s instructions or consult online resources for recommendations.
It’s important to note that some games may have additional display settings within their own menus. If you encounter any issues with the display in a particular game, check the game’s settings to ensure they are properly configured for your monitor.
With the display settings configured, you’re all set to enjoy gaming on your PS4 with your monitor! Ready your controller, grab your favorite game, and immerse yourself in the gaming experience.
Conclusion
Congratulations! You have successfully learned how to connect your PS4 to a monitor. By following the step-by-step instructions outlined in this guide, you can now enjoy gaming on a monitor with sharper visuals and quicker response times.
Remember, before connecting your PS4 to a monitor, ensure that you have the necessary requirements, including a monitor with an HDMI input port, an HDMI cable, and a power source for both the monitor and the PS4. If your monitor doesn’t have an HDMI input port, you may need an adapter to establish the connection.
Once you have connected the HDMI cable from the monitor to both the PS4 and the monitor, power on both devices. Make sure to choose the correct HDMI input source on your monitor to display the output from your PS4.
Lastly, configure the display settings on your PS4, including resolution, RGB range, and deep color output, to optimize the visuals for your monitor. Additionally, be mindful of any game-specific display settings within the game’s menus.
Now that you’re all set up, enjoy gaming on your PS4 like never before. Whether you’re playing single-player adventures or engaging in multiplayer battles, gaming on a monitor can provide an immersive and satisfying experience.
Thank you for following this guide, and happy gaming!