Introduction
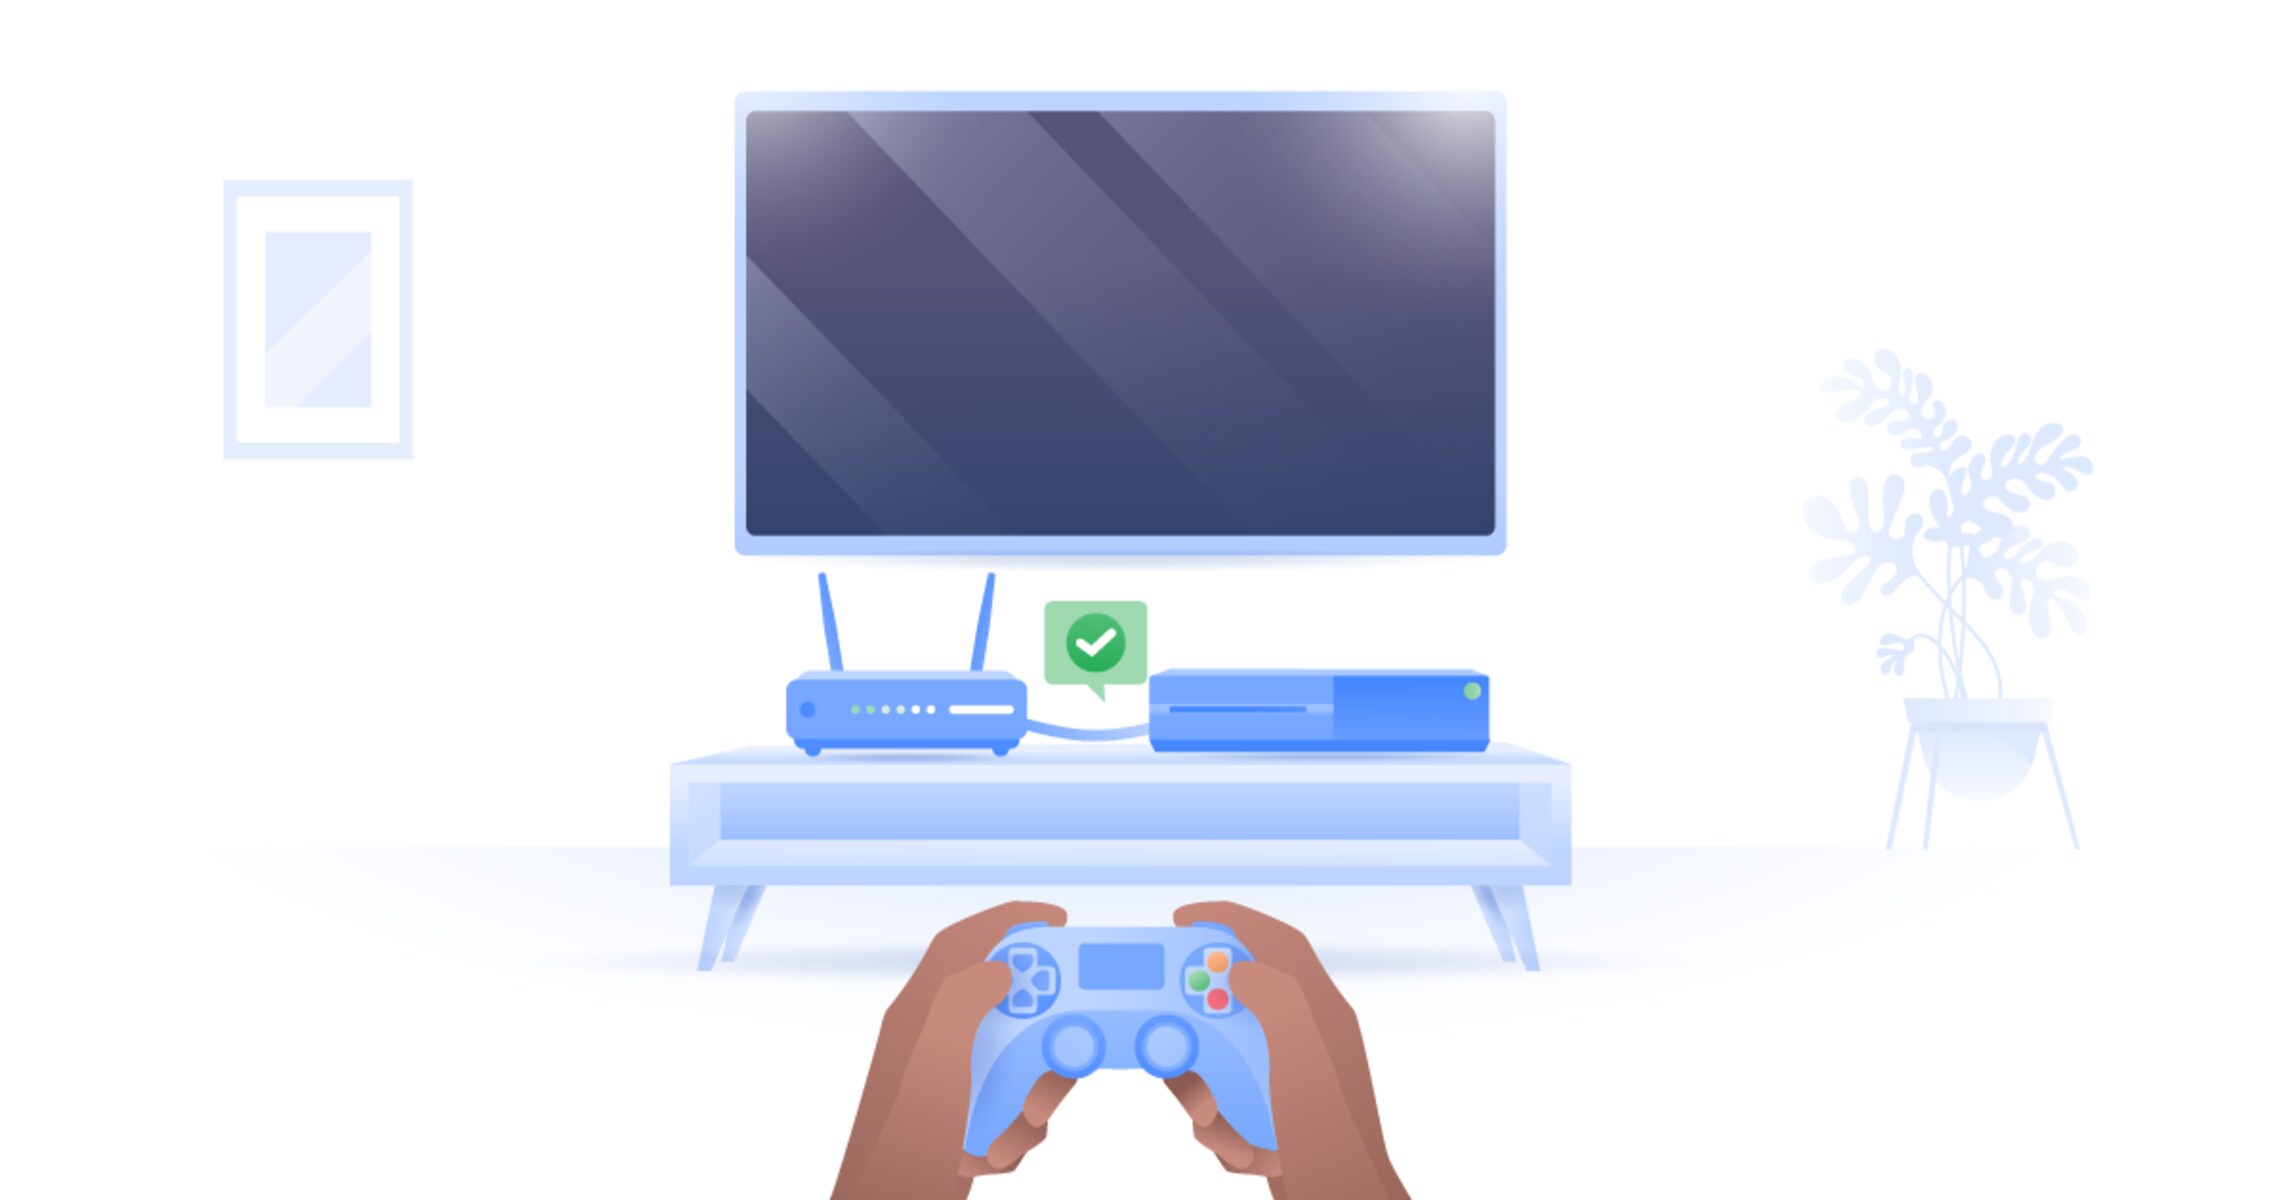
Setting up your PlayStation 4 (PS4) on a network switch can significantly enhance your gaming experience, especially if you have multiple devices connected to your network. By utilizing a network switch, you can ensure that your PS4 receives a stable and reliable connection, minimizing lag and optimizing performance during online gameplay.
In this guide, we will walk you through the step-by-step process of setting up your PS4 on a network switch. Whether you are a seasoned gamer or a novice, this tutorial will provide you with clear and concise instructions to help you seamlessly integrate your PS4 into your network infrastructure.
By following these steps, you can establish a direct connection between your PS4 and the network switch, bypassing potential bandwidth limitations and network congestion that may occur when using Wi-Fi. This direct connection can result in faster download and upload speeds, reduced latency, and an overall smoother gaming experience.
So, grab your network switch, gather your equipment, and let's dive into the process of setting up your PS4 on a network switch to unleash its full gaming potential. Whether you're engaged in intense multiplayer battles or exploring vast virtual worlds, optimizing your network setup can make a world of difference in your gaming endeavors. Let's get started!
Step 1: Gather the Necessary Equipment
Before embarking on the setup process, it’s essential to gather the required equipment to ensure a smooth and efficient configuration of your PS4 on the network switch. Here’s a comprehensive list of the essential items you’ll need:
- PlayStation 4 (PS4): This is the gaming console that you’ll be connecting to the network switch. Ensure that your PS4 is in good working condition and has the necessary cables for connection.
- Network Switch: Select a high-quality network switch with enough available ports to accommodate your PS4 and other devices you wish to connect. Consider factors such as data transfer speed, port quantity, and overall reliability when choosing a network switch.
- Router: Your existing router will serve as the primary connection point for your network. It’s important to have a router with available Ethernet ports to facilitate the connection between the network switch and your home network.
- Ethernet Cables: Obtain Ethernet cables of sufficient length to connect your PS4, network switch, and router. It’s advisable to use Cat 6 or Cat 7 Ethernet cables to ensure high-speed, stable connections.
- Display Device: A television or monitor to which your PS4 will be connected for initial setup and configuration.
- Power Outlets and Surge Protectors: Ensure that you have access to power outlets for all the devices involved in the setup. Additionally, consider using surge protectors to safeguard your equipment from power fluctuations.
By assembling these fundamental components, you’ll be well-equipped to proceed with the subsequent steps of connecting your PS4 to the network switch. Having the necessary equipment on hand will streamline the setup process and minimize any potential delays or interruptions.
Step 2: Connect the Network Switch to the Router
Now that you’ve gathered the essential equipment, it’s time to establish the connection between the network switch and the router. This pivotal step forms the foundation for integrating your PS4 into the network switch setup. Follow these straightforward guidelines to seamlessly connect the network switch to the router:
- Choose an Optimal Location: Select a strategic location for your network switch, preferably in close proximity to your router. This ensures that the Ethernet cables can reach both the router and the devices connected to the network switch without excessive tension or strain.
- Power Off Devices: Before making any connections, power off your router, network switch, and any other devices involved in the setup process. This precautionary measure helps prevent potential electrical surges or mishaps during the connection procedure.
- Connect Ethernet Cable to Router: Take an Ethernet cable and insert one end into an available Ethernet port on your router. Ensure a secure connection to guarantee stable data transmission between the router and the network switch.
- Connect Ethernet Cable to Network Switch: Next, take the other end of the Ethernet cable and plug it into an open port on the network switch. The connection should be snug and secure to maintain a reliable link between the router and the network switch.
- Power On Devices: Once the connections are in place, power on your router and network switch. Allow sufficient time for the devices to initialize and establish connections with each other.
- Verify Connection Status: Check the status indicators on the network switch to confirm that the connection to the router is active. Most network switches feature LED indicators that illuminate when a valid connection is established.
By completing these steps, you’ve successfully connected the network switch to your router, laying the groundwork for integrating your PS4 into the network environment. This seamless connection paves the way for enhanced network performance and facilitates the subsequent steps of setting up your PS4 on the network switch.
Step 3: Connect the PS4 to the Network Switch
With the network switch seamlessly integrated into your network setup, the next step involves connecting your PlayStation 4 (PS4) to the network switch. This direct connection will enable your PS4 to leverage the benefits of the network switch, such as improved network performance and reduced latency. Follow these straightforward instructions to establish the connection between your PS4 and the network switch:
- Position Your PS4: Place your PS4 in close proximity to the network switch, ensuring that the Ethernet cable can reach both devices without tension or strain.
- Power Off Your PS4: Before making any connections, power off your PS4 to prevent any potential electrical mishaps during the setup process.
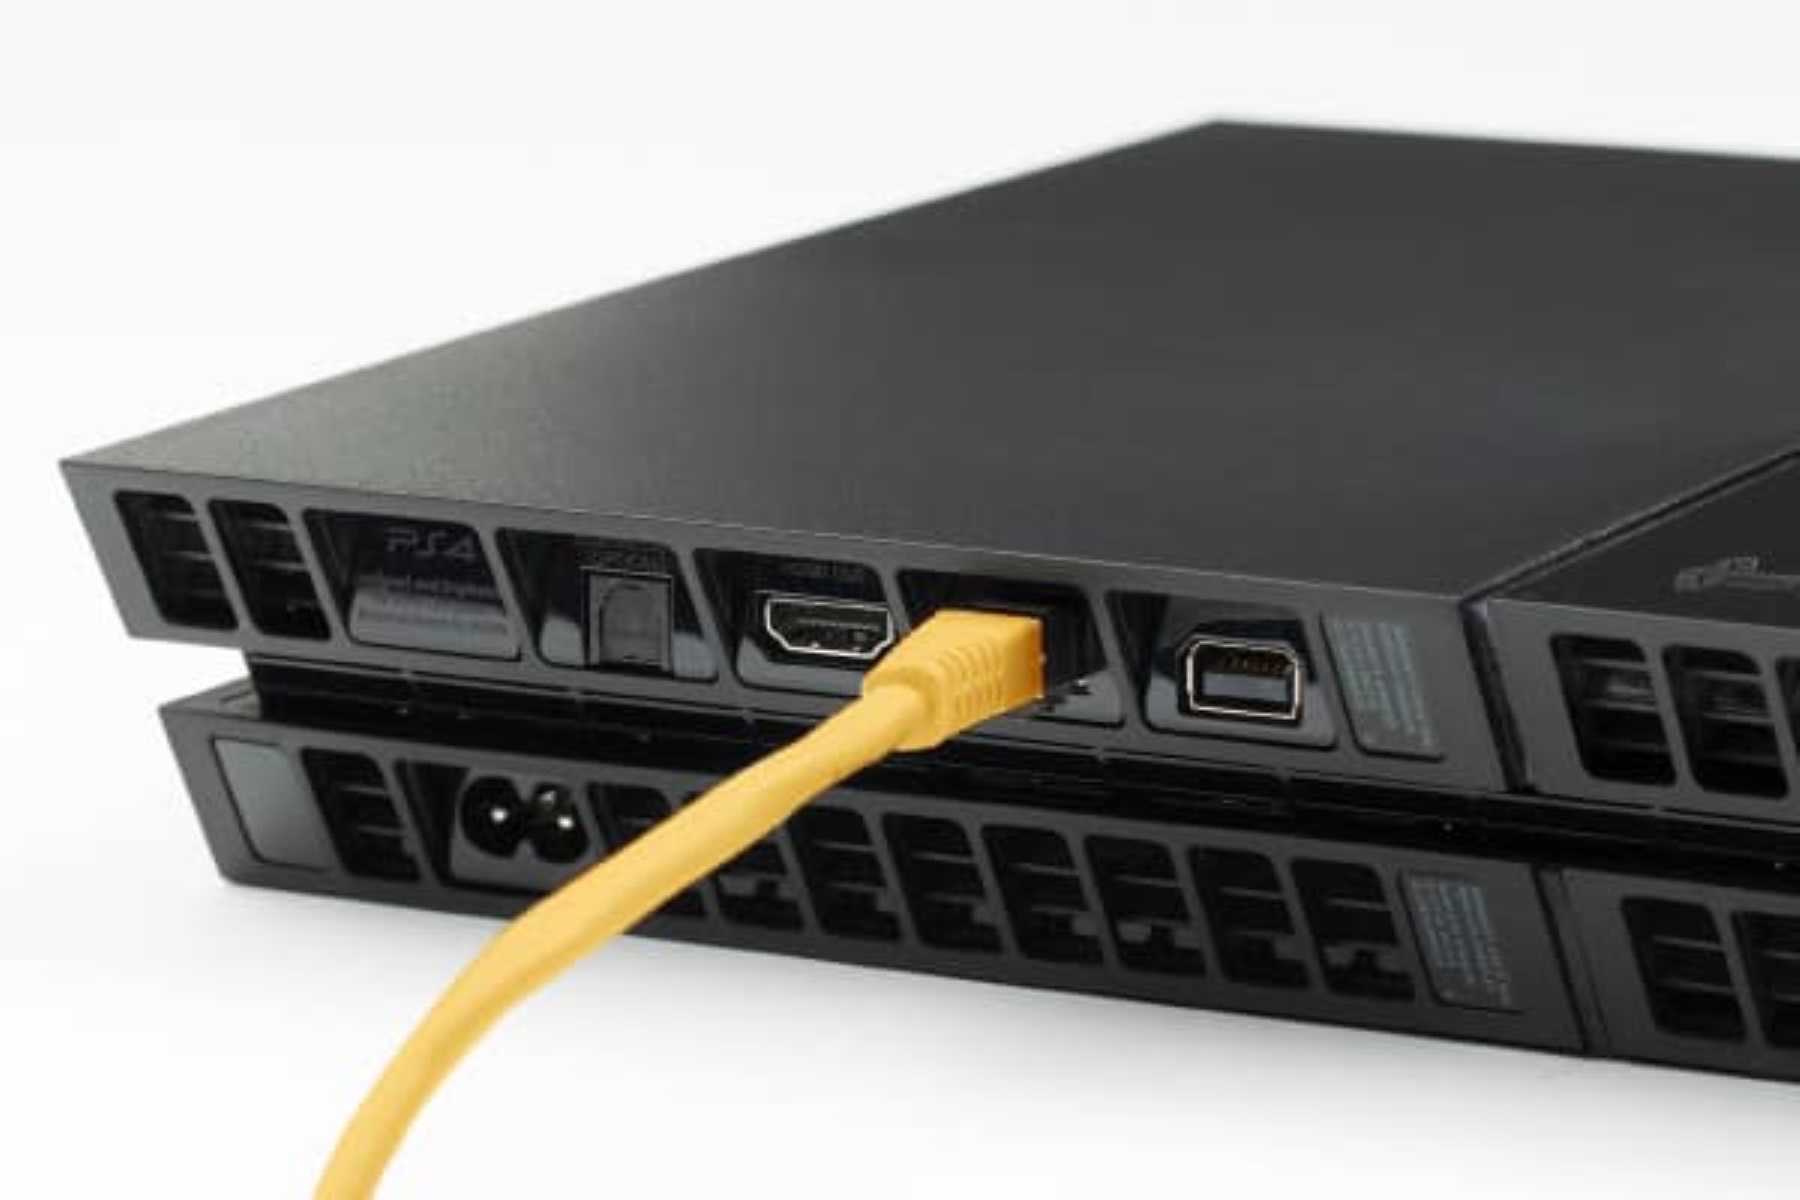
- Locate the Ethernet Port: Identify the Ethernet port on the back of your PS4. It is typically located next to the HDMI and power ports.
- Connect Ethernet Cable to PS4: Take an Ethernet cable and insert one end into the Ethernet port on your PS4. Ensure a secure connection to facilitate stable data transmission between the PS4 and the network switch.
- Connect Ethernet Cable to Network Switch: Next, take the other end of the Ethernet cable and plug it into an available port on the network switch. Ensure a secure and snug connection to maintain a reliable link between the PS4 and the network switch.
- Power On Your PS4: After the connections are in place, power on your PS4 and allow it to boot up. The PS4 will now be connected directly to the network switch, bypassing potential limitations of a wireless connection.
- Verify Connection Status: Check the network settings on your PS4 to confirm that it is connected to the network switch. You can also check the network switch to ensure that the corresponding port indicator is active, indicating a successful connection to the PS4.
By following these steps, you have successfully connected your PS4 to the network switch, harnessing the advantages of a direct wired connection. This setup ensures optimal network performance for your PS4, enhancing your gaming experience and minimizing potential connectivity issues.
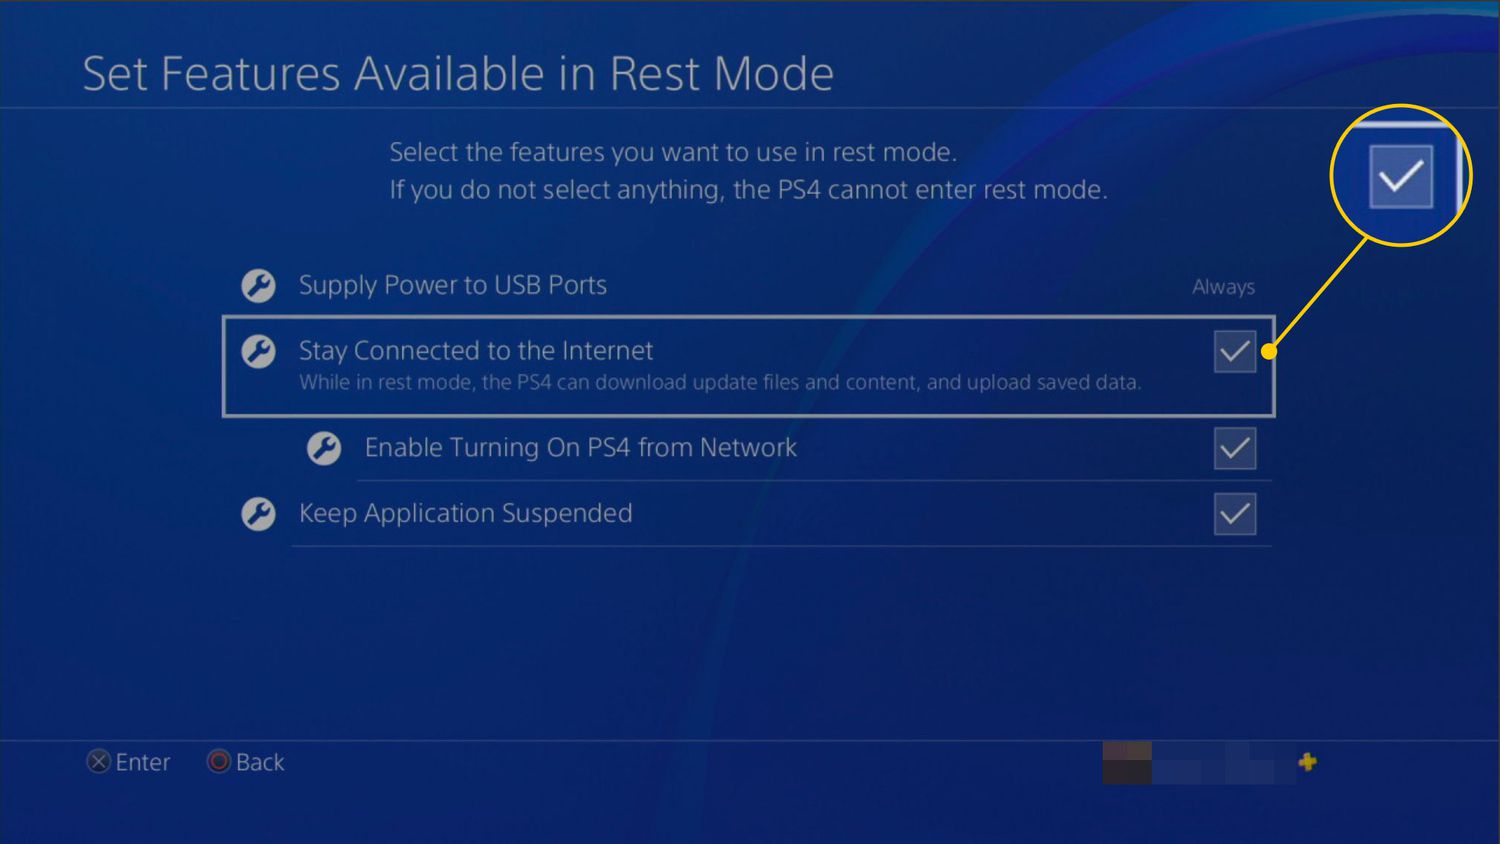
Step 4: Configure Network Settings on the PS4
After connecting your PlayStation 4 (PS4) to the network switch, it’s essential to configure the network settings to ensure seamless connectivity and optimal performance. By customizing the network settings on your PS4, you can maximize the benefits of a direct wired connection to the network switch. Follow these steps to configure the network settings on your PS4:
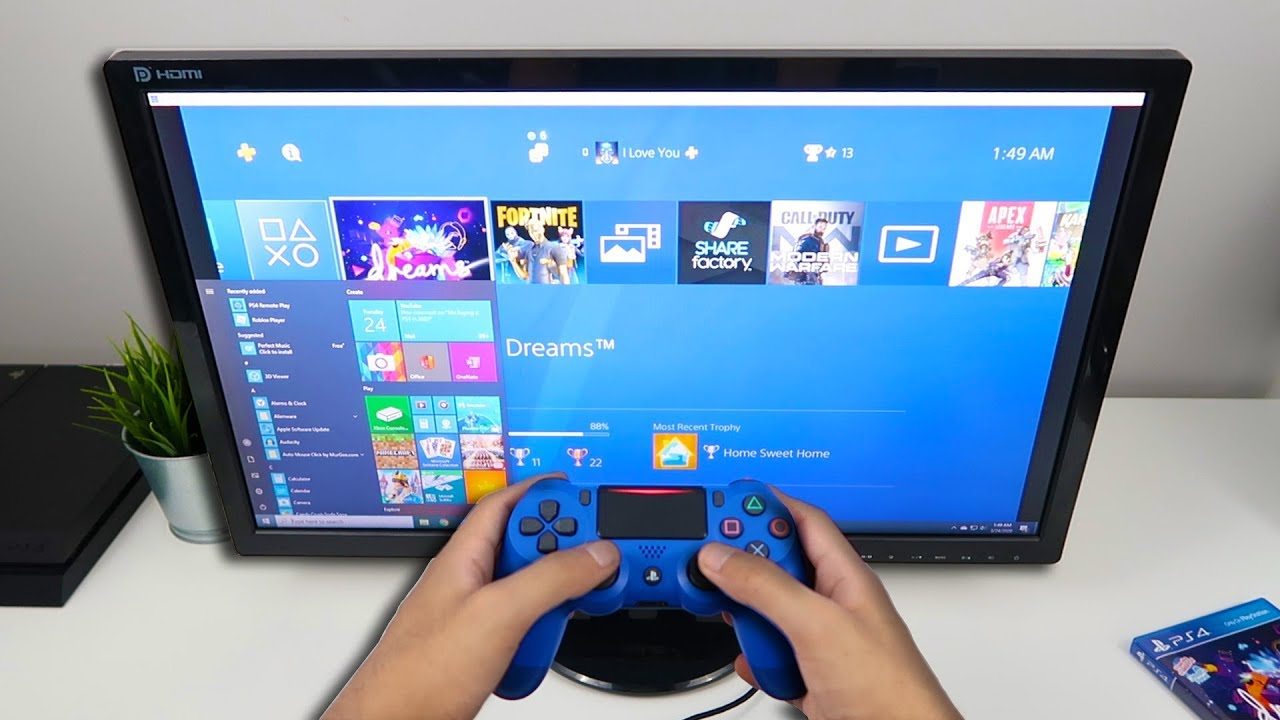
- Access the Settings Menu: From the PS4 home screen, navigate to the “Settings” menu located on the top menu bar.
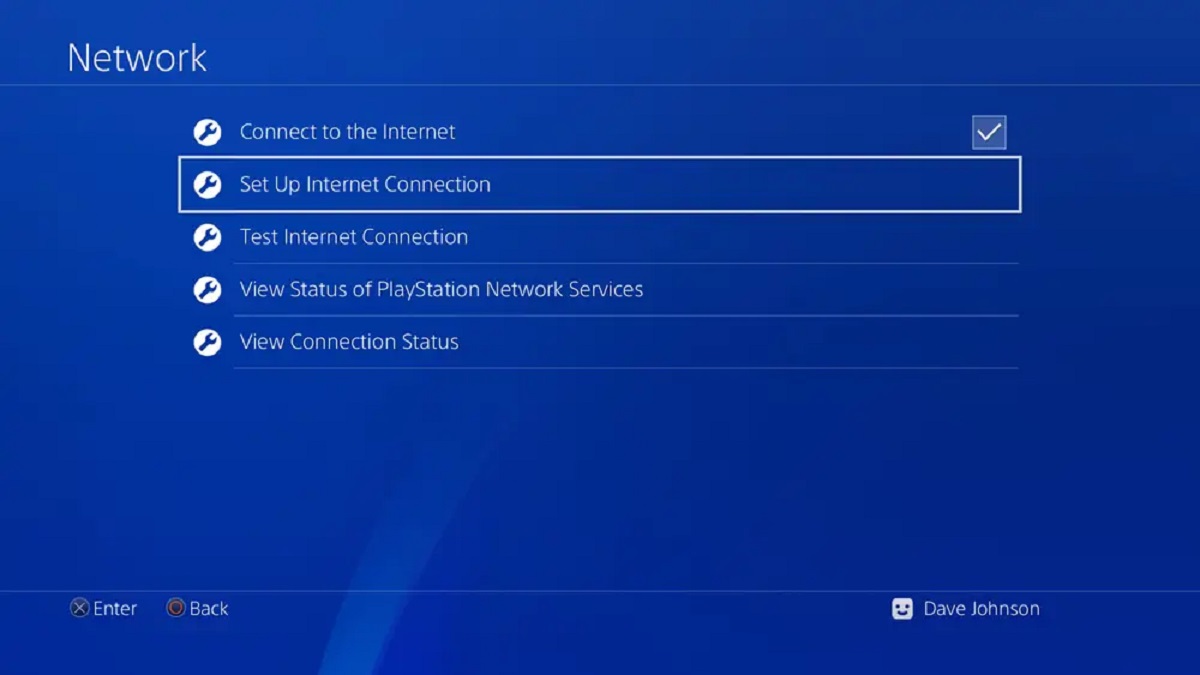
- Select Network Settings: Within the “Settings” menu, scroll down and select “Network” to access the network settings options.
- Choose Set Up Internet Connection: Under the “Network” settings, choose “Set Up Internet Connection” to initiate the configuration process.
- Select Use a LAN Cable: When prompted to choose the method of connecting to the internet, select “Use a LAN Cable” to indicate that your PS4 is connected via an Ethernet cable to the network switch.
- Customize Network Settings: Depending on your network configuration, you may need to customize additional settings such as IP address, DNS settings, and MTU settings. Consult your network administrator or refer to your router’s documentation for specific details.
- Test Internet Connection: After configuring the network settings, proceed to test the internet connection to ensure that your PS4 is successfully connected to the network switch. The test will verify the network status and connectivity.
- Verify Wired Connection: Confirm that the internet connection test indicates a successful wired connection, signifying that your PS4 is utilizing the direct connection to the network switch for optimal performance.
By customizing the network settings on your PS4, you can leverage the advantages of a direct wired connection to the network switch, resulting in enhanced network stability, reduced latency, and improved gaming performance. These tailored settings ensure that your PS4 is fully optimized to deliver an exceptional gaming experience.
Step 5: Test the Connection
Once you have connected your PlayStation 4 (PS4) to the network switch and configured the network settings, it’s crucial to perform a comprehensive test to ensure that the connection is stable and optimized for gaming. Testing the connection verifies the integrity of the setup and allows you to address any potential issues that may impact your gaming experience. Follow these steps to thoroughly test the connection of your PS4 to the network switch:
- Launch an Online Game or Application: Start by launching an online game or application on your PS4 that requires internet connectivity. This can be a multiplayer game, a streaming service, or any online content that relies on network connectivity.
- Assess Network Performance: Pay attention to the performance of the online game or application. Evaluate factors such as lag, latency, and overall network stability during your gaming or streaming session.
- Monitor Download and Upload Speeds: Use the network settings on your PS4 to monitor the download and upload speeds. Compare these speeds to the expected rates based on your internet service plan to ensure that the network switch is delivering optimal performance.
- Check for Network Interruptions: During your gaming or streaming session, monitor the network for any interruptions or disconnections. Look for signs of network instability, such as sudden drops in connectivity or prolonged periods of lag.
- Verify Wired Connection Status: Confirm that your PS4 is utilizing the wired connection to the network switch. This can be verified in the network settings menu, where the connection type should be indicated as “LAN Cable” or “Wired Connection.”
- Assess Overall Gaming Experience: Reflect on your gaming experience and assess whether the direct connection to the network switch has improved network performance, reduced latency, and enhanced the overall gaming experience on your PS4.
By conducting a comprehensive test of the connection, you can ascertain the effectiveness of your setup and make any necessary adjustments to optimize network performance. This proactive approach ensures that your PS4 is seamlessly integrated into the network switch, providing a reliable and stable connection for your gaming endeavors.
Conclusion
Setting up your PlayStation 4 (PS4) on a network switch can significantly enhance your gaming experience by providing a stable and reliable connection. By following the step-by-step process outlined in this guide, you’ve successfully integrated your PS4 into your network infrastructure, leveraging the benefits of a direct wired connection to the network switch.
From gathering the necessary equipment to configuring the network settings and testing the connection, each step has contributed to optimizing your network setup for gaming. By connecting your PS4 to the network switch, you’ve minimized potential network congestion and latency issues, resulting in improved performance during online gameplay and seamless access to online content.
With the direct connection established, your PS4 can now harness the full potential of your network, delivering faster download and upload speeds, reduced latency, and a smoother gaming experience. The stability and reliability of the network switch ensure that your gaming sessions are free from the disruptions often associated with wireless connections, allowing you to immerse yourself fully in your gaming adventures.
By customizing the network settings on your PS4 and conducting a comprehensive test of the connection, you’ve verified the integrity and performance of your setup, ensuring that your gaming experience is optimized for enjoyment and competitiveness. The direct connection to the network switch positions your PS4 for peak performance, providing a solid foundation for your gaming pursuits.
As you embark on your gaming endeavors, rest assured that your PS4 is seamlessly integrated into your network environment, ready to deliver an exceptional gaming experience. By following this guide, you’ve unlocked the potential of your PS4 on a network switch, setting the stage for immersive gameplay and seamless online interactions.
With your PS4 now connected to the network switch, you’re poised to explore vast virtual worlds, engage in intense multiplayer battles, and enjoy a seamless gaming experience that reflects the true capabilities of your console. Your efforts in setting up your PS4 on a network switch have laid the groundwork for an enhanced gaming journey, ensuring that your gaming sessions are characterized by stability, reliability, and optimal network performance.