Introduction
Connecting a Fios router to a network switch can expand the number of wired connections available in a network, allowing for increased connectivity and flexibility. Whether you need to accommodate additional devices or improve the distribution of network resources, integrating a network switch with your Fios router can be a valuable solution. By following a few simple steps, you can effectively establish this connection and optimize your network setup.
In this guide, we will walk you through the process of connecting a Fios router to a network switch, providing clear and concise instructions to help you achieve a seamless integration. Before you begin, it's essential to gather the necessary equipment and familiarize yourself with the setup process. By following the steps outlined in this guide, you can ensure that your Fios router and network switch are properly connected, allowing for efficient data transfer and network expansion.
This guide is designed to assist users in setting up a network switch with their Fios router, offering a practical approach to enhancing network infrastructure. Whether you are a home user looking to expand your network capabilities or a business seeking to optimize connectivity, this step-by-step guide will equip you with the knowledge and confidence to establish a reliable and efficient connection. Let's delve into the process of connecting a Fios router to a network switch and unlock the potential for enhanced network performance and connectivity.
Step 1: Gather the Necessary Equipment
Before embarking on the process of connecting your Fios router to a network switch, it is crucial to gather all the essential equipment required for the setup. By ensuring that you have the necessary components at your disposal, you can streamline the installation process and minimize any potential interruptions. Here’s a comprehensive list of the equipment you will need:
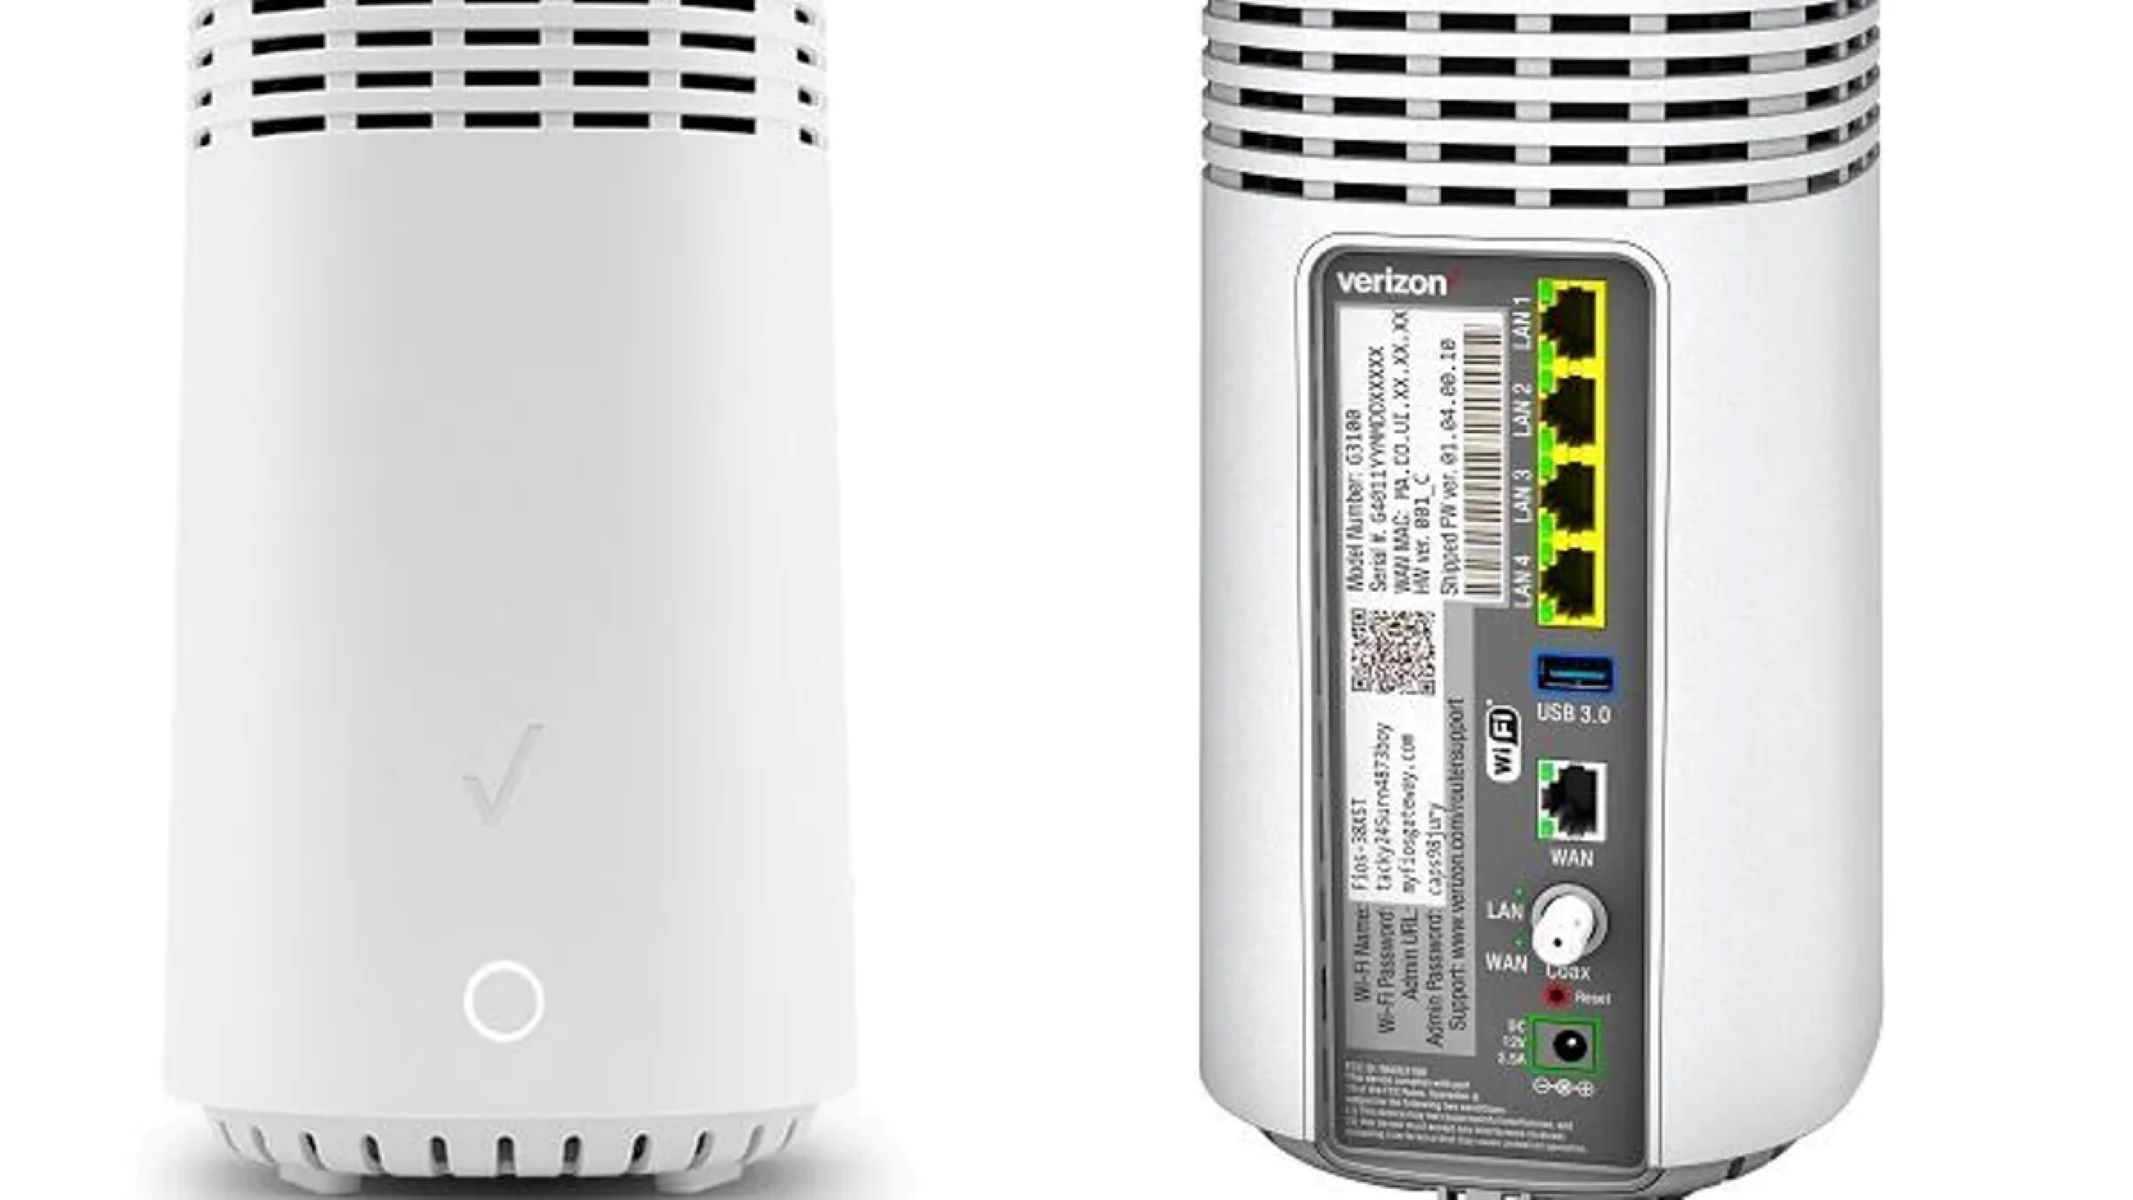
- Fios Router: The central networking device that provides internet connectivity to your network. Ensure that the router is powered off before proceeding with the setup.
- Network Switch: A device that extends the number of available Ethernet ports, allowing for the connection of multiple devices to the network. Choose a switch that aligns with the capacity and performance requirements of your network.
- Ethernet Cables: High-quality Ethernet cables that will be used to establish the physical connections between the Fios router, network switch, and other devices. Ensure that the cables are of sufficient length to accommodate the layout of your network setup.
- Power Cables: Power cables for both the Fios router and the network switch. Ensure that the power outlets for these devices are easily accessible and can support the power requirements of the equipment.
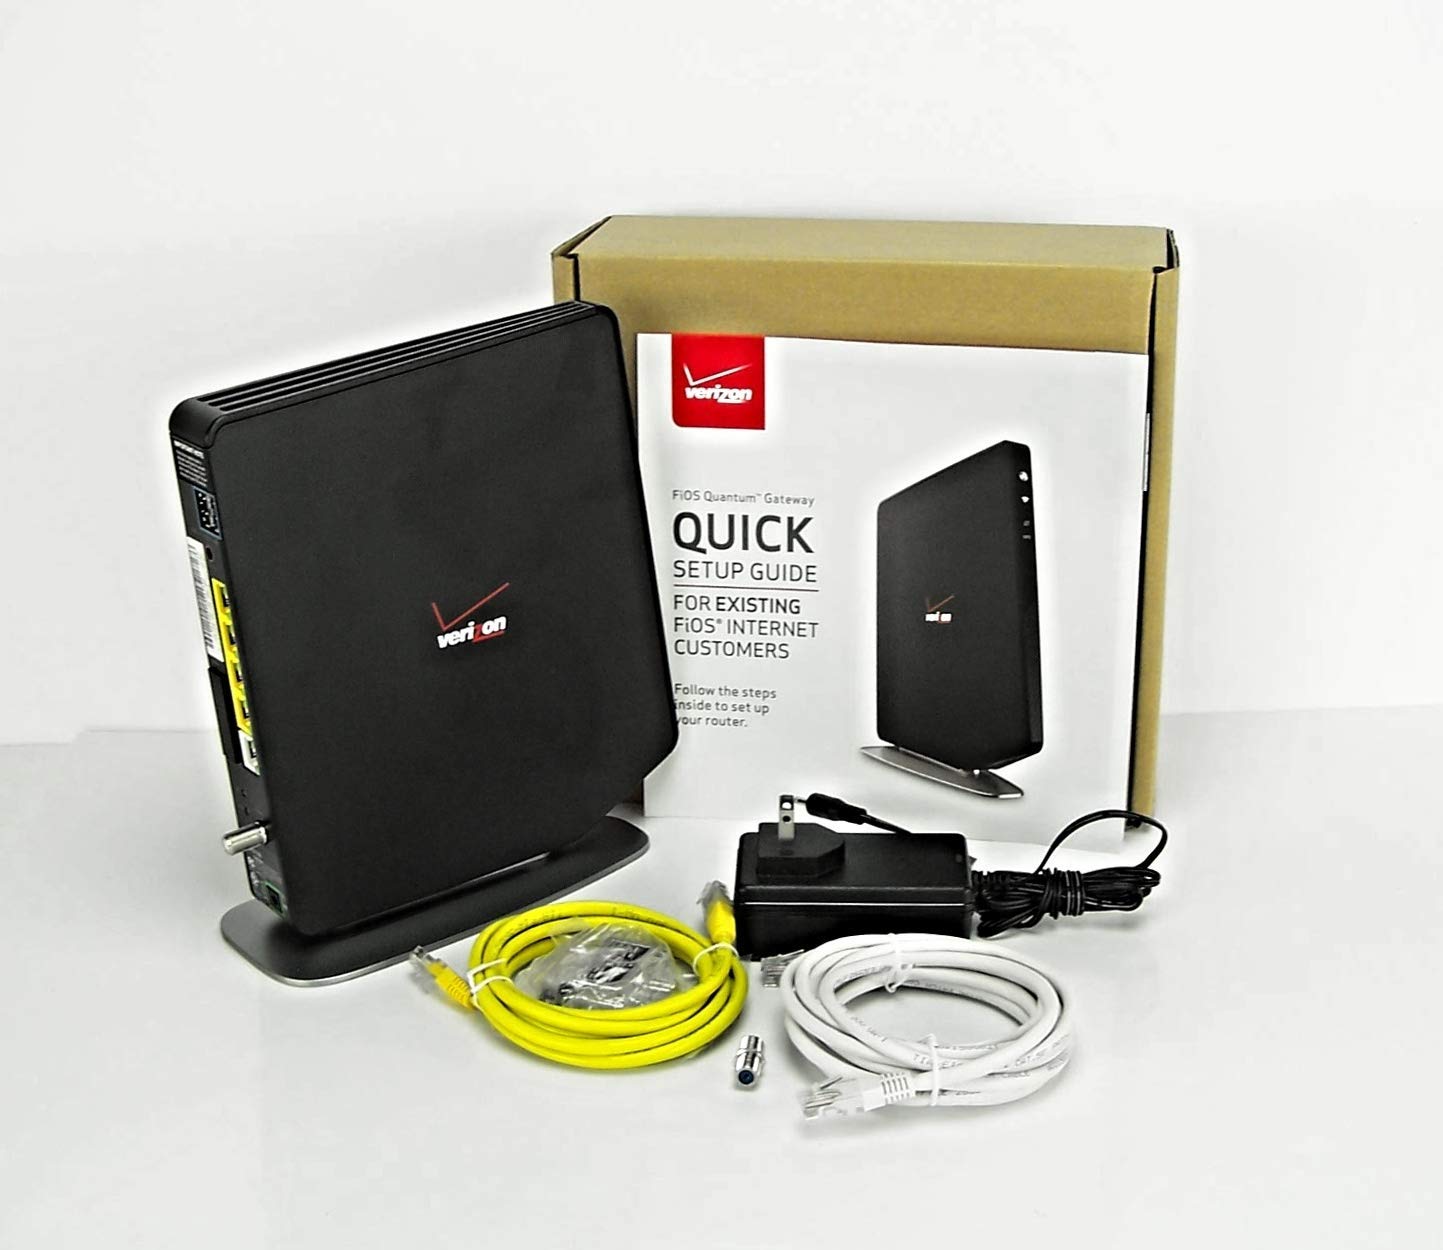
- Device Documentation: Any relevant documentation, user manuals, or setup guides for the Fios router and network switch. Familiarize yourself with the specifications and setup procedures outlined in the documentation to ensure a smooth installation process.
- Optional: Additional Devices: If you plan to connect specific devices to the network switch, such as computers, printers, or network-attached storage (NAS) devices, ensure that they are powered off and ready for connection.
By gathering the necessary equipment in advance, you can approach the setup process with confidence and efficiency, laying the groundwork for a successful integration of your Fios router and network switch. With the required components at hand, you are prepared to proceed to the next step of connecting the Fios router to the network switch.
Step 2: Power Off the Fios Router and Network Switch
Before initiating the physical connection between your Fios router and the network switch, it is essential to power off both devices to ensure a safe and effective setup process. By following these steps, you can mitigate the risk of electrical hazards and prevent any potential disruptions during the installation:
- Locate the Power Buttons: Identify the power buttons or switches on both the Fios router and the network switch. These are typically located on the front or back panel of the devices.
- Power Off the Fios Router: Press the power button on the Fios router to initiate the shutdown process. Wait for the router’s lights and indicators to turn off, indicating that the device has been successfully powered down.
- Power Off the Network Switch: Similarly, press the power button on the network switch to begin the shutdown sequence. Allow the switch’s indicators to deactivate, signifying that the device is no longer powered.
- Unplug the Power Cables: Once the devices are powered off, unplug the power cables from both the Fios router and the network switch. This additional step ensures that the devices are completely disconnected from the power source, minimizing the risk of electrical interference during the setup.
By powering off the Fios router and network switch and disconnecting them from the power source, you create a safe and controlled environment for establishing the physical connections between the two devices. This precautionary measure sets the stage for a smooth and secure integration, reducing the likelihood of potential electrical complications or data transmission errors.
With the Fios router and network switch safely powered off and disconnected, you are now ready to proceed to the next step of connecting the Fios router to the network switch, ensuring a methodical and secure setup process.
Step 3: Connect the Fios Router to the Network Switch
With the Fios router and network switch powered off and the necessary equipment at hand, you are now prepared to establish the physical connection between the two devices. Follow these steps to seamlessly connect the Fios router to the network switch:
- Position the Devices: Identify suitable locations for both the Fios router and the network switch. Ensure that the devices are easily accessible and that there is sufficient space to accommodate the physical connections.
- Retrieve Ethernet Cables: Select high-quality Ethernet cables of appropriate length to facilitate the connection between the Fios router and the network switch. If the devices are located in close proximity, shorter cables may be sufficient, while longer distances may require extended cables.
- Connect the Ethernet Cable to the Fios Router: Locate an available Ethernet port on the Fios router. Insert one end of the Ethernet cable into the chosen port, ensuring a secure and snug fit to establish a stable connection.
- Connect the Ethernet Cable to the Network Switch: Identify an available Ethernet port on the network switch. Insert the opposite end of the Ethernet cable into the selected port, ensuring a secure connection to facilitate data transmission.
- Repeat for Additional Connections: If you intend to connect multiple devices to the network switch, repeat the process of connecting Ethernet cables from the switch to the respective devices, ensuring a secure and organized setup.
- Verify the Connections: Double-check the physical connections between the Fios router and the network switch, ensuring that the Ethernet cables are firmly connected and that the devices are positioned appropriately for optimal functionality.
By methodically connecting the Fios router to the network switch using high-quality Ethernet cables, you establish the foundation for an efficient and reliable network setup. These physical connections enable seamless data transfer and network expansion, empowering you to leverage the enhanced connectivity provided by the network switch.
With the Fios router successfully connected to the network switch, you are now ready to proceed to the next step of powering on the devices and testing the connection, bringing your integrated network infrastructure to life and ensuring its seamless operation.
Step 4: Power On the Fios Router and Network Switch
After successfully connecting the Fios router to the network switch, the next crucial step is to power on both devices, initiating the activation of your integrated network setup. Follow these steps to safely power on the Fios router and network switch:
- Plug In the Power Cables: Begin by plugging in the power cables of both the Fios router and the network switch into suitable power outlets. Ensure that the power outlets can support the power requirements of the devices and that they are easily accessible.
- Power On the Fios Router: Press the power button on the Fios router to initiate the startup process. Wait for the router’s indicator lights to illuminate, indicating that the device is powering on and initializing its network connectivity.
- Power On the Network Switch: Similarly, press the power button on the network switch to activate the device. As the switch powers on, observe the indicator lights to confirm that the device is successfully initializing and preparing to extend the network’s connectivity.
- Indicator Confirmation: Monitor the indicator lights on both the Fios router and the network switch, ensuring that they display the appropriate status for power, connectivity, and activity. These indicators provide valuable insight into the operational status of the devices.
- Wait for Initialization: Allow the Fios router and network switch to complete their startup sequences, initializing their respective network functionalities. This process may involve self-tests, network detection, and the establishment of connections with connected devices.
By systematically powering on the Fios router and network switch, you enable the activation of your integrated network infrastructure, setting the stage for efficient data transfer and expanded connectivity. The careful execution of this step ensures that the devices are brought online in a controlled and secure manner, minimizing the potential for operational issues or disruptions.
With the Fios router and network switch successfully powered on and operational, you are now ready to proceed to the final step of testing the connection, validating the seamless integration of your network setup and ensuring its optimal performance.
Step 5: Test the Connection
Once the Fios router and network switch are powered on and operational, it is essential to conduct a comprehensive test to validate the successful integration of the devices and ensure the seamless functionality of your network setup. Follow these steps to methodically test the connection and confirm the efficient operation of your integrated network infrastructure:
- Device Connectivity: Verify that the devices connected to the network switch, such as computers, printers, or other network-enabled equipment, are able to establish a network connection and access resources, including internet connectivity if applicable.
- Data Transfer: Initiate data transfer between devices connected to the network switch and the Fios router, ensuring that files, media, or other data can be seamlessly exchanged across the network without interruptions or delays.
- Network Performance: Assess the overall performance of the network, monitoring data transfer speeds, latency, and the responsiveness of connected devices. Ensure that the network switch effectively extends the capabilities of the Fios router, facilitating efficient data transmission.
- Diagnostic Tools: Utilize network diagnostic tools, if available, to evaluate the connectivity, packet transmission, and network health. Address any identified issues or anomalies to optimize the network’s performance.
- Security Measures: Validate that the network switch integration does not compromise the existing security measures implemented on the Fios router. Confirm that the network remains protected against unauthorized access and potential security threats.
By rigorously testing the connection between the Fios router and the network switch, you can ascertain the seamless integration of the devices and the enhanced functionality of your network setup. This comprehensive testing process empowers you to identify and address any potential issues, ensuring that your network operates at peak performance and delivers the connectivity and data transfer capabilities you require.
With the successful completion of the connection testing phase, you can confidently rely on the integrated network infrastructure, leveraging the expanded connectivity and enhanced network capabilities facilitated by the network switch. Your meticulous testing efforts validate the effectiveness of the Fios router and network switch integration, providing a robust and reliable foundation for your network operations.
Conclusion
Connecting a Fios router to a network switch is a strategic and practical approach to expanding the capabilities of your network infrastructure. By following the step-by-step process outlined in this guide, you have successfully integrated the Fios router and network switch, unlocking enhanced connectivity and network expansion. Through meticulous preparation, thoughtful execution, and comprehensive testing, you have established a reliable and efficient network setup that accommodates a greater number of wired connections and facilitates seamless data transfer.
By gathering the necessary equipment, powering off the devices, and methodically connecting and testing the integration, you have demonstrated a proactive approach to optimizing your network environment. The successful implementation of this connection not only extends the reach of your network but also enhances its performance, enabling efficient data transmission and the seamless operation of connected devices.
As you embark on this journey of network expansion and integration, it is essential to maintain a thorough understanding of your network’s capabilities and requirements. Regularly assess the performance, security, and scalability of your network setup, ensuring that it continues to meet the evolving demands of your connected environment.
By embracing the integration of a network switch with your Fios router, you have empowered your network to accommodate the growing needs of modern connectivity, enabling the seamless operation of devices and the efficient exchange of data. This integration serves as a testament to your commitment to optimizing network functionality and embracing the potential for enhanced connectivity within your digital ecosystem.
With the Fios router and network switch successfully connected and operational, you are well-positioned to leverage the expanded capabilities of your network, fostering a robust and adaptable infrastructure that supports your digital endeavors. As you continue to explore new opportunities for network expansion and optimization, the integration of the Fios router and network switch stands as a testament to your dedication to fostering a reliable and efficient network environment.