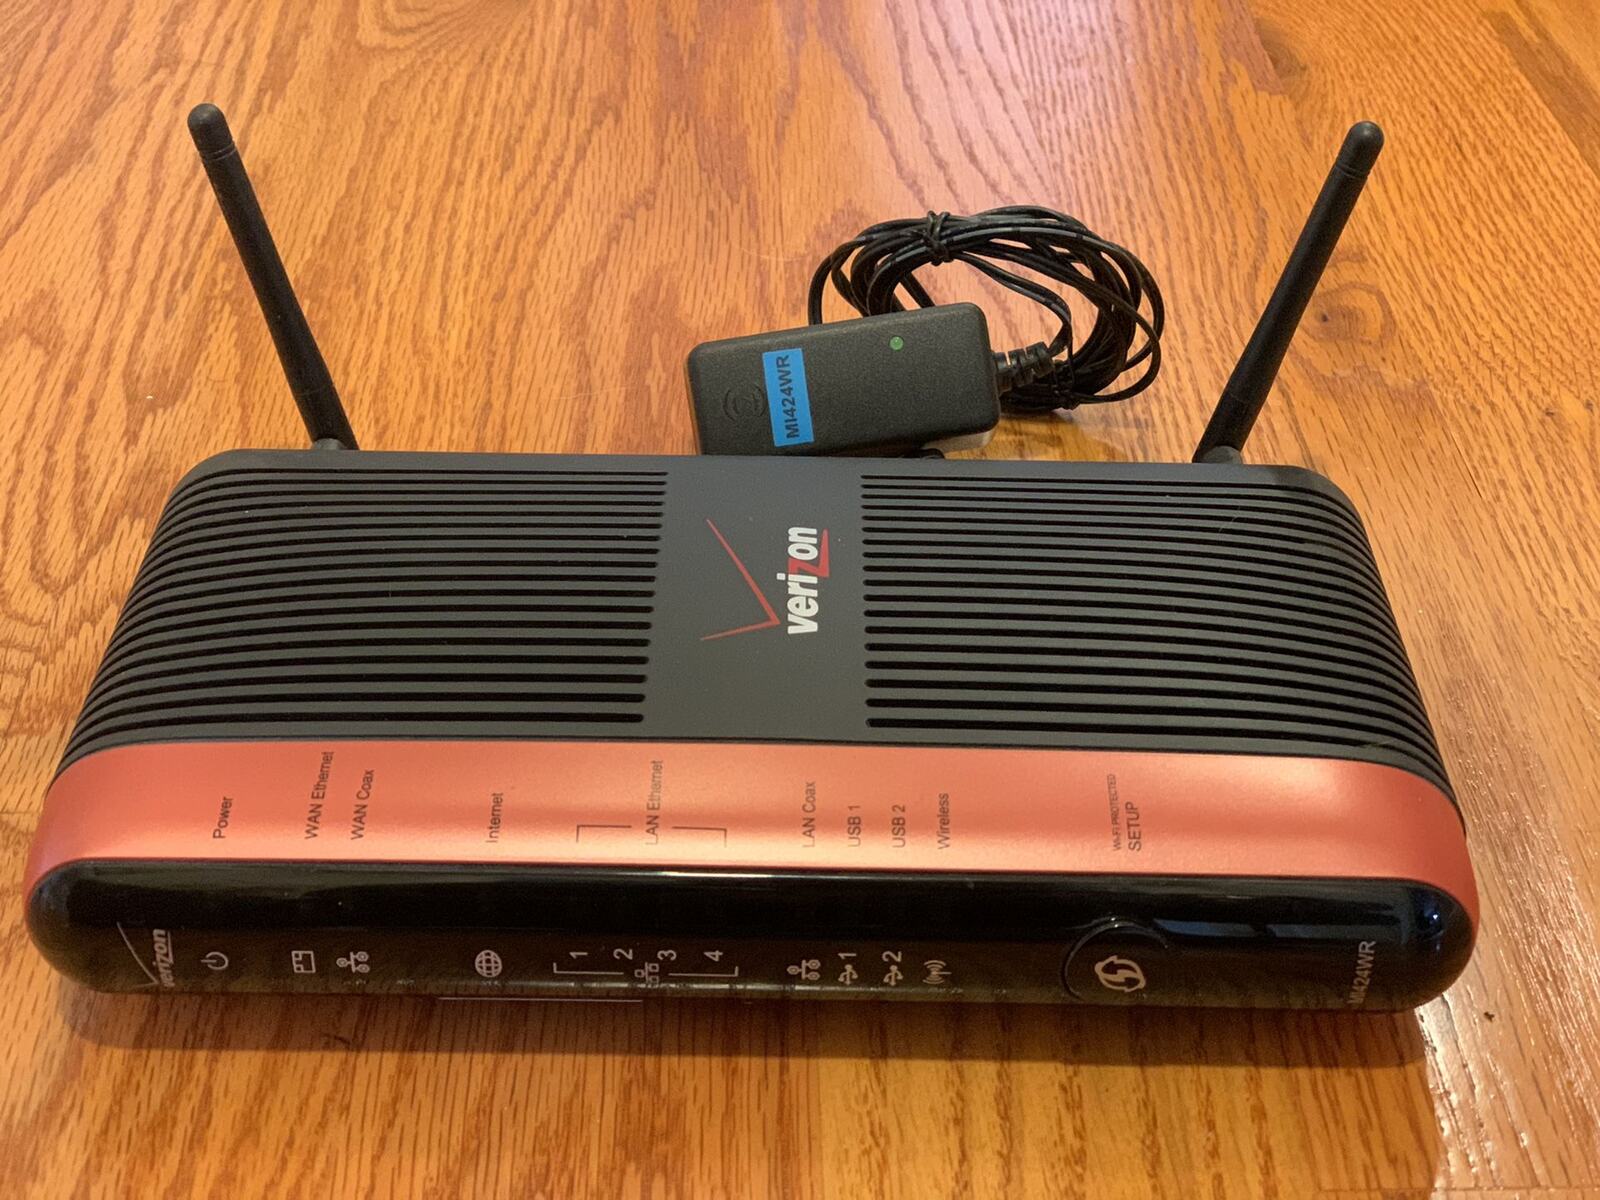
To connect your Verizon Fios wireless router, you need to link it to the Optical Network Terminal (ONT) that Verizon installed in your home, power it on, and join its Wi-Fi network with the default credentials printed on the device. Once your network is up, you can also program verizon Fios remote to Sony surround sound system to control your home theater without extra remotes. This entire process takes about ten minutes and requires only the router, its power adapter, and one Ethernet cable, no modem is needed because the ONT already converts the fiber signal into an internet connection your router can broadcast. If you use a CPAP machine, you can connect resmed airsense 10 to wifi on the same network so your sleep data uploads automatically.
Before You Start: Locate Your Fios ONT and Router Gear
Your Verizon Fios connection starts at the ONT, a small box usually mounted on a wall in a utility closet, garage, basement, or sometimes outside your home. This device converts the fiber-optic signal from Verizon’s network into an Ethernet connection your router can use. Before you touch anything, find the ONT and check that its power light is on, if it’s dark, plug it in or check its breaker before proceeding. Next, gather your Verizon Fios wireless router, its power adapter, and the Ethernet cable that came in the box. You’ll also want a smartphone or laptop within reach to complete the Wi-Fi setup later.
Step 1: Position and Connect Your Router to Power
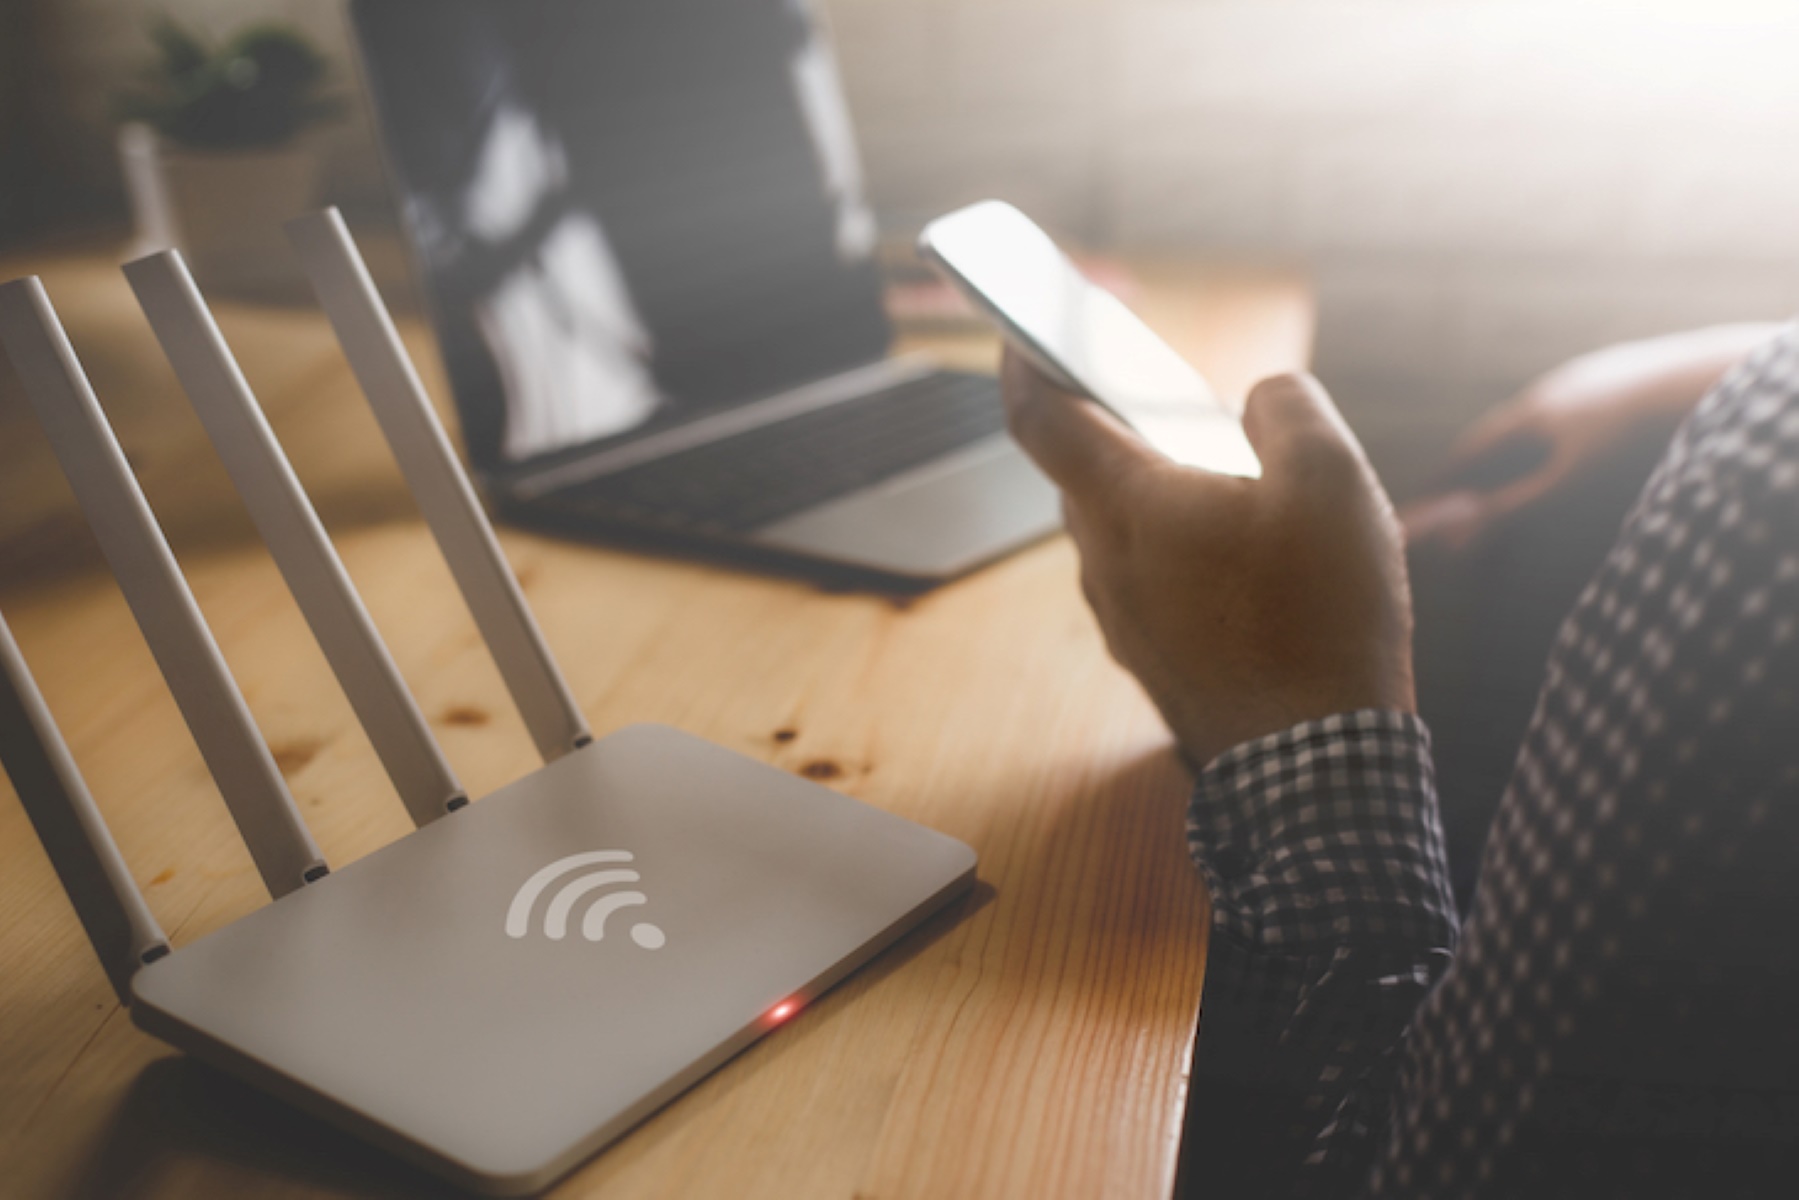
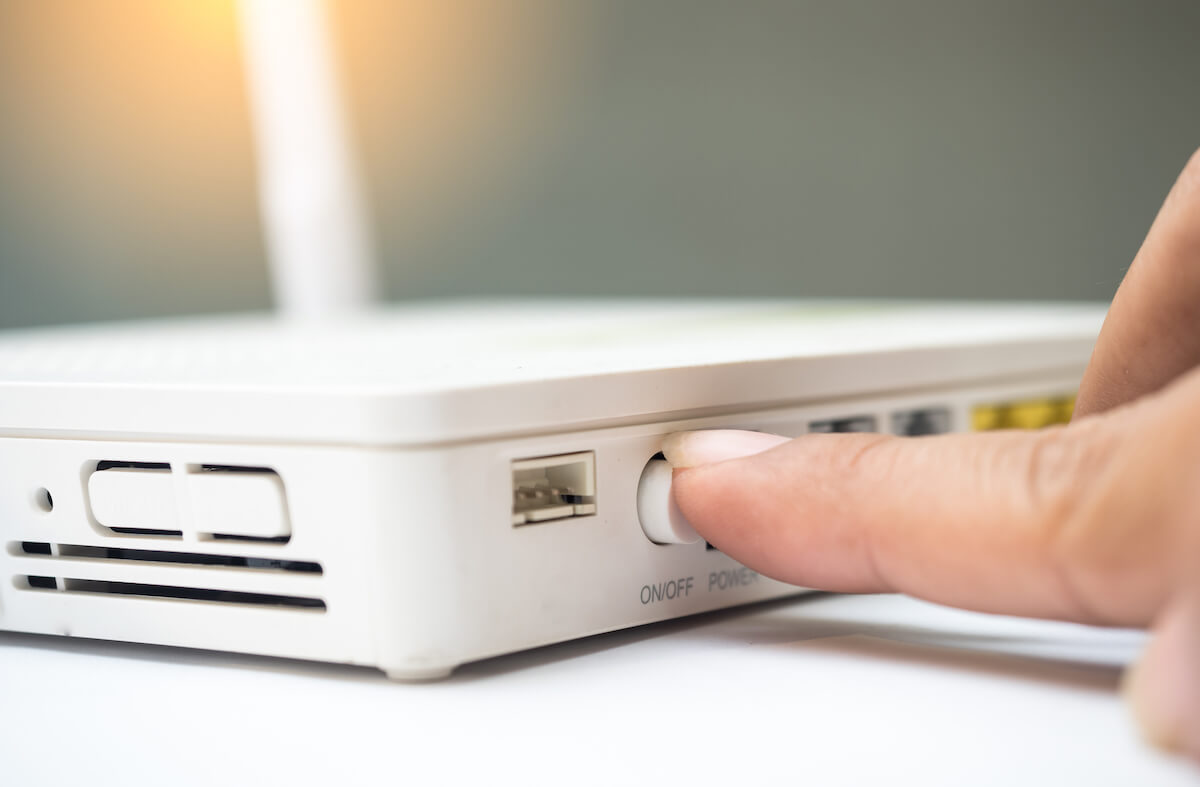
Place the router in a central, elevated spot in your home, on a shelf or table, not inside a cabinet or on the floor. Avoid corners, thick walls, or large metal objects that can block the signal. Once positioned, plug the power adapter into the router’s rear port and then into a wall outlet. Press the power button on the router if it has one; some models power on automatically. Wait for the front panel lights to stabilize, typically a solid white or green power light and blinking status lights indicate the router is booting up. Give it two to three minutes to fully start before moving to the next step.
Step 2: Link the Router to Your Fios ONT
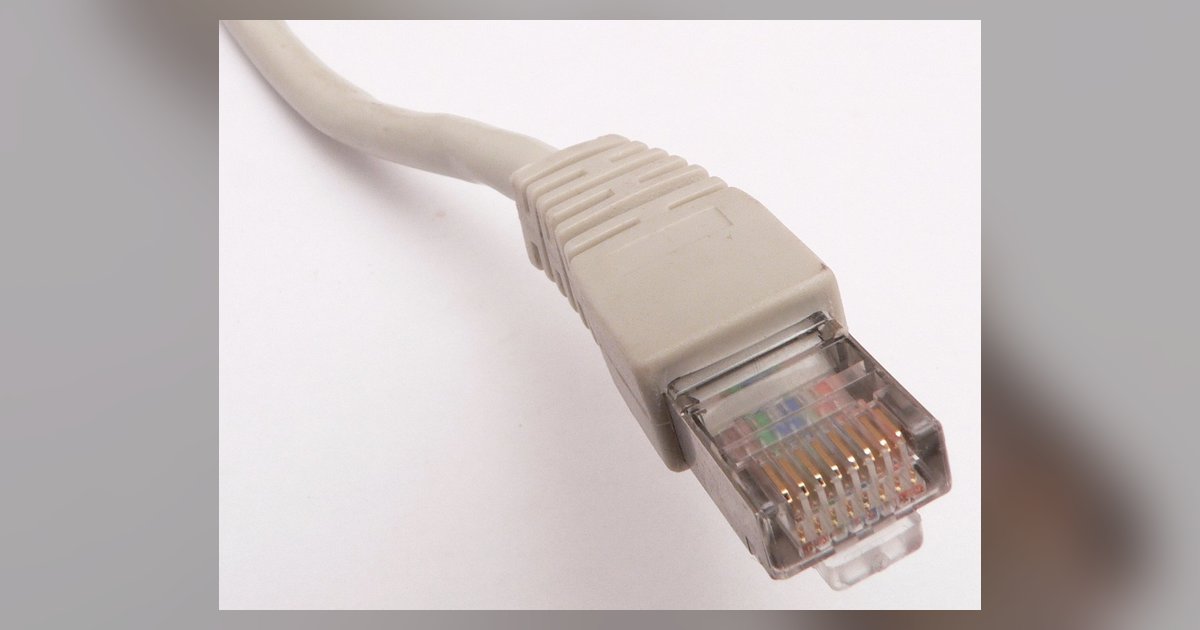
Take the Ethernet cable and insert one end into the port labeled “WAN” or “Internet” on the back of your router, this port is often a different color, like yellow, to distinguish it from the LAN ports. Plug the other end of the cable into the Ethernet port on your Verizon ONT. This port may be located behind a small flap on the device. Once the cable is snug on both ends, check the router’s lights: the WAN or Internet indicator should turn solid, confirming the router has received an IP address from Verizon. This direct Ethernet link replaces the need for a separate modem because the ONT already handles the fiber-to-Ethernet conversion.
Step 3: Connect Your Device to the Router's Wi-Fi
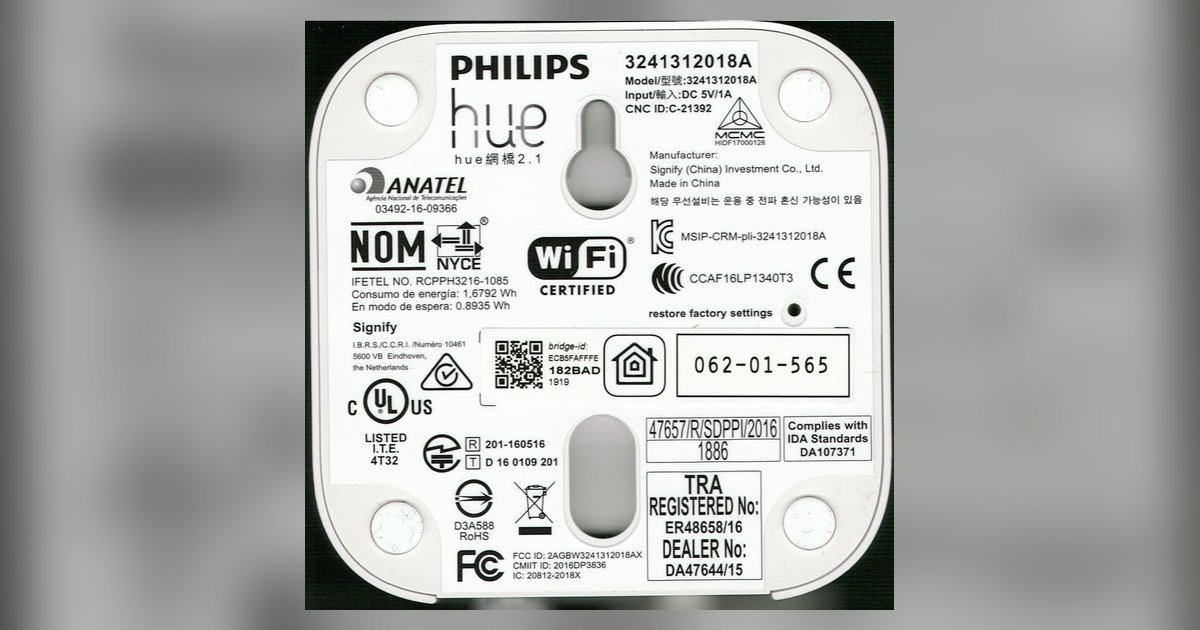
On your phone or laptop, open the Wi-Fi settings menu and scan for available networks. Look for the default network name (SSID) printed on a sticker on the side or bottom of your router. Select that network, then enter the default Wi-Fi password, also printed on the same sticker. This password is case-sensitive, so type it carefully. Once connected, your device will show a Wi-Fi icon or a checkmark next to the network name. If you have multiple devices, connect them all now using the same default credentials before you change them in the next step, so you don’t have to re-enter new passwords on each one later.
Step 4: Log In and Customize Your Wi-Fi Name and Password
Open a web browser on a device that’s connected to the router’s Wi-Fi and type the router’s IP address into the address bar. This address is printed on the same sticker as the SSID and password. Press Enter to load the login page, then enter the default admin username and password from the sticker. Once logged in, navigate to the wireless or Wi-Fi settings section. Here you can change the network name (SSID) to something unique, like “SmithFamilyWiFi,” and set a strong password that is at least 12 characters long and includes uppercase and lowercase letters, numbers, and symbols. Save your changes, the router will briefly disconnect all devices. Rejoin the network using your new credentials, and update the Wi-Fi password on every other device that was previously connected.
Step 5: Explore Advanced Features (Optional)
After your basic network is live, you can log back into the router’s dashboard to tailor it further. A guest network lets visitors use the internet without access to your main devices, which is ideal for keeping your smart home gadgets isolated. Parental controls allow you to block specific websites or pause internet access for certain devices during homework time. Port forwarding is useful if you host a game server or need to access a home security camera remotely, while Quality of Service (QoS) settings let you prioritize bandwidth for video calls or gaming over other traffic. Most importantly, check the “Firmware Update” or “Router Update” section in the dashboard and run an update if one is available, these patches fix security vulnerabilities and improve connection stability, so keeping the router current is one of the simplest ways to protect your home network.
\nRelated reading: How To Connect Router To Modem Without Ethernet Cable.