Introduction
Having a reliable and strong WiFi connection has become essential in our modern lives. However, there may be instances where the WiFi signal does not reach certain areas of your home or office, causing frustration and a decrease in productivity. This is where extending WiFi with an Ethernet cable comes into play.
Extending WiFi with an Ethernet cable is a cost-effective and convenient solution that can help enhance the coverage and strength of your WiFi network. By connecting an Ethernet cable from your router to a WiFi extender, you can effectively extend the range of your WiFi signal to areas that were previously out of reach.
Whether you’re struggling with WiFi dead zones in your home or trying to improve the WiFi signal in your office space, this method can make a significant difference. Not only does it provide a more stable Internet connection, but it also ensures a seamless browsing experience for all connected devices.
By extending WiFi with an Ethernet cable, you can create a network that reaches even the farthest corners of your home or office, allowing you to connect devices such as laptops, smartphones, and smart TVs without any interruptions or slowdowns.
In this guide, we will walk you through the process of extending WiFi with an Ethernet cable, step by step. We will discuss the benefits of this method and provide you with all the information you need to get started. So, let’s dive in and learn how to extend your WiFi network with an Ethernet cable.
Why Extend WiFi With Ethernet Cable?
When it comes to improving the WiFi coverage in your home or office, there are various options available. So, why should you choose to extend WiFi with an Ethernet cable? Here are a few reasons:
1. Increased Speed and Reliability: While WiFi is convenient, it can sometimes be affected by interference or obstacles such as walls and furniture. By extending WiFi with an Ethernet cable, you can establish a direct, wired connection between your router and the WiFi extender, resulting in faster and more reliable internet speeds.
2. Expanded Coverage: WiFi signals have limited range and can struggle to penetrate through walls and floors. By utilizing an Ethernet cable to extend your WiFi, you can effectively bridge these gaps and extend the coverage to areas that were previously unreachable or had weak signals.
3. Reduced Latency: For gamers and those who require low-latency connections, extending WiFi with an Ethernet cable is crucial. This method ensures a stable and lag-free connection, allowing you to enjoy online gaming, video streaming, and other bandwidth-intensive activities without interruption.
4. Flexibility in Placement: WiFi extenders can be strategically placed in optimal locations to maximize coverage. Since the WiFi extender is connected to the router via an Ethernet cable, it can be positioned in areas where WiFi signals are typically weak, ensuring a stronger signal throughout your space.
5. Cost-Effective Solution: Extending WiFi with an Ethernet cable is often more cost-effective than investing in additional routers or mesh WiFi systems. It utilizes the existing wiring infrastructure of your home or office, eliminating the need for purchasing extra equipment.
Overall, extending WiFi with an Ethernet cable provides a range of benefits, including improved speed, increased coverage, reduced latency, and flexibility in placement. It is a cost-effective solution that can significantly enhance your WiFi network and ensure a seamless and reliable internet connection throughout your space.
Benefits of Extending WiFi With Ethernet Cable
Extending WiFi with an Ethernet cable offers several advantages that can greatly enhance your internet experience. Let’s explore some of the key benefits:
1. Improved Signal Strength: By extending WiFi with an Ethernet cable, you can overcome the limitations of WiFi signals and extend the reach of your network. This means that areas that previously experienced weak or no signal can now enjoy a strong and stable WiFi connection.
2. Enhanced Speed and Performance: Ethernet cables provide faster and more reliable connections compared to WiFi. When you extend your WiFi network with an Ethernet cable, you can enjoy higher data transfer rates and reduced latency, resulting in a smoother and more responsive internet experience.
3. Elimination of WiFi Dead Zones: WiFi dead zones are areas in your home or office where the WiFi signal is nonexistent or very weak. By extending WiFi with an Ethernet cable and strategically placing WiFi extenders, you can eliminate these dead zones and ensure that every corner of your space has access to a strong and reliable WiFi connection.
4. Seamless Device Roaming: When your WiFi network is extended with an Ethernet cable, it creates a single unified network. This means that as you move around your space, your devices can seamlessly roam between the main router and the WiFi extenders without any disconnects or interruptions.
5. Cost-Effective Solution: Extending WiFi with an Ethernet cable is a cost-effective solution compared to investing in additional routers or mesh WiFi systems. Ethernet cables are affordable and readily available, making it a budget-friendly option for improving WiFi coverage.
6. Compatibility with Wired Devices: In addition to extending WiFi coverage, using Ethernet cables allows you to connect wired devices directly to the WiFi extender. This is particularly useful for devices that do not have built-in WiFi capabilities, such as desktop computers, gaming consoles, IP cameras, or smart home devices.
7. Improved Security: Ethernet connections offer a more secure and private connection compared to wireless connections. By utilizing an Ethernet cable to extend WiFi, you reduce the risk of unauthorized access to your network, enhancing the overall security of your internet connection.
Overall, extending WiFi with an Ethernet cable provides a range of benefits, including improved signal strength, enhanced speed and performance, elimination of WiFi dead zones, seamless device roaming, cost-effectiveness, compatibility with wired devices, and improved security. It’s a practical solution to enhance your WiFi network and ensure a smooth and reliable internet experience.
What You Will Need
Before you can start extending WiFi with an Ethernet cable, there are a few essential items you’ll need to gather. These items will ensure a smooth and successful setup. Here’s what you’ll need:
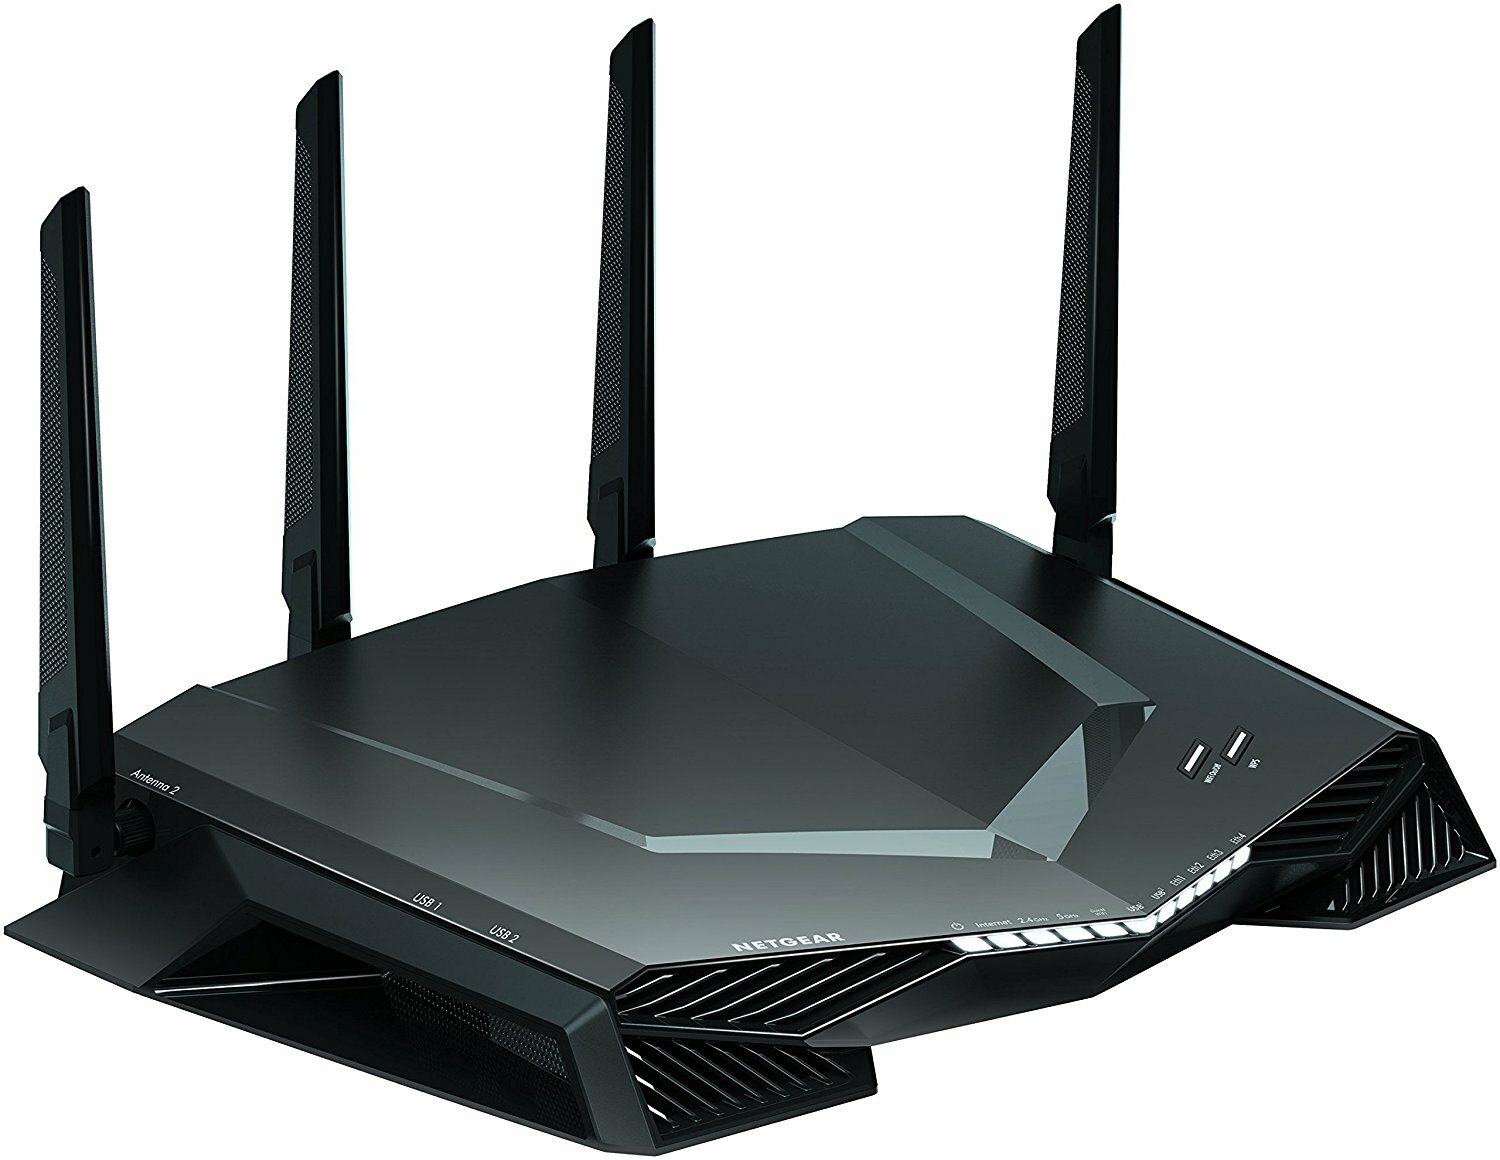
1. Router: A router is the primary device that connects to your modem and distributes the WiFi signal throughout your home or office. Make sure you have a functional router that supports Ethernet connections.
2. Modem: The modem is the device that connects your home or office to the internet service provider (ISP). You’ll need a modem that is compatible with your internet plan and can provide a stable internet connection.
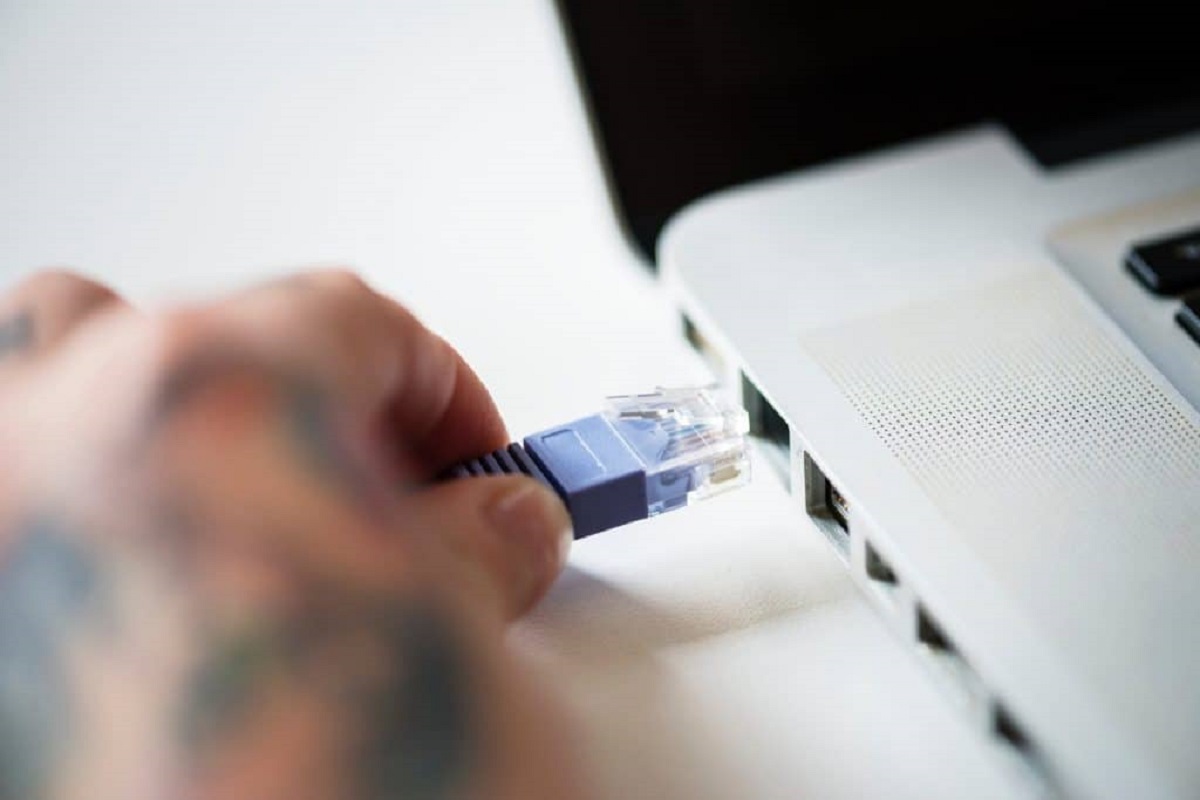
3. Ethernet Cable: You’ll need an Ethernet cable to establish a wired connection between your router and WiFi extender. Choose a high-quality Ethernet cable with the appropriate length, such as a Cat5e or Cat6 cable, depending on the distance between your router and WiFi extender.
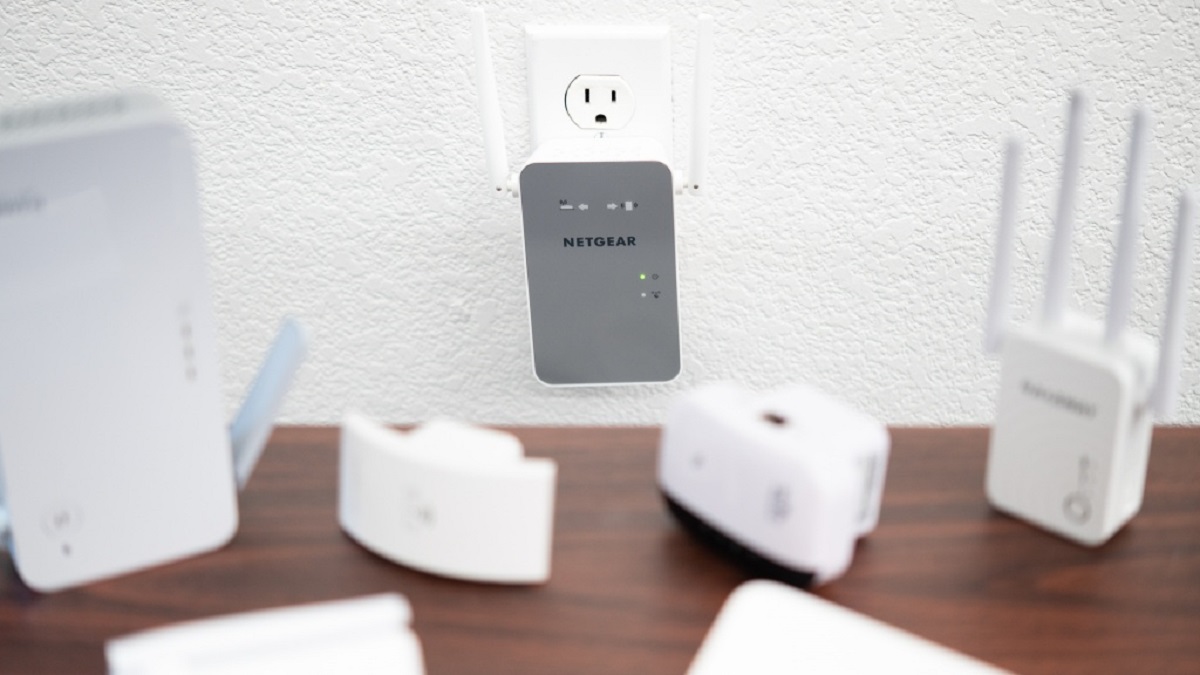
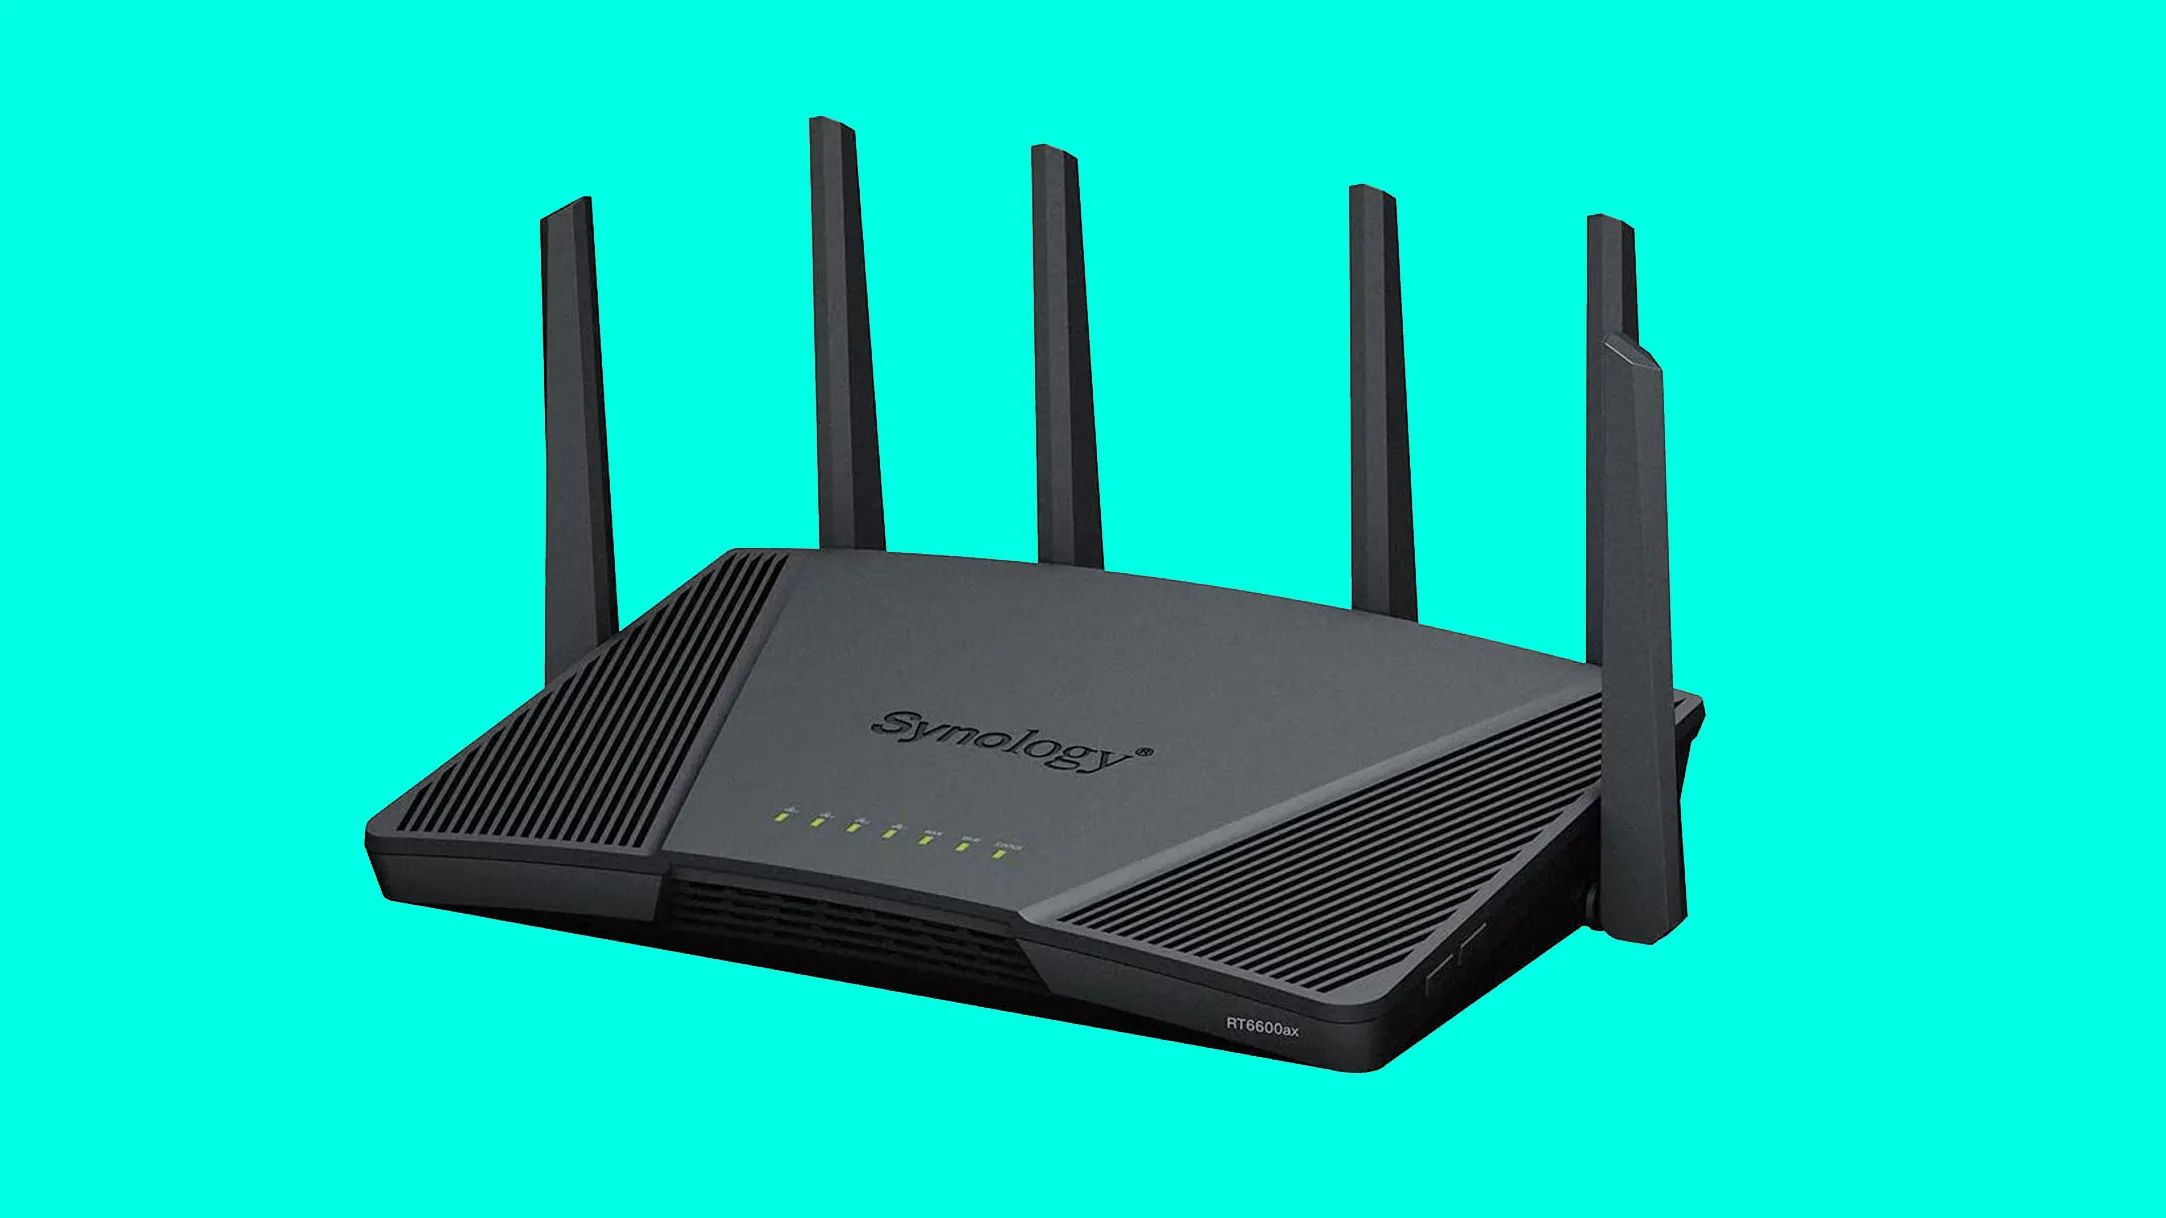
4. WiFi Extender: A WiFi extender, also known as a range extender or repeater, is a device that receives the WiFi signal from your router and amplifies it to extend the coverage. Choose a WiFi extender that supports Ethernet connections and fits your specific needs, whether it’s a wall-plug extender or a standalone device.
5. Power Outlets: Ensure that you have accessible power outlets near both your router and the desired location for the WiFi extender. You’ll need to power both devices for the setup to work.
6. Computer or Mobile Device: You’ll need a device, such as a computer, laptop, or smartphone, to configure the WiFi extender. Make sure your device is connected to the same WiFi network as your router.
7. Network Credentials: To configure the WiFi extender, you may need your network credentials, such as the WiFi network name (SSID) and password. These credentials are usually provided by your ISP or can be found on the back of your router.
By gathering these necessary items, you’ll have everything you need to extend your WiFi network with an Ethernet cable. Now that you’re prepared, you can proceed to the step-by-step guide and start improving your WiFi coverage.
Step-By-Step Guide to Extending WiFi With Ethernet Cable
Now that you have all the required items, it’s time to get started with extending WiFi with an Ethernet cable. Follow these step-by-step instructions to set up your WiFi extender:
1. Check Your Router and Modem Setup: Ensure that your router and modem are properly set up and functioning. Make sure the router is connected to the modem and that you have a stable internet connection.
2. Choose the Right Ethernet Cable: Select an Ethernet cable that matches the required length and quality for your setup. Connect one end of the Ethernet cable to an available LAN port on your router.
3. Locate the Ideal Position for Your WiFi Extender: Identify an area in your home or office that experiences weak WiFi signal or where you want to extend the coverage. Keep in mind that the WiFi extender should be placed within a reasonable distance from your router.
4. Connect the Ethernet Cable to Your Router: Take the other end of the Ethernet cable and connect it to the Ethernet port on your WiFi extender. Ensure a secure and snug connection.
5. Connect the Other End of the Ethernet Cable to the WiFi Extender: Plug the WiFi extender into a power outlet near the desired location. The power LED indicator should light up, indicating that the extender is receiving power.
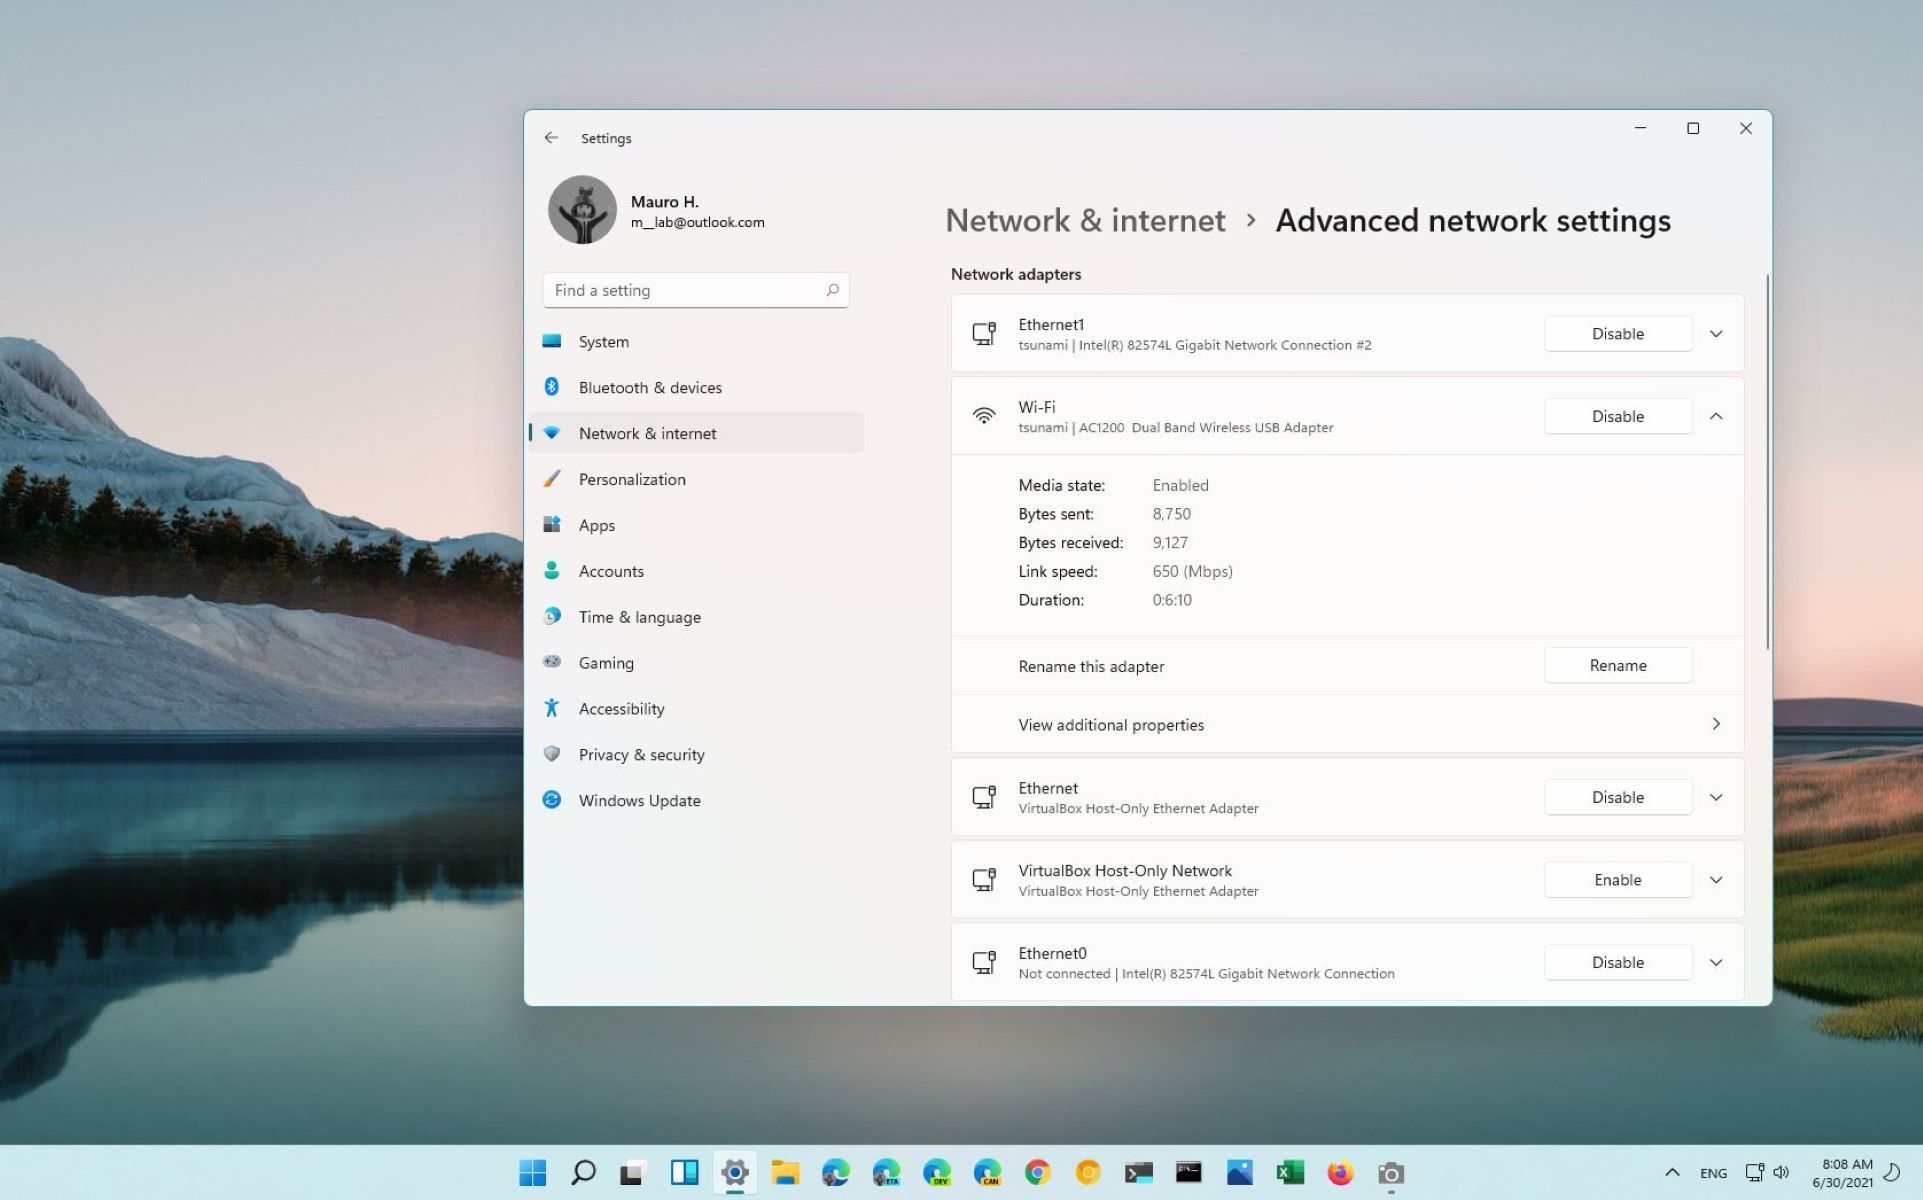
6. Configure the WiFi Extender: Use a computer or mobile device connected to the same WiFi network as your router. Open a web browser and enter the default IP address of the WiFi extender in the address bar. Follow the on-screen instructions to access the extender’s settings and configure it to extend your WiFi network.
7. Test the Extended WiFi Network: Once the WiFi extender is configured, move around your home or office and ensure that you have a consistent WiFi signal throughout the previously weak or dead zones. Use the WiFi signal indicator on your device to confirm the strength of the extended WiFi network.
By following these step-by-step instructions, you can successfully extend your WiFi network with an Ethernet cable. Enjoy the benefits of an improved WiFi signal and expanded coverage throughout your space.
Check Your Router and Modem Setup
Before you begin the process of extending WiFi with an Ethernet cable, it’s crucial to ensure that your router and modem are properly set up and functioning. Here are the steps to check your router and modem setup:
1. Router Placement: Position your router in a central location to maximize coverage. Avoid placing it in cabinets, behind furniture, or near other electronic devices that may interfere with the WiFi signal.
2. Modem Connection: Ensure that your modem is connected to a working internet service provider (ISP) and is powered on. Verify that the modem’s connection lights are solid or blinking, indicating an active connection to the internet.
3. Internet Speed: Check your internet speed by performing a speed test with an online tool or app. This will give you a baseline measurement of your current internet speed, which you can compare to after extending your WiFi with an Ethernet cable.
4. Update Router Firmware: Check for any available firmware updates for your router. Visit the manufacturer’s website or access the router’s administration panel to check for updates and follow the instructions to install them if needed. Keeping your router’s firmware up to date ensures optimal performance and security.
5. Secure Your Network: Set a strong and unique password for your WiFi network to prevent unauthorized access. Use a combination of uppercase and lowercase letters, numbers, and special characters for a more secure password.
6. Check WiFi Channel: Use a WiFi analyzer app or software to check the WiFi channels being used by neighboring networks. If you encounter interference or slow speeds, consider changing your router’s channel to a less crowded one to optimize performance.
7. Restart Your Router and Modem: Sometimes, simply restarting your router and modem can resolve connectivity issues. Power off both devices, wait for a few seconds, and then power them back on. Allow them a few minutes to fully restart and establish a stable connection.
By checking and ensuring the proper setup of your router and modem, you can establish a strong foundation for extending your WiFi with an Ethernet cable. This will help ensure a smoother and more successful setup process.
Choose the Right Ethernet Cable
Choosing the right Ethernet cable is essential for establishing a reliable and high-speed connection between your router and the WiFi extender during the process of extending WiFi with an Ethernet cable. Here are the factors to consider when selecting an Ethernet cable:
1. Cable Category: Ethernet cables are categorized based on their performance standards. The most common categories are Cat5e, Cat6, and Cat6a. For most home and office setups, a Cat5e or Cat6 cable will suffice. Cat6a cables are typically used for more demanding applications and longer cable runs.
2. Cable Length: Consider the distance between your router and the WiFi extender when choosing the cable length. It’s important to measure the approximate distance and add some extra length for flexibility. It’s better to have a slightly longer cable than one that is too short, as you can always manage excess cable length.
3. Cable Quality: Invest in a high-quality Ethernet cable to ensure optimal performance and longevity. Look for cables with gold-plated connectors, shielding to reduce interference, and durable outer sheaths. This will help maintain a stable and reliable connection over time.
4. Consider Future Needs: If you anticipate future upgrades, device additions, or changes in your network setup, it’s wise to choose a slightly longer Ethernet cable. This will allow for flexibility when repositioning devices or extending your network further in the future.
5. Color and Aesthetics: While not essential for functionality, you may consider the color and aesthetics of the Ethernet cable, especially if it will be visible in your setup. Choose a color that matches your preference or blends well with your surroundings.
Once you’ve chosen the right Ethernet cable, connect one end to an available LAN port on your router and the other end to the Ethernet port on your WiFi extender. Ensure a secure and snug connection to establish an effective wired connection between the devices.
Choosing the appropriate Ethernet cable ensures a reliable and high-speed connection between your router and WiFi extender. This step sets the foundation for extending WiFi with an Ethernet cable and enhances the overall performance of your extended WiFi network.
Locate the Ideal Position for Your WiFi Extender
Locating the ideal position for your WiFi extender is crucial to ensure optimal coverage and performance when extending WiFi with an Ethernet cable. Here are some factors to consider when determining the placement:
1. WiFi Signal Strength: Walk around your home or office with a WiFi signal strength analyzer app or the WiFi settings on your device. Identify areas with weak WiFi coverage or dead zones where the signal drops significantly. These are the areas where you’ll want to place your WiFi extender.
2. Proximity to Router: The WiFi extender should be placed within a reasonable distance from your router to establish a strong and stable connection. Ideally, position it in a location where the signal from the router can reach it without significant obstructions or interference.
3. Avoid Obstacles: Keep the WiFi extender away from obstructions such as thick walls, metal objects, and appliances that can interfere with the WiFi signal. These obstacles can weaken the signal and impact the effectiveness of the extender.
4. Consider Height: In some cases, placing the WiFi extender at a higher elevation may improve coverage. Experiment with different heights to find the optimum placement that provides the best signal strength throughout your space.
5. Central Location: If possible, position the WiFi extender in a central location within the area you want to extend coverage to. This helps distribute the WiFi signal more evenly and ensures better coverage throughout the space.
6. Power Outlet Availability: Ensure that there is a nearby power outlet available for the WiFi extender. It should be easily accessible, as the extender will need to be connected to a power source for operation.
7. Consider WiFi Extender Design: Different WiFi extenders come in various forms, such as wall-plug extenders or standalone devices. Choose the type of WiFi extender that suits your needs and can be easily placed in the desired location without obstructing other outlets or taking up excessive space.
Keep in mind that WiFi signals can be influenced by the layout and unique characteristics of your home or office. Experiment with different positions and test the signal strength in various areas to find the ideal placement for your WiFi extender.
By locating the ideal position for your WiFi extender, you can ensure maximum coverage and establish a reliable extended WiFi network throughout your space.
Connect the Ethernet Cable to Your Router
Once you have identified the ideal placement for your WiFi extender, it’s time to connect the Ethernet cable to your router. Follow these steps to establish a wired connection between your router and the WiFi extender:
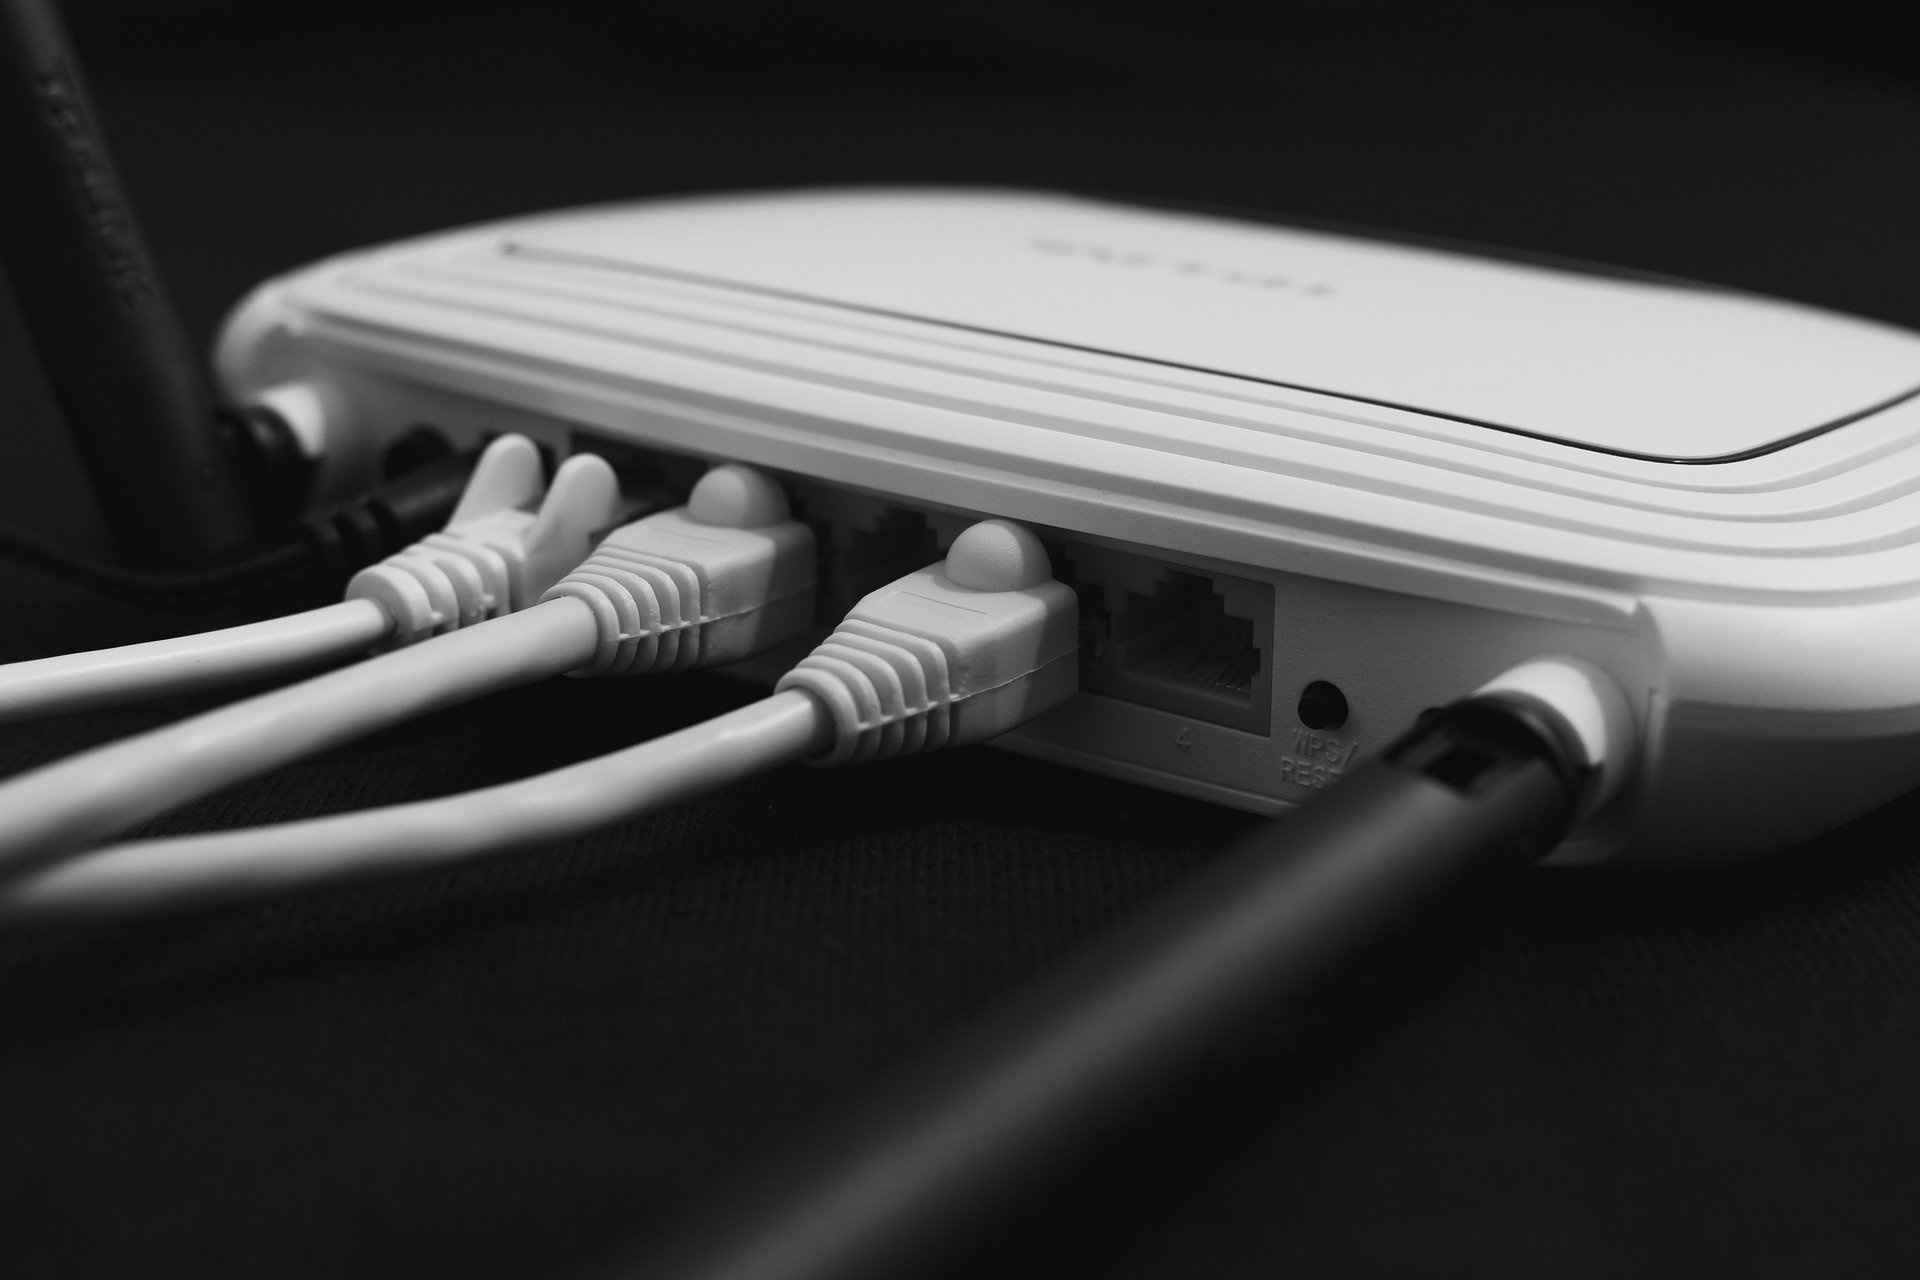
1. Locate an Available LAN Port: Look for the LAN ports on the back of your router. These ports are typically labeled with numbers or indicators. Identify an available LAN port that is not currently in use.
2. Insert the Ethernet Cable: Take one end of the Ethernet cable and insert it firmly into the chosen LAN port on your router. Make sure the connector is fully inserted and secure.
3. Secure the Connection: Ensure that the Ethernet cable is securely connected to the LAN port. A loose connection can result in an intermittent or unstable connection. Gently tug on the cable to confirm that it is firmly attached.
4. Check the Link LEDs: Once the Ethernet cable is connected, check the corresponding link LEDs on the router. These LEDs indicate the status of the Ethernet connection. The LED next to the connected LAN port should light up, confirming a successful connection.
5. Verify Connectivity: You can also verify the connectivity by checking the network status on your device. Ensure that your device is connected to the WiFi network provided by your router and that it has internet access.
Connecting the Ethernet cable to your router establishes a wired connection, allowing data to be transmitted between the router and the WiFi extender. This connection forms the backbone of the extended WiFi network and ensures a stable and reliable signal between the devices.
Now that the Ethernet cable is connected to your router, you’re ready to proceed to the next step and connect the other end of the cable to the WiFi extender.
Connect the Other End of the Ethernet Cable to the WiFi Extender
With the Ethernet cable securely connected to your router, it’s time to connect the other end to the WiFi extender. Follow these steps to establish the wired connection between the devices:
1. Locate the Ethernet Port on the WiFi Extender: Look for the Ethernet port on the WiFi extender. It is usually found on the back or bottom of the device. Identify the correct port to connect the other end of the Ethernet cable.
2. Insert the Ethernet Cable: Take the other end of the Ethernet cable—the end that is not connected to the router—and insert it firmly into the Ethernet port on the WiFi extender. Ensure a secure and snug connection.
3. Secure the Connection: Double-check that the Ethernet cable is securely connected to both the port on the WiFi extender and the Ethernet port on your router. A loose connection can result in an unreliable or non-functional wired connection.
4. Power on the WiFi Extender: Plug the WiFi extender into a nearby power outlet. The power LED indicator should light up, indicating that the extender is receiving power.
5. Check the Link LEDs: Look for the link LED indicators on the WiFi extender. These LEDs confirm that the wired connection between the extender and the router is successful. The specific LED pattern may vary depending on the WiFi extender model, so refer to the user manual for guidance.
6. Verify Connectivity: Check the network status on your device and ensure that it is connected to the WiFi network extended by the WiFi extender. Test the internet connectivity to confirm that the wired connection is functioning properly.
By connecting the other end of the Ethernet cable to the WiFi extender, you establish a wired connection between the router and the extender. This connection allows for the transmission of data and ensures a reliable and stable extended WiFi network.
With the wired connection established, you can now proceed to configure the WiFi extender to complete the setup process.
Configure the WiFi Extender
Once the wired connection is established between your router and the WiFi extender, it’s time to configure the extender to extend your WiFi network. Follow these steps to complete the configuration process:
1. Access the WiFi Extender’s Settings: Using a computer or mobile device connected to the same WiFi network as your router, open a web browser and enter the default IP address of the WiFi extender in the address bar. This IP address can be found in the user manual or on the extender itself.
2. Login to the Extender’s Interface: You will be prompted to enter the login credentials for the WiFi extender. This information is usually provided in the user manual or can be found on the extender’s label. Enter the username and password to access the extender’s settings.
3. Select the Network to Extend: Once logged in, you will be presented with a list of available networks. Select your existing WiFi network from the list and enter the network password. This will allow the WiFi extender to connect to your router’s network.
4. Configure the Extender Settings: Depending on the WiFi extender model, you may have options to customize the extender settings. You can choose to set a different network name (SSID) and password for the extended WiFi network, adjust transmission power, or enable other advanced features. Consult the user manual for specific instructions on configuring your extender.
5. Save and Apply the Settings: After making the necessary changes to the WiFi extender settings, be sure to save your changes and apply the settings. This will activate the extended WiFi network and make the configuration effective.
6. Reboot the WiFi Extender: To ensure the firmware and configuration changes take effect, it is recommended to reboot the WiFi extender. This can usually be done through the extender’s interface or by simply unplugging the extender’s power and plugging it back in.
7. Connect Your Devices: Once the WiFi extender has finished rebooting, reconnect your devices to the extended WiFi network. Look for the new WiFi network name (SSID) if you have changed it during the configuration process. Enter the password and ensure a successful connection.
By configuring the WiFi extender, you activate the functionality of extending your WiFi network with an Ethernet cable. The extender will now amplify and distribute the WiFi signal, providing expanded coverage and improving the WiFi experience in previously weak areas of your home or office.
Remember to consult the user manual specific to your WiFi extender model for more detailed instructions on the configuration process.
Test the Extended WiFi Network
After completing the configuration of your WiFi extender, it’s essential to test the extended WiFi network to ensure that it is working correctly and providing the desired coverage. Follow these steps to test the extended WiFi network:
1. Move to Previously Weak Areas: Go to the areas of your home or office where you previously experienced weak WiFi signal or dead zones. These could be rooms, corners, or outdoor spaces that were problematic before extending the WiFi network.
2. Check the WiFi Signal Strength: On your devices, such as laptops, smartphones, or tablets, check the WiFi signal strength indicator. It is usually represented by bars, with more bars indicating a stronger signal. Note the signal strength in the previously weak areas.
3. Verify Connection Stability: Connect your devices to the extended WiFi network and perform various online activities, such as browsing the web, streaming videos, or downloading files. Pay attention to the stability and speed of the internet connection in these areas.
4. Test Connection Speed: Use online speed testing tools or apps to measure the internet speed in the weak areas both before and after extending the WiFi network. Compare the results to check for improvements in download and upload speeds.
5. Perform Multiple Tests: To ensure accurate results, perform multiple tests at different times of the day. WiFi signal strength and performance can vary depending on various factors, including network congestion and interference.
6. Make Adjustments if Necessary: If you find that certain areas still have weak WiFi signal or experience connectivity issues, consider adjusting the position of the WiFi extender or reconfiguring its settings. Experiment with different locations or orientations to optimize signal strength and coverage.
By testing the extended WiFi network, you can ensure that it is functioning as intended and providing improved coverage in previously problematic areas. If you encounter any issues during testing, don’t hesitate to troubleshoot or seek further guidance from the WiFi extender’s user manual or support resources.
Once you are satisfied with the performance and coverage of the extended WiFi network, you can enjoy a seamless and reliable internet connection throughout your home or office.
Conclusion
Extending WiFi with an Ethernet cable is a practical and effective solution for enhancing the coverage and performance of your WiFi network. By following the step-by-step guide outlined in this article, you can successfully extend your WiFi network and eliminate weak signal areas or dead zones in your home or office.
We discussed the benefits of extending WiFi with an Ethernet cable, including improved speed and reliability, expanded coverage, reduced latency, flexibility in placement, cost-effectiveness, compatibility with wired devices, and improved security. These advantages make it a compelling option for optimizing your WiFi network.
Remember to choose the right Ethernet cable for your setup, ensuring compatibility and reliability. Additionally, take the time to find the ideal position for your WiFi extender, considering factors like signal strength, proximity to the router, and the presence of obstructions. This will help maximize the reach and effectiveness of your extended WiFi network.
Once the Ethernet cable is connected to your router and WiFi extender, proceed with the configuration process. Use the WiFi extender’s interface to select your existing network, customize settings if desired, and save the changes. After rebooting the extender, connect your devices to the extended WiFi network and test its functionality and performance.
By extending WiFi with an Ethernet cable and optimizing your setup, you can enjoy a seamless and reliable WiFi experience throughout your space. Whether for work, entertainment, or everyday browsing, a strong and extended WiFi network ensures connectivity and productivity.
Now that you have the knowledge and guidelines to extend WiFi with an Ethernet cable, take the necessary steps to improve your WiFi coverage and enhance your internet experience. With a stable and extended WiFi network, you can stay connected and make the most out of your digital activities.