Why Switch From Ethernet to Wifi in Windows 11?
Windows 11 offers users the flexibility to choose between a wired Ethernet connection and a wireless Wifi connection. While Ethernet connections can provide a fast and stable internet connection, there are several reasons why you might want to switch from Ethernet to Wifi:
- Portability and Convenience: Wifi allows you to connect to the internet without being limited by a physical cable. This gives you the freedom to move around your home or office while staying connected to the internet.
- Flexibility: Wifi allows you to connect multiple devices simultaneously without the need for additional wires. Whether you’re using a laptop, smartphone, or tablet, Wifi connectivity ensures that you can access the internet from any device without the limitations of a wired connection.
- Expandability: Unlike Ethernet, which requires running cables through walls and floors, Wifi networks can be easily expanded by adding more access points or range extenders. This allows you to extend your network coverage to areas that may be out of reach for an Ethernet connection.
- Cost-Effectiveness: Setting up a Wifi network is generally more cost-effective than installing Ethernet cables throughout your home or office. Wifi routers and access points are now widely available and affordable, making it a viable option for most users.
- No Cable Clutter: Switching to Wifi eliminates the need for long Ethernet cables running across your living space or workspace. This not only reduces cable clutter but also improves the aesthetics of your environment.
While there are advantages to switching from Ethernet to Wifi, it’s important to note that Wifi connections may not always provide the same level of speed and reliability as Ethernet. Factors such as distance from the router, interference from other devices, and the number of connected devices can affect Wifi performance. However, advancements in Wifi technology have significantly improved its speed and stability, making it suitable for most everyday activities.
Checking Wifi Signal Strength
Before switching from Ethernet to Wifi in Windows 11, it’s important to ensure that your Wifi signal strength is sufficient for a stable and reliable connection. Here’s how you can check the Wifi signal strength:
- Look at the Wifi Icon: In the system tray of your Windows 11 taskbar, you will find the Wifi icon. Hovering over it will display the current signal strength. If the icon displays fewer bars or a weak signal, it indicates a lower signal strength.
- Use the Network Settings: Open the Windows 11 Settings app and navigate to “Network & Internet.” Under the “Status” section, click on “Network Troubleshooter” and follow the on-screen instructions. This tool will scan for available networks and display their signal strengths.
- Use Third-Party Wifi Apps: There are several third-party applications available that can provide more detailed information about your Wifi signal strength. Some popular options include NetSpot, Wifi Analyzer, and inSSIDer. These tools can display signal strength in dBm or percentage, giving you a more precise measurement.
- Move around the Area: If you suspect a weak Wifi signal in a particular area, try moving closer to the Wifi router. As you move around, observe any changes in the signal strength on your device. Note that physical obstructions such as walls or appliances may hinder signal strength.
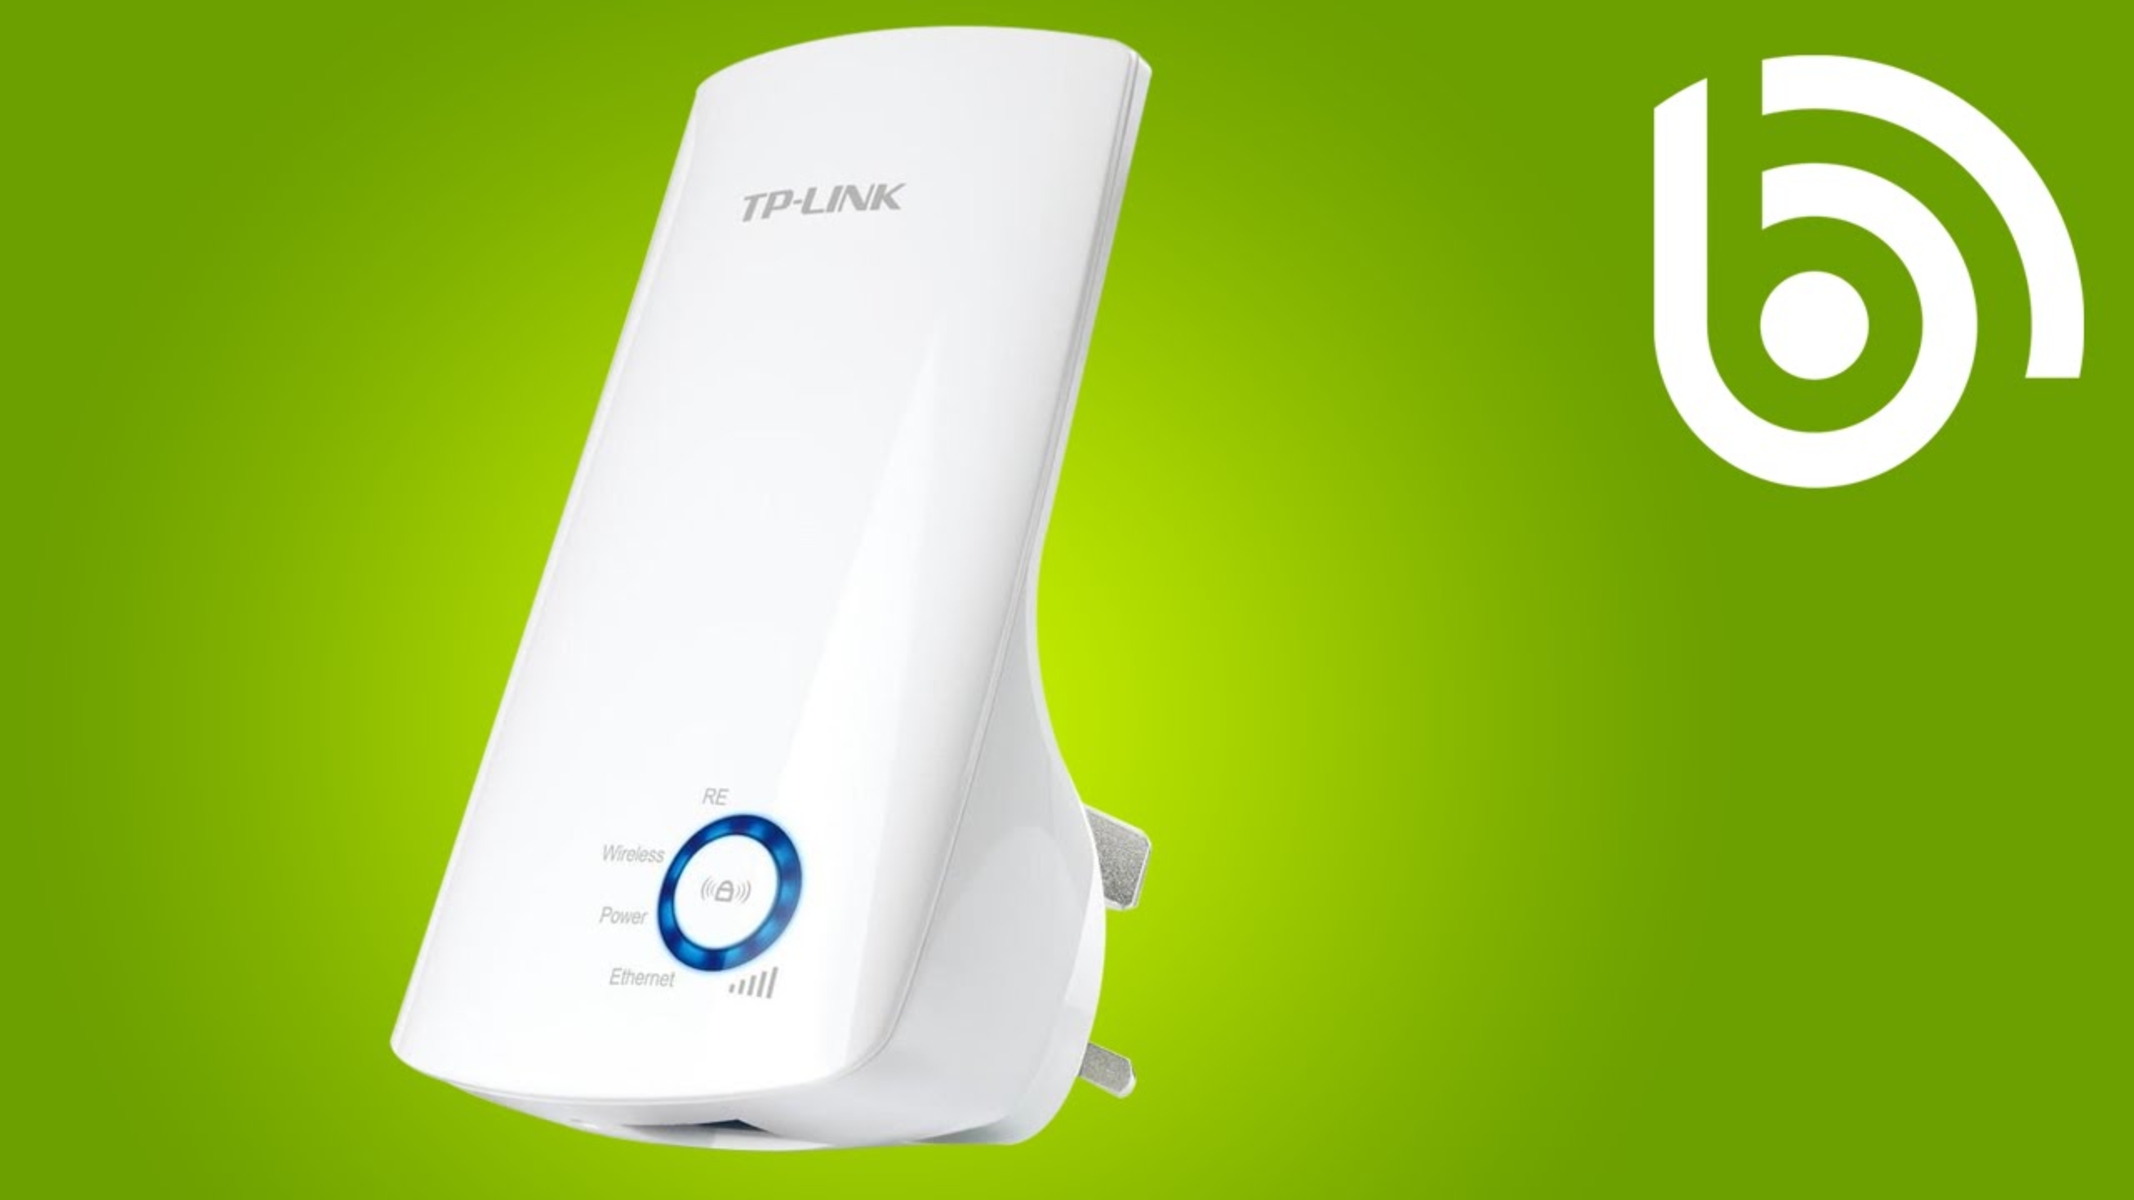
- Consider a Wifi Range Extender: If you find that the Wifi signal strength is consistently weak in certain areas of your home or office, you may consider using a Wifi range extender. These devices amplify the Wifi signal, extending its reach to those hard-to-reach areas.
By checking the Wifi signal strength before switching from Ethernet to Wifi, you can ensure that you have a stable and reliable connection. It’s important to have a strong signal for activities that require high data transfer rates, such as streaming or online gaming. However, for basic web browsing and email, a moderate signal strength should suffice.
Disconnecting Ethernet Connection
Before you can switch from Ethernet to Wifi in Windows 11, you need to disconnect your current Ethernet connection. Here are the steps to disconnect the Ethernet connection:
- Locate the Ethernet Cable: Identify the Ethernet cable that is currently connected to your computer or laptop. The Ethernet cable usually has a square-shaped connector that plugs into the Ethernet port on your device.
- Follow the Cable: Follow the Ethernet cable from your computer to the other end where it’s connected, such as a modem or a router. This could be a wall socket or a specific port on your networking equipment.
- Disconnect the Cable: Gently unplug the Ethernet cable from its port. Take care not to tug or damage the cable while doing so.
- Confirm Disconnection: Once the cable is disconnected, you should see a change in the network icon in the taskbar. The Ethernet icon will disappear, indicating that the connection has been successfully disconnected.
- Optional: Turn Off Ethernet Port: If desired, you can disable the Ethernet port on your computer or laptop to prevent it from automatically reconnecting to the Ethernet network. To do this, open the Windows 11 Settings app, go to “Network & Internet,” click on “Ethernet,” and toggle the “Ethernet” switch to the off position.
Once you have successfully disconnected the Ethernet connection, your computer or laptop is now ready to connect to a Wifi network. Proceed to the next section to learn how to connect to Wifi in Windows 11.
Connecting to Wifi in Windows 11
Now that you have disconnected the Ethernet connection, you can proceed to connect to a Wifi network in Windows 11. Here are the steps to connect to Wifi:
- Open Network Settings: Click on the Windows Start button and select the gear icon to open the Settings app. Alternatively, you can press the Windows key + I on your keyboard to open Settings directly.
- Select Network & Internet: In the Settings app, click on “Network & Internet” to access the network settings.
- Choose Wifi: In the left-hand sidebar of the Network & Internet page, select “Wifi” to view available Wifi networks.
- Scan for Networks: Click on the “Network and Sharing Center” link within the Wifi settings to scan for available networks. A list of Wifi networks will appear, displaying their names (SSID) and signal strengths.
- Select a Network: Choose the Wifi network you want to connect to by clicking on its name in the list. If the network is password-protected, you will be prompted to enter the password.
- Enter the Wifi Password: Once prompted, type in the password for the selected Wifi network. Ensure that you enter it correctly, taking note of uppercase and lowercase letters.
- Connect to the Network: After entering the correct password, click on the “Connect” button to establish a connection to the Wifi network.
- Established Connection: Once connected, Windows 11 will display a “Connected” status next to the Wifi network name. You should now have access to the internet through Wifi.
Windows 11 will automatically remember the Wifi network and connect to it whenever it is within range. However, if you wish to forget a Wifi network or manage your saved networks, you can do so in the Wifi settings.
Congratulations! You have successfully connected to a Wifi network in Windows 11. Enjoy the freedom of wireless internet connectivity on your device.
Troubleshooting Wifi Connection Issues
While connecting to a Wifi network in Windows 11 is usually a smooth process, there may be instances where you encounter connection issues. Here are some troubleshooting steps to help resolve common Wifi connection problems:
- Check Wifi Signal Strength: Ensure that your device is within range of the Wifi router and that the signal strength is sufficient. If the signal is weak, try moving closer to the router or consider using a Wifi range extender.
- Restart Wifi Router: Sometimes, simply restarting the Wifi router can resolve connectivity issues. Unplug the power cable from the router, wait for a few seconds, and then plug it back in. Allow the router to restart and attempt to reconnect to the network.
- Restart Device: Restarting your computer or device can help refresh network settings and resolve temporary glitches. After restarting, try connecting to the Wifi network again.
- Check Wifi Password: Double-check that you have entered the correct password for the Wifi network. Ensure that you are using the correct uppercase and lowercase letters, as Wifi passwords are case-sensitive.
- Update Wifi Drivers: Outdated or incompatible Wifi drivers can cause connectivity problems. Visit the manufacturer’s website or use Windows Update to check for and install the latest drivers for your Wifi adapter.
- Disable Security Software: In some cases, security software or firewalls may interfere with Wifi connections. Temporarily disable antivirus or firewall software and attempt to connect to the Wifi network.
- Forget and Reconnect to Network: If you are experiencing persistent issues with a specific Wifi network, you can forget the network in Windows 11 settings and then reconnect to it. This can help resolve any configuration problems or conflicting settings.
- Reset Network Settings: As a last resort, you can try resetting the network settings in Windows 11. Open the Settings app, go to “Network & Internet,” click on “Network Reset,” and follow the instructions to reset the network settings. Note that this will remove all network connections and reset network-related settings on your device.
If none of the troubleshooting steps above resolve your Wifi connection issues, you may need to contact your internet service provider or consult technical support for further assistance. They can help diagnose any underlying network problems or provide specific guidance for your setup.
Switching Between Ethernet and Wifi in Windows 11
Windows 11 allows you to easily switch between using an Ethernet connection and a Wifi connection based on your needs and preferences. Here’s how you can switch between Ethernet and Wifi:
- Disconnect Ethernet: If you are currently connected to the internet via Ethernet, disconnect the Ethernet cable from your device by following the steps outlined in the “Disconnecting Ethernet Connection” section earlier in this article.
- Enable Wifi: Once the Ethernet connection is disconnected, make sure the Wifi feature on your device is enabled. Look for the Wifi icon in the system tray of the taskbar. If it’s not visible, you can enable Wifi by going to the Windows 11 Settings app, selecting “Network & Internet,” and toggling the “Wifi” switch to the on position.
- Connect to Wifi: After enabling Wifi, you will see the available Wifi networks in your area. Click on the network you want to connect to, enter the password if required, and click “Connect.” Windows 11 will establish a connection to the selected Wifi network.
- Switch Back to Ethernet: When you want to switch back to using Ethernet, simply reconnect the Ethernet cable to your device. Windows 11 will detect the connection and automatically switch to using the Ethernet network for internet access.
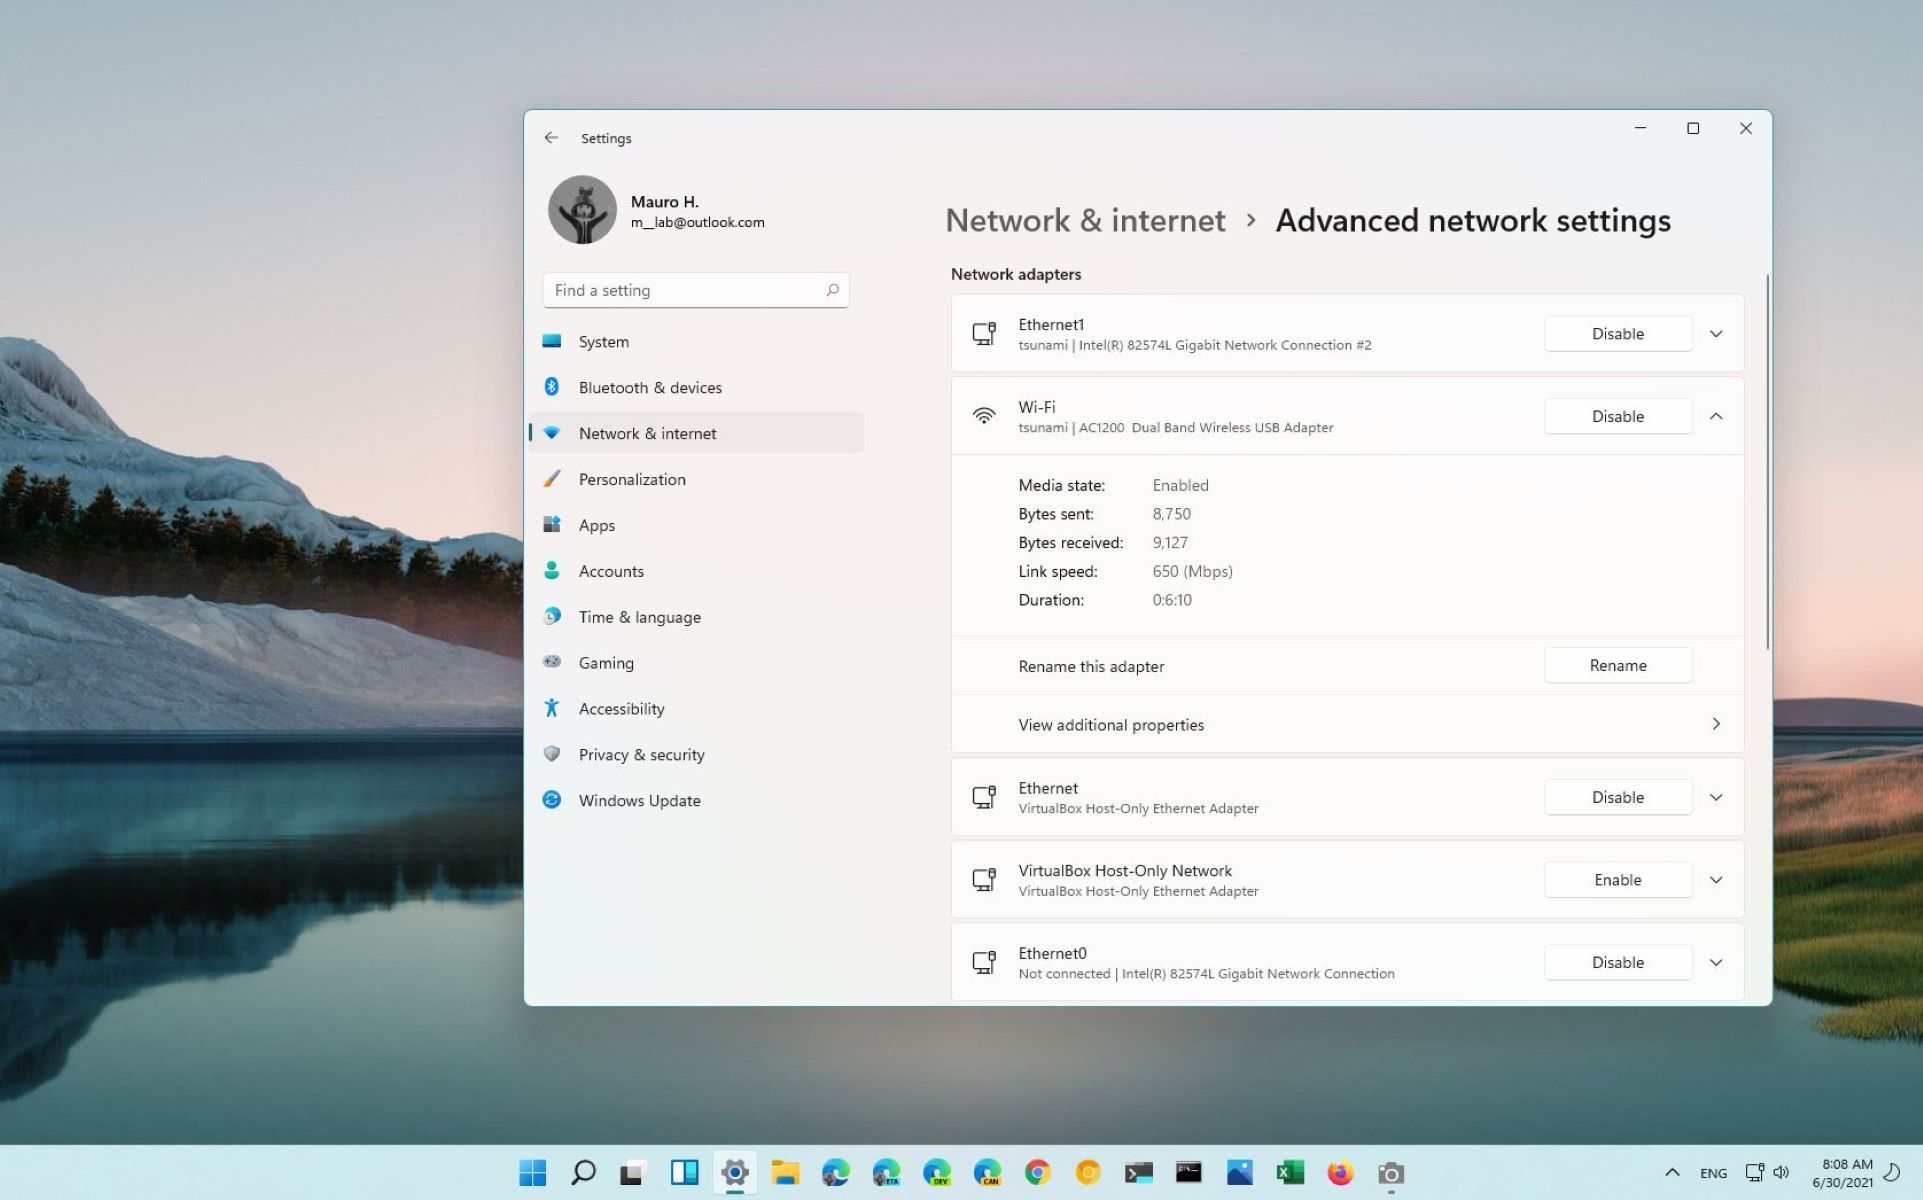
- Change Network Priority: If you have both Ethernet and Wifi connections available and want to prioritize one over the other, you can modify the network priority settings in Windows 11. Go to the Settings app, select “Network & Internet,” click on “Advanced Network Settings,” and go to the “Adapters and Bindings” tab. Here, you can prioritize the network connection by moving it up or down in the list.
By switching between Ethernet and Wifi connections in Windows 11, you have the flexibility to utilize the most appropriate network option based on your specific requirements. Whether you prioritize speed, stability, or mobility, Windows 11 provides you with the convenience to seamlessly switch between network connections.