Introduction
Welcome to the exciting world of wireless connectivity! In today’s digital age, having a reliable internet connection is essential for both work and leisure activities. While many people rely on wired Ethernet connections for their internet needs, there are numerous advantages to switching to a WiFi connection. In this article, we will explore the benefits of using WiFi over Ethernet and provide step-by-step instructions on how to make the switch on various devices and operating systems.
WiFi, short for Wireless Fidelity, offers the convenience of internet access without the need for physical cables. With WiFi, you can connect multiple devices simultaneously, such as smartphones, tablets, laptops, and smart-home devices, without any wires cluttering your space.
Now you might be wondering, what are the benefits of using WiFi rather than sticking to a traditional Ethernet connection? Firstly, WiFi provides greater mobility. With Ethernet, you are tethered to your router by a cable, limiting your movement around the house or office. On the other hand, WiFi allows you to connect to the internet from anywhere within the range of your wireless router.
Secondly, WiFi offers flexibility. Suppose you have multiple devices that need an internet connection. With Ethernet, you would have to run individual cables to each device, which can be inconvenient and messy. With WiFi, all you need is a reliable wireless signal and the devices can connect seamlessly.
Moreover, WiFi enables easy sharing and collaboration. With a WiFi connection, you can effortlessly share files and printers between devices on the same network. This is especially useful for multi-user households or offices where multiple people need to access shared resources.
In addition to these benefits, WiFi is particularly advantageous for mobile devices like smartphones and tablets. With WiFi, you can avoid using your cellular data plan and instead connect to the internet via your home or office network, saving you money on data fees.
In the following sections, we will guide you through the process of switching from an Ethernet connection to WiFi on various devices and operating systems. Whether you’re using Windows, macOS, Linux, iOS, or Android, we’ve got you covered. So let’s dive in and explore the world of wireless connectivity!
Benefits of Using WiFi over Ethernet
WiFi technology has revolutionized how we connect to the internet, offering numerous advantages over traditional Ethernet connections. Let’s delve into some of the key benefits of using WiFi:
- Wireless Freedom: One of the primary benefits of WiFi is the freedom it provides. With WiFi, you are not tied down by physical cables, allowing you to move around your home or office while staying connected to the internet. Whether you’re in a different room or on a different floor, WiFi enables you to access the internet from anywhere within the range of your wireless router.
- Flexibility and Convenience: WiFi offers incredible flexibility and convenience. With Ethernet, you need to run cables to each device that requires an internet connection. This can be time-consuming and cumbersome, especially in multi-room or multi-story setups. WiFi eliminates the need for cables, making it easy to connect multiple devices without the hassle of wiring.
- Multiple Device Connectivity: WiFi enables you to connect multiple devices to the internet simultaneously. Whether it’s your smartphone, tablet, laptop, or gaming console, WiFi allows all your devices to access the internet without the limitations of a single wired connection. This is particularly beneficial for households or offices with multiple users and devices.
- Shared Resources: WiFi facilitates easy sharing and collaboration. With a WiFi connection, you can share files, printers, and other resources among devices on the same network. This enables seamless collaboration, whether you’re working on a group project or sharing media files with family members. WiFi makes it simple to establish a network where devices can interact and share information in real-time.
- Cost Savings: Using WiFi instead of relying solely on cellular data can save you money on data charges. By connecting your mobile devices to WiFi networks, such as your home or office network, you can minimize data usage and avoid exceeding data limits on your cellular plan. WiFi allows you to leverage your existing internet service to stay connected on your devices without incurring additional charges.
These are just a few of the many benefits WiFi offers over Ethernet connections. Now that you understand the advantages, let’s explore how to switch from Ethernet to WiFi on various devices and operating systems.
Checking WiFi Connection
Before switching from Ethernet to WiFi, it’s crucial to ensure that your WiFi connection is stable and functioning properly. Here are a few steps to check your WiFi connection:
- Check Signal Strength: Start by checking the signal strength of your WiFi network. Look for the WiFi icon on your device’s notification bar or taskbar. If the signal strength is weak, try moving closer to the router or access point to improve the connection.
- Restart Router: If you’re experiencing connectivity issues, it might be helpful to restart your router. Unplug the power adapter from your router, wait for about 30 seconds, and then plug it back in. This can often resolve minor network glitches and improve the WiFi performance.
- Verify Network Name and Password: Ensure that you’re connecting to the correct WiFi network. Double-check the network name (also known as SSID) and password. It’s common for multiple WiFi networks to be available in your area, so make sure you’re selecting the correct one.
- Check Router Settings: Access your router’s settings by typing its IP address into a web browser. From there, you can verify that the WiFi settings are correct, including the network mode (2.4GHz or 5GHz), channel, and security settings. Ensure that the router is set to broadcast the WiFi network and that MAC address filtering or other security features are not causing connectivity issues.
- Update Router Firmware: Check if there are any firmware updates available for your router. Firmware updates can often improve network stability and fix bugs that may be affecting your WiFi connection. Refer to the router manufacturer’s website or user manual for instructions on how to update the firmware.
- Reset Network Settings: If you’re still facing issues, you can try resetting your network settings. On some devices, this option is available in the settings menu, typically under “Network” or “Reset.” Keep in mind that resetting network settings will remove saved WiFi networks and you’ll need to reconnect to them afterwards.
By following these steps, you can ensure that your WiFi connection is reliable before making the switch from Ethernet. In the next sections, we will guide you through the process of switching from Ethernet to WiFi on Windows, macOS, Linux, iOS, and Android devices.
Troubleshooting Common WiFi Connection Issues
While WiFi offers convenience and flexibility, it’s not immune to occasional connectivity issues. If you encounter problems with your WiFi connection, here are some common troubleshooting steps to help resolve them:
- Restart Your Device: Begin by restarting the device that is experiencing WiFi connectivity issues. Sometimes, a simple restart can resolve temporary glitches and restore the connection.
- Move Closer to the Router: If you’re experiencing a weak or unstable WiFi signal, try moving closer to the router. Physical obstacles such as walls and furniture can weaken the signal, so positioning yourself nearer to the router can improve the connection.
- Check for Interference: WiFi signals can be affected by interference from other electronic devices such as cordless phones, microwave ovens, and Bluetooth devices. Keep these devices away from the router and your device to minimize interference.
- Ensure Correct WiFi Password: Double-check that you’re entering the correct password for your WiFi network. Passwords are case-sensitive, so ensure that the capitalization is accurate.
- Reset Router: If the WiFi connection is still not working, try resetting your router to its default factory settings. Locate the reset button on the back of the router and hold it down for about 10 seconds. This will erase any custom settings and return the router to its original configuration.
- Update WiFi Drivers: Outdated or incompatible WiFi drivers can cause connectivity issues. Visit the manufacturer’s website and download the latest drivers for your WiFi adapter or device. Install the drivers and restart your device to see if it resolves the problem.
- Contact your Internet Service Provider (ISP): If you’ve tried all the above steps and are still unable to establish a stable WiFi connection, reach out to your ISP for further assistance. They can help identify any network issues or provide troubleshooting steps specific to your internet connection.
By following these troubleshooting steps, you can often resolve common WiFi connection issues and ensure a reliable and stable connection. If the problem persists, don’t hesitate to seek assistance from your internet service provider or a technical professional.
Now that we’ve covered the common WiFi connection issues, let’s move on to the step-by-step process of switching from Ethernet to WiFi on various devices and operating systems.
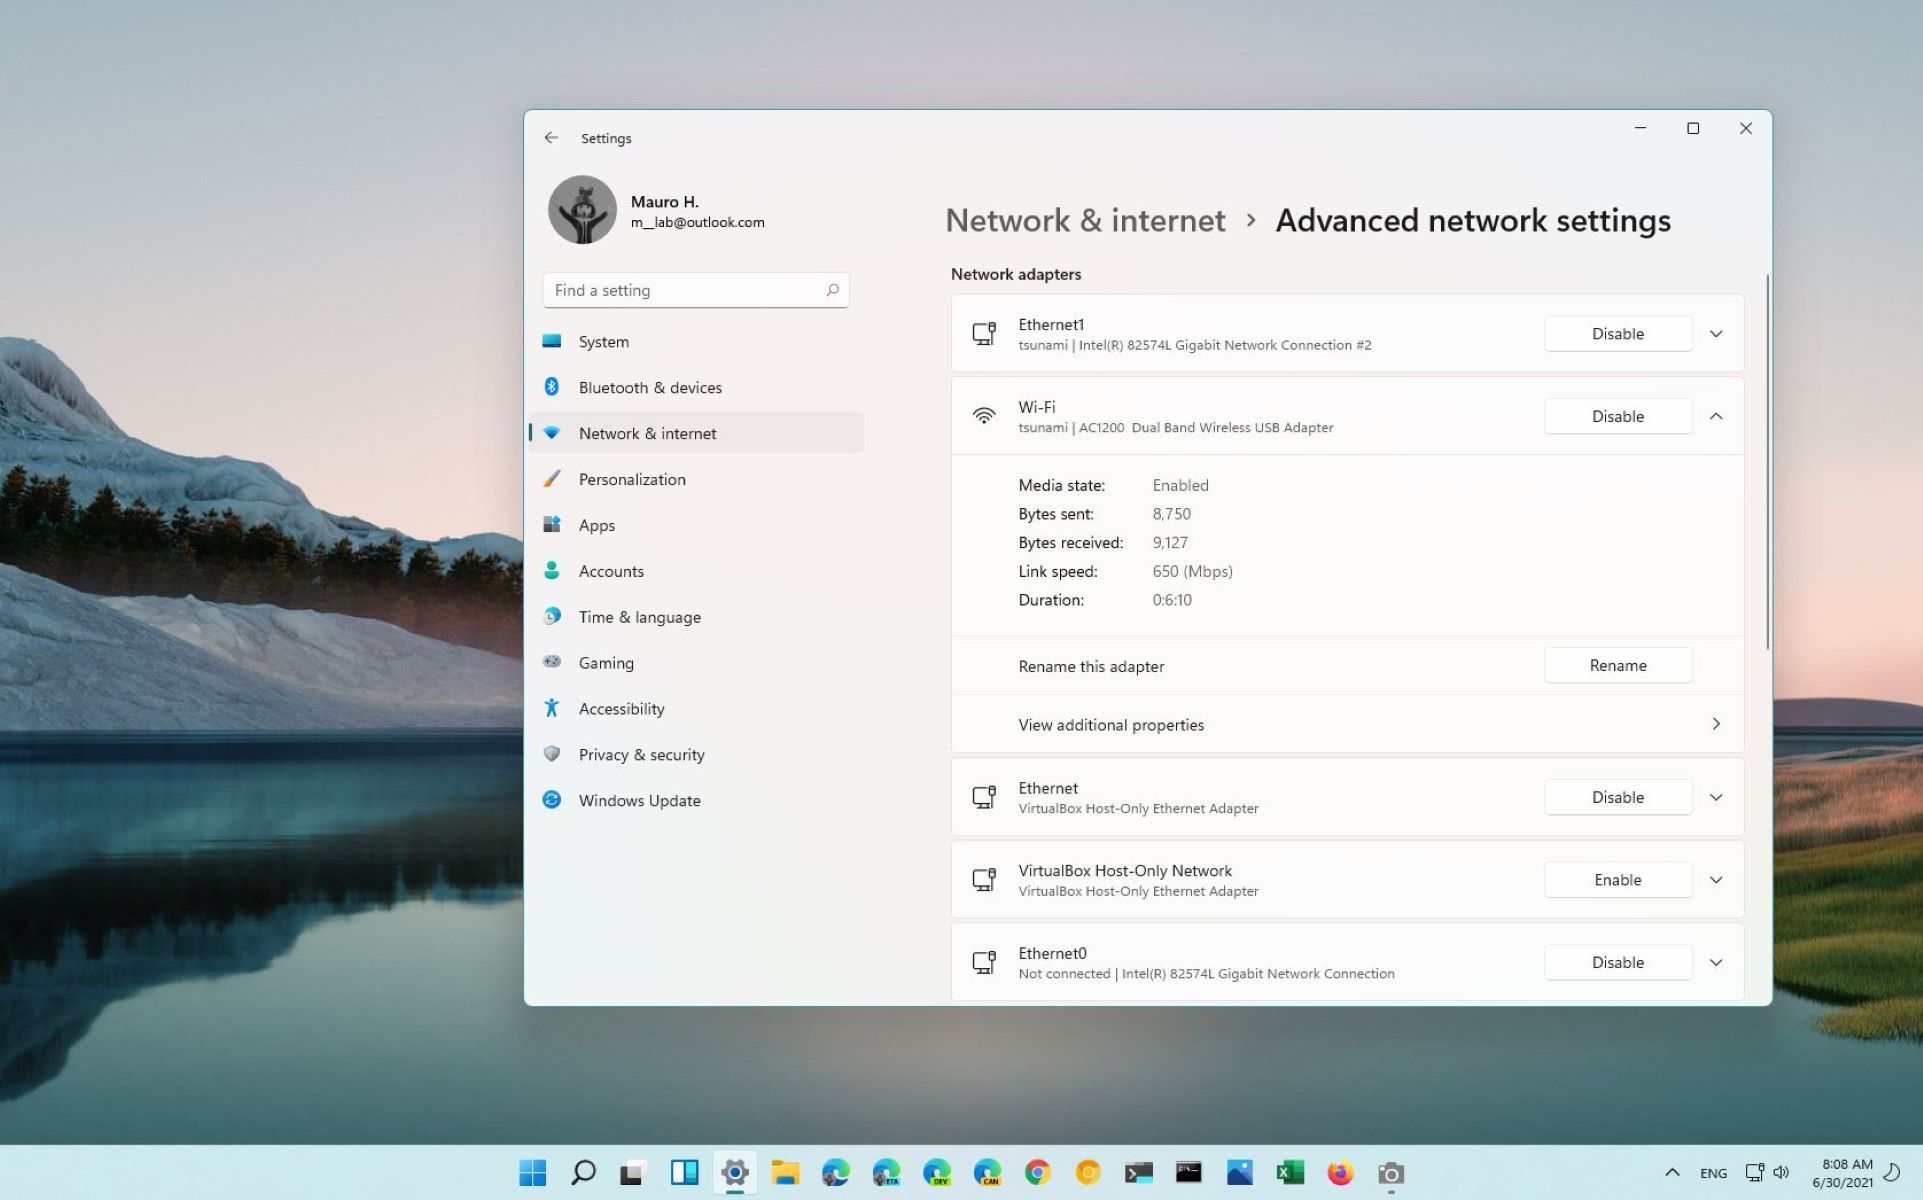
Switching from Ethernet to WiFi on Windows
If you’re using a Windows computer and want to switch from Ethernet to WiFi, follow these steps:
- Click on the Network Icon: Locate the network icon in the system tray at the bottom right corner of the taskbar. It looks like a WiFi symbol or a series of bars indicating signal strength. Click on it to open the network menu.
- Select your WiFi Network: From the network menu, you’ll see a list of available WiFi networks. Select your desired WiFi network from the list. If the network is password-protected, enter the correct password when prompted.
- Connect to the WiFi Network: After entering the correct password, Windows will attempt to connect to the selected WiFi network. Once the connection is established, the network icon in the system tray will change to the WiFi signal icon to indicate a successful connection.
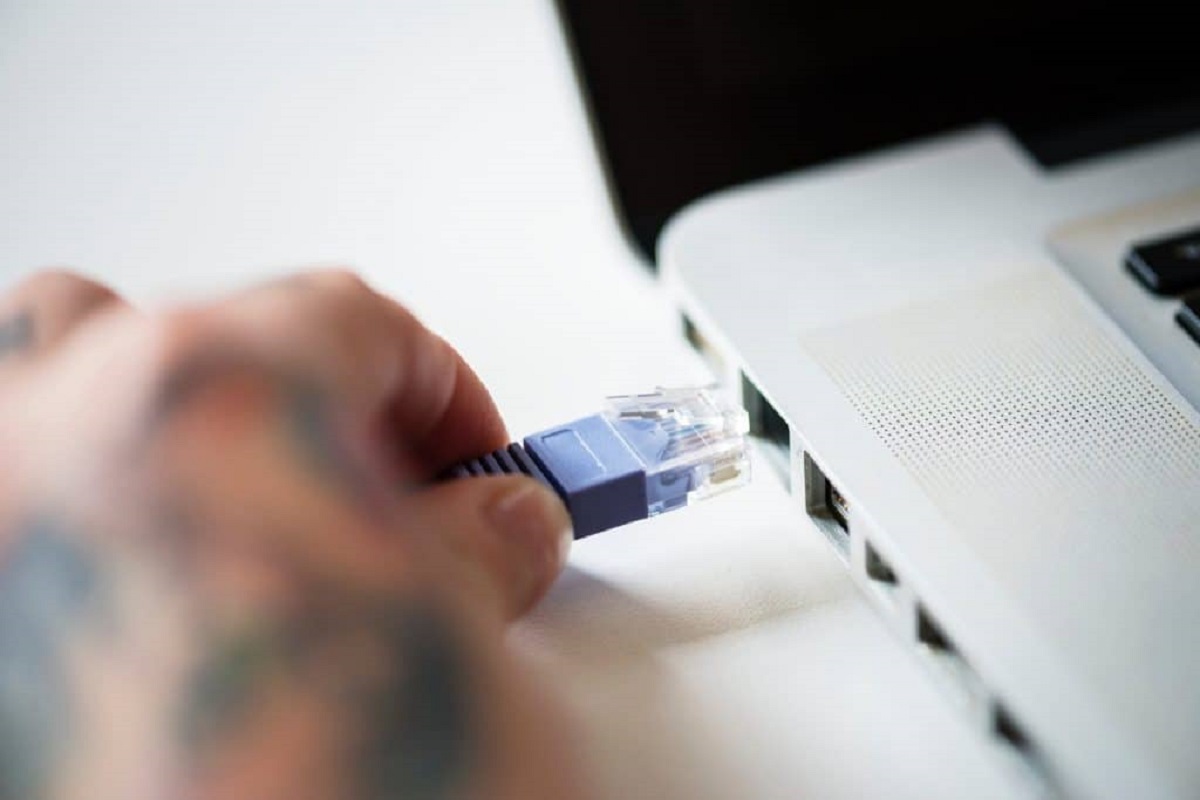
- Disconnect Ethernet Cable (if applicable): If you were previously connected to the internet via an Ethernet cable, you can now safely disconnect it from your computer. Windows will automatically prioritize the WiFi connection for internet access.
That’s it! You have successfully switched from Ethernet to WiFi on your Windows computer. Make sure to test the WiFi connection to ensure it is stable and working properly.
Note: If you’re unable to connect to the WiFi network or experience any issues, you may need to troubleshoot your WiFi adapter or consult your device manufacturer’s support documentation.
Next, we will explore the process of switching from Ethernet to WiFi on macOS devices.
Switching from Ethernet to WiFi on macOS
If you’re using a macOS device and want to switch from Ethernet to WiFi, you can easily do so by following these steps:
- Click on the WiFi Icon: Locate the WiFi symbol in the menu bar at the top right corner of the screen. It looks like a series of curved lines. Click on the WiFi icon to open the network menu.
- Select your WiFi Network: From the network menu, you will see a list of available WiFi networks. Select the desired WiFi network you want to connect to. If the network is password-protected, enter the correct password when prompted.
- Connect to the WiFi Network: After entering the correct password, macOS will attempt to connect to the selected WiFi network. Once the connection is established, the WiFi icon in the menu bar will display the signal strength indicator to indicate a successful connection.
- Disconnect Ethernet Cable (if applicable): If you were previously connected to the internet via an Ethernet cable, you can now safely disconnect it from your macOS device. macOS will automatically prioritize the WiFi connection for internet access.
That’s it! You have successfully switched from Ethernet to WiFi on your macOS device. You can now enjoy the wireless freedom and convenience of WiFi for your internet connectivity needs.
If you encounter any issues connecting to the WiFi network or need further assistance, you can consult Apple’s support documentation or reach out to their customer support for guidance.
Next, let’s explore how to switch from Ethernet to WiFi on Linux-based systems.
Switching from Ethernet to WiFi on Linux
Switching from an Ethernet connection to WiFi on Linux-based systems involves a few steps, depending on the distribution you’re using. Here’s a general guide to help you switch to WiFi:
- Open Network Settings: Look for the network settings or connections icon in your system tray or menu bar. Click on it to open the network settings.
- Select WiFi: In the network settings, you should see options for different types of connections, including Ethernet and WiFi. Select the WiFi option to view available wireless networks.
- Choose your WiFi Network: From the list of available networks, select the WiFi network you want to connect to. If the network is password-protected, enter the correct security key when prompted.
- Connect to the WiFi Network: After entering the correct password, your Linux system will attempt to connect to the WiFi network. Once the connection is established, the network icon in the system tray or menu bar should reflect the successful WiFi connection.
- Disable Ethernet Connection (if applicable): If you were previously using an Ethernet connection, you can disable it to prioritize the WiFi connection. This can typically be done by right-clicking on the Ethernet connection in the network settings and selecting “Disable” or “Disconnect.”
It’s important to note that the specific steps and options may vary depending on the Linux distribution and desktop environment you’re using. If you encounter any difficulties or need more detailed instructions, consult the documentation or community support for your specific distribution.
With these steps, you should be able to switch from Ethernet to WiFi on your Linux-based system successfully. Enjoy the freedom and convenience of wireless internet connectivity!
Now, let’s explore how to switch from Ethernet to WiFi on iOS devices.
Switching from Ethernet to WiFi on iOS
If you’re using an iOS device such as an iPhone or iPad and want to switch from Ethernet to WiFi, the process is straightforward. Follow these steps to connect to a WiFi network:
- Open Settings: Tap on the Settings app on your iOS device’s home screen to access the device settings.
- Select Wi-Fi: In the Settings menu, locate and tap on the Wi-Fi option. This will open the Wi-Fi settings.
- Enable Wi-Fi: Make sure the Wi-Fi toggle switch is turned on. If it’s already on, skip this step.
- Choose your Wi-Fi Network: From the list of available Wi-Fi networks, select the network you want to connect to. If the network is password-protected, enter the correct password when prompted.
- Connect to the Wi-Fi Network: After entering the correct password, your iOS device will attempt to connect to the selected Wi-Fi network. Once the connection is established, the Wi-Fi icon will appear in the status bar, indicating a successful connection.
That’s it! You have successfully switched from Ethernet to Wi-Fi on your iOS device. You can now enjoy the wireless convenience and freedom of a Wi-Fi connection for your internet needs.
Keep in mind that on iOS devices, the operating system automatically prioritizes Wi-Fi over Ethernet once you establish a successful Wi-Fi connection. You don’t need to manually disable or disconnect the Ethernet connection.
If you experience any issues connecting to a Wi-Fi network or need further assistance, consult the iOS device’s user manual or contact Apple Support for guidance.
Next, let’s explore how to switch from Ethernet to Wi-Fi on Android devices.
Switching from Ethernet to WiFi on Android
If you’re using an Android device and want to switch from Ethernet to WiFi, follow these steps to connect to a WiFi network:
- Open Settings: Tap on the Settings app on your Android device’s home screen to access the device settings.
- Select Wi-Fi: In the Settings menu, look for the Wi-Fi option and tap on it to open the Wi-Fi settings.
- Enable Wi-Fi: Make sure the Wi-Fi toggle switch is turned on. If it’s already on, skip this step.
- Choose your Wi-Fi Network: From the list of available Wi-Fi networks, select the network you want to connect to. If the network is password-protected, enter the correct password when prompted.
- Connect to the Wi-Fi Network: After entering the correct password, your Android device will attempt to connect to the selected Wi-Fi network. Once the connection is established, the Wi-Fi icon will appear in the status bar, indicating a successful connection.
That’s it! You have successfully switched from Ethernet to Wi-Fi on your Android device. Now you can enjoy the wireless convenience and flexibility of a Wi-Fi connection for your internet needs.
Similar to iOS devices, Android devices automatically prioritize Wi-Fi over Ethernet once a successful Wi-Fi connection is established. You don’t need to manually disable or disconnect the Ethernet connection.
If you encounter any issues connecting to a Wi-Fi network or need further assistance, refer to the device’s user manual or contact the device manufacturer’s support for guidance.
Now that you have successfully switched from Ethernet to Wi-Fi on your Android device, let’s cover some best practices for making the transition smoothly.
Best Practices for Switching to WiFi
When switching from Ethernet to WiFi, there are a few best practices to keep in mind to ensure a seamless transition and optimal WiFi experience:
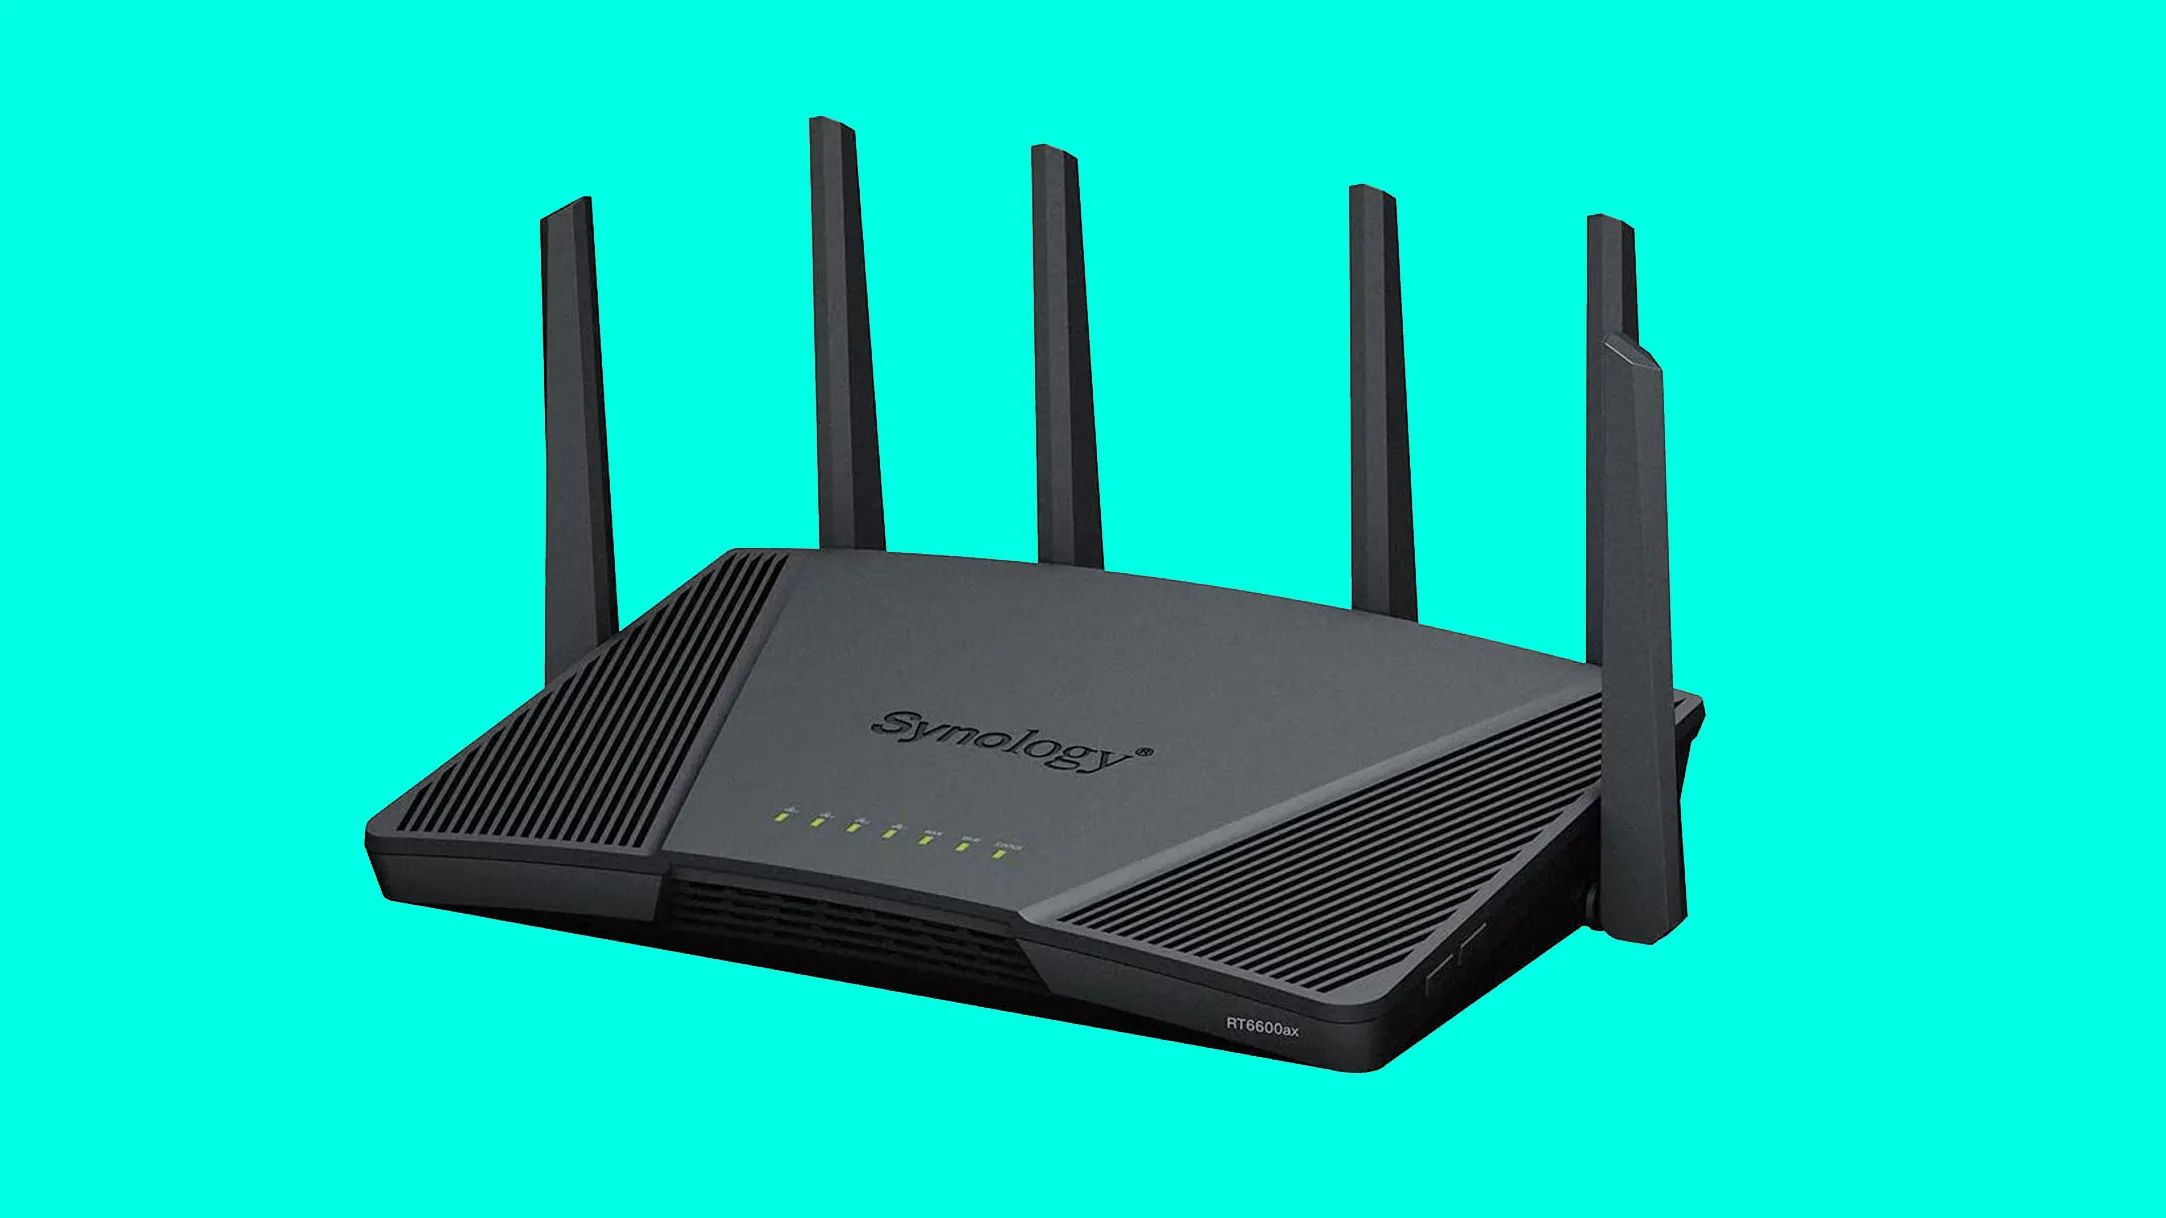
- Choose a Reliable WiFi Router: Invest in a high-quality WiFi router that offers a strong and stable signal. Consider factors such as range, dual-band capabilities, and advanced features like beamforming and MU-MIMO to enhance your WiFi experience.
- Place the Router Strategically: Position your WiFi router in a central location away from walls, obstructions, or other devices that can interfere with the signal. This helps ensure maximum coverage and reduces the chances of signal degradation.
- Use Secure WiFi Protocols: Ensure your WiFi network is using the latest security protocols, such as WPA3 or WPA2, to safeguard your data and protect against unauthorized access.
- Optimize WiFi Channel: In crowded WiFi environments, such as apartment complexes, interference from neighboring networks can impact your WiFi performance. Use a WiFi analyzer tool to identify the least crowded channel and adjust your router settings accordingly.
- Regularly Update Firmware and Drivers: Keep your WiFi router firmware and device drivers up to date to benefit from bug fixes, security enhancements, and performance improvements.
- Secure your WiFi Network: Set a strong password for your WiFi network to prevent unauthorized access. Consider changing the default administrator password for your router as well.
- Optimize WiFi Settings: Adjust your router settings, such as MTU size, Quality of Service (QoS) settings, and channel bandwidth, based on your specific needs to optimize WiFi performance for your devices and applications.
- Regularly Restart or Power Cycle your Router: Restarting your router periodically can help resolve minor connectivity issues and improve overall performance.
- Use WiFi Extenders or Mesh Systems if needed: For larger homes or areas with weak WiFi coverage, consider using WiFi extenders or a mesh WiFi system to extend the range and ensure better coverage throughout your space.
- Monitor Network Traffic: Keep an eye on your network traffic to identify any unusual activity or potential security threats. Use network monitoring tools or enable router features like parental controls to manage and monitor the devices connected to your WiFi network.
By following these best practices, you can optimize your WiFi experience, ensure security, and enjoy reliable internet connectivity. Remember to periodically assess your WiFi setup and make any necessary adjustments or upgrades to meet your evolving needs.
Now that you’re equipped with the knowledge to switch from Ethernet to WiFi and optimize your WiFi setup, you’re ready to enjoy the freedom and convenience of wireless connectivity!
Conclusion
Switching from Ethernet to WiFi can provide numerous benefits, including mobility, flexibility, and easy connectivity for multiple devices. WiFi allows you to enjoy the convenience of wireless internet access without the limitations of physical cables. Whether you’re using Windows, macOS, Linux, iOS, or Android, the process of switching to WiFi is relatively straightforward.
In this article, we explored the advantages of using WiFi over Ethernet and provided step-by-step instructions for switching to WiFi on various devices and operating systems. We also discussed best practices for optimizing your WiFi setup, such as choosing a reliable router, securing your network, and regularly updating firmware and drivers.
Remember to ensure a stable WiFi connection by checking signal strength, troubleshooting common WiFi issues, and verifying network settings. By following these guidelines, you can enjoy a seamless transition to WiFi and experience the freedom and convenience it offers.
As technology continues to evolve, wireless connectivity has become an essential part of our daily lives. Whether you’re working, streaming, gaming, or simply browsing the web, a reliable WiFi connection can enhance your overall experience and make your digital life more convenient.
So, go ahead and make the switch from Ethernet to WiFi on your devices. Embrace the wireless world and enjoy the flexibility and freedom of wireless internet connectivity!