Introduction
So, you've decided to expand your home network by adding a network switch to your Google WiFi setup. This can be a smart move, especially if you have multiple wired devices that need to connect to your network. By integrating a network switch, you can extend the reach of your Google WiFi network and provide reliable wired connectivity to various devices such as desktop computers, gaming consoles, and smart home hubs.
In this guide, we'll walk you through the process of connecting a network switch to your Google WiFi system. Whether you're a tech enthusiast looking to optimize your home network or a novice in the realm of networking, we'll provide clear and detailed instructions to help you seamlessly integrate the network switch into your existing setup.
By the end of this guide, you'll have a comprehensive understanding of how to effectively connect a network switch to your Google WiFi, empowering you to make the most of your home network and enhance the connectivity of your wired devices.
Let's delve into the intricacies of Google WiFi and the step-by-step process of integrating a network switch into your home network. Whether you're a seasoned tech aficionado or a newcomer to networking, this guide will equip you with the knowledge and confidence to expand and optimize your home network setup.
Understanding Google WiFi
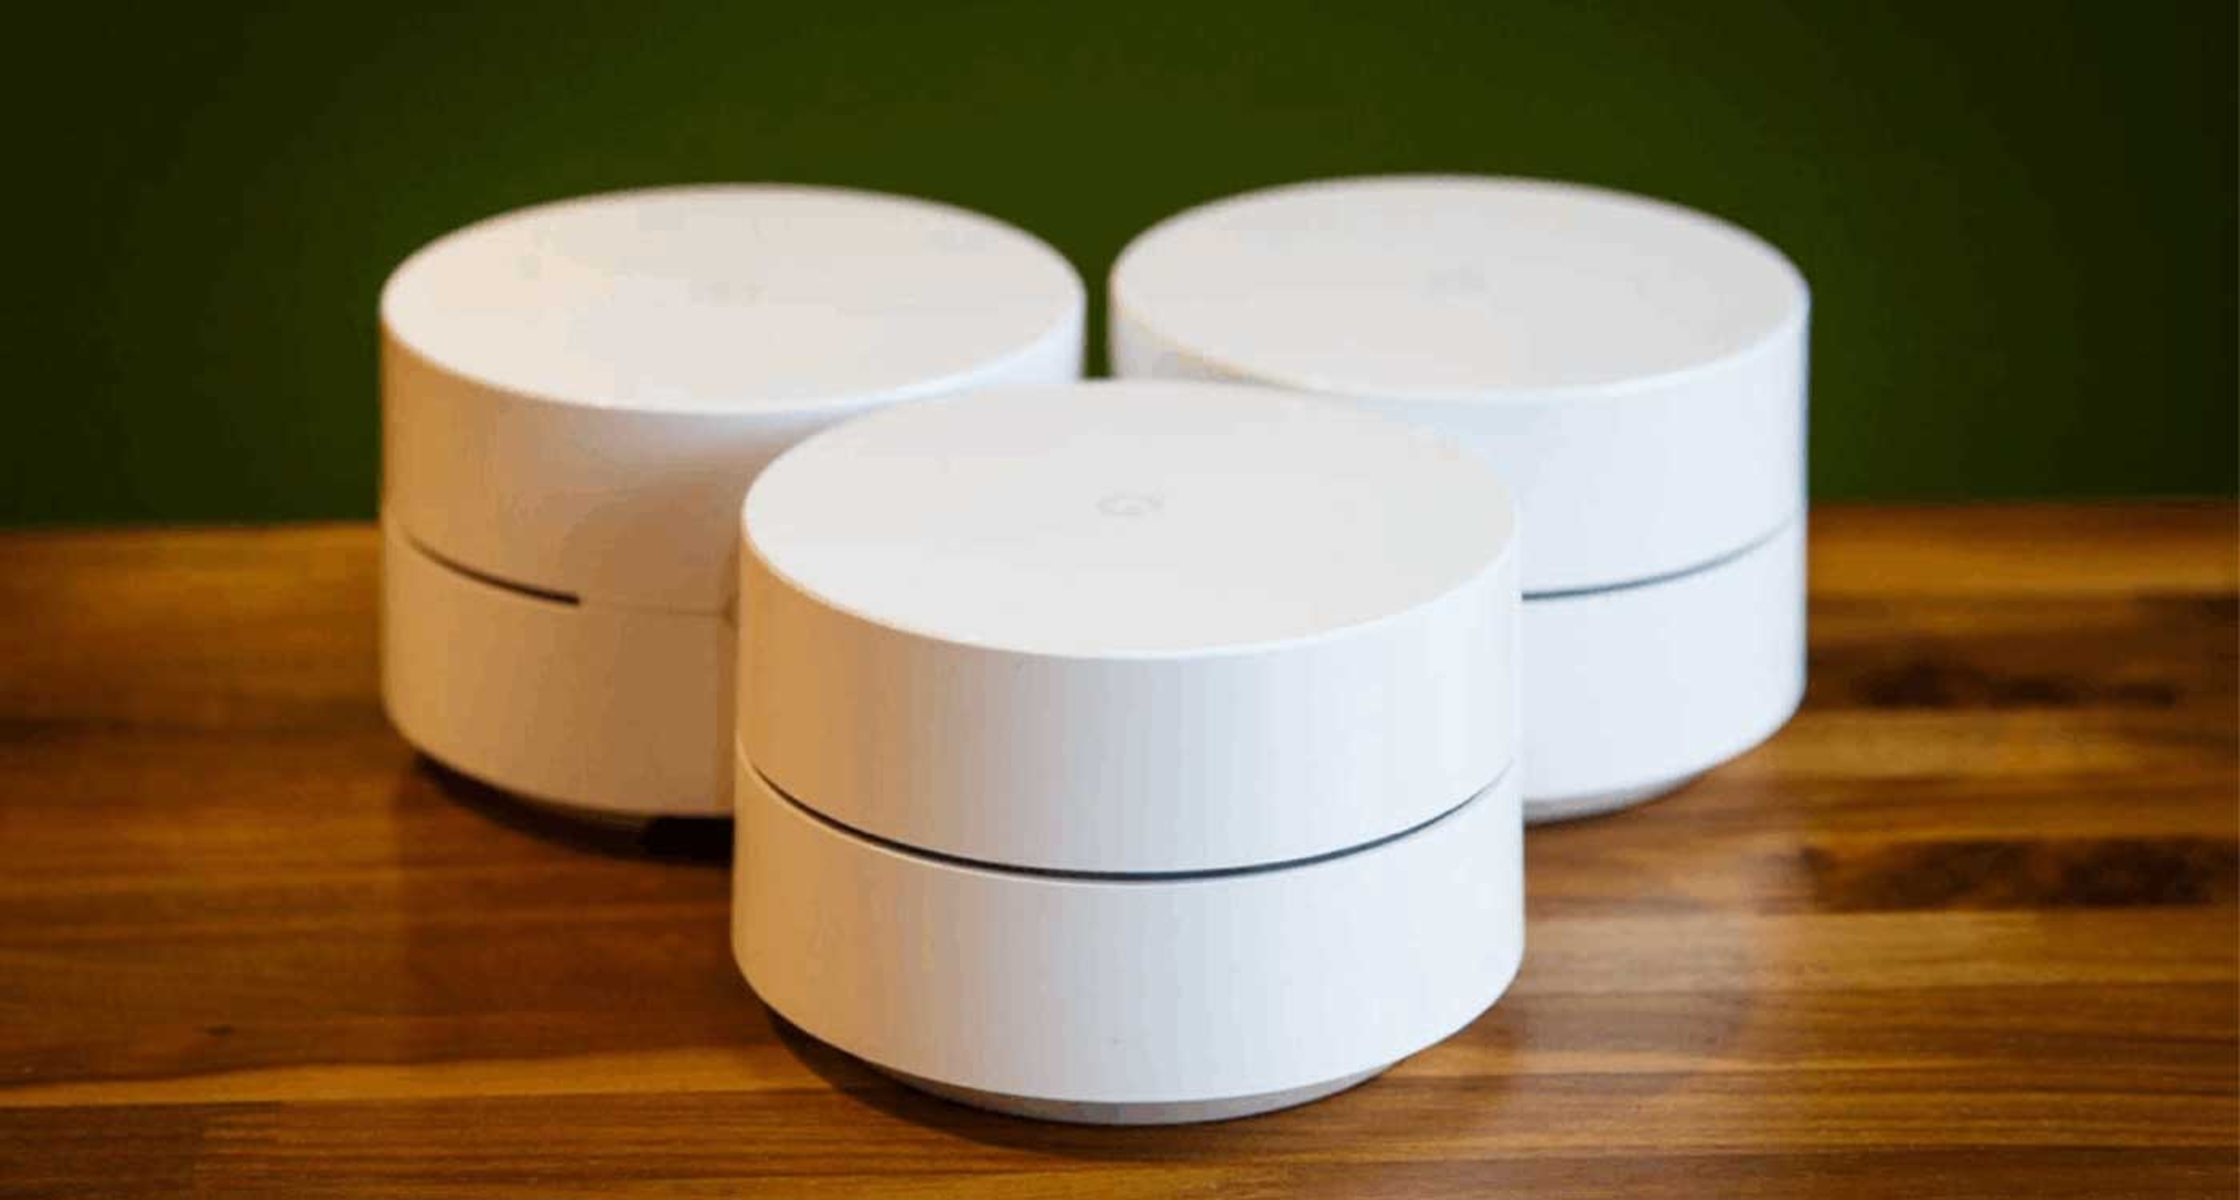
Google WiFi is a user-friendly and versatile home networking solution designed to provide seamless wireless coverage throughout your living space. It operates on the principle of mesh networking, utilizing multiple interconnected access points to create a unified and robust wireless network. This approach ensures that you can enjoy reliable internet connectivity in every nook and cranny of your home, eliminating frustrating dead zones and signal drop-offs.
One of the key advantages of Google WiFi is its intuitive setup process. By leveraging the Google WiFi app, users can easily configure and manage their network, making it accessible even to individuals with minimal technical expertise. The app offers a straightforward interface for tasks such as setting up the network, monitoring connected devices, and implementing parental controls.
Furthermore, Google WiFi supports both wired and wireless devices, allowing for seamless integration of various gadgets and appliances into the network. This flexibility is particularly valuable for users who rely on wired connections for specific devices or activities, such as gaming consoles, desktop computers, or media servers.
Google WiFi also prioritizes network security, incorporating features such as automatic firmware updates, network encryption, and built-in protection against cyber threats. This focus on security helps safeguard your personal data and sensitive information from potential intrusions or unauthorized access.
By comprehending the fundamental attributes and capabilities of Google WiFi, you can lay a solid foundation for expanding and customizing your home network. With this knowledge in hand, you'll be well-prepared to integrate a network switch into your Google WiFi setup, enhancing the connectivity and functionality of your home network.
Setting Up the Network Switch
Before integrating the network switch into your Google WiFi system, it’s essential to ensure that the switch is compatible with your network and meets your specific requirements. When selecting a network switch, consider factors such as the number of ports needed, the desired data transfer speeds, and any advanced features that may enhance your network’s performance.
Once you’ve acquired the appropriate network switch, the setup process typically involves the following steps:
- Unboxing and Inspection: Carefully unpack the network switch and inspect it for any physical damage. Verify that all the included components, such as power adapters and Ethernet cables, are present and in good condition.
- Placement and Power: Choose a suitable location for the network switch, ideally in close proximity to your Google WiFi primary unit or an available Ethernet port. Ensure that the switch is placed on a stable surface and connect it to a power source using the provided power adapter.
- Connecting Devices: Identify the devices that will be connected to the network switch and prepare the necessary Ethernet cables. These devices may include desktop computers, gaming consoles, smart TVs, and other wired peripherals.
- Configuring Advanced Settings: Depending on the specific features of your network switch, you may have the option to customize advanced settings such as VLAN configurations, Quality of Service (QoS) parameters, and port mirroring. Refer to the manufacturer’s documentation for guidance on accessing and modifying these settings.
- Powering Up the Switch: Once the network switch is connected to the power source and the devices are ready for integration, power on the switch and allow it to initialize. The switch’s indicator lights should illuminate, indicating that it is operational and ready to facilitate network connectivity.
By meticulously following these steps, you can effectively set up the network switch and prepare it for seamless integration into your Google WiFi network. This preparatory phase lays the groundwork for the subsequent process of connecting the network switch to your Google WiFi system, ensuring a smooth and efficient transition.
Connecting the Network Switch to Google WiFi
Once the network switch is properly set up, the next crucial step is to establish a physical and logical connection between the switch and your Google WiFi system. This process involves integrating the network switch into the existing network infrastructure, allowing it to extend the wired connectivity provided by Google WiFi. Here’s a detailed walkthrough of the essential steps:
- Locating Available Ethernet Ports: Identify the Ethernet ports on your Google WiFi primary unit or any additional access points. These ports serve as the gateways for integrating the network switch into your network. If all the available ports are in use, consider utilizing a compatible Ethernet switch to expand the number of available ports.
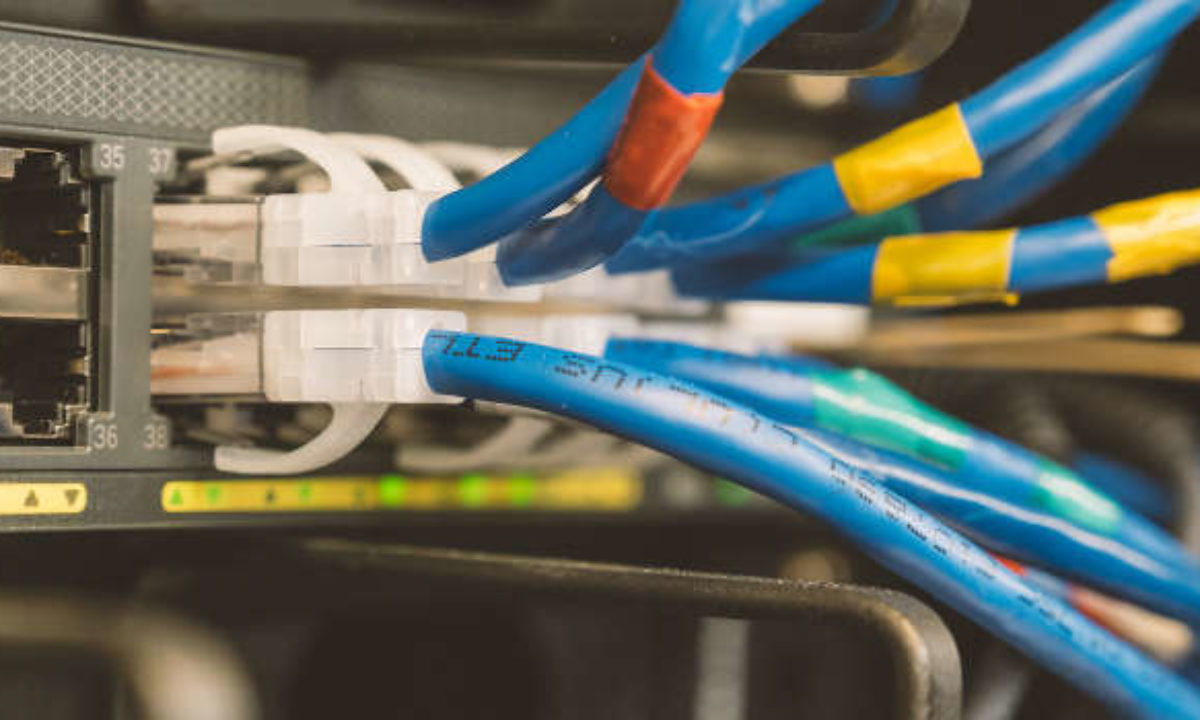
- Connecting Ethernet Cables: Using high-quality Ethernet cables, establish connections between the Ethernet ports on your Google WiFi primary unit or access points and the corresponding ports on the network switch. Ensure that the cables are securely plugged in and that there is no physical damage to the connectors or cables.
- Verifying Connectivity: Once the physical connections are in place, verify that the network switch is successfully linked to your Google WiFi system. Check the indicator lights on the switch to confirm that the connected ports are active and transmitting data. Similarly, utilize the Google WiFi app or web interface to inspect the status of the connected devices and ensure that the switch and its associated devices are recognized by the network.
- Configuring Network Settings: Depending on your specific networking requirements, you may need to configure certain settings within the Google WiFi app to accommodate the newly integrated network switch. This may involve designating the connected devices to specific rooms or areas within your home network, setting up custom DNS configurations, or implementing port forwarding rules for enhanced network functionality.
By meticulously following these steps, you can seamlessly connect the network switch to your Google WiFi system, effectively expanding the reach of your wired network connectivity. This integration empowers you to harness the full potential of your home network, providing reliable and high-speed wired connections to a diverse array of devices.
Testing the Connection
After integrating the network switch into your Google WiFi system, it’s essential to conduct thorough testing to ensure that the newly established wired connections are functioning optimally. This testing phase allows you to validate the reliability and performance of the network switch, confirming that it seamlessly integrates with your Google WiFi setup. Here’s a comprehensive approach to testing the connection:
- Device Connectivity: Begin by connecting various wired devices to the network switch, such as desktop computers, gaming consoles, or media streaming devices. Confirm that each device successfully establishes a network connection and can access the internet without any issues. Test the data transfer speeds on these devices to ensure that the network switch delivers the expected performance.
- Network Stability: Monitor the stability of the wired connections facilitated by the network switch. Assess whether there are any intermittent connectivity issues, packet loss, or latency spikes. Utilize network testing tools or built-in diagnostics within the Google WiFi app to evaluate the overall stability of the wired network infrastructure.
- Bandwidth Allocation: Evaluate the distribution of bandwidth across the connected devices. Verify that the network switch effectively allocates available bandwidth to each device based on its networking demands, ensuring that no device experiences significant performance degradation due to bandwidth limitations.
- Network Throughput: Measure the network throughput and data transfer rates across the wired connections. Use speed testing tools to gauge the actual data transfer speeds achieved by the connected devices, comparing the results against the expected performance based on your internet service provider’s specifications.
- Quality of Service (QoS) Validation: If your network switch supports Quality of Service (QoS) features, validate the effectiveness of these capabilities in prioritizing specific types of network traffic. Test scenarios involving simultaneous data-intensive activities, such as streaming high-definition video and online gaming, to ascertain the impact of QoS configurations on network performance.
By rigorously testing the connection facilitated by the network switch, you can verify its seamless integration with your Google WiFi system and ensure that it enhances the overall functionality and reliability of your home network. This meticulous testing phase empowers you to identify and address any potential networking issues, ultimately optimizing the performance of your wired network infrastructure.
Conclusion
By navigating through the process of integrating a network switch into your Google WiFi system, you’ve embarked on a journey to enhance the connectivity and versatility of your home network. This endeavor equips you with the capability to seamlessly integrate wired devices into your network, ensuring reliable and high-speed connectivity for a diverse range of gadgets and appliances.
Understanding the fundamental principles of Google WiFi and the intricacies of setting up and connecting a network switch has empowered you to optimize your home network infrastructure. With a keen awareness of the compatibility requirements, physical setup, and logical integration process, you’ve laid a solid foundation for expanding and customizing your network to suit your unique needs.
As you venture into testing the newly established connections and validating the performance of the network switch, you’re actively refining and fine-tuning your home network to deliver exceptional reliability and efficiency. This meticulous testing phase serves as a crucial validation of the seamless integration achieved through the connection of the network switch to your Google WiFi system, ensuring that your network operates at its full potential.
By embracing this comprehensive guide, you’ve not only expanded your technical expertise in networking but also unlocked the potential to create a robust and adaptable home network environment. The successful integration of a network switch into your Google WiFi system marks a significant milestone in your journey to optimize and personalize your home network, enabling you to harness the full capabilities of your wired and wireless devices.
Armed with this newfound knowledge and hands-on experience, you’re poised to navigate the evolving landscape of home networking with confidence and proficiency, leveraging advanced networking components to create a tailored and resilient network infrastructure that caters to your diverse connectivity requirements.