Introduction
Welcome to your guide on how to set up an Ethernet cable on Windows 10. Whether you’re a seasoned computer user or a novice, establishing a stable and high-speed wired connection is essential for optimal internet performance. Ethernet cables offer a reliable and secure means of connecting your Windows 10 device to the internet, ensuring fast and uninterrupted connectivity.
In this article, we will take you through the step-by-step process of setting up an Ethernet cable on your Windows 10 operating system. From gathering the necessary equipment to troubleshooting common issues, we have you covered. By following these instructions, you’ll be able to establish a stable and secure wired connection in no time.
Setting up an Ethernet cable is particularly useful in situations where you require a consistent and high-speed connection, such as online gaming, video streaming, or large file transfers. While Wi-Fi connections are convenient, they can sometimes be affected by signal interference or network congestion. With Ethernet, you can enjoy a more reliable and faster internet connection, ensuring smooth and seamless online activities.
Before we delve into the step-by-step instructions, it is important to note that setting up an Ethernet cable requires some basic knowledge of network connections. However, don’t worry if you’re not well-versed in networking – we will explain everything clearly and guide you through the process. So, let’s gather the necessary equipment and get ready to set up your Ethernet cable on Windows 10.
Step 1: Gather the necessary equipment
Before you can set up an Ethernet cable on your Windows 10 device, you need to gather the necessary equipment. Here’s what you’ll need:
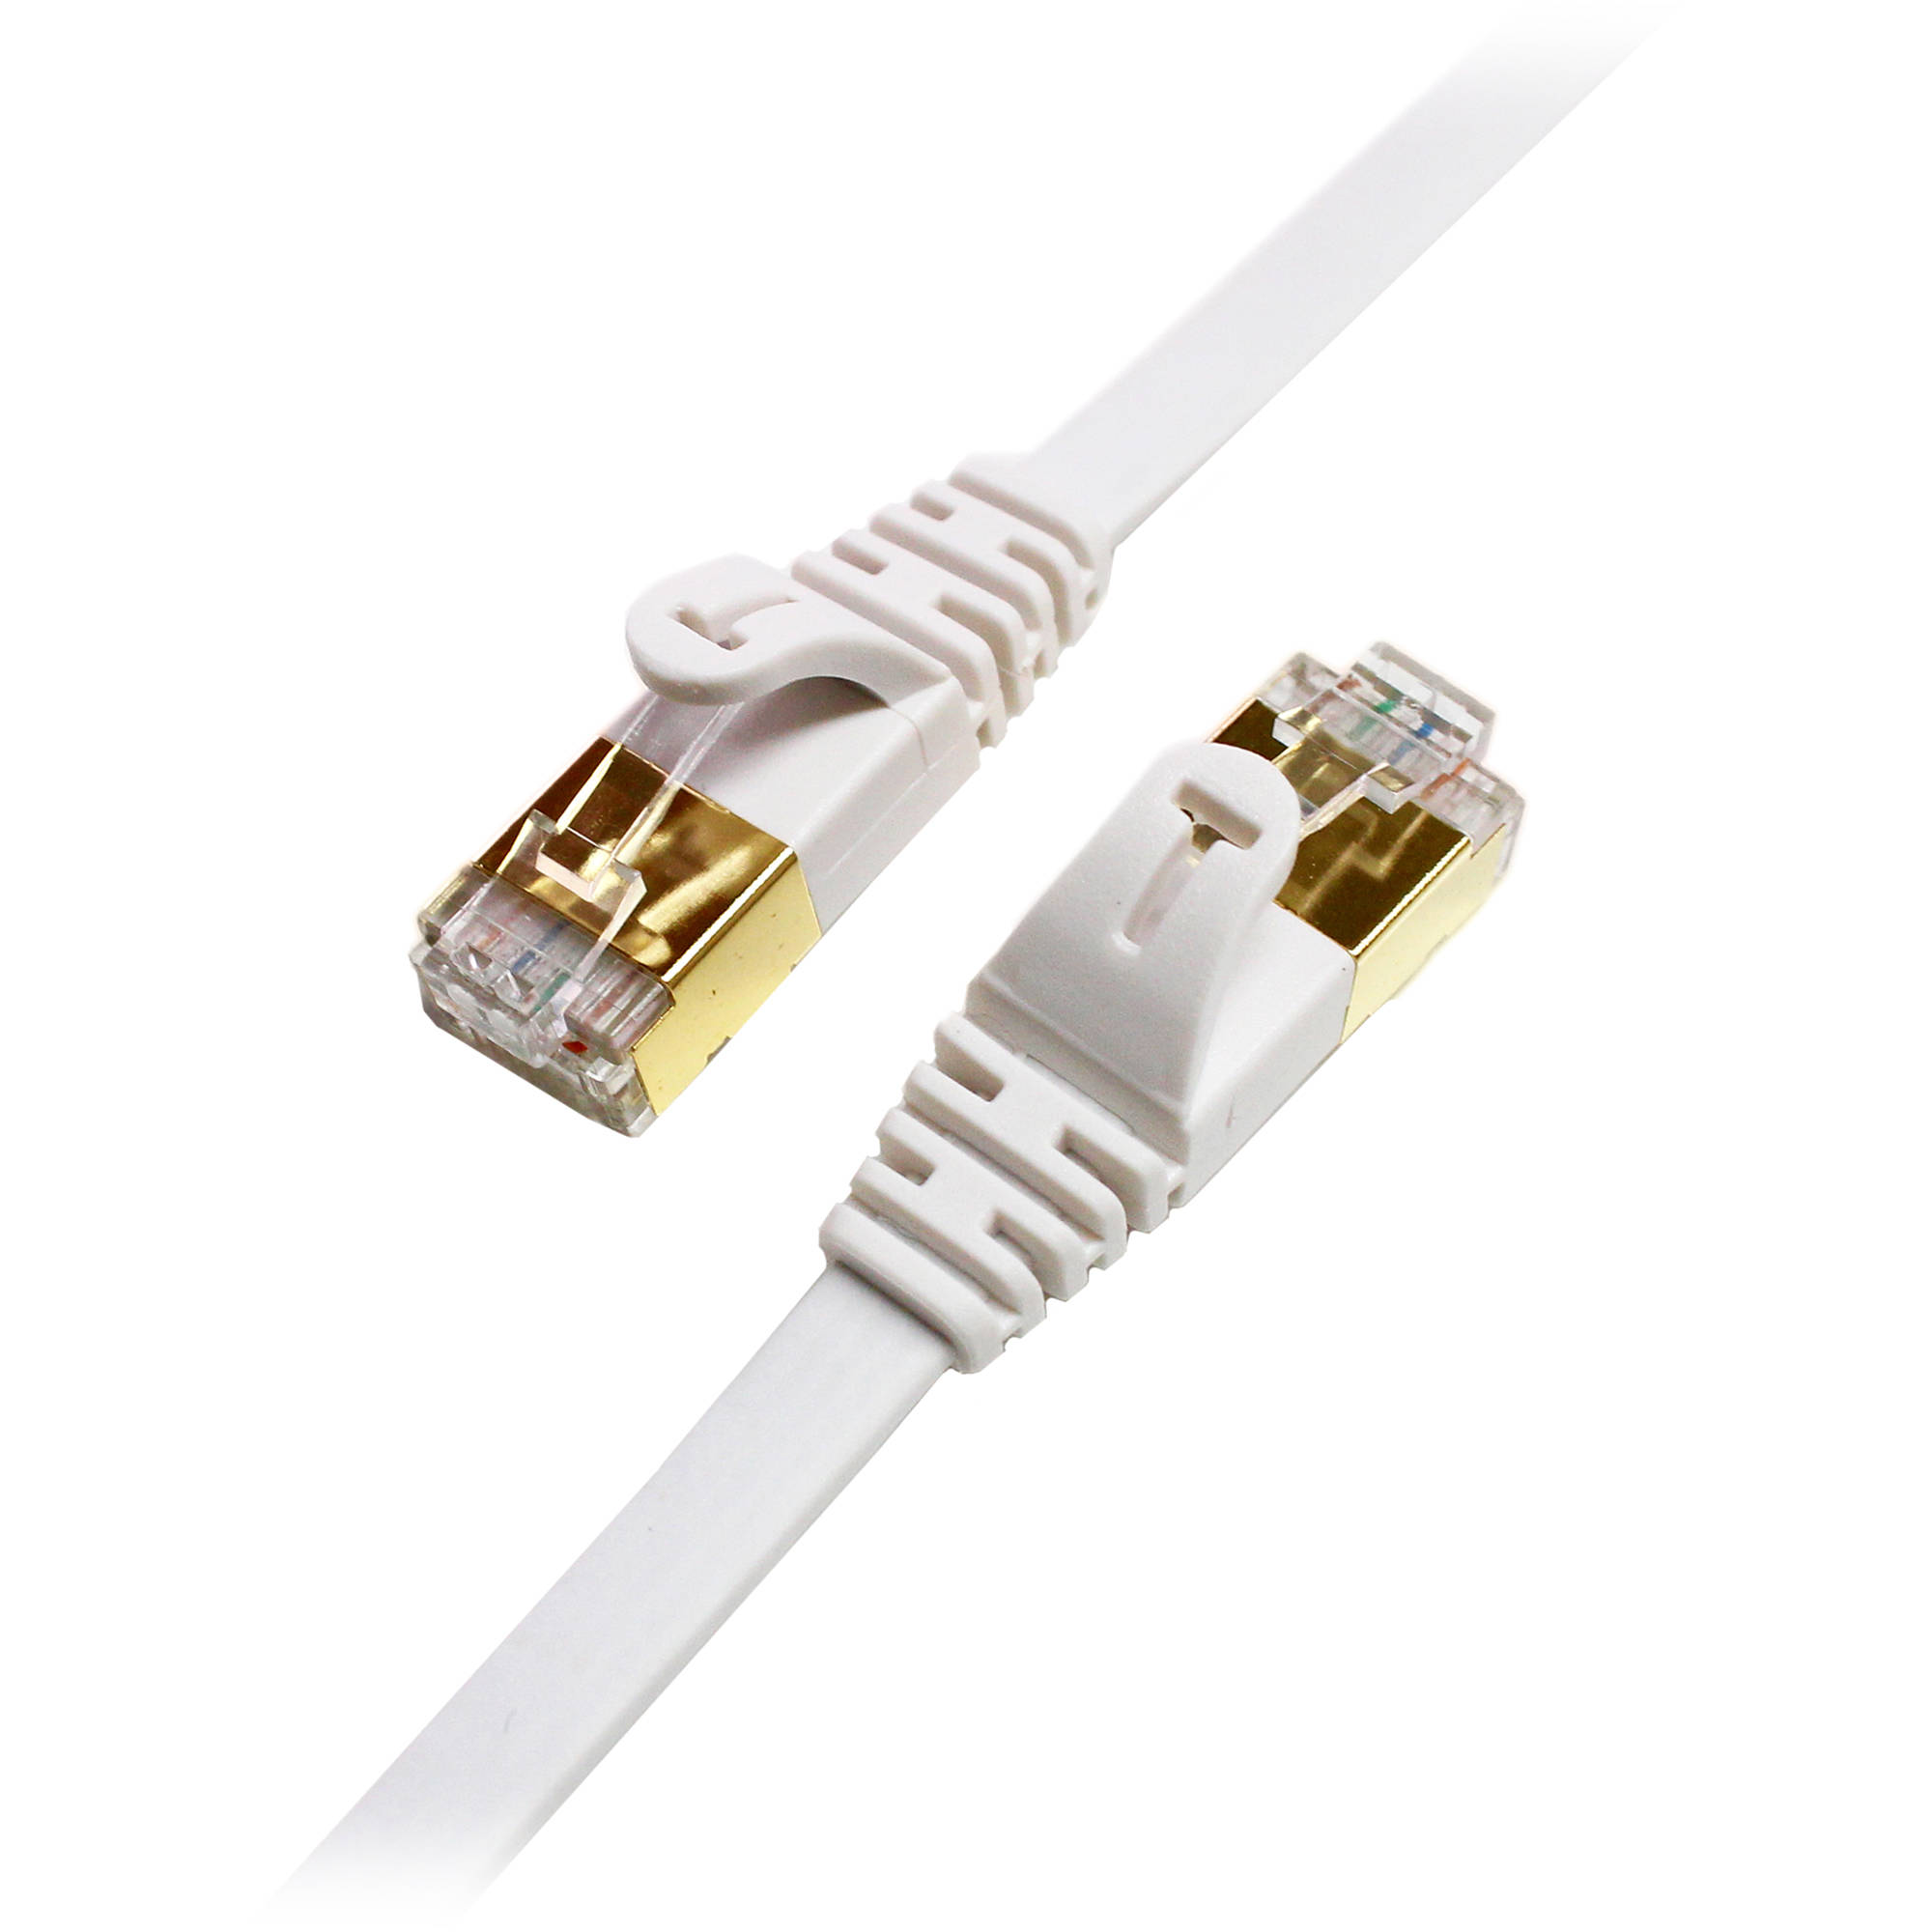
- Ethernet cable: Ensure you have a high-quality Ethernet cable that’s long enough to reach from your device to the router or modem. It’s recommended to use a Cat 6 or Cat 6a cable for optimal performance.
- Router/Modem: Make sure you have a router or modem with an available Ethernet port. This is the device that connects your local network to the internet.
- Windows 10 device: Have your Windows 10 device, whether it’s a desktop computer, laptop, or tablet, ready for the Ethernet cable setup.
Once you have gathered these essential items, you are ready to proceed to the next step, which involves preparing your Windows 10 device for the Ethernet cable connection. It’s always a good idea to check that all the equipment is in working order before starting the setup process.
Step 2: Prepare your Windows 10 device
Before connecting the Ethernet cable to your Windows 10 device, it’s important to ensure that your device is prepared for the setup process. Here are the steps to follow:
- Power off your device: Ensure that your Windows 10 device is powered off before proceeding. This will prevent any potential issues or disruptions during the setup.
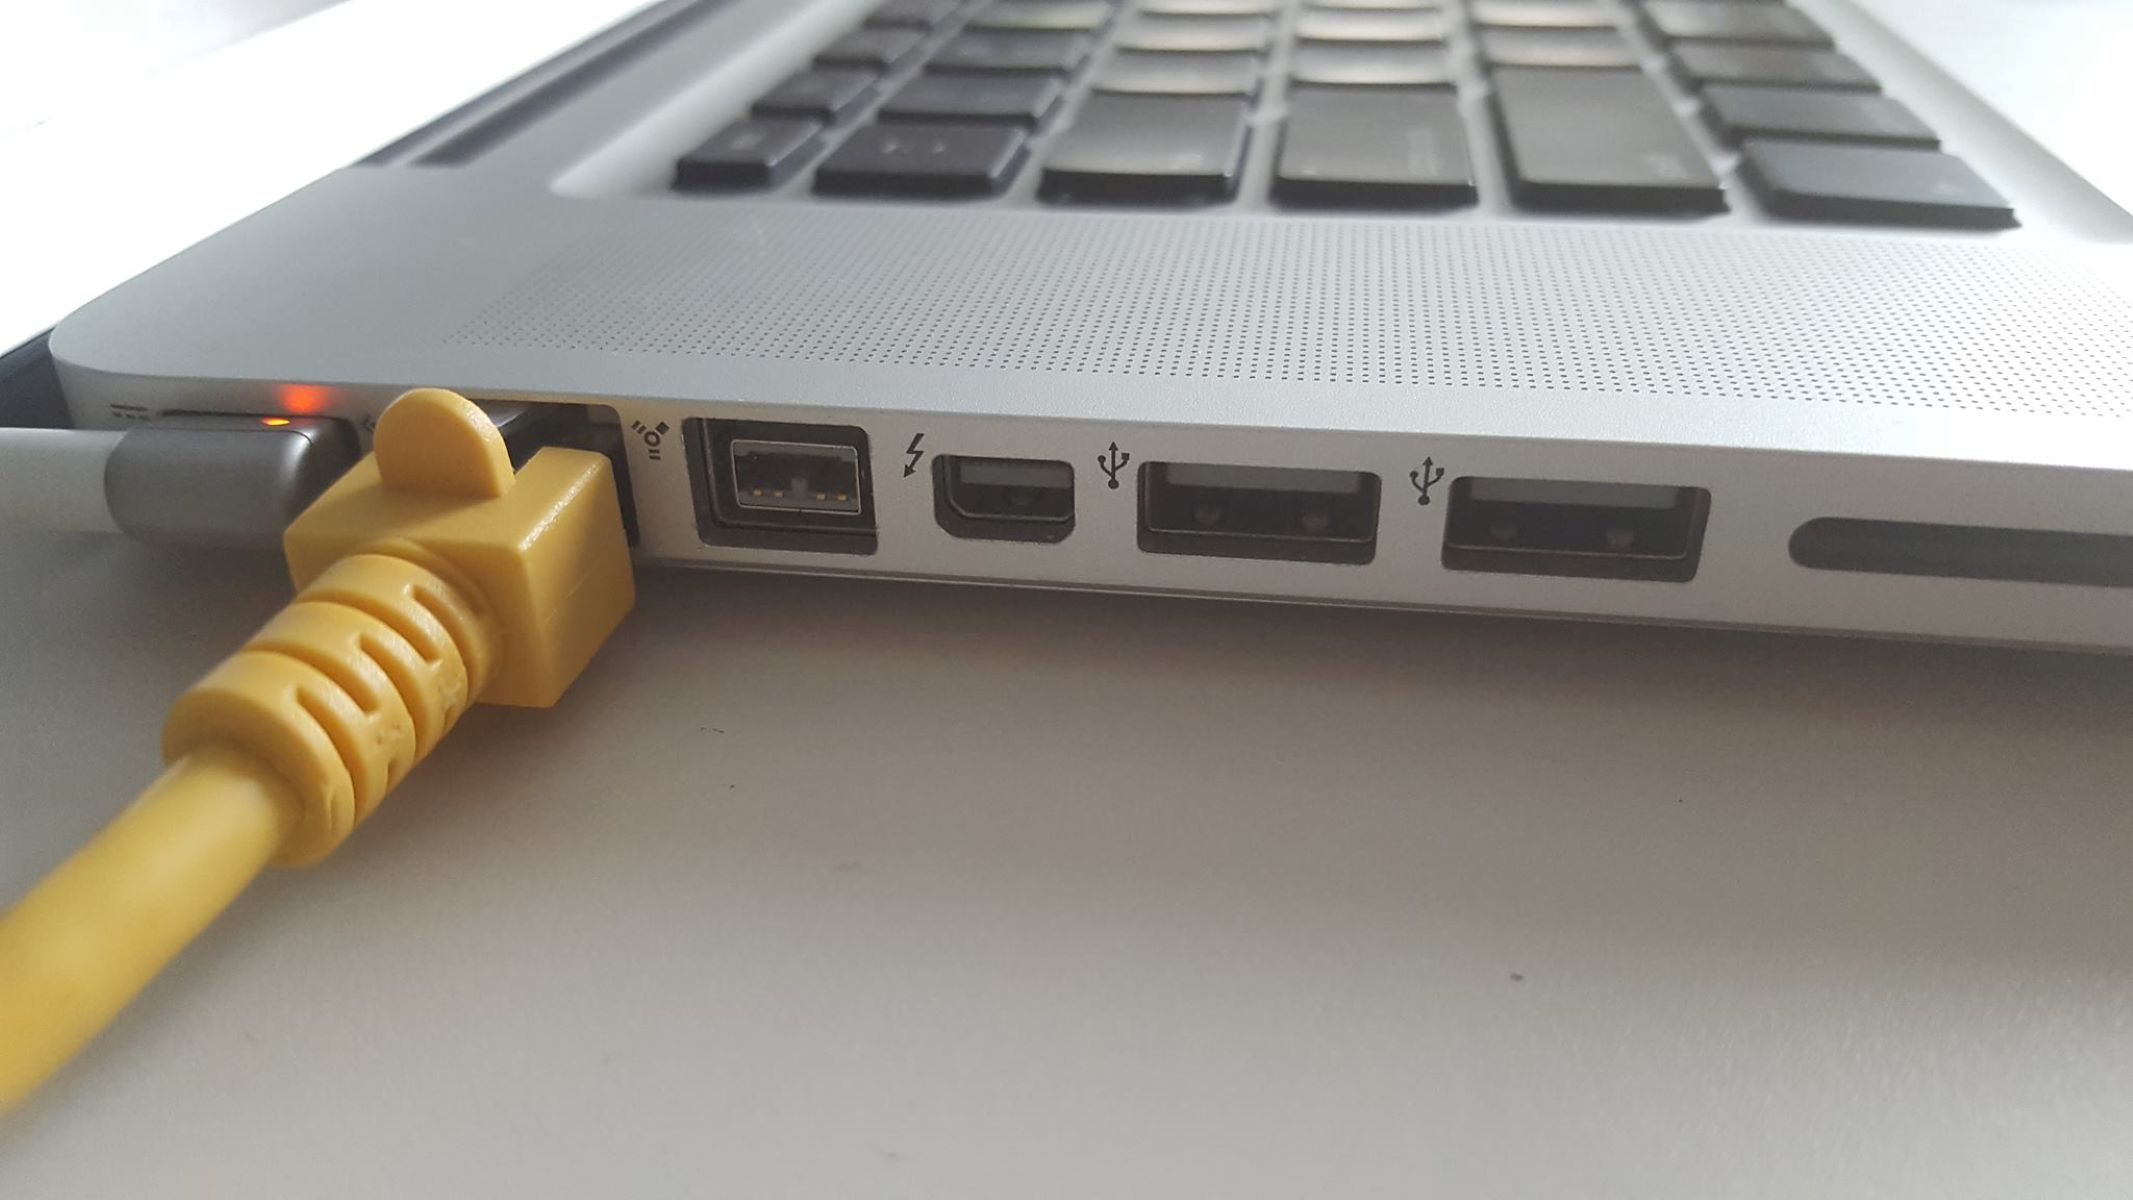
- Locate the Ethernet port: Find the Ethernet port on your device. It is typically located on the back or side of a desktop computer or on the side or bottom of a laptop or tablet. The Ethernet port resembles a slightly larger version of a telephone port.
- Inspect the Ethernet port: Check the Ethernet port for any dust, debris, or obstructions. If you notice anything that could impede a proper connection, use a can of compressed air or a soft cloth to clean it carefully.
- Check for driver updates: Ensure that your Windows 10 device has the latest Ethernet driver installed. To do this, navigate to the Device Manager by searching for it in the Windows search bar. Expand the Network adapters category and look for your Ethernet adapter. Right-click on it and select “Update driver” to check for any available updates.
By following these steps, you will ensure that your Windows 10 device is in optimal condition for establishing an Ethernet connection. Once you have prepared your device, you can move on to the next step, which involves physically connecting the Ethernet cable.
Step 3: Connect the Ethernet cable to your device
Now that your Windows 10 device is prepared, it’s time to connect the Ethernet cable. Follow these steps to establish a wired connection:
- Locate the Ethernet port: Find the Ethernet port on your Windows 10 device. It should be clearly labeled and resemble a slightly larger version of a telephone port.
- Insert the Ethernet cable: Take one end of the Ethernet cable and carefully insert it into the Ethernet port on your device. Ensure that it is firmly connected and securely in place.
- Connect the other end to the router/modem: Take the other end of the Ethernet cable and insert it into an available Ethernet port on your router or modem. Again, make sure that the connection is secure.
- Power on your Windows 10 device: After successfully connecting the Ethernet cable, power on your Windows 10 device. It will now recognize the wired connection.
Once you have completed these steps, your Windows 10 device should be successfully connected to the internet via the Ethernet cable. You can now proceed to the next step, which involves configuring the network settings to ensure a smooth and stable connection.
Step 4: Configure network settings
After connecting the Ethernet cable to your Windows 10 device, it’s important to configure the network settings to ensure proper connectivity. Follow these steps to configure the network settings:
- Open the Network settings: Click on the Start button in the bottom left corner of your screen and select the gear icon to open the Settings menu. From there, click on “Network & Internet” to access the network settings.
- Select Ethernet: In the left sidebar of the Network & Internet settings, click on “Ethernet” to view the Ethernet connection details.
- Check connection status: In the Ethernet settings, verify that the connection status is listed as “Connected.” This indicates that your Windows 10 device is successfully connected to the internet via the Ethernet cable.
- Configure IP settings: To configure the IP settings, click on the “Change adapter options” link located under the “Advanced network settings” section. This will open a new window displaying the network connections on your device.
- Modify properties: Right-click on the Ethernet connection and select “Properties” from the context menu. In the Ethernet Properties window, select “Internet Protocol Version 4 (TCP/IPv4)” and click on the “Properties” button.
- Set IP settings: In the Internet Protocol Version 4 (TCP/IPv4) Properties window, select “Use the following IP address.” Enter the IP address, Subnet mask, Default gateway, and DNS server addresses provided by your network administrator or internet service provider.
- Save settings: Once you have entered the necessary IP settings, click on the “OK” button to save the changes.
By following these steps, you will configure the network settings on your Windows 10 device to ensure a stable and functional Ethernet connection. If you’re unsure about the specific IP settings to enter, reach out to your network administrator or internet service provider for assistance.
Step 5: Troubleshooting common issues
While setting up an Ethernet cable on Windows 10 is usually a straightforward process, you may encounter some common issues along the way. Here are a few troubleshooting steps to help you resolve them:
- No internet connection: If you have followed all the previous steps but still don’t have an internet connection, try restarting your Windows 10 device and router/modem. This can often resolve connectivity issues.
- Incorrect IP settings: If you are experiencing connectivity issues, double-check your IP settings to ensure they are correct. Ensure that you have entered the correct IP address, subnet mask, default gateway, and DNS server addresses.
- Driver issues: If you are unable to establish an Ethernet connection, the issue may be with your Ethernet adapter driver. Visit the manufacturer’s website for your Windows 10 device and download the latest driver for your Ethernet adapter.
- Cable issues: If you are experiencing intermittent connectivity or slow speeds, the Ethernet cable may be faulty. Try using a different Ethernet cable to rule out any cable-related issues.
- Hardware conflicts: In rare cases, certain hardware configurations can lead to conflicts that affect the Ethernet connection. Updating your device’s BIOS and drivers, or consulting with a professional, may help resolve these issues.
- Reset network settings: If all else fails, you can try resetting your network settings. In the Windows 10 settings, navigate to “Network & Internet > Status > Network reset” and follow the instructions to reset your network settings to their default configuration.
These troubleshooting steps should help you resolve common Ethernet connection issues on Windows 10. However, if you continue to experience problems, it’s advisable to reach out to technical support or consult with a professional to diagnose and resolve any underlying network or hardware problems.
Conclusion
Congratulations! You have successfully set up an Ethernet cable on your Windows 10 device. By following the steps outlined in this guide, you now have a stable and reliable wired connection that can enhance your internet experience.
An Ethernet connection offers several advantages over a Wi-Fi connection, including faster speeds, reduced latency, and increased security. Whether you’re gaming, streaming videos, or downloading large files, the Ethernet cable ensures a seamless and uninterrupted online experience.
Remember to gather the necessary equipment, prepare your Windows 10 device, connect the Ethernet cable, configure the network settings, and troubleshoot any common issues that may arise. By taking these steps, you can enjoy a reliable and high-speed internet connection on your Windows 10 device.
If you encounter any further issues or have any questions, don’t hesitate to reach out to technical support or consult online resources for additional assistance. Setting up an Ethernet cable on Windows 10 may require some troubleshooting and technical knowledge, but with persistence and the right resources, you’ll be able to enjoy a stable and efficient wired connection.
Thank you for reading this guide, and we hope it has been helpful in setting up your Ethernet cable on Windows 10. Happy browsing!