Introduction
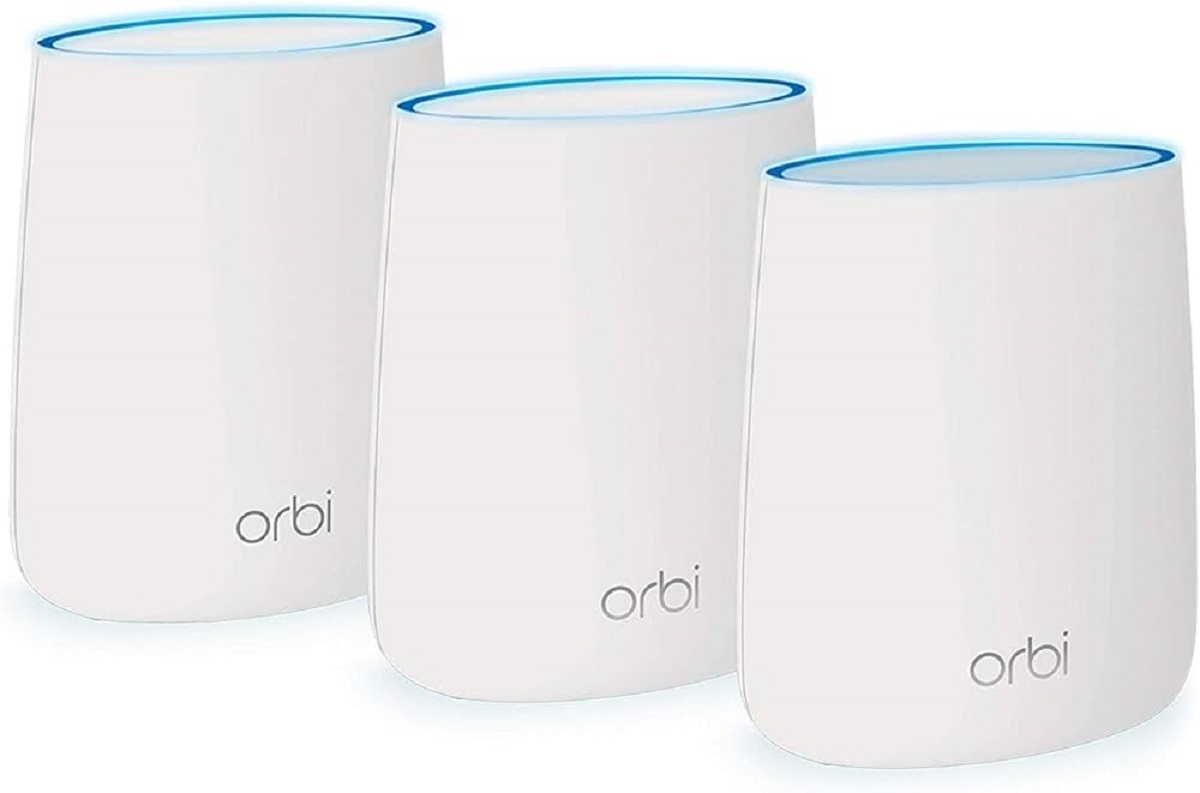
Welcome to your comprehensive guide on how to connect two Orbi routers. Whether you’re looking to extend the coverage of your Wi-Fi network or create a mesh network for seamless connectivity throughout your home, connecting two Orbi routers can be a game-changer.
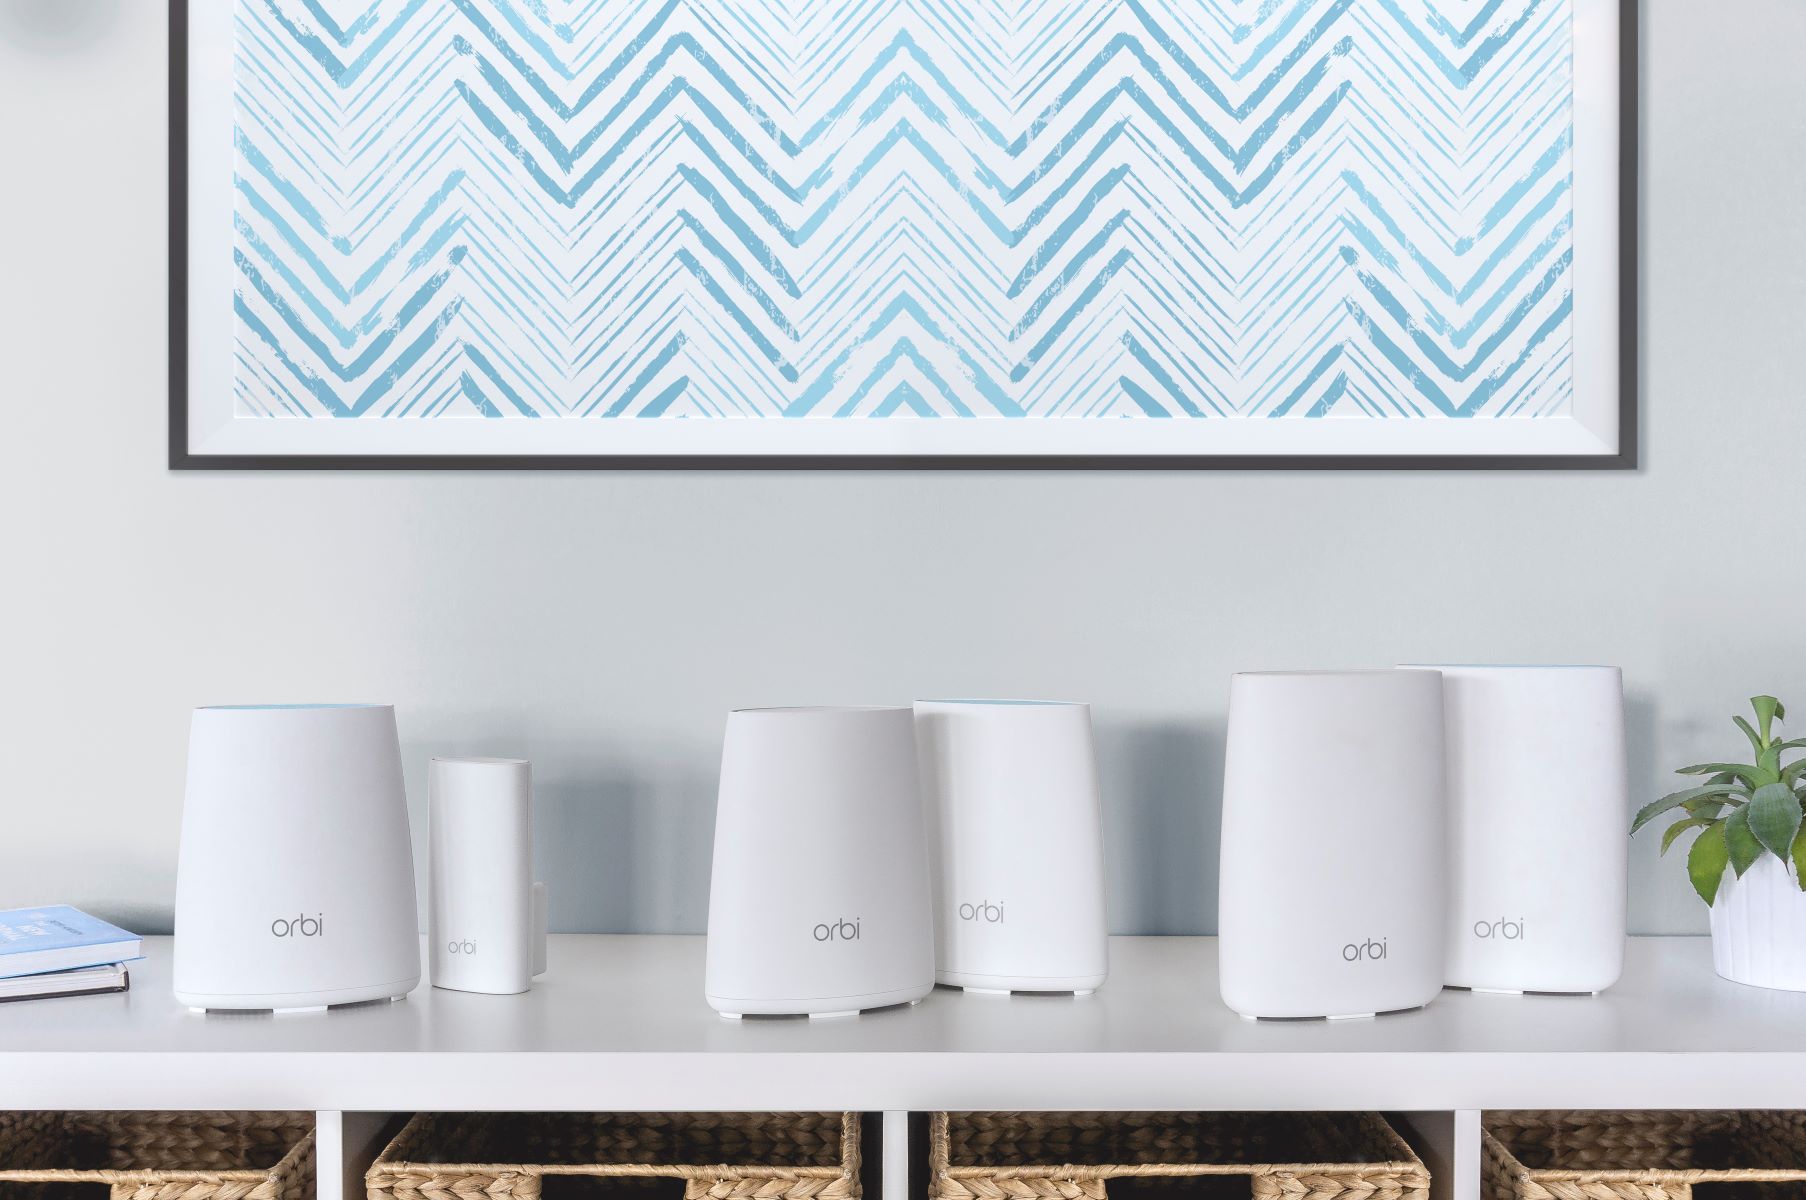
The Orbi router system is known for its exceptional performance and reliability. By combining two Orbi routers, you can broaden the coverage of your network and eliminate dead zones, ensuring a stable and fast internet connection in every corner of your house.
In this step-by-step guide, we will walk you through the process of setting up and connecting two Orbi routers. You don’t need to be a tech wizard to follow along – we’ll explain everything in plain language and provide easy-to-follow instructions.
Before we dive into the steps, it’s important to note that there are two primary methods of connecting two Orbi routers: using the existing wired network or utilizing wireless backhaul. The method you choose will depend on your preference and the availability of wired connections in your home.
Now, let’s get started and learn how to connect two Orbi routers to create a powerful and efficient wireless network that covers your entire home.
Step 1: Setting up the first Orbi router
The first step in connecting two Orbi routers is to set up the primary router. Follow these instructions to ensure a smooth installation process:
- Connect the primary Orbi router to your modem using an Ethernet cable. Plug one end of the cable into the modem’s Ethernet port and the other end into the yellow Internet port on the Orbi router. Make sure both devices are powered on.
- Next, connect your computer or mobile device to the Orbi router’s Wi-Fi network. Look for the network name (SSID) and password on the label on the router or in the instruction manual. Once connected, open a web browser and enter “orbilogin.com” or “192.168.1.1” into the address bar. Press Enter to access the Orbi router’s web interface.
- You will be prompted to enter the default username and password. Consult the documentation that came with your router for the login credentials. After entering the information, click the “Login” button.
- Once logged in, you will be guided through the setup wizard. Follow the on-screen instructions to configure your Orbi router. You may need to enter details such as your internet service provider (ISP) information, desired Wi-Fi network name, and password.
- After completing the setup wizard, the Orbi router will apply the changes and reboot. This process may take a few minutes. Once the router has rebooted, you can proceed to the next step.
By following these steps, you will have successfully set up your primary Orbi router. Now it’s time to move on to the next step of connecting the second Orbi router to expand your network coverage.
Step 2: Connecting the second Orbi router
Now that you’ve set up your primary Orbi router, it’s time to connect the second Orbi router to extend your network coverage. Follow these steps:
- Place the second Orbi router in a location where it can reach the primary router. It’s best to choose a central location in your home to ensure optimal coverage.
- Connect the second Orbi router to a power source and wait for it to power up.
- Using an Ethernet cable, connect one end to the LAN port of the primary Orbi router and the other end to the WAN port of the second Orbi router.
- Once connected, the second Orbi router will automatically sync with the primary router. This process may take a few minutes.
- During the syncing process, the LED lights on both routers will blink and then turn solid white once the connection is established.
- If the connection is successful, you’ll now have an extended Wi-Fi network with both routers working together to provide seamless coverage throughout your home. The second Orbi router will act as a satellite to boost the signal from the primary router.
- You can use additional Orbi satellites to further expand your network coverage by repeating this step.
By following these steps, you have successfully connected the second Orbi router to your network. Now let’s move on to the next step of configuring the second Orbi router as an access point.
Step 3: Configuring the second Orbi router as an access point
After connecting the second Orbi router to your network, the next step is to configure it as an access point. This will allow seamless roaming between the two routers and ensure that your devices connect to the strongest signal. Follow these instructions:
- Open a web browser on a computer or mobile device connected to the network.
- Enter “orbilogin.com” or “192.168.1.1” in the address bar, and press Enter. This will take you to the Orbi router’s web interface.
- When prompted, enter your username and password to log in. If you haven’t changed the default credentials, consult the documentation provided with your router.
- In the Orbi web interface, navigate to the Advanced tab or settings menu.
- Look for an option like “Advanced Setup” or “Wireless Settings.”
- Select the option to configure the second Orbi router as an access point.
- Follow the on-screen instructions to complete the access point configuration. You may need to choose a network name (SSID) and password for the access point. It’s recommended to use the same network name and password as your primary router for seamless roaming.
- Once you’ve completed the configuration, click the Apply or Save button to save the changes. The second Orbi router will restart and apply the new settings, which may take a few minutes.
After the second Orbi router restarts, it will function as an access point, extending the coverage of your network while maintaining a single Wi-Fi network name and password. This allows your devices to seamlessly connect to the strongest signal as you move around your home.
Congratulations! You’ve successfully configured the second Orbi router as an access point. Now it’s time to test the connection between the two routers and ensure everything is working as expected.
Step 4: Testing the connection between the two Orbi routers
Now that you’ve set up and configured both Orbi routers, it’s important to test the connection to ensure they are working together seamlessly. Follow these steps to perform a quick connectivity test:
- Ensure that both Orbi routers are powered on and the LED lights are solid white, indicating a successful connection.
- On a Wi-Fi-enabled device, such as a laptop or smartphone, open the list of available Wi-Fi networks.
- You should see a single network name (SSID) for your entire Orbi network. Connect to this network using the previously set network password.
- Once connected, move around your home and test the Wi-Fi signal strength in different areas. Verify that there are no dead zones and the signal remains strong as you move from one router’s coverage area to another.
- You can also perform a speed test using online tools or mobile apps to check the internet speed at different locations within your home. Ensure that the speed remains consistent and meets your expectations.
- If you encounter any issues, such as weak signal or dropped connections, try adjusting the placement of the routers to optimize coverage or consult the Orbi support documentation for troubleshooting steps.
By testing the connection between the two Orbi routers, you can verify that your network setup is working as intended and eliminating any potential dead zones in your home. If everything checks out and you are satisfied with the Wi-Fi coverage and performance, congratulations! You have successfully connected and configured two Orbi routers to create an efficient and reliable wireless network.
Now you can enjoy seamless connectivity and high-speed internet access throughout your entire home.
Conclusion
Congratulations! You have successfully learned how to connect two Orbi routers to create a robust and extended Wi-Fi network in your home. By following the step-by-step instructions outlined in this guide, you can now enjoy seamless connectivity, eliminate dead zones, and experience high-speed internet access in every corner of your house.
The Orbi router system is known for its exceptional performance and reliability, and by combining two routers, you have expanded the coverage of your network and enhanced your overall internet experience. Whether you needed to extend the range of your Wi-Fi network or create a mesh network for seamless roaming, connecting two Orbi routers is a game-changer.
Remember to follow each step carefully, from setting up the primary Orbi router to configuring the second router as an access point. Take the time to test the connection and ensure that the Wi-Fi signal is strong and reliable throughout your home.
If you encounter any issues or have questions along the way, consult the documentation that came with your Orbi routers or reach out to the Orbi support team for assistance. They are readily available to help you troubleshoot and optimize your network setup.
Now, sit back and enjoy the benefits of your expanded Orbi network. Say farewell to Wi-Fi dead zones and experience the freedom of seamless connectivity no matter where you are in your home. Stream movies, play online games, and connect multiple devices without interruption. Your connected home just got a whole lot better!