Introduction
Welcome to this step-by-step guide on how to set up your Tenda wireless router. Whether you’re a tech-savvy individual or completely new to networking, this tutorial will provide you with all the information you need to get your Tenda router up and running in no time.
A wireless router is an essential device that enables you to connect your devices to the internet without the need for messy cables. Tenda routers are known for their reliability, speed, and user-friendly interface, making them a popular choice among home and small office users.
In this guide, we will walk you through the process of setting up your Tenda wireless router from start to finish. We will cover everything from gathering the necessary equipment to configuring advanced settings to ensure a secure and optimized wireless network.
Before we dive into the setup process, it’s important to note that every Tenda router model may have slight variations in terms of settings and interface layout. However, the overall steps and concepts discussed in this guide should provide a solid foundation for setting up your Tenda wireless router, regardless of the specific model you have.
So, if you’re ready to get started, let’s begin with the first step: gathering the necessary equipment.
Step 1: Gathering the necessary equipment
Before you begin setting up your Tenda wireless router, it’s important to make sure you have all the necessary equipment on hand. This will ensure a smooth and hassle-free setup process. Here’s what you’ll need:
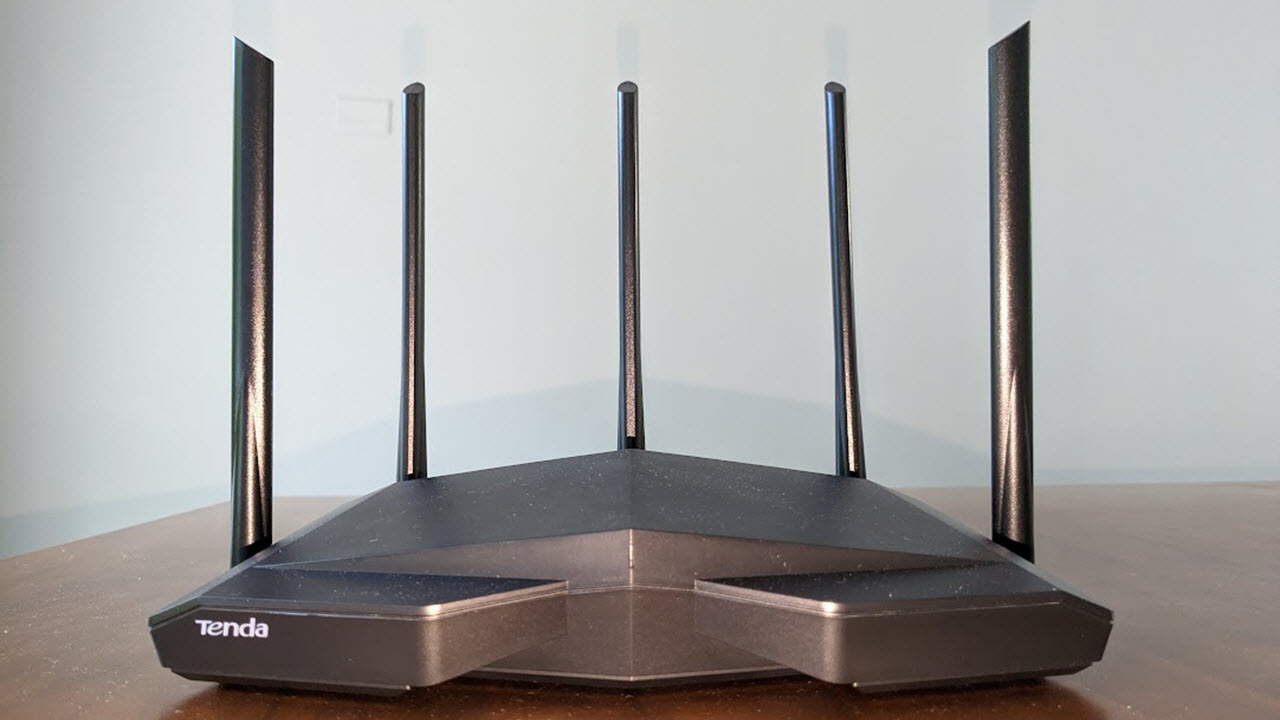
- Tenda wireless router: Of course, the most important piece of equipment is the Tenda wireless router itself. Make sure you have the router model that is compatible with your internet service provider and meets your specific networking needs.
- Modem: To connect your Tenda router to the internet, you’ll need a modem. The modem is typically provided by your internet service provider, and it acts as the bridge between your internet connection and the router.
- Ethernet cable: You’ll need an Ethernet cable to establish the initial connection between your modem and Tenda router. This cable will be used to transmit data between the two devices, so make sure you have a reliable one on hand.
- Power adapter: Every Tenda router comes with a power adapter that allows you to supply electricity to the device. Ensure that you have the appropriate power adapter for your router model.
- Computer or smartphone: To access the Tenda router’s settings and perform the setup process, you’ll need a computer or smartphone with a web browser. This device will be used to connect to the router’s web-based interface.
Once you have gathered all these essential equipment items, you are ready to move on to the next step: connecting the router to your modem.
Step 2: Connecting the router to your modem
Now that you’ve gathered all the necessary equipment, it’s time to connect your Tenda wireless router to the modem. This step is crucial as it establishes the link between your internet connection and the router. Follow these steps to ensure a successful connection:
- Power off your modem: Before making any connections, turn off your modem and unplug its power cable from the wall outlet. This will ensure a safe and stable connection process.
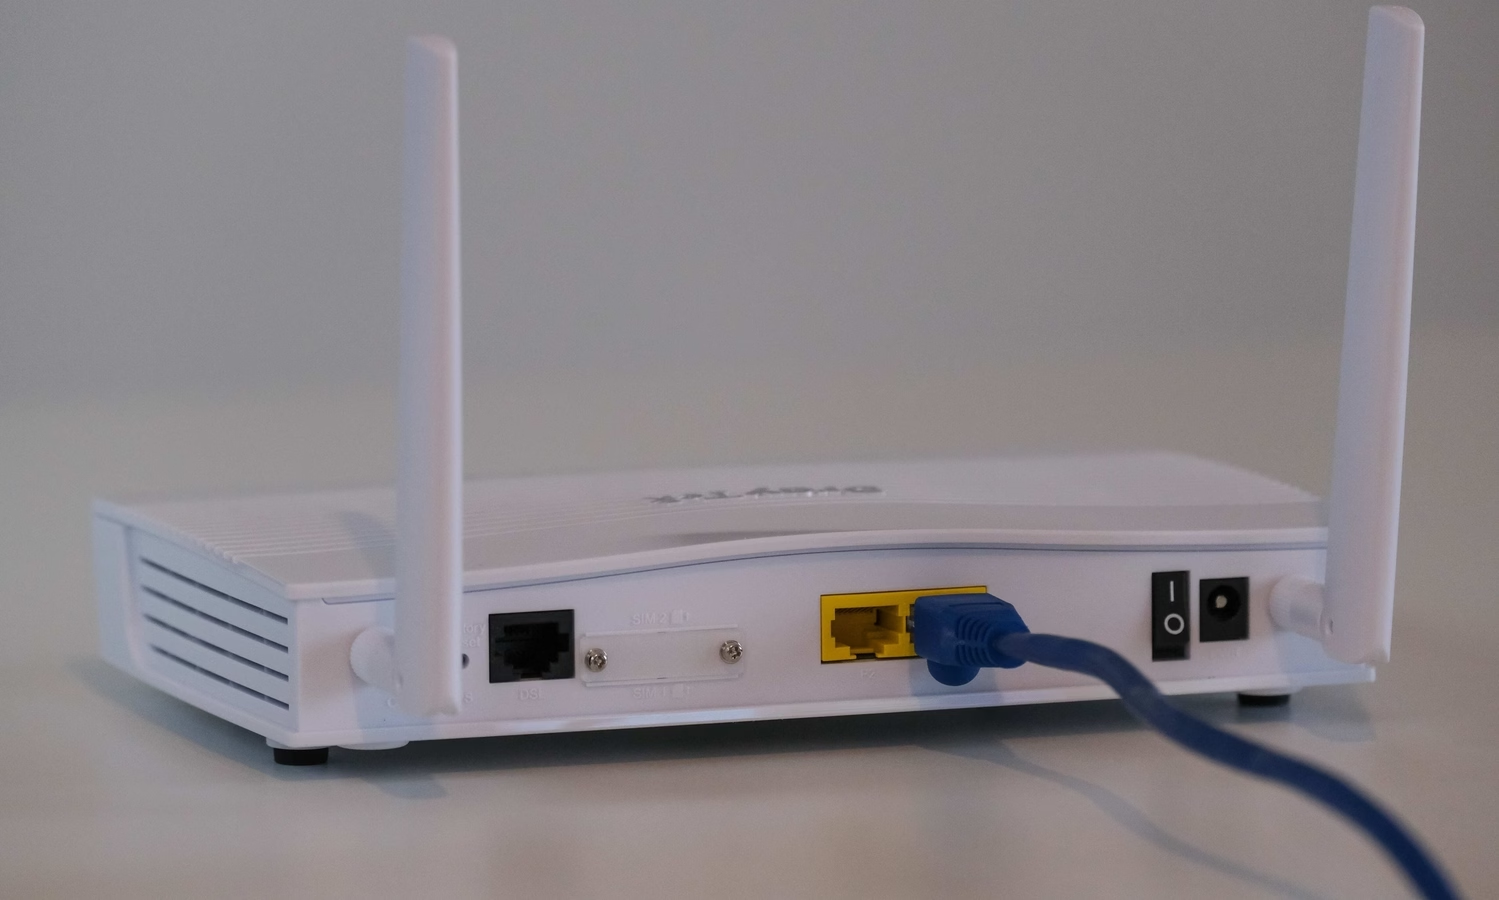
- Locate the WAN port: On your Tenda router, find the WAN (Wide Area Network) port. It is usually labeled and can be easily distinguished from the other Ethernet ports. The WAN port is where you will connect your modem.
- Connect the modem to the WAN port: Take the Ethernet cable you gathered earlier and plug one end into the WAN port of your Tenda router. Then, connect the other end to the Ethernet port on your modem. Make sure the connections are secure.
- Power on your modem: Plug the power cable back into your modem and turn it on. Wait for a minute or two until the modem fully initializes and establishes an internet connection. This process may vary depending on your internet service provider.
- Power on your Tenda router: Connect the power adapter to your Tenda router and plug it into a power outlet. Turn on the router and wait for it to boot up. This usually takes a few seconds.
After following these steps, your Tenda router should now be connected to your modem. The WAN port on the router should be receiving internet signals from the modem. In the next step, we will access the router’s settings page to begin the configuration process.
Step 3: Accessing the router’s settings page
Now that your Tenda router is connected to the modem, it’s time to access the router’s settings page. This is where you will configure various settings to customize your wireless network. Follow these steps to access the settings page:
- Ensure your computer or smartphone is connected to the Tenda router: Make sure your computer or smartphone is connected to the Tenda router either via Wi-Fi or with an Ethernet cable. This will allow you to communicate with the router and access its settings.
- Open a web browser: Launch your preferred web browser, such as Google Chrome, Mozilla Firefox, or Safari.
- Type the router’s IP address into the address bar: In the address bar of your web browser, enter the IP address of your Tenda router. By default, Tenda routers typically use the IP address 192.168.0.1 or 192.168.1.1. Press Enter to proceed.
- Enter your router’s login credentials: You will be redirected to the Tenda router’s login page. Enter the default username and password provided with your router documentation. If you have changed these credentials before, use the updated username and password.
- Access the router’s settings page: Once you have successfully logged in, you will gain access to the router’s settings page. This is where you can configure various aspects of your wireless network, such as SSID (network name), security settings, and more.
It’s important to note that the interface and layout of the Tenda router’s settings page may differ depending on the model and firmware version. However, you should be able to find the necessary settings with the help of the user manual or online resources provided by Tenda.
In the next step, we will cover how to set up the wireless network, including the network name (SSID) and password, to secure your connection and make it easily identifiable.
Step 4: Setting up the wireless network
Now that you have accessed the Tenda router’s settings page, it’s time to set up your wireless network. This step involves configuring the network name (SSID) and password for your Wi-Fi connection. Follow these steps to ensure a secure and easily identifiable wireless network:
- Navigate to the wireless settings: On the Tenda router’s settings page, look for the “Wireless” or “Wi-Fi” tab. Click on it to access the wireless settings.
- Change the network name (SSID): Locate the field where you can edit the network name (SSID). Enter a unique and easily recognizable name for your wireless network. This name will be visible to anyone who is looking for available Wi-Fi networks.
- Set the network mode and frequency: Choose the appropriate network mode and frequency settings based on your requirements. For optimal compatibility, it is recommended to use the “Mixed” mode and select both 2.4GHz and 5GHz frequencies if your router supports dual-band.
- Enable network encryption: To ensure the security of your wireless network, it is essential to enable network encryption. Select the encryption method of your choice, such as WPA2-PSK (recommended) or WPA-PSK, and enter a strong password in the designated field.
- Save the settings: Once you have made the necessary changes to the wireless settings, don’t forget to save the settings. Look for the “Save” or “Apply” button and click on it to save the changes and update the configuration.
By following these steps, you have successfully set up your Tenda wireless network with a unique network name and a secure password. It’s important to choose a strong password that combines uppercase and lowercase letters, numbers, and special characters to prevent unauthorized access to your network.
Now that your wireless network is configured, you can move on to the next step: configuring the router’s security settings to further enhance the protection of your network and connected devices.
Step 5: Configuring the router’s security settings
Configuring the security settings of your Tenda router is essential to protect your network from unauthorized access and potential security threats. In this step, we will cover the key security settings you should consider enabling or adjusting:
- Change the router’s default login credentials: It is crucial to change the default username and password for accessing the router’s settings page. Look for the “System” or “Administration” tab on the router’s settings page, and locate the option to change the login credentials. Choose a strong and unique username and password to enhance the security of your router.
- Enable firewall protection: Firewalls act as a barrier between your network and potential external threats. Look for the “Firewall” or “Security” tab on the router’s settings page, and ensure that the firewall is enabled. If available, consider enabling additional security features such as SPI (Stateful Packet Inspection) and DoS (Denial of Service) protection.
- Disable remote management: By default, remote management may be enabled, allowing users to access the router’s settings remotely. For improved security, it is recommended to disable remote management unless you have a specific need for it. Look for the corresponding option under the “Administration” or “Remote Management” tab.
- Enable MAC address filtering: MAC address filtering allows you to specify which devices can connect to your wireless network based on their unique MAC addresses. Locate the “MAC Filtering” or “Access Control” tab on the router’s settings page and enable MAC filtering. Add the MAC addresses of trusted devices to the allowed list, and consider blocking any unknown or unauthorized devices.
- Regularly update firmware: Firmware updates often include security patches and performance improvements. Check for firmware updates for your Tenda router regularly and install them when available. This can help ensure that your router is protected from the latest security vulnerabilities.
By properly configuring these security settings, you can significantly enhance the protection of your Tenda router and your wireless network. It’s important to note that the router’s interface and available security settings may vary depending on the model and firmware version. Therefore, it’s always recommended to consult the user manual or online resources provided by Tenda for specific instructions.
In the next step, we will explore how to customize advanced settings on your Tenda router to optimize its performance and cater to your specific networking needs.
Step 6: Customizing advanced settings
Customizing advanced settings on your Tenda router allows you to optimize its performance and tailor it to your specific networking requirements. In this step, we will explore some important advanced settings that you may consider tweaking:
- Wireless channel selection: By default, your Tenda router will automatically select the best wireless channel based on your environment. However, in some cases, manually selecting a less congested channel can improve Wi-Fi performance. Look for the “Wireless” or “Wi-Fi” tab on the router’s settings page to find the option for channel selection.
- Quality of Service (QoS) settings: QoS settings allow you to prioritize certain types of network traffic, ensuring a smooth and uninterrupted experience for applications that require higher bandwidth. Within the router’s settings page, locate the “QoS” or “Advanced” tab to set up QoS rules and prioritize specific devices or applications.
- Port forwarding and triggering: Port forwarding and triggering are advanced networking techniques that allow you to redirect specific types of internet traffic to a particular device on your network. These settings are useful when hosting a game server, running a VPN, or accessing a home security camera remotely. Look for the “Advanced” or “Port Forwarding” tab to configure these settings.
- DHCP settings: DHCP (Dynamic Host Configuration Protocol) allows your router to automatically assign IP addresses to devices on your network. Within the router’s settings, you can customize the DHCP settings, such as the IP address range and lease duration. Locate the “Network” or “LAN” tab to access these settings.
- Parental controls: Parental controls help you manage and restrict internet access for specific devices or users. Look for the “Parental Controls” or “Access Control” tab on the router’s settings page to configure filtering options, block specific websites, and set up time limits for internet usage.
Please note that advanced settings may require a good understanding of networking concepts. If you are not familiar with a particular setting or its implications, it’s best to consult the user manual or seek guidance from online resources or support forums.
By customizing these advanced settings on your Tenda router, you can optimize its performance, improve network efficiency, and tailor it to your specific needs. However, it’s important to make changes cautiously and test them to ensure they meet your requirements without causing any disruptions to your network.
In the final step, we will test the wireless connection to ensure everything is working smoothly.
Step 7: Testing the wireless connection
After completing the setup and customization of your Tenda wireless router, it’s crucial to test the wireless connection to ensure that everything is functioning correctly. This final step will help you verify that your devices can connect to the network and access the internet seamlessly. Follow these steps to test your wireless connection:
- Ensure devices are connected: Make sure the devices you want to test, such as smartphones, laptops, or tablets, are connected to your Tenda wireless network. Connect them either via Wi-Fi or using an Ethernet cable.
- Check internet connectivity: Open a web browser on one of the connected devices and try to visit a website. If the webpage loads successfully, it indicates that your Tenda router is connected to the internet, and the wireless connection is working correctly.
- Test network speed: Use a speed testing tool or website, such as Ookla Speedtest, to measure the speed of your wireless network. This will help you assess the performance of your internet connection and identify any potential issues.
- Move around your home or office: Walk around different areas of your home or office where you typically use your wireless devices. Test the signal strength and internet connectivity in different locations to ensure that the Wi-Fi coverage reaches all desired areas without significant drop-offs in speed or connection stability.
- Connect additional devices: If you have additional devices, such as smart TVs, gaming consoles, or smart home devices, connect them to your Tenda wireless network and ensure they can successfully connect and function as intended.
If you encounter any issues during the testing process, such as weak signals, slow internet speeds, or intermittent connectivity, consider adjusting your router’s placement, antenna positioning, or experimenting with different wireless settings to improve overall performance.
By thoroughly testing the wireless connection, you can identify and address any issues before relying on the network for your day-to-day activities. This step ensures a smooth and seamless wireless experience for all your connected devices.
Congratulations! You have completed the setup and testing of your Tenda wireless router. Enjoy the benefits of a secure and efficient wireless network tailored to your specific needs.
Conclusion
Setting up a Tenda wireless router doesn’t have to be a daunting task. By following the step-by-step guide in this article, you have successfully learned how to gather the necessary equipment, connect the router to your modem, access the router’s settings page, set up the wireless network, configure security settings, customize advanced settings, and test the wireless connection.
Throughout the setup process, it’s important to ensure that you are familiar with your specific Tenda router model and refer to the user manual or online resources for additional guidance. Customizing settings according to your preferences and networking needs can help you optimize the performance and security of your wireless network.
Remember to periodically check for firmware updates and make any necessary adjustments to your router’s settings to ensure continued performance and security enhancements. Additionally, if you encounter any issues or have specific networking requirements, don’t hesitate to seek support from Tenda’s customer service or community forums.
Now that your Tenda wireless router is properly set up and functioning, you can enjoy seamless internet connectivity, reliable wireless signals, and the freedom to connect your devices from anywhere within the range of your wireless network.
Thank you for following this guide, and we hope it has been helpful in setting up your Tenda wireless router. Happy browsing!