Introduction
Setting up a wireless router and connecting it to your modem is an essential step in creating a reliable and convenient home network. Whether you’re a tech-savvy individual or a beginner in networking, this guide will walk you through the process of connecting your wireless router to your modem, ensuring a seamless internet connection for all your devices.
With the advent of wireless technology, gone are the days when you had to rely on wired connections for internet access. A wireless router allows you to connect multiple devices to the internet without the need for cumbersome cables, providing flexibility and convenience in connecting smartphones, laptops, gaming consoles, and other devices.
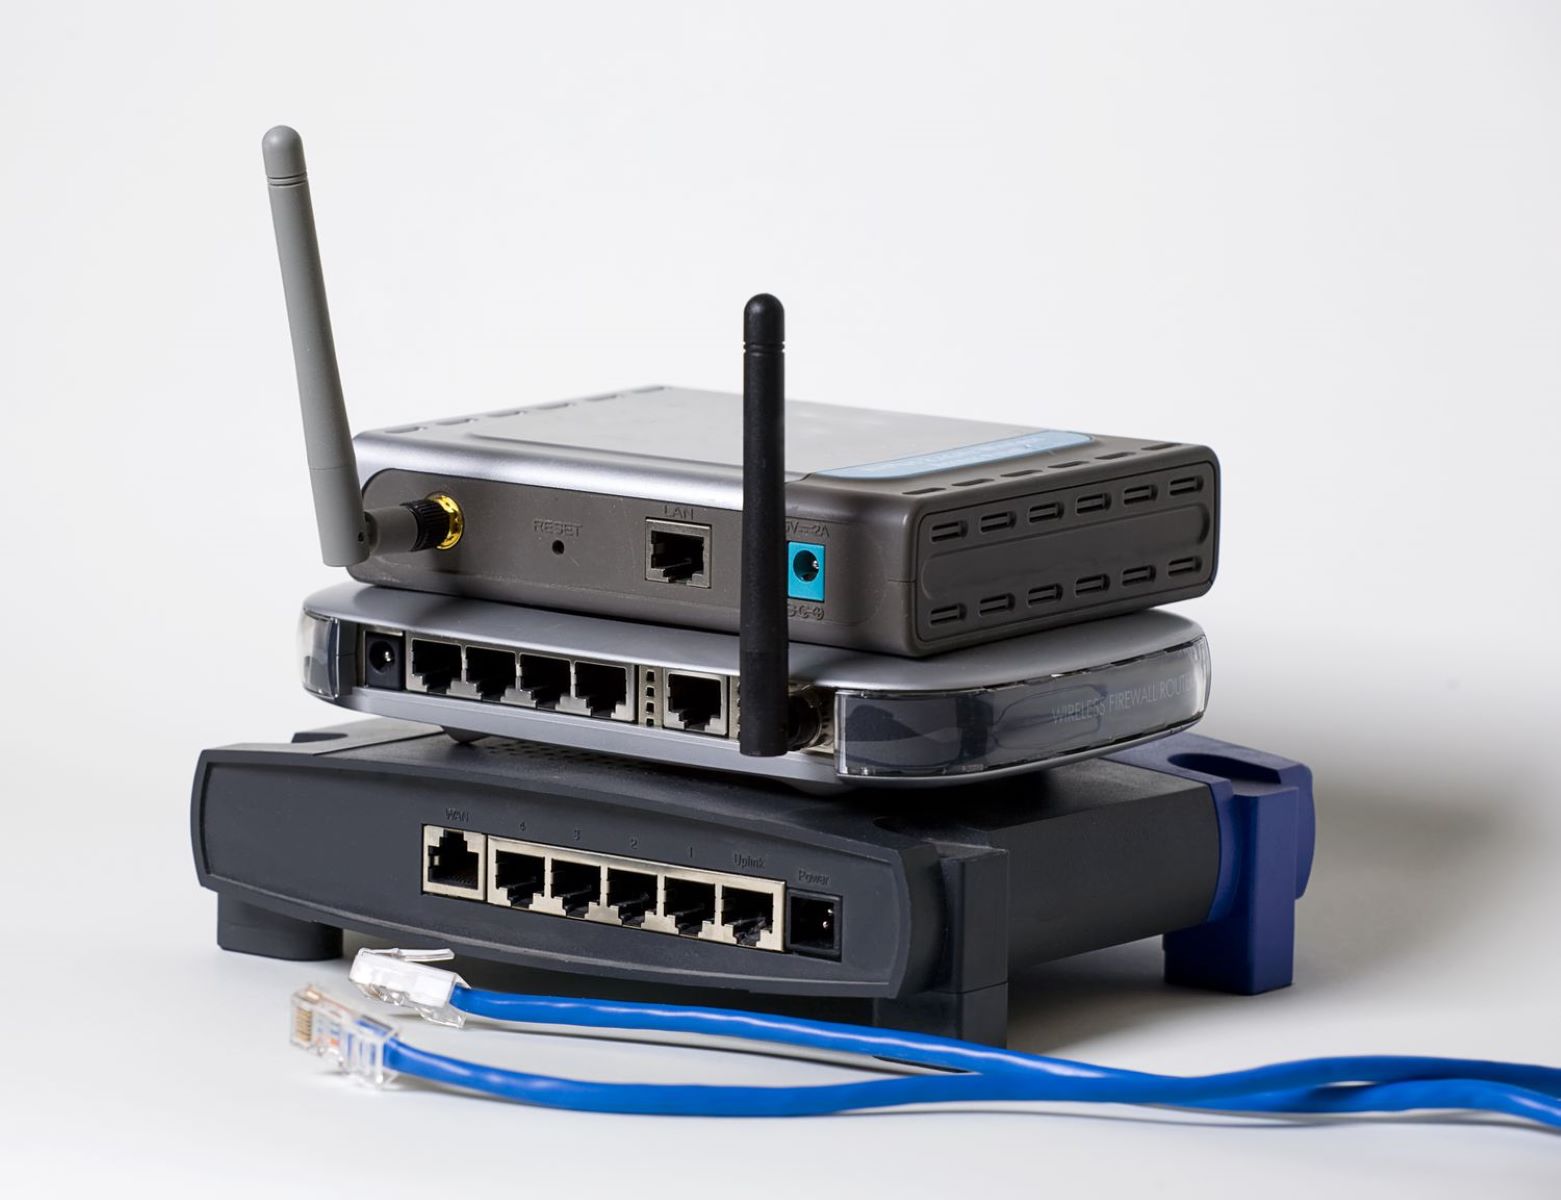
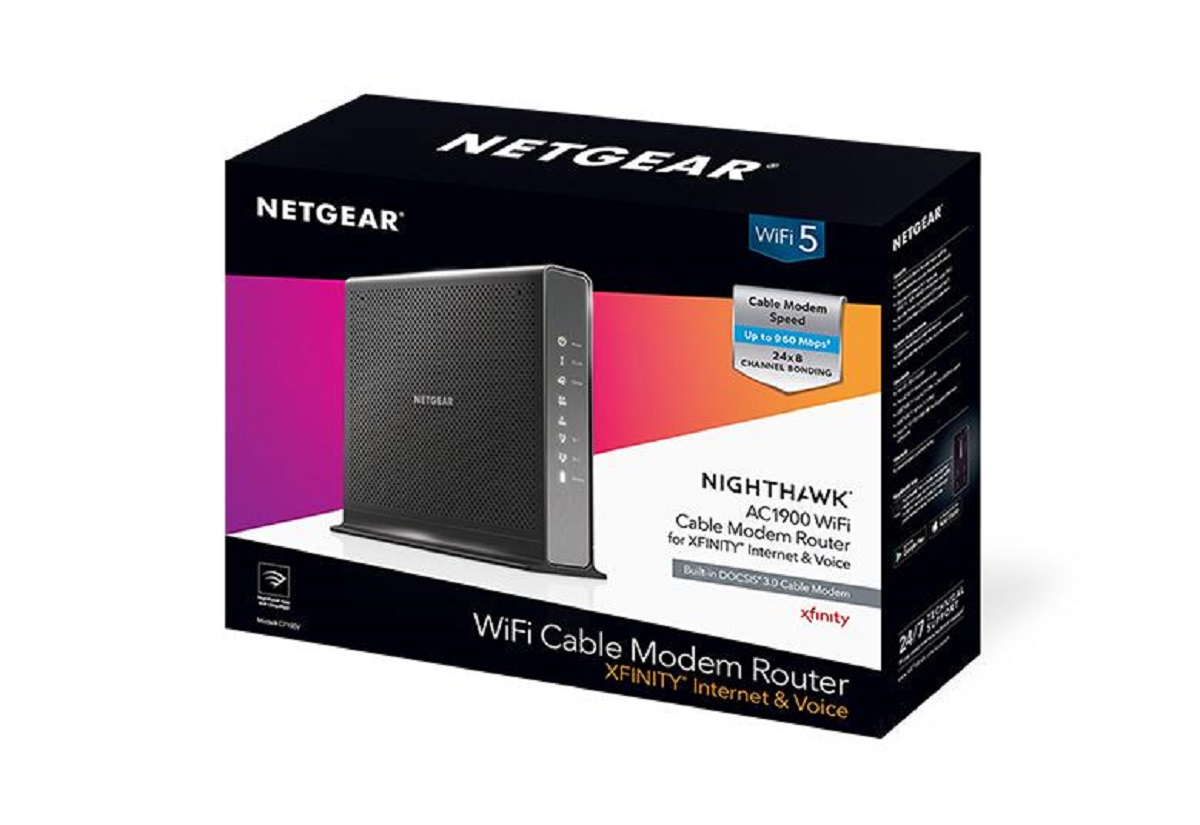
Before diving into the setup process, it’s important to gather the necessary equipment. You will need a wireless router, a modem, Ethernet cables, and a power source. It’s also a good idea to have the user manuals for both your router and modem on hand, as they contain valuable information specific to your devices.
This guide will provide you with a step-by-step approach to connecting your wireless router to your modem. By following these instructions, you will have your network up and running in no time, allowing you to enjoy high-speed internet access throughout your home.
Step 1: Gather the necessary equipment
Before you begin the process of connecting your wireless router to your modem, it’s important to make sure you have all the necessary equipment. Here’s a list of items you’ll need:
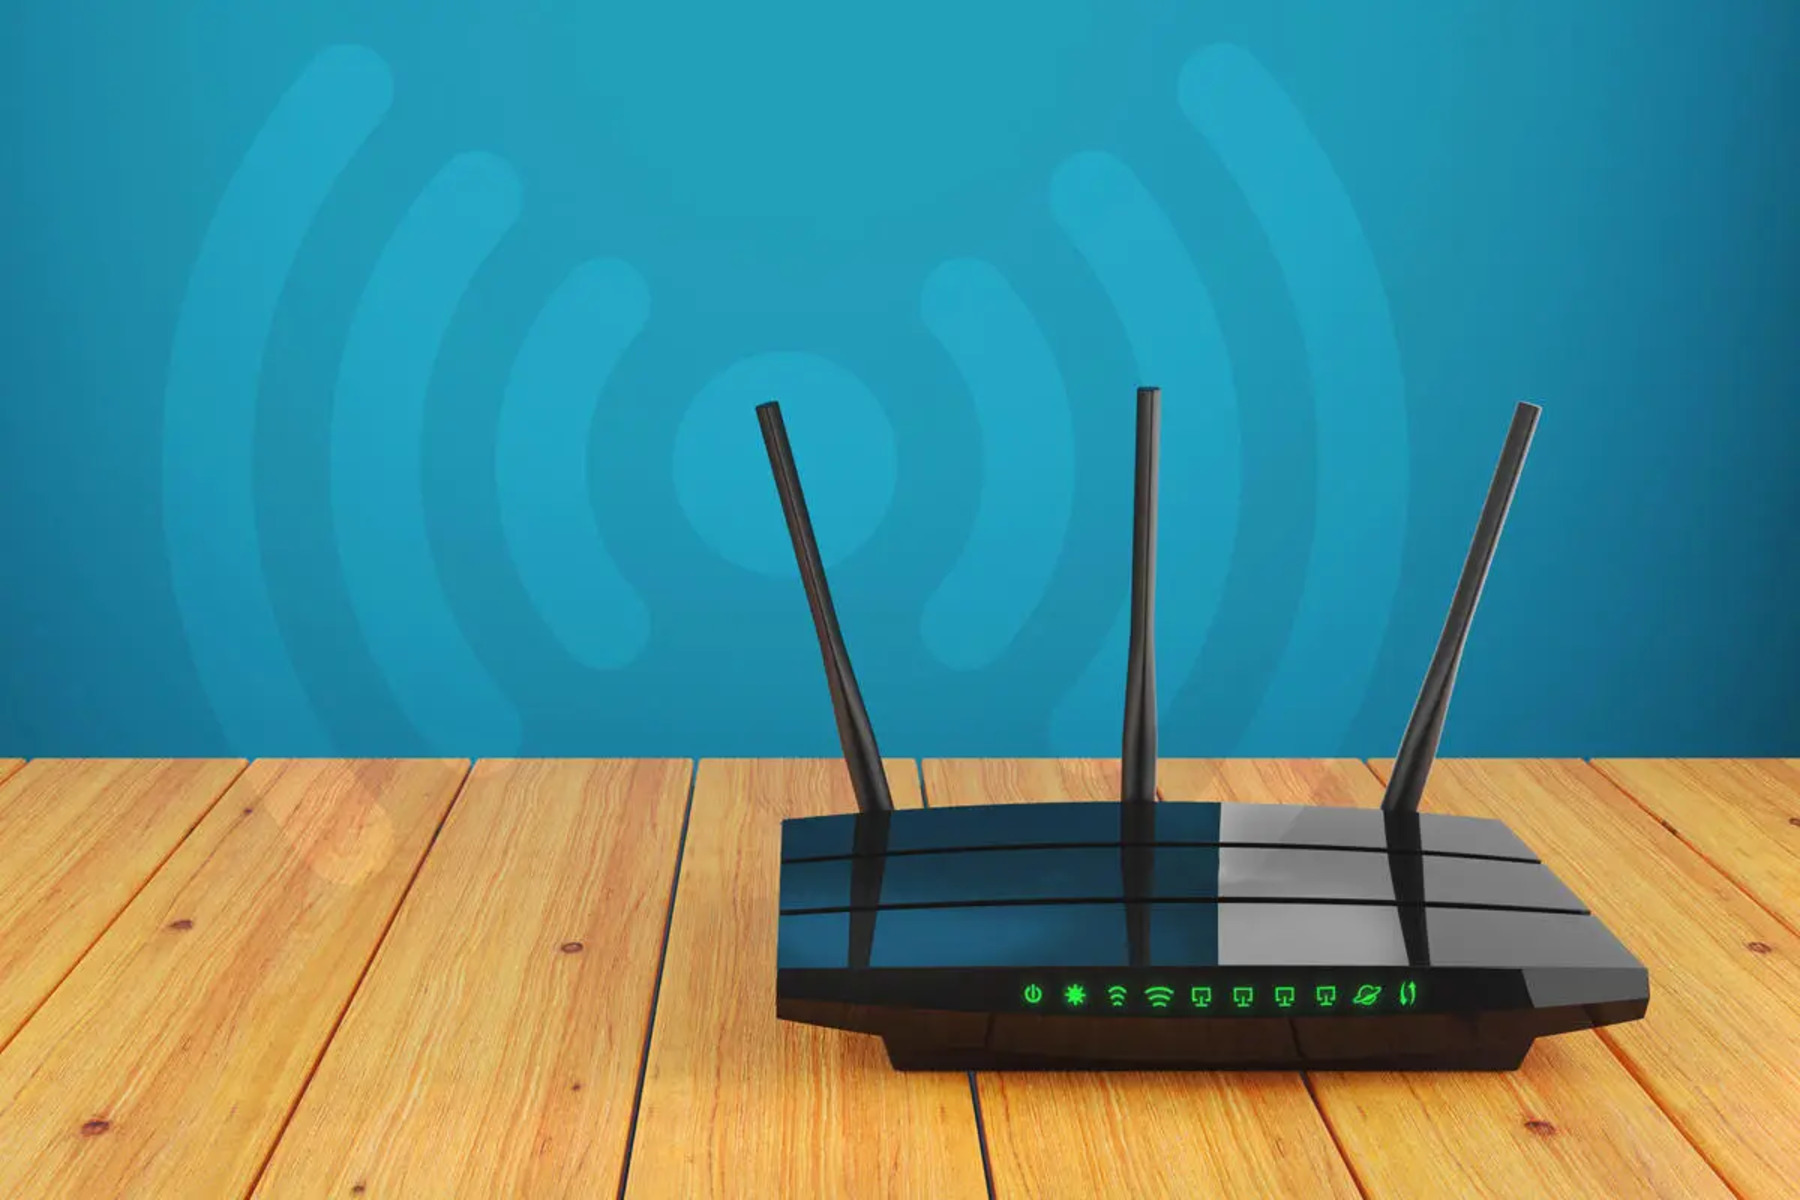
- Wireless router: Ensure you have a compatible router that supports wireless connectivity. Consider factors such as the size of your home and the number of devices you plan to connect.
- Modem: This is the device that connects your home network to the internet. Make sure your modem is in good working condition and is compatible with your chosen wireless router.
- Ethernet cables: You’ll need at least one Ethernet cable to connect your modem and router for the initial setup. It’s a good idea to have extra cables on hand for future use.
- Power source: Ensure you have a power outlet nearby to connect your router and modem. It’s important to have a stable power supply to maintain a consistent internet connection.
- User manuals: Keep the user manuals for your router and modem readily available. These manuals provide valuable information specific to your devices and can assist you throughout the setup process.
By ensuring you have all the necessary equipment before starting the setup process, you can avoid any delays or interruptions. It’s always better to be prepared and have everything you need within reach.
Now that you have gathered all the equipment required, you’re ready to move on to the next step: powering off your modem and router.
Step 2: Power off your modem and router
Before you begin connecting your wireless router to your modem, it’s important to power off both devices. This ensures a clean start and prevents any potential issues during the setup process. Here’s how to properly power off your modem and router:
- Locate the power cords: Find the power cords connected to both your modem and router. The modem’s power cord is usually plugged into a wall outlet, while the router’s power cord may be connected to a power strip or another outlet.
- Unplug the power cords: Gently unplug the power cords from the respective power sources. It’s essential to handle the cords carefully to avoid any damage.
- Wait for a few minutes: Give your modem and router a few minutes to fully power down. This ensures that any residual power is released, allowing for a more reliable setup.
While waiting, it’s a good opportunity to take a quick break or double-check that you’ve completed the previous step of gathering the necessary equipment. Taking a moment to ensure you’re well-prepared can save you time and frustration during the setup process.
Powering off your modem and router provides a fresh start to the setup process. It allows any existing settings or configurations to be cleared out, ensuring a smooth and successful connection between the two devices. Now that you’ve powered off your modem and router, you’re ready to move on to the next step: connecting your router to the modem.
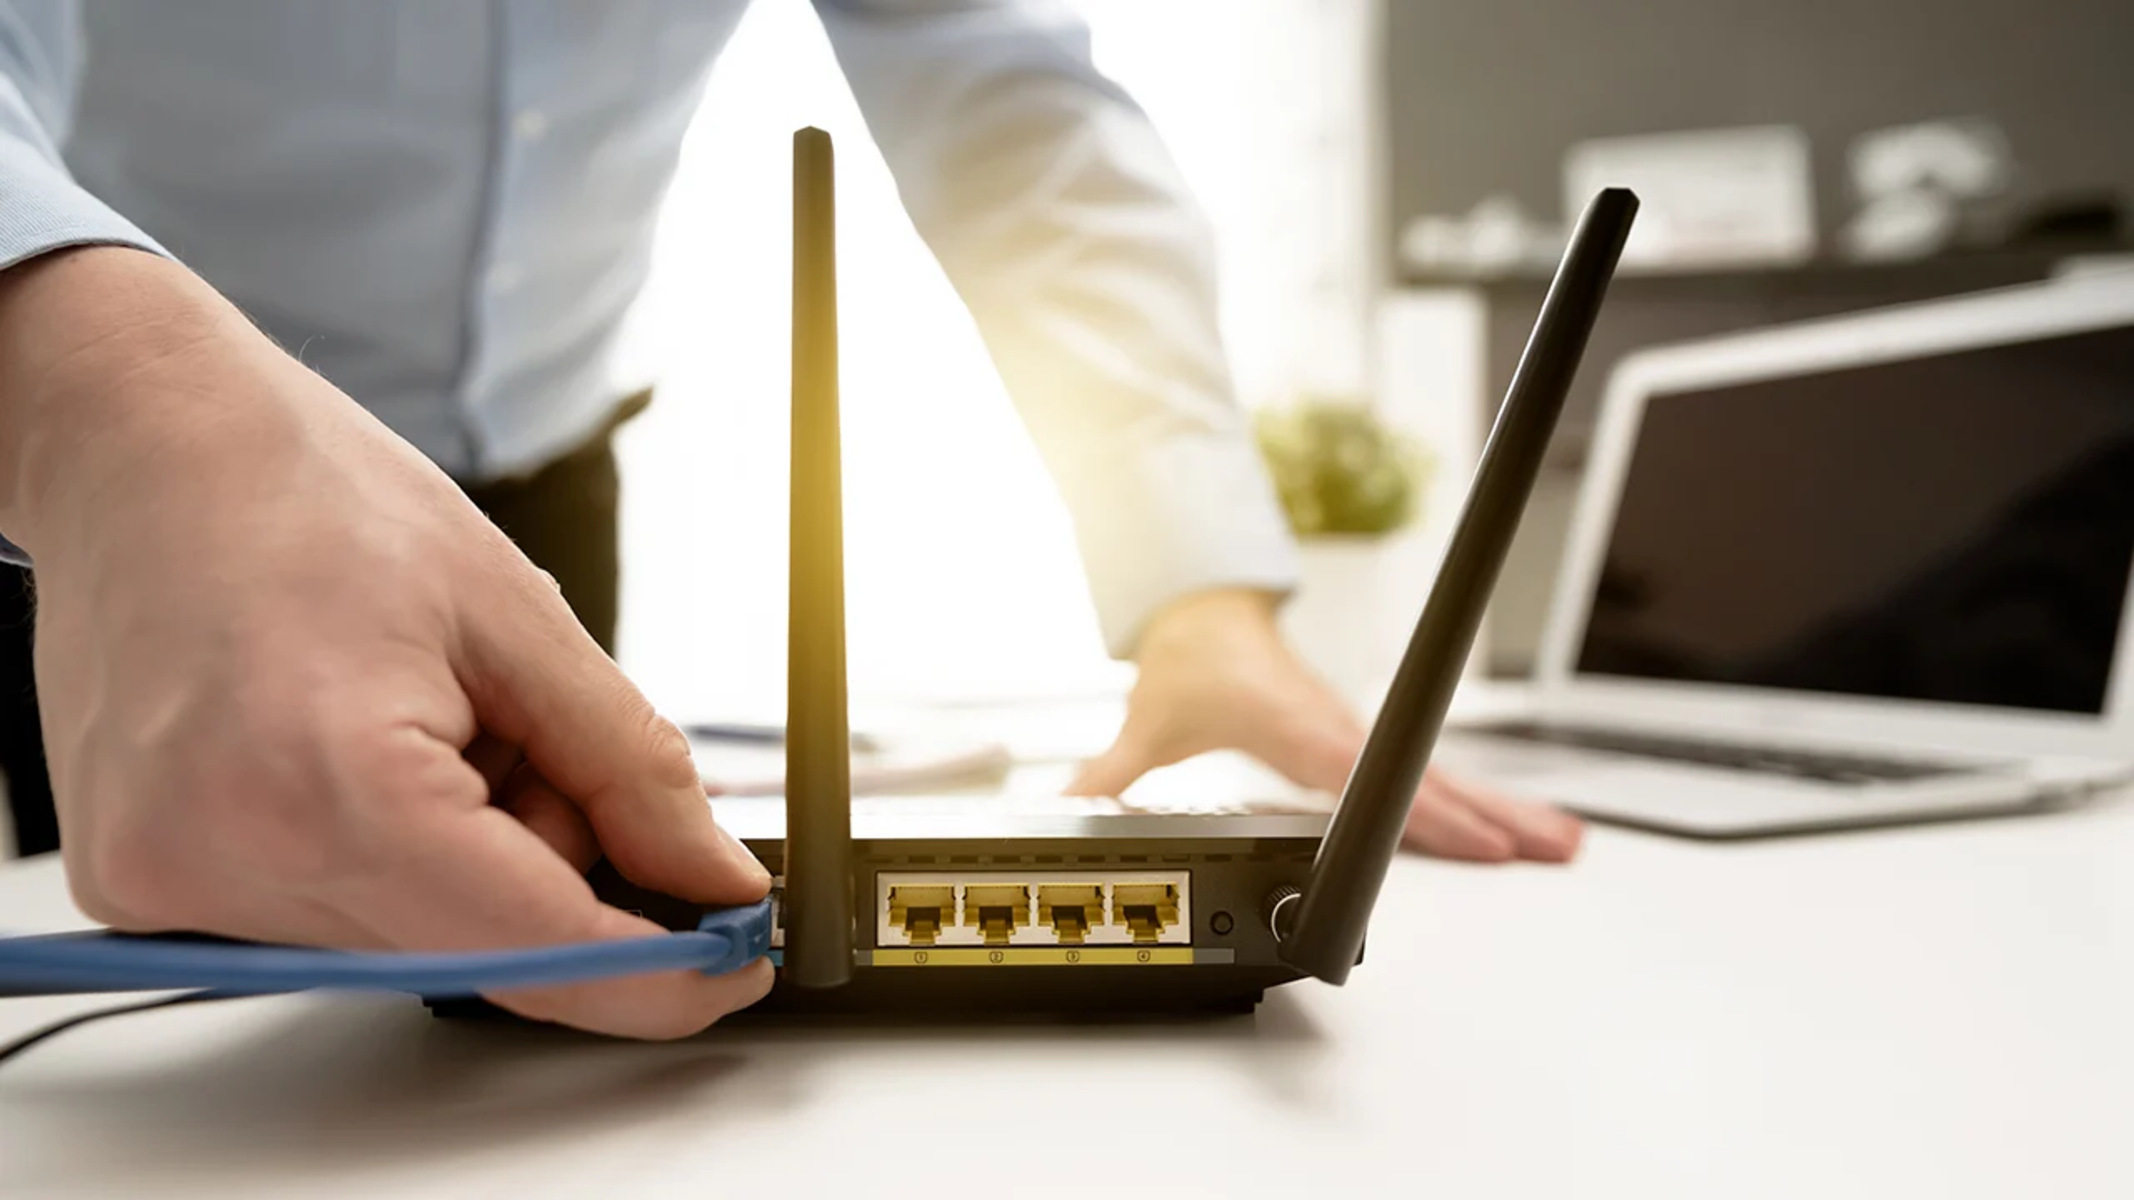
Step 3: Connect your router to the modem
Now that you have powered off your modem and router, it’s time to establish a physical connection between the two devices. This step is crucial in creating a pathway for your router to access the internet through the modem. Follow these steps to connect your router to the modem:
- Locate the Ethernet ports: Identify the Ethernet ports on both your modem and router. These ports are typically labeled “Ethernet,” “LAN,” or have a similar designation.
- Take an Ethernet cable: Grab one of the Ethernet cables you gathered earlier. It will serve as the medium for connecting your modem and router.
- Connect one end to the modem: Take one end of the Ethernet cable and plug it into the Ethernet port on the back of your modem. Ensure that the connection is secure.
- Connect the other end to the router: Take the other end of the Ethernet cable and insert it into the Ethernet port on your router. This port is usually labeled as the “WAN” or “Internet” port.
Once you have successfully connected your router to the modem using an Ethernet cable, you have established the physical link between the two devices. This allows your router to receive internet signals from the modem and distribute them wirelessly to your connected devices.
It’s important to note that some routers may require additional configuration steps after the physical connection. Refer to your router’s user manual for specific instructions on any additional settings that need to be adjusted.
With the physical connection in place, you’re ready to move on to the next step: powering on your modem and router.
Step 4: Power on your modem and router
With the physical connection between your modem and router established, it’s time to power them back on. This step ensures that both devices are ready to communicate and provide internet access to your connected devices. Follow these steps to power on your modem and router:
- Locate the power cords: Take the power cords of your modem and router that you unplugged earlier.
- Plug in the modem: Connect the power cord of your modem back into the wall outlet or power source. Ensure the connection is secure.
- Wait for the modem to power on: Give your modem a few minutes to fully power on. This may be indicated by LED lights on the device flashing or remaining solid.
- Plug in the router: Connect the power cord of your router back into the power source. You may also choose to plug the router into a power strip if preferred.
- Wait for the router to power on: Give your router a few minutes to fully power on. Similar to the modem, observe any LED lights on the router to ensure it’s fully operational.
During this waiting period, the modem establishes a connection with your internet service provider (ISP) and the router configures its network settings. It’s important not to rush this step, as it may take a few minutes for both devices to fully power on and initiate communication.
Once both your modem and router are powered on and functioning properly, you can move on to the next step of configuring your wireless network settings.
Now that your modem and router are powered on, you’re one step closer to enjoying a reliable and secure wireless network. The next step will guide you through the process of configuring your wireless network settings.
Step 5: Configure your wireless network
Now that your modem and router are powered on and communicating with each other, it’s time to configure your wireless network settings. This step involves setting up a unique network name (SSID) and password to secure your wireless connection. Follow these steps to configure your wireless network:
- Access your router’s configuration page: Open a web browser on a device connected to your router’s network. Type the default IP address of your router (such as 192.168.1.1 or 192.168.0.1) into the address bar and press Enter.
- Enter your router’s login credentials: If prompted, enter the username and password for your router. These credentials are typically found in your router’s user manual or on the router itself. If you have changed the login information in the past, use the updated credentials.
- Locate the wireless settings: Once logged in, navigate to the wireless settings page. This page may vary depending on your router’s interface. Look for options related to SSID, network name, or wireless settings.
- Set the network name (SSID): Enter a unique and memorable name for your wireless network. This name will be visible to devices when they search for available networks. It’s recommended to avoid using personal information or sensitive data as the network name for security purposes.
- Set the network password: Create a strong and secure password for your wireless network. Include a combination of uppercase and lowercase letters, numbers, and special characters. A strong password helps prevent unauthorized access to your network.
- Save and apply the changes: Once you have set the network name and password, save and apply the changes. Your router will restart, and the wireless network will be configured with the new settings.
Configuring your wireless network not only secures your connection but also allows you to personalize your network name. Remember to keep your network name and password in a safe place, as you will need them to connect your devices to the wireless network.
Once you have successfully configured your wireless network, you’re ready to move on to the next step of connecting your devices to the network.
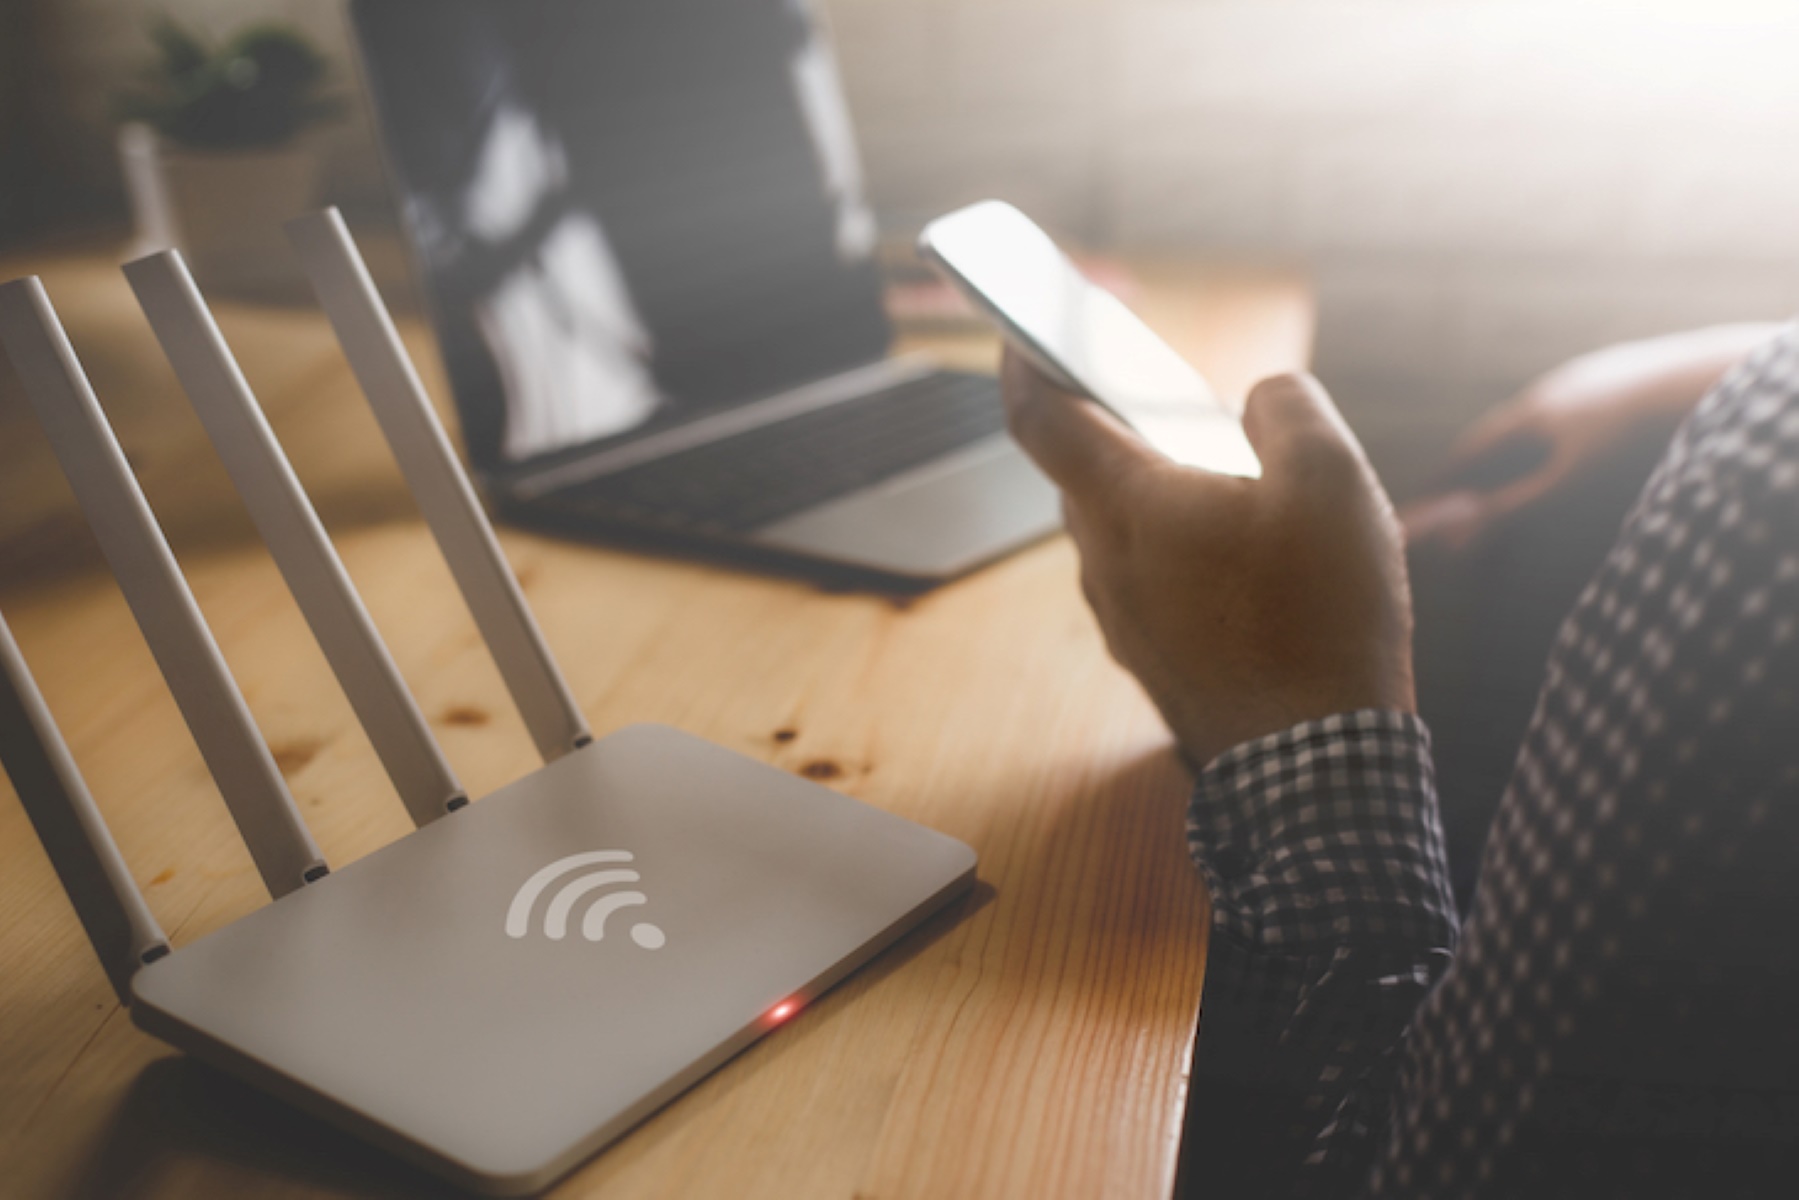
Step 6: Connect your devices to the wireless network
Now that your wireless network is configured with a unique network name and password, it’s time to connect your devices to the network. Whether it’s a laptop, smartphone, or gaming console, connecting your devices is a straightforward process. Follow these steps to connect your devices to your wireless network:
- Access the Wi-Fi settings: On the device you want to connect, navigate to the Wi-Fi settings menu. This can usually be found in the device’s settings or control panel.
- Scan for available networks: Your device will scan for available wireless networks. Locate your network name (SSID) in the list of detected networks.
- Select your network: Tap or click on your network name to connect to it. You may be prompted to enter the password you set during the previous step.
- Enter the network password: If prompted, enter the network password and ensure it is correctly typed. Pay attention to uppercase and lowercase letters, as passwords are case-sensitive.
- Connect to the network: After entering the network password, select the option to connect to the network. Your device will establish a connection with the wireless network.
- Verify the connection: Once connected, you should see a confirmation or indicator on your device indicating a successful connection to the network.
Repeat these steps for each device you want to connect to your wireless network. Remember to enter the correct network password for each device to establish a secure connection.
Having your devices connected to the wireless network allows you to access the internet and share data with ease. It’s important to periodically check and update your devices’ Wi-Fi settings to ensure a reliable and secure connection.
With your devices successfully connected, you’re ready for the final step: testing your internet connection.
Step 7: Test your internet connection
Once you have connected all your devices to the wireless network, it’s crucial to test your internet connection. This final step ensures that your network setup is functioning correctly and that you can access the internet without any issues. Follow these steps to test your internet connection:
- Open a web browser: Launch a web browser on any connected device, such as a laptop, smartphone, or tablet.
- Navigate to a website: In the address bar of the web browser, type in the URL of a well-known website, such as google.com or cnn.com.
- Wait for the page to load: Give the webpage a moment to load. If it loads successfully, it indicates that your internet connection is working correctly.
- Check for consistent connectivity: Browse through different webpages and perform tasks that require internet access, such as streaming videos or downloading files. If you can perform these activities without any interruptions or delays, your internet connection is likely stable.
If you encounter any issues or cannot access the internet, make sure to check the following:
- Ensure devices are connected to the correct network: Double-check that your devices are connected to the correct wireless network that you set up.
- Verify the network password: Confirm that you have entered the correct network password on all devices.
- Restart your devices: Try restarting both your modem and router, as well as the devices experiencing internet connection issues.
- Contact your ISP: If problems persist, consider contacting your Internet Service Provider (ISP) for assistance with troubleshooting or additional support.
It’s important to ensure that your internet connection is stable and reliable to meet your online needs. Regularly test your internet connection and address any issues promptly to maintain a seamless browsing experience.
Congratulations! You have successfully connected your wireless router to your modem, configured your network settings, and tested your internet connection. You can now enjoy the convenience and freedom of a reliable wireless network in your home or office.
Conclusion
Connecting your wireless router to your modem may initially seem like a daunting task, but by following the steps outlined in this guide, you can successfully set up a reliable and secure home network. Through gathering the necessary equipment, powering off and on your modem and router, connecting them physically, configuring your wireless network settings, connecting your devices, and testing your internet connection, you have created a seamless pathway for internet access.
By setting up a wireless network, you can enjoy the freedom of connecting multiple devices without the hassle of wires. This allows you to browse the web, stream media, play online games, and connect smart home devices with ease. Additionally, securing your network with a unique network name and password helps protect your data and keep unauthorized users at bay.
If you encounter any issues during the setup process, always refer to the user manuals for your devices or reach out to your Internet Service Provider (ISP) for assistance. They can provide guidance and troubleshoot any problems you may encounter.
Remember to periodically check your network settings, update your devices, and monitor your internet connection to ensure a smooth and optimal experience. With a properly connected wireless router and modem, you can enjoy reliable internet connectivity throughout your home or office.
Now that you are equipped with the knowledge to connect your wireless router to your modem, it’s time to put it into action. Enjoy the convenience of a wireless network and explore the boundless possibilities of the digital world at your fingertips.