Introduction
Welcome to the world of wireless connectivity! Gone are the days when we had to rely on cumbersome Ethernet cables to connect our routers to modems. With advancements in technology, it is now possible to connect your router to your modem without the need for any physical cables. This opens up a whole new realm of possibilities, allowing you greater flexibility and convenience in setting up your network.
In this article, we will guide you through the process of connecting your router to your modem without an Ethernet cable. Whether you’re upgrading to a new router or simply want to enjoy the benefits of a wireless connection, we’ve got you covered. So, let’s dive in and explore the steps to achieve this seamless wireless connection.
In order to successfully connect your router to your modem without a physical Ethernet cable, there are a few key factors to consider. Firstly, you’ll need to check if both your router and modem support Wi-Fi connectivity. This is crucial, as not all routers and modems are equipped with the necessary wireless capabilities.
Another important step is to reset both your router and modem to their factory settings. This will ensure that any previous configurations are cleared, allowing you to start afresh. Once the devices have been reset, you can proceed to configure your router’s Wi-Fi settings. This involves creating a wireless network name (SSID) and password, which will be used to connect your devices.
Finally, the moment you’ve been waiting for! With your router and modem configured, it’s time to connect them wirelessly. This can be done by establishing a connection between the two devices using the appropriate method, depending on the specific router and modem models you’re working with.
Once the connection is established, it’s crucial to test your connection to ensure everything is working as expected. You can do this by connecting your devices to the newly created wireless network and checking if you have internet access.
Now that we have a brief overview of what’s to come, let’s move on to the first step: checking if your router and modem support Wi-Fi connectivity.
Step 1: Check if Your Router and Modem Support Wi-Fi Connection
Before you embark on the journey of connecting your router to your modem without an Ethernet cable, it’s important to ensure that both devices have Wi-Fi capabilities. Not all routers and modems are equipped with wireless functionality, so it’s essential to verify this compatibility.
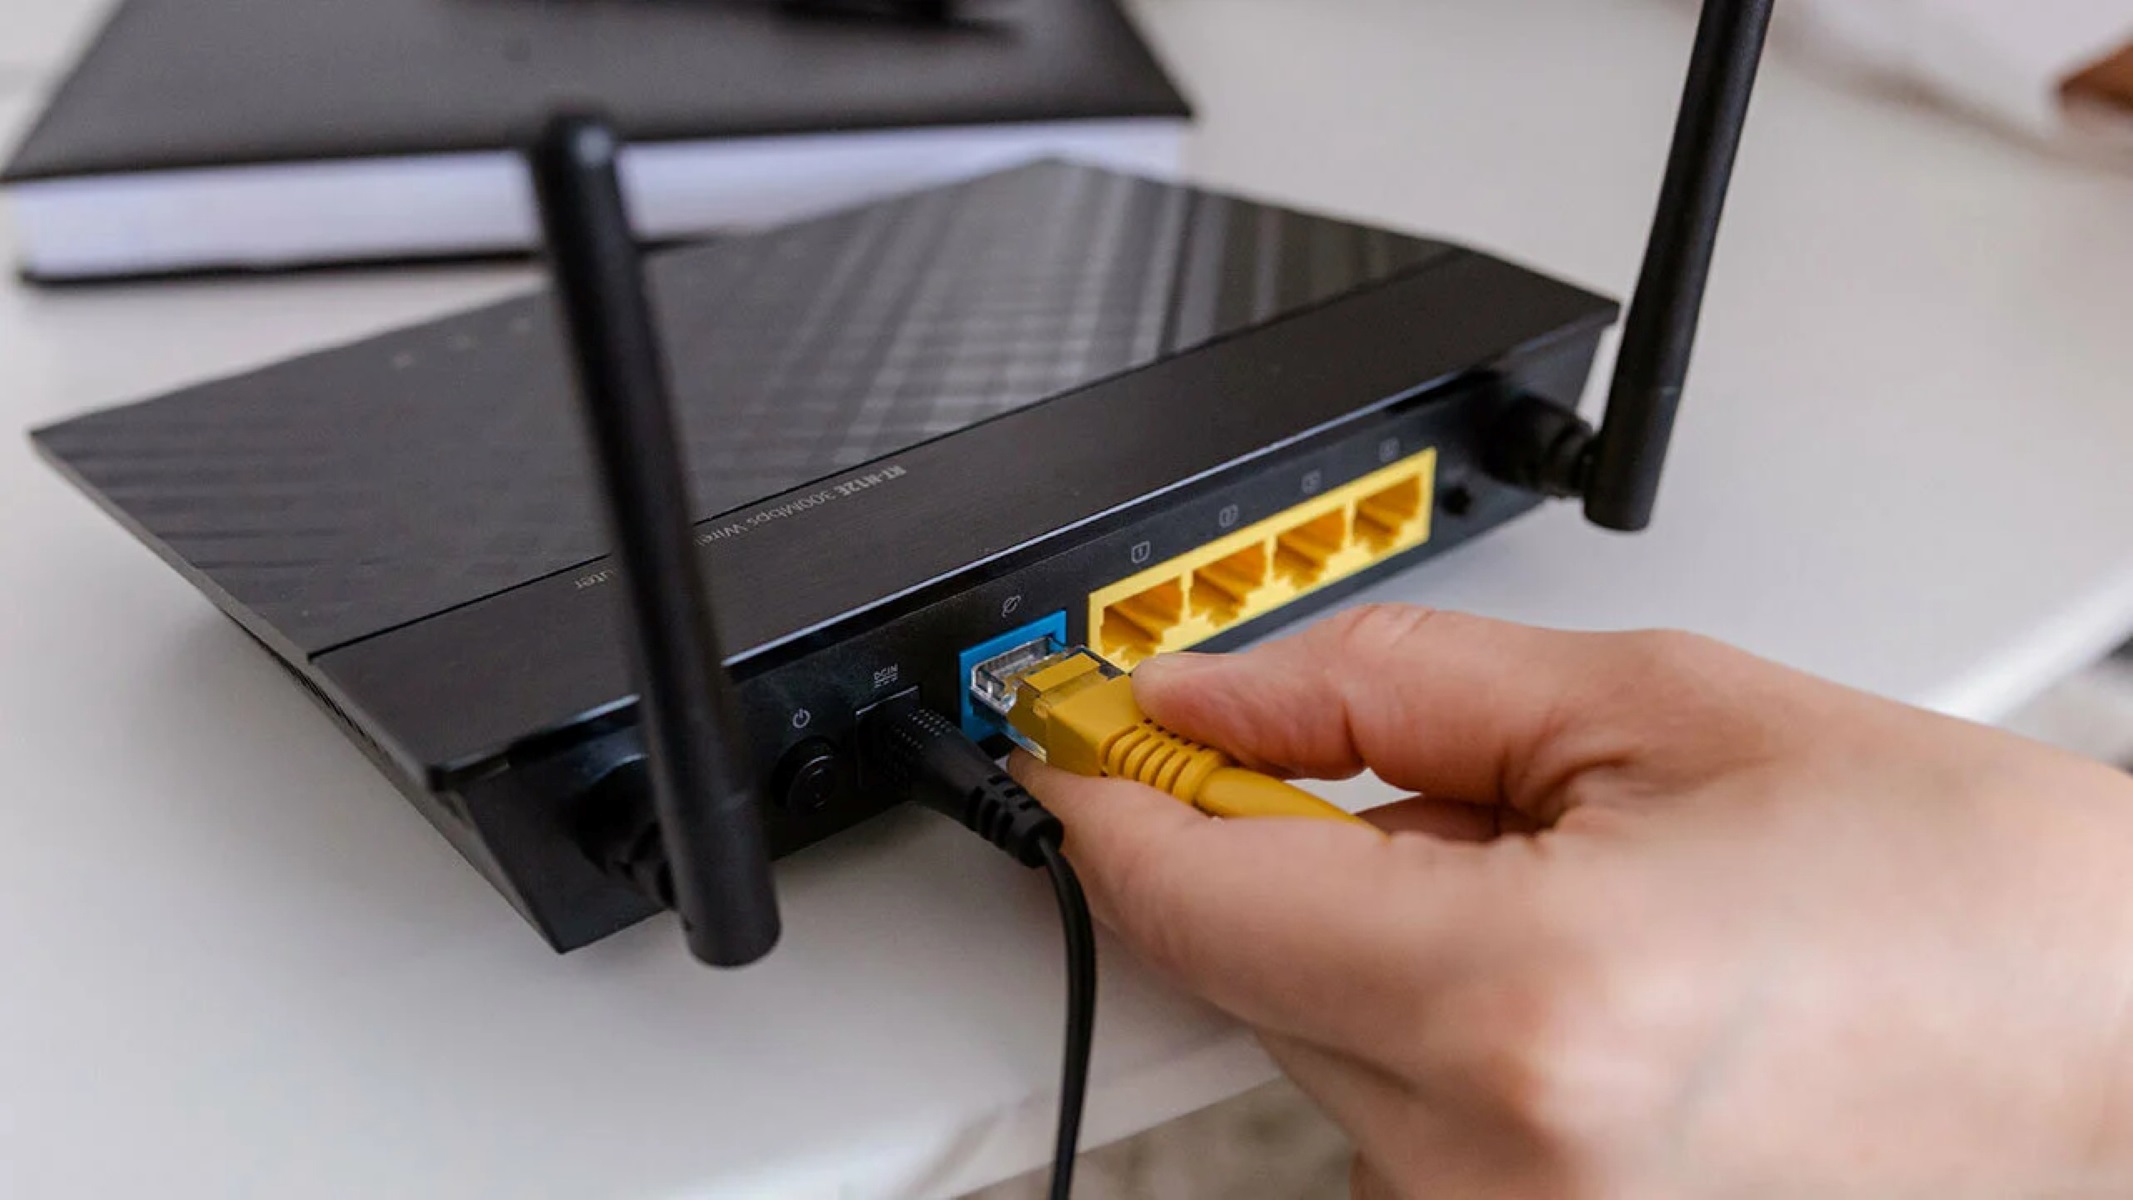
To determine whether your router supports Wi-Fi, look for a label or indication on the device itself. Most modern routers have built-in Wi-Fi antennas and will display a Wi-Fi logo or have the word “Wireless” on the device itself.
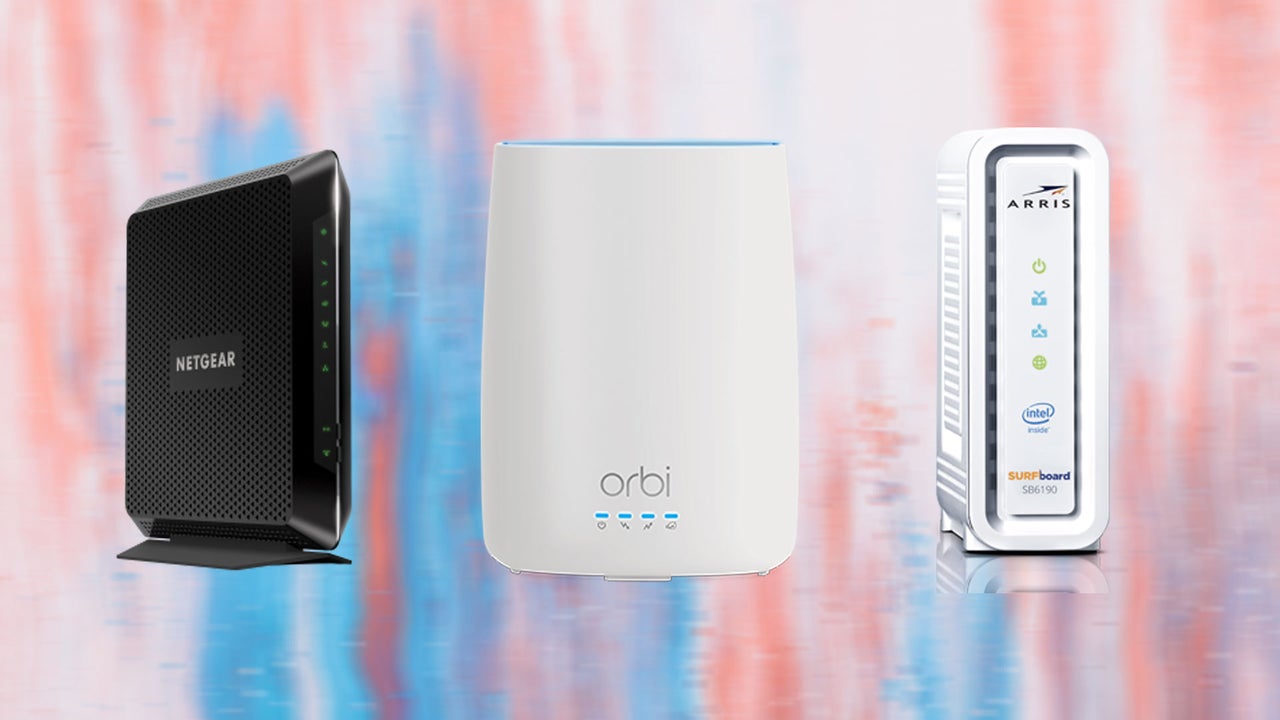
For modems, the presence of Wi-Fi capabilities may vary. Some modems have integrated Wi-Fi functionality, while others may require an additional Wi-Fi router to enable wireless connectivity. Check the modem’s specifications or consult the manufacturer’s documentation to ascertain if it has Wi-Fi capabilities.
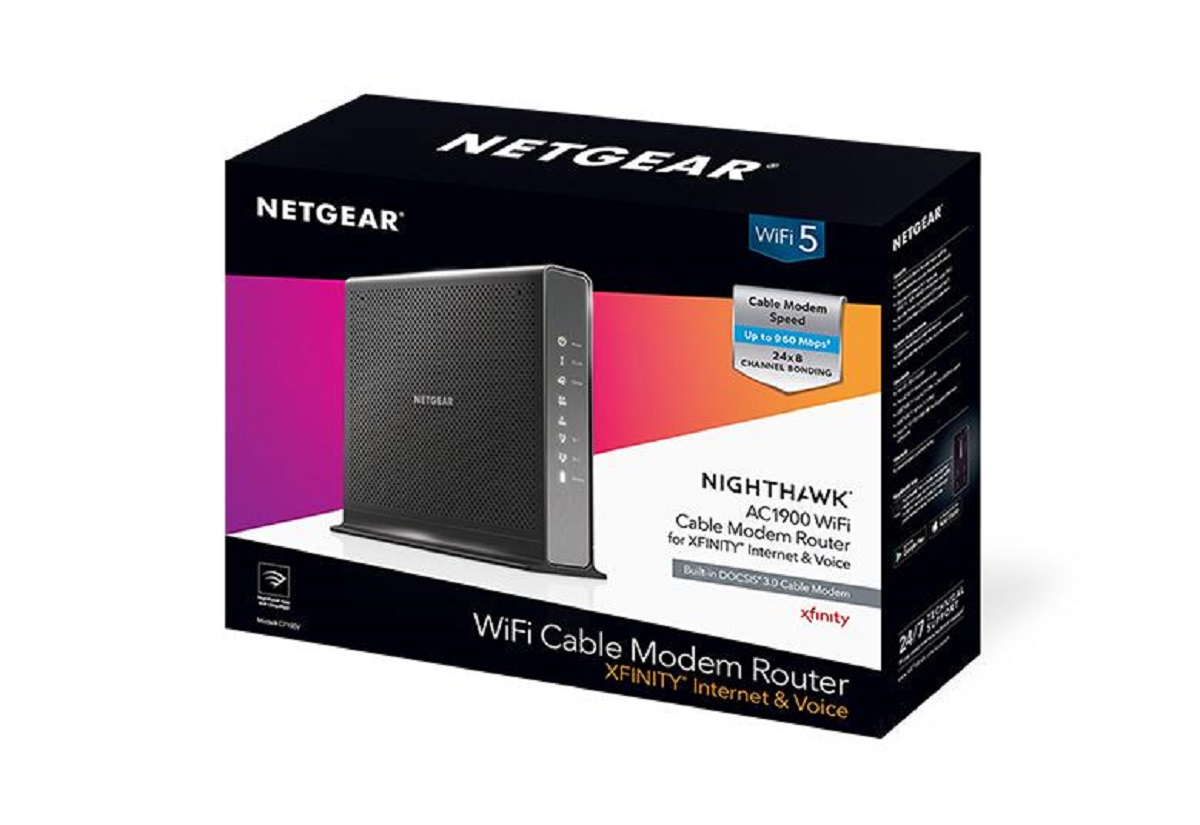
If your router or modem does not support Wi-Fi, you will need to consider upgrading one or both devices to ensure a wireless connection. This can be done by purchasing a Wi-Fi-enabled router or a modem/router combo unit that supports wireless connectivity.
Keep in mind that having Wi-Fi support in both your router and modem is essential for establishing a wireless connection. This allows you to eliminate the need for physical Ethernet cables and enjoy the freedom and flexibility of a wireless network.
Once you have confirmed that both your router and modem support Wi-Fi connectivity, you can move on to the next step: resetting your devices to their factory settings. This will ensure a clean slate for the setup process and allow you to configure your router for a wireless connection. So let’s proceed to Step 2: Reset Your Router and Modem.
Step 2: Reset Your Router and Modem
Resetting your router and modem is an important step in the process of connecting them without an Ethernet cable. This will clear any previous configurations and ensure that you start with a clean slate.
The exact method of resetting your router and modem may vary based on the specific make and model. However, the general process typically involves locating the reset button on each device.
To reset your router, look for a small hole or button labeled “Reset” on the back or bottom of the device. You can use a paperclip or a similar tool to press and hold the reset button for about 10-15 seconds. This will initiate the reset process, and the router will reboot to its factory settings.
For the modem, the reset button is usually located on the rear side. Use a pointed object to press and hold the reset button for around 10-15 seconds. Similar to the router, the modem will reboot, restoring it to its default settings.
Remember that resetting your devices will erase any custom configurations, including Wi-Fi network names (SSIDs) and passwords. This means that you’ll need to set up your wireless network again after the reset process is complete.
Once the router and modem have finished rebooting, you can proceed to the next step of configuring your router’s Wi-Fi settings. This involves creating a wireless network name (SSID) and password, which will enable devices to connect wirelessly to your network. Let’s move on to Step 3: Configure Your Router’s Wi-Fi Settings.
Step 3: Configure Your Router’s Wi-Fi Settings
Now that you have reset your router and modem to their factory settings, it’s time to configure your router’s Wi-Fi settings. This step involves creating a wireless network name (SSID) and a password, which will allow devices to connect wirelessly to your network.
To begin, access your router’s settings by typing its IP address into your web browser. The IP address is usually printed on the router or can be found in the user manual. Once you’ve accessed the router’s settings, navigate to the wireless settings section.
In the wireless settings section, you will find options to set the wireless network name (SSID) and password. The SSID is the name that appears when you search for available Wi-Fi networks on your devices. Choose a unique and easily recognizable name for your network.
Next, set a strong and secure password for your wireless network. It is recommended to use a combination of uppercase and lowercase letters, numbers, and symbols. A strong password will help protect your network from unauthorized access.
After setting the SSID and password, it’s a good practice to save the changes and reboot your router. This ensures that the new settings are applied successfully.
Now that your router’s Wi-Fi settings have been configured, it’s time to proceed to the next step: connecting your router to your modem without using an Ethernet cable. This will enable the devices to communicate wirelessly and establish a connection between the two. Let’s move on to Step 4: Connect Your Router to Your Modem without Ethernet Cable.
Step 4: Connect Your Router to Your Modem without Ethernet Cable
Now comes the exciting part – connecting your router to your modem without the need for an Ethernet cable. This step will allow the devices to communicate wirelessly, resulting in a seamless connection between your router and modem.
The exact method of connecting your router to your modem wirelessly may vary depending on the specific router and modem models you’re using. However, there are a few common methods that you can try:
- Wi-Fi Protected Setup (WPS): If your router and modem both support WPS, you can use this convenient feature to establish a wireless connection. Simply press the WPS button on your router and then press the WPS button on your modem. The devices will automatically connect and authenticate with each other.
- Wireless Bridge Mode: Some routers have a wireless bridge mode that allows them to connect to your modem wirelessly. Enable this mode in your router’s settings and follow the instructions provided by the manufacturer to establish the connection.
- Wi-Fi Extender Mode: If your router has a Wi-Fi extender mode, you can use it to connect to your modem without an Ethernet cable. This mode allows the router to extend the range of your existing wireless network while connecting to the modem wirelessly.
Consult your router and modem’s user manuals or visit the manufacturer’s website for specific instructions on how to connect them wirelessly. They will provide detailed steps and guidance tailored to your device’s make and model.
Once the wireless connection between your router and modem is established, the devices should be able to communicate with each other. This means that your router can access the internet through your modem without the need for a physical Ethernet cable.
Now that your router and modem are connected without Ethernet, it’s time to test your connection to ensure everything is working as expected. Let’s move on to Step 5: Test Your Connection.
Step 5: Test Your Connection
After successfully connecting your router to your modem without an Ethernet cable, it’s essential to test your connection to ensure that everything is working as expected. Testing the connection will verify that your devices are communicating correctly and that you have internet access.
To test your wireless connection, follow these steps:
- On your computer or mobile device, locate the wireless network icon in the system tray or settings menu. Click on it to view available networks.
- You should see the wireless network name (SSID) you configured for your router. Select it and enter the password you set during the configuration process.
- Wait for your device to connect to the network. Once connected, check the network icon to confirm that you are connected to the internet.
- Open a web browser and try accessing a website to ensure that you have internet connectivity. If the webpage loads successfully, it indicates that your connection is working correctly.
- If you encounter any issues during the testing process, double-check your router’s settings, including the SSID and password. You can also try power cycling your router and modem by unplugging them, waiting for a few seconds, and then plugging them back in.
If the connection test is successful and you have internet access, congratulations! You have successfully connected your router to your modem without the need for an Ethernet cable. You can now enjoy the convenience of a wireless network and connect multiple devices without restrictions.
If you face any difficulties during the testing process or if your connection is not established, it may be helpful to consult the documentation or support resources provided by your router or modem manufacturer. They can provide further assistance and troubleshooting guidance tailored to your specific setup.
With your connection successfully tested, you’re now ready to fully utilize your newly established wireless network. Connect your devices and enjoy high-speed internet access without the hassle of Ethernet cables.
We hope this step-by-step guide has been helpful in assisting you in connecting your router to your modem without an Ethernet cable. If you have any further questions or need additional support, don’t hesitate to reach out to your router or modem manufacturer’s customer support.
Conclusion
Congratulations on successfully connecting your router to your modem without the need for an Ethernet cable! By following the steps outlined in this guide, you have achieved the convenience and flexibility of a wireless network.
Throughout the process, we discussed the importance of ensuring that both your router and modem support Wi-Fi connectivity. We also covered the steps of resetting your devices to their factory settings, configuring your router’s Wi-Fi settings, and establishing a wireless connection between your router and modem.
After connecting the devices, it was vital to test your connection to verify that you have internet access. Performing a connection test ensures that everything is set up correctly and allows for troubleshooting in case of any issues.
Now that your router and modem are wirelessly connected, you can connect multiple devices to enjoy high-speed internet access without the need for physical cables. This opens up a world of possibilities and provides greater flexibility in setting up your network.
If you encounter any difficulties during the process or have questions specific to your router or modem model, consult the manufacturer’s documentation or customer support for further assistance. They are there to help you make the most of your wireless network.
Thank you for taking the time to read this guide. We hope that it has provided you with the knowledge and guidance needed to connect your router to your modem without an Ethernet cable. Embrace the freedom of wireless connectivity and enjoy the convenience it offers!