Introduction
Welcome to our guide on how to connect your PS3 to the internet using an Ethernet cable. Whether you’re a casual gamer or a serious player, having a stable and reliable internet connection is essential for an immersive gaming experience. While many prefer to connect their gaming consoles wirelessly, using an Ethernet cable can provide a more stable and faster connection, especially for online multiplayer games or streaming services.
In this article, we’ll walk you through the step-by-step process of connecting your PS3 to the internet using an Ethernet cable. We’ll cover everything from gathering the necessary equipment to configuring the network settings on your console. By following these instructions, you’ll be able to enjoy online gaming and other internet-based features on your PS3 without any connection issues.
This method of connecting your PS3 to the internet is particularly useful if your gaming console is located far away from your wireless router or if you’re experiencing weak Wi-Fi signals. By directly connecting your PS3 to the modem or router using an Ethernet cable, you can bypass any potential interference and achieve a more stable and consistent connection.
Before we dive into the steps, make sure you have an Ethernet cable that is long enough to reach from your PS3 to your modem or router. Additionally, ensure that you have an available Ethernet port on your modem or router as well as on the back of your PS3. With all the necessary equipment ready, we can now proceed to the first step of the process.
Step 1: Gather the necessary equipment
Before connecting your PS3 to the internet with an Ethernet cable, you’ll need to gather a few essential items:
- An Ethernet cable: Make sure you have a working Ethernet cable that is long enough to reach from your PS3 to your modem or router. It’s recommended to use a Cat-5 or higher category Ethernet cable for optimal performance.
- A modem or router: You’ll need a modem or router with an available Ethernet port. This is where you’ll connect the other end of the Ethernet cable.
- A power source: Ensure that your modem or router is connected to a power source and turned on to establish an internet connection.
Once you have these items ready, you can proceed to the next step of connecting your PS3 to the internet using an Ethernet cable. It’s important to note that this method may differ slightly depending on the specific model of your PS3, but the general steps should remain the same.
Now that you have everything prepared, let’s move on to the next step and start connecting your PS3 to the internet.
Step 2: Connect the Ethernet cable to the PS3
Now that you have gathered the necessary equipment, it’s time to connect the Ethernet cable to your PS3. Here’s how:
- Locate the Ethernet port on the back of your PS3. It is usually labeled as “LAN” or “Ethernet.”
- Take one end of the Ethernet cable and insert it firmly into the Ethernet port on the back of your PS3. Make sure it is securely connected.
- Ensure that the other end of the Ethernet cable remains unplugged at this stage.
Connecting the Ethernet cable directly to your PS3 will allow for a wired internet connection, which is often more stable than a wireless connection. This is especially beneficial for online gaming, as it reduces latency and provides a reliable connection during gameplay.
Now that the Ethernet cable is connected to your PS3, we can move on to the next step: connecting the other end of the cable to your modem or router. This will enable your PS3 to access the internet.
Step 3: Connect the other end of the Ethernet cable to the modem or router
With the Ethernet cable securely connected to your PS3, it’s time to establish a connection to your modem or router. Follow these steps:
- Locate an available Ethernet port on your modem or router. These ports are typically labeled with numbers or icons indicating their purpose.
- Take the other end of the Ethernet cable and plug it firmly into the available Ethernet port on your modem or router.
- Ensure that the connection is secure and that the cable is properly inserted to establish a stable connection.
By connecting the Ethernet cable from your PS3 directly to your modem or router, you are creating a wired connection that allows your PS3 to access the internet. This method eliminates the limitations and potential interference associated with a wireless connection, providing a more reliable and stable connection for online gaming and other internet-based activities.
Once the Ethernet cable is connected to your modem or router, you’re ready to proceed to the next step: configuring the network settings on your PS3 to enable internet access.
Step 4: Configure network settings on the PS3
Now that you have the Ethernet cable connected to both your PS3 and modem or router, it’s time to configure the network settings on your PS3. Follow these steps:
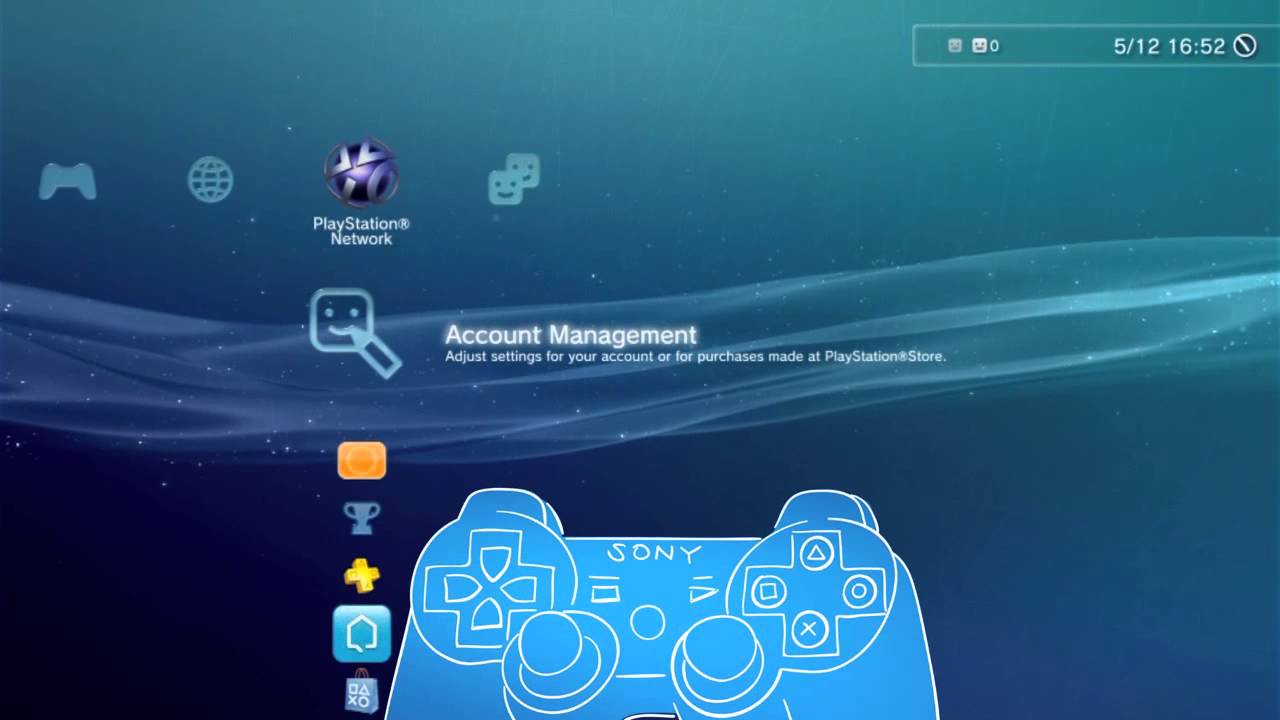
- Turn on your PS3 and navigate to the main menu.
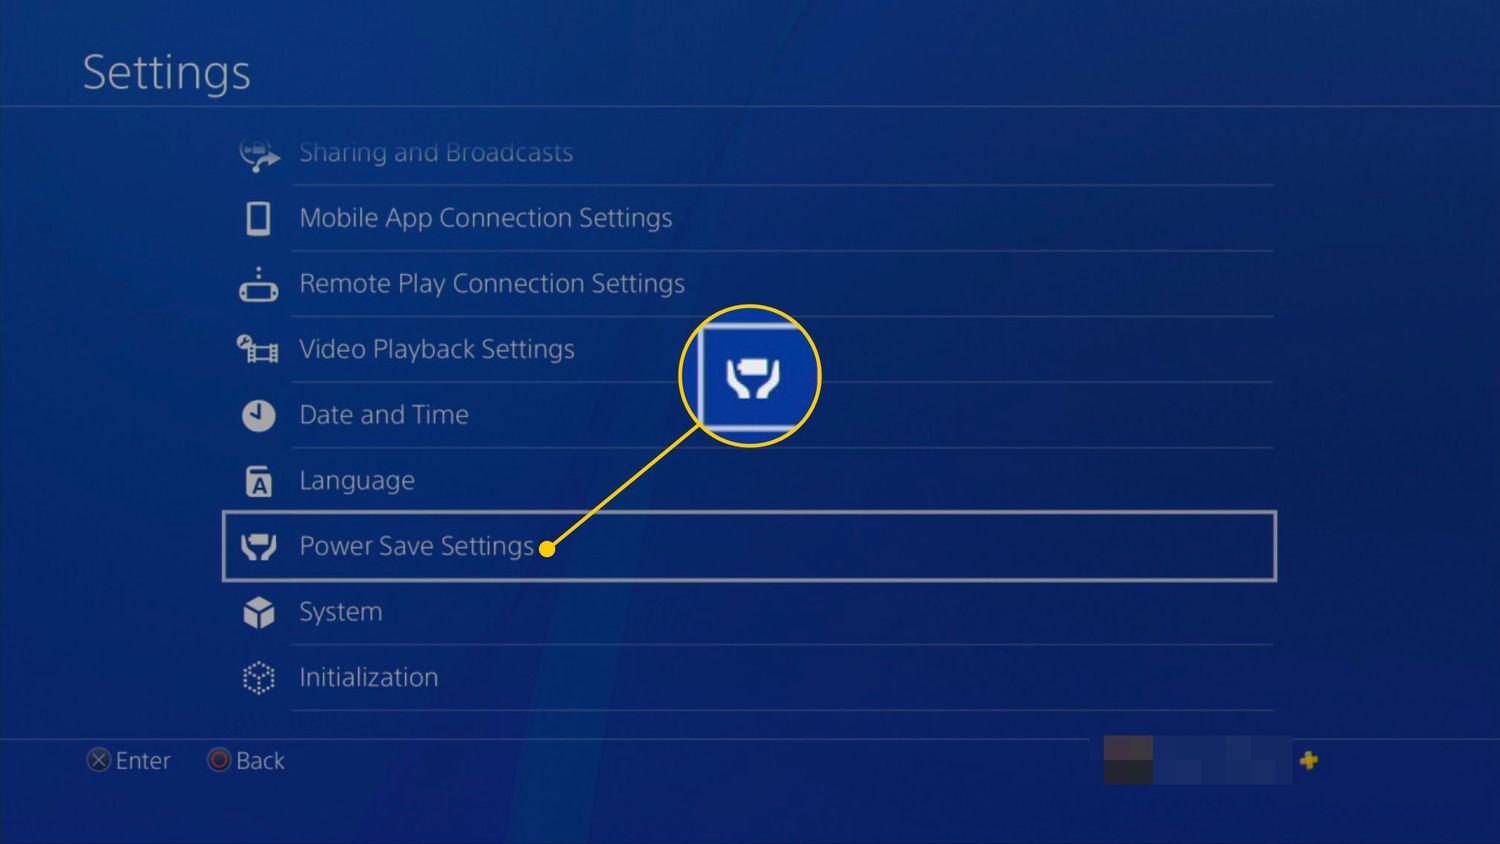
- Select “Settings” from the menu options.
- Scroll down and select “Network Settings.”
- Choose “Internet Connection Settings” and select “Yes” when prompted to continue.
- Select “Wired Connection.”
- Choose “Easy” when prompted to configure the Internet connection.
- Wait for the PS3 to automatically detect the IP address and other network settings.
- Select “Automatic” for the IP Address Setting and DHCP Host Name options.
- For the DNS Setting, select “Automatic” or enter the DNS server address provided by your internet service provider (ISP).
- Choose “Automatic” for the MTU and Proxy Server settings.
- Save the settings and test the connection to ensure that your PS3 is successfully connected to the internet.
By configuring the network settings on your PS3 to use the wired connection, you are ensuring that your console is properly connected to the internet through the Ethernet cable. This step is crucial to establish a stable and reliable connection, allowing you to enjoy seamless online gaming and access other internet features on your PS3.
If the network settings are configured correctly and the connection test is successful, you can proceed to the final step: testing the internet connection on your PS3.
Step 5: Test the internet connection
Now that you have configured the network settings on your PS3, it’s time to test the internet connection to ensure everything is working correctly. Follow these steps:
- From the main menu, go to “Settings.”
- Select “Network Settings.”
- Choose “Internet Connection Test.”
- Wait for the test to complete and analyze the results.
The Internet Connection Test will check if your PS3 is successfully connected to the internet through the Ethernet cable. It will verify your IP address, internet speed, and NAT type. If the test indicates that you have successfully connected to the internet, you can proceed to enjoy online gaming and other internet features on your PS3.
If the test does not pass or indicates an issue, double-check the network settings you entered in Step 4. Make sure the Ethernet cable is securely connected to both your PS3 and modem or router. You may also want to restart your modem or router to ensure a fresh connection. If the problem persists, you may need to consult your internet service provider (ISP) for further assistance.
Once the internet connection test is successful, you can start exploring the online world of gaming, streaming, and downloading on your PS3. Enjoy a stable and fast connection, ensuring a seamless gaming experience for both single-player and multiplayer games.
Congratulations! You have successfully connected your PS3 to the internet using an Ethernet cable. Now you can fully enjoy online gaming, stream content, and access various online features on your console.
Conclusion
Connecting your PS3 to the internet using an Ethernet cable can greatly enhance your gaming experience by providing a more stable and reliable connection. By following the steps outlined in this guide, you can easily establish a wired connection between your PS3 and your modem or router.
Starting with gathering the necessary equipment, including an Ethernet cable, modem or router, and a power source, you can proceed to connect the Ethernet cable to your PS3 and then to your modem or router. Configuring the network settings on your PS3 ensures that it correctly recognizes the wired connection, and testing the internet connection verifies its success.
Using an Ethernet cable eliminates the limitations and potential interference associated with a wireless connection, resulting in reduced latency and a more stable gaming experience. This is particularly beneficial for online multiplayer games, where a reliable connection is crucial.
Remember to ensure that your modem or router is up to date and properly connected to the internet, as any issues with these devices can affect the overall connection quality. Additionally, regularly check for firmware updates for your PS3 to keep it optimized for online gaming and other internet-based activities.
Now that you have successfully connected your PS3 to the internet via an Ethernet cable, you can enjoy seamless online gaming, streaming, and other internet features on your console. Get ready to embark on exciting multiplayer adventures, stream your favorite movies and shows, and explore a world of online possibilities.
Embrace the power of a stable and reliable connection with your PS3, and let the gaming journey begin!