Introduction
Welcome to the world of PS3, where you can not only enjoy breathtaking games but also listen to your favorite music. The PlayStation 3 provides a convenient way to download and store music directly onto the console, allowing you to create personalized playlists and immerse yourself in a soundtrack that truly enhances your gaming experience.
Downloading music on your PS3 is a straightforward process, and this article will guide you through the necessary steps. Whether you want to listen to new tunes while playing games or simply want to have a collection of your favorite songs on your gaming console, this guide will show you how to successfully download music onto your PS3.
With the PS3’s powerful hardware and excellent media capabilities, you can easily transform your gaming console into a complete entertainment center. By downloading music onto your PS3, you’ll have access to a vast library of songs to enjoy at your convenience.
So, if you’re ready to dive into the world of music on your PS3, let’s get started with setting up your console and creating a PlayStation Network account. Once you’ve completed these initial steps, you’ll be able to access the PlayStation Store and begin your music downloading journey. Get ready to elevate your gaming experience with an incredible playlist tailored to your preferences!
Step 1: Setting up your PS3
The first step to downloading music on your PS3 is ensuring that your console is set up and ready to go. Here’s how you can set up your PS3 to get started:
1. Connect your PS3 to your television: Use an HDMI cable or AV cables to connect your PS3 to your TV. Make sure the connections are secure and properly inserted into the corresponding ports. Turn on your TV and switch it to the appropriate input channel.
2. Power up your PS3: Connect the power cable to your PS3 and plug it into an electrical outlet. Press the power button on the front of the console to turn it on. Wait for the system to boot up, and you’ll be greeted with the PS3’s home screen.
3. Connect to the internet: To download music on your PS3, you’ll need an internet connection. You can connect your PS3 to the internet either via a wired Ethernet connection or a wireless Wi-Fi connection. To connect via Ethernet, simply plug one end of an Ethernet cable into your PS3 and the other end into your router or modem. For a wireless connection, head to the PS3’s settings, select “Network Settings,” and follow the prompts to connect to your Wi-Fi network.
4. Update your PS3 system software: It’s crucial to keep your PS3’s system software up to date to ensure the smooth running of applications and services. From the PS3’s home screen, go to “Settings” and select “System Update.” If there’s a new update available, follow the on-screen instructions to download and install it.
5. Set up user accounts: The PS3 allows multiple user accounts, so you can create separate profiles for different family members or friends. From the PS3’s home screen, go to “Settings” and select “Users.” Follow the prompts to create a new user account, providing a username, password, and additional preferences.
Once you’ve completed these steps, your PS3 will be set up and ready for downloading music. In the next step, we will guide you through creating a PlayStation Network account, which is essential for accessing the PlayStation Store and downloading music onto your PS3.
Step 2: Creating a PlayStation Network Account
Before you can start downloading music on your PS3, you’ll need to create a PlayStation Network (PSN) account. The PSN account allows you to access the PlayStation Store and enjoy a wide range of digital content, including music, games, and movies. Follow these steps to create your PSN account:
1. Go to the PlayStation Network Sign-Up page: On your PS3’s home screen, navigate to the PlayStation Network icon, usually located in the top menu bar. Select the icon to open the PlayStation Network Sign-Up page.
2. Select “Create New Account”: On the PlayStation Network Sign-Up page, select “Create New Account” to begin the account creation process.
3. Choose your country or region: Select your country or region from the available options. This will determine the available content and services specific to your location.
4. Agree to the terms and conditions: Read through the terms and conditions carefully and select “Accept” if you agree to them. It’s important to understand and adhere to Sony’s policies and guidelines.
5. Enter your personal details: Provide the required information, including your date of birth, email address, and desired username and password. Ensure that you choose a secure password that combines letters, numbers, and special characters to protect your account.
6. Verify your account: Once you’ve entered your details, you’ll receive an email with a verification link. Open your email and click on the verification link to confirm your account. This step is necessary to activate your PSN account.
7. Complete your profile: After verifying your account, you’ll be prompted to complete your PSN profile. You can add additional personal information, customize your avatar, and set your privacy preferences. Take some time to personalize your profile according to your preferences.
8. Sign in to your PSN account: Return to your PS3’s home screen and select “Sign In” to log in to your newly created PSN account.
Congratulations! You have successfully created your PlayStation Network account. Now that you have an active PSN account, you can proceed to the next step, which involves accessing the PlayStation Store to browse and select your desired music.
Step 3: Accessing the PlayStation Store
Now that you have a PlayStation Network account, you can access the PlayStation Store on your PS3 to explore and discover a vast collection of music. The PlayStation Store is where you can browse, purchase, and download various digital content, including music albums, singles, and soundtracks. Follow these steps to access the PlayStation Store:
1. Sign in to your PSN account: From the PS3’s home screen, select “Sign In” and enter your PSN account credentials to log in.
2. Navigate to the PlayStation Store: On the PS3’s home screen, navigate to the PlayStation Store icon, usually located in the top menu bar. Select the icon to launch the PlayStation Store.
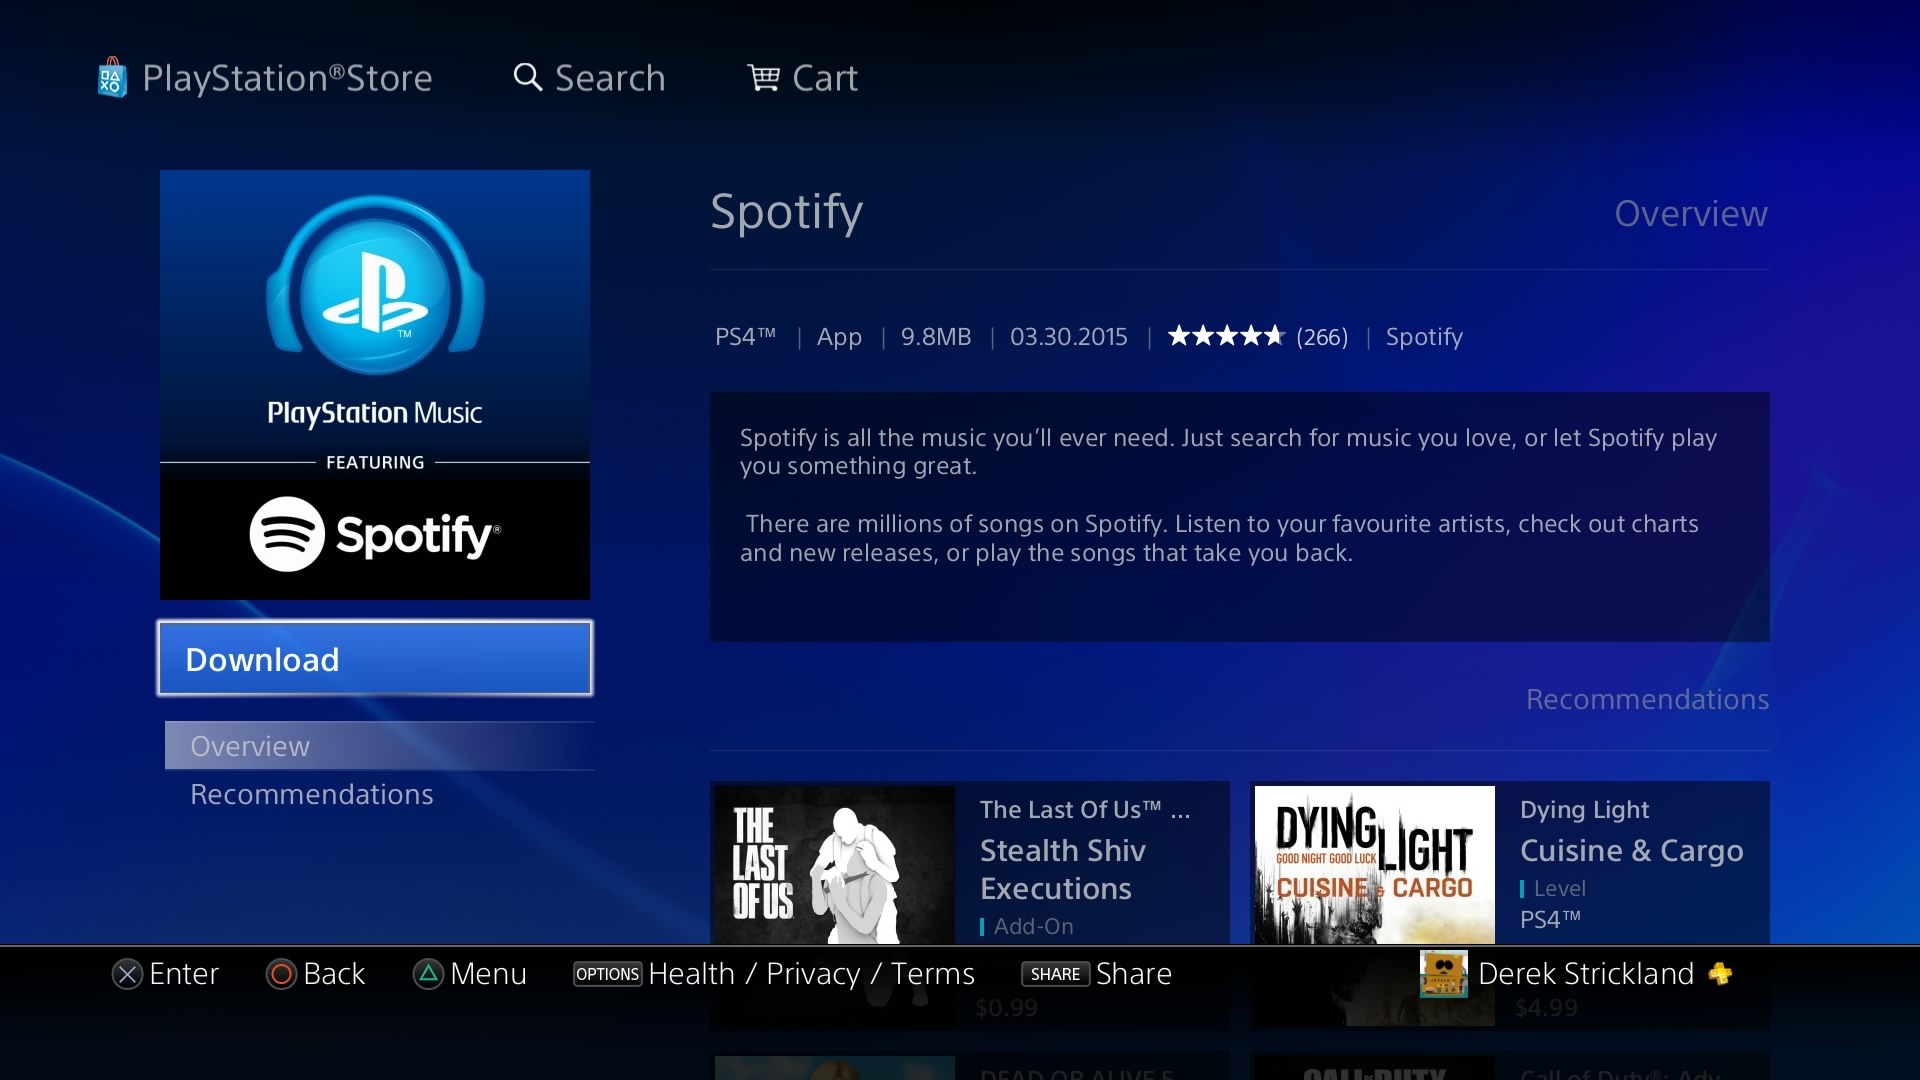
3. Explore the Store categories: Once you’re in the PlayStation Store, you’ll see a variety of categories to explore. These may include Games, Movies, TV Shows, and of course, Music. Select the “Music” category to access the available music content.
4. Browse the music selection: In the Music category, you’ll find a wide range of options, such as new releases, top charts, genres, and featured artists. Take your time to browse through the available selections to find the music you’re interested in downloading. You can use the provided filters and search options to narrow down your search.
5. Read descriptions and listen to previews: When you come across an album or single that catches your attention, click on it to view more details. You’ll find a description of the music, track listing, artist information, and sometimes even snippets or previews of the songs. This will help you make an informed decision before proceeding with the download.
6. Select and purchase music: Once you’ve found the music you want to download, click on the “Buy” or “Add to Cart” button, depending on the purchasing options available. Follow the on-screen prompts to confirm your purchase and complete the transaction. If the music is free, you may be able to download it directly without any additional steps.
7. Monitor the download progress: After confirming your purchase, the music will start downloading onto your PS3. You can monitor the progress from the “Download” section of the PlayStation Store. Depending on the size of the music files and your internet connection speed, the download may take a few minutes or longer.
With these steps complete, you have successfully accessed the PlayStation Store and navigated through the available music content. In the next step, we will dive into the process of downloading the music onto your PS3.
Step 4: Browsing and Selecting Music
Now that you are in the PlayStation Store and ready to download music onto your PS3, it’s time to browse the available selection and choose the music that suits your tastes. Here’s how you can browse and select music on your PS3:
1. Explore different categories: Within the PlayStation Store, you’ll find various categories to help you navigate through the available music options. These categories may include New Releases, Top Charts, Genres, Artists, and more. Take your time to explore these categories and discover new music that piques your interest.
2. Sort and filter the results: Within each category, you can sort the music by different criteria such as popularity, release date, or even price. You can also use filters to refine your search according to specific genres, artists, or albums. Utilize these sorting and filtering options to save time and find the music you’re most interested in.
3. Read album or single descriptions: When you find a music release that catches your attention, click on it to view more details. You’ll typically find a description of the album or single, which may include information about the artist, the tracklist, and the overall style or theme of the music. Take the time to read through these descriptions to get a better understanding of what the music has to offer.
4. Listen to previews: To ensure that the music meets your expectations, most releases in the PlayStation Store allow you to listen to previews of the songs. These previews are short snippets of the tracks, giving you a taste of the overall sound and style. Listening to previews can help you make an informed decision about whether to purchase and download the music.
5. Check customer reviews and ratings: The PlayStation Store often includes customer reviews and ratings for the music releases. These reviews can provide valuable insights from fellow users who have already purchased and listened to the music. Consider checking the reviews to see what others think about the album or single before making your final decision.
6. Add music to your cart or purchase it directly: Once you’ve found the music you want to download, you can add it to your cart for multiple purchases or buy it directly. If you’re adding music to your cart, continue browsing and selecting more music before proceeding to checkout. When you’re ready, review your cart and proceed with the purchase.
By following these steps, you can browse through the available music options on the PlayStation Store, making informed decisions based on descriptions, previews, and customer reviews. In the next step, we’ll explore how to download the selected music onto your PS3.
Step 5: Downloading Music to Your PS3
With your selected music ready, it’s time to download and add it to your PS3’s music library. Follow these steps to download music onto your PS3:
1. Access your download list: After purchasing or adding music to your cart, go to the PlayStation Store’s menu and select “Download List.” This list will display all the items you have purchased or added for download.
2. Select the music to download: From the download list, locate the music you want to download and select it. You can either choose to download individual songs or select the option to download the entire album, depending on your preference.
3. Start the download: Once you’ve selected the music you want to download, choose the “Download” option. The download will begin, and you’ll see a progress bar indicating the status of the download. The time it takes to download will depend on the size of the music file and your internet connection speed.
4. Monitoring the download: While the music is downloading, you can monitor the progress from the download list. If you have multiple downloads in progress, you’ll see each one listed with its respective progress bar. Give the downloads some time to complete, and avoid interrupting the process to ensure successful and complete downloads.
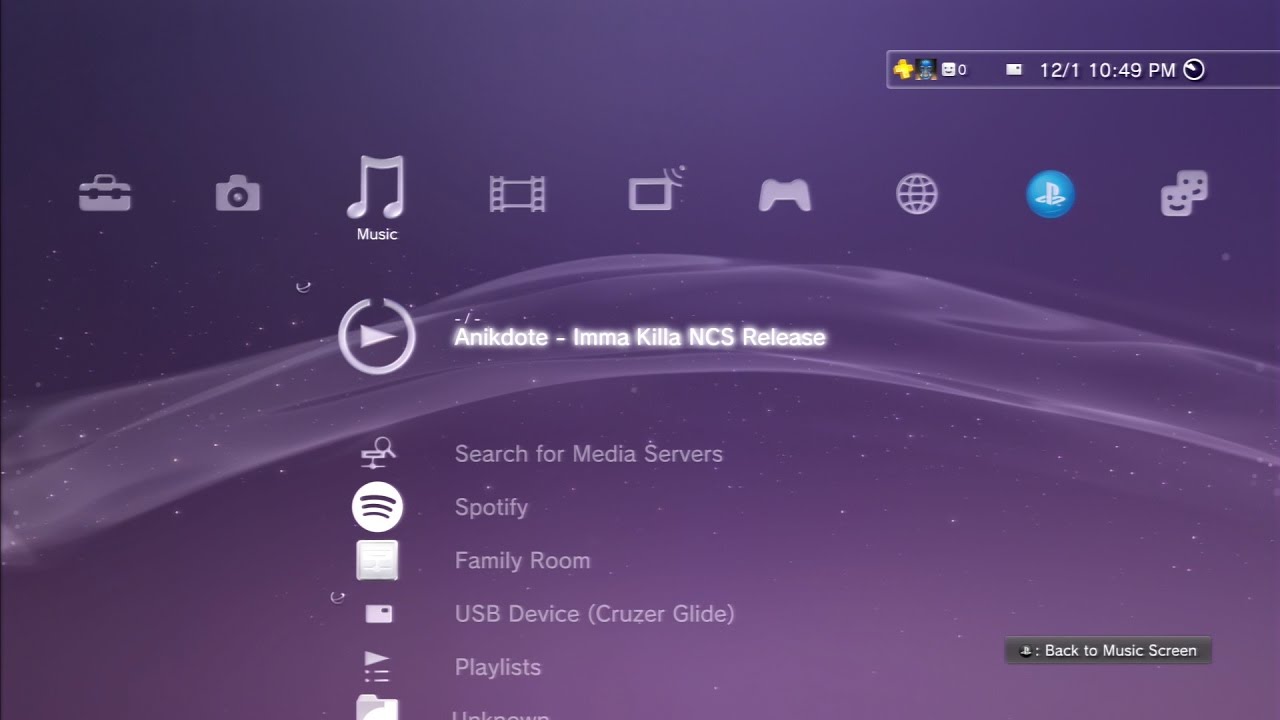
5. Accessing the downloaded music: Once the download is complete, the music will be added to your PS3’s music library. You can access your music library by going to the “Music” section on the PS3’s menu or by navigating to the dedicated music app on the console. From there, you’ll be able to play, organize, and enjoy your downloaded music.
6. Creating playlists: With the downloaded music in your library, you can create playlists to customize your listening experience. Select the music you want to add to a playlist and choose the “Add to Playlist” option. Follow the on-screen prompts to create a new playlist or add to an existing one. Playlists allow you to organize your music based on your preferences or mood.
By following these steps, you can successfully download music onto your PS3 and access it in your library for playback. With your music collection ready, you can now transfer it to a USB device for easy portability. In the next step, we will guide you through the process of transferring music to a USB device.
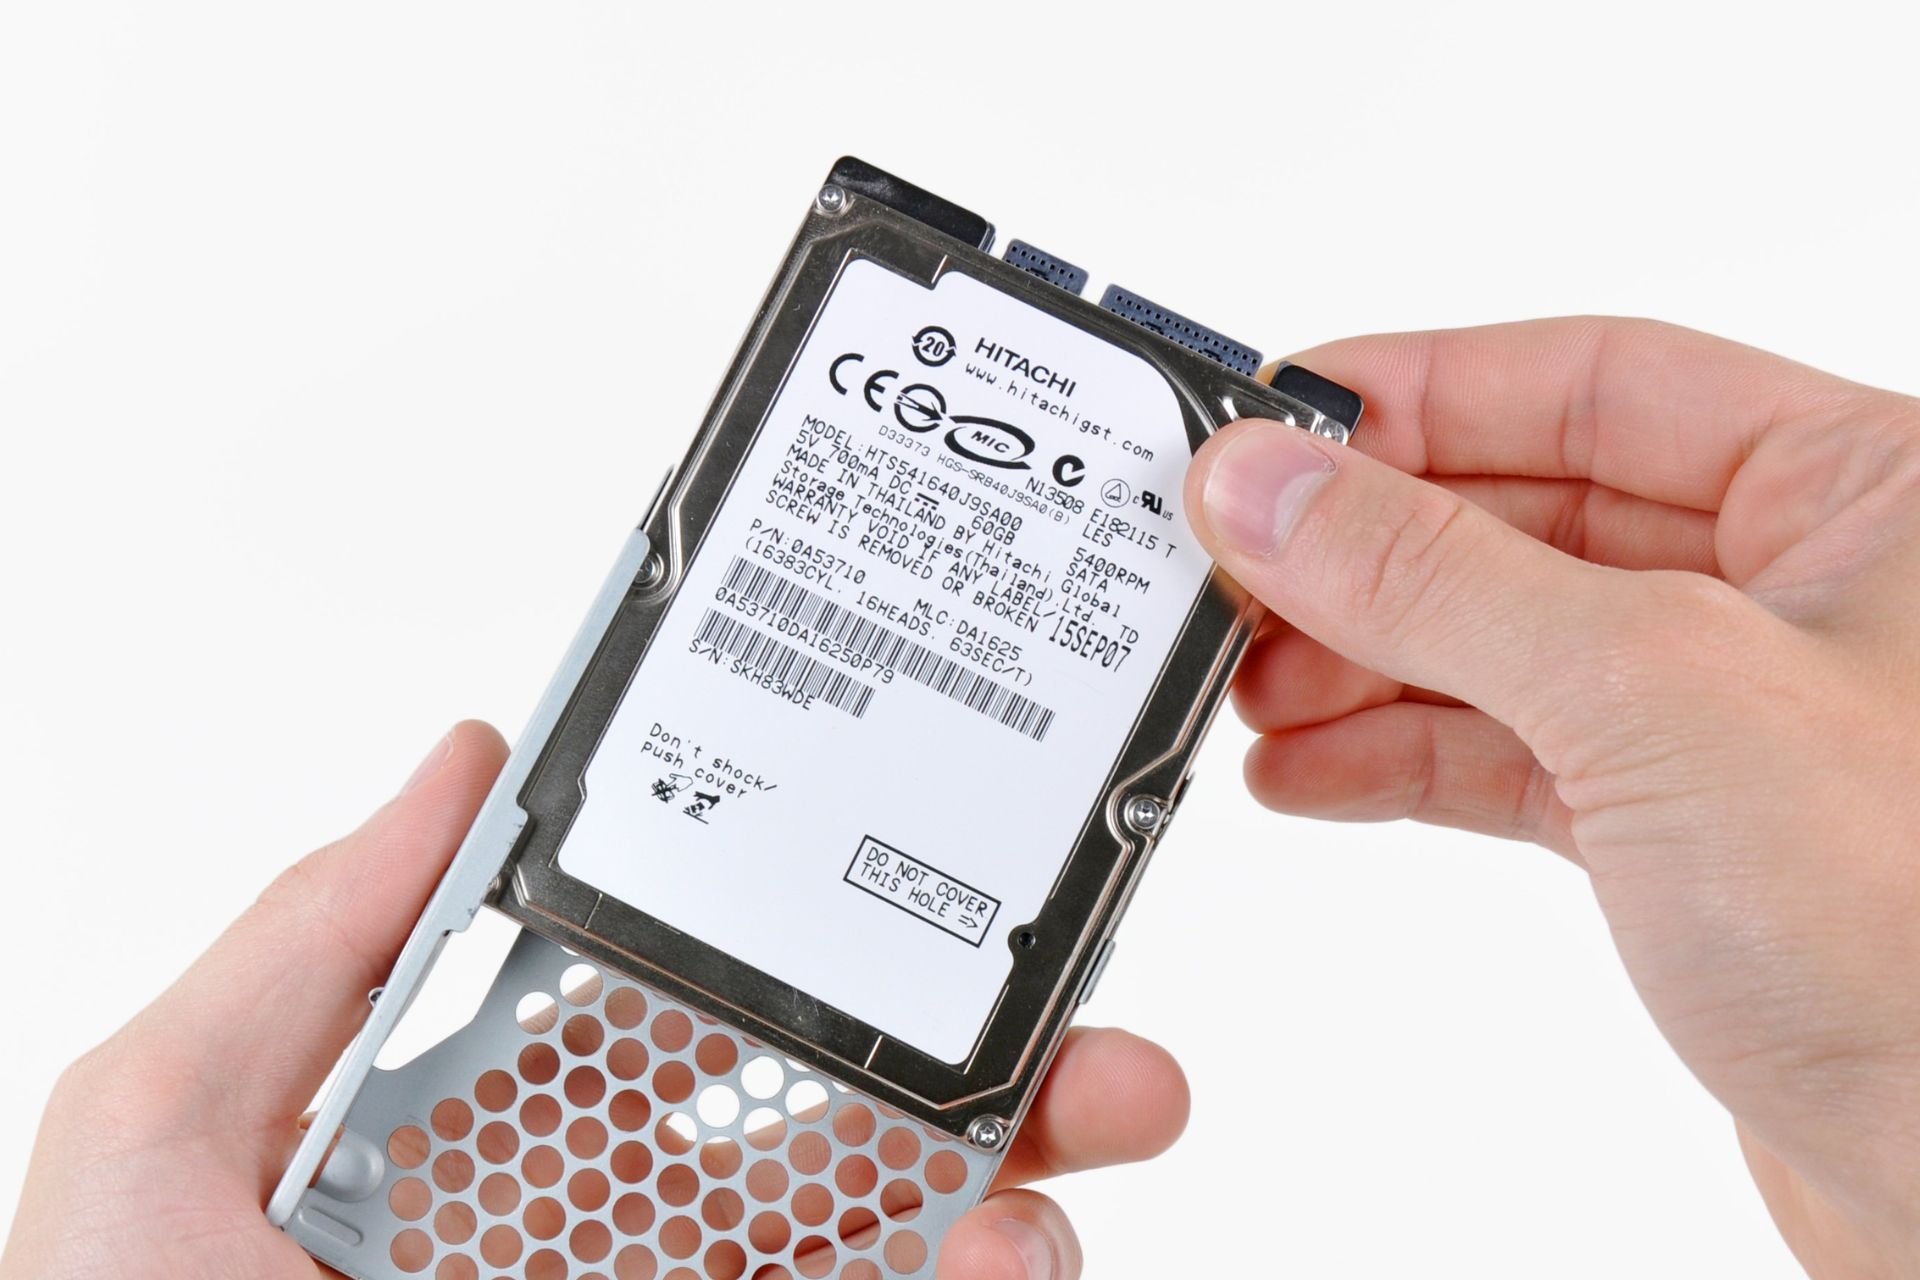
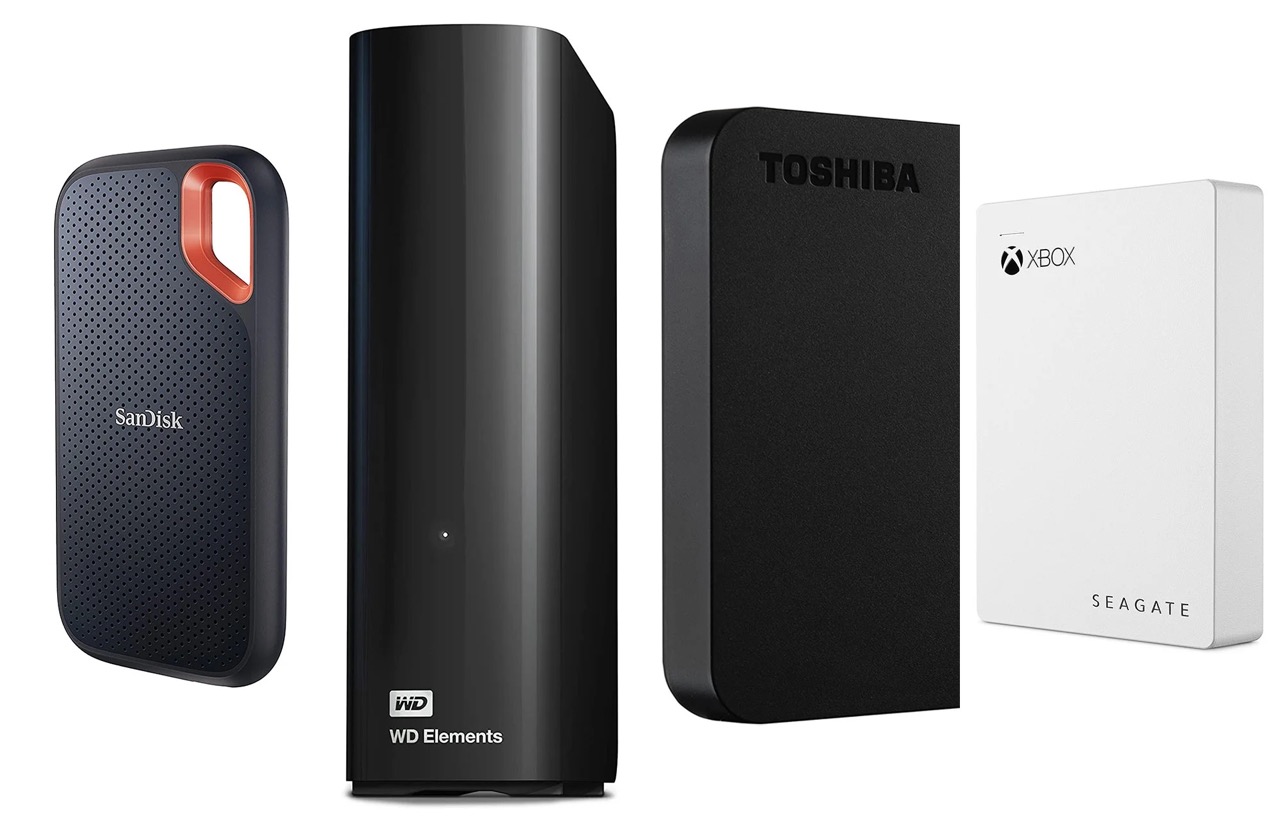
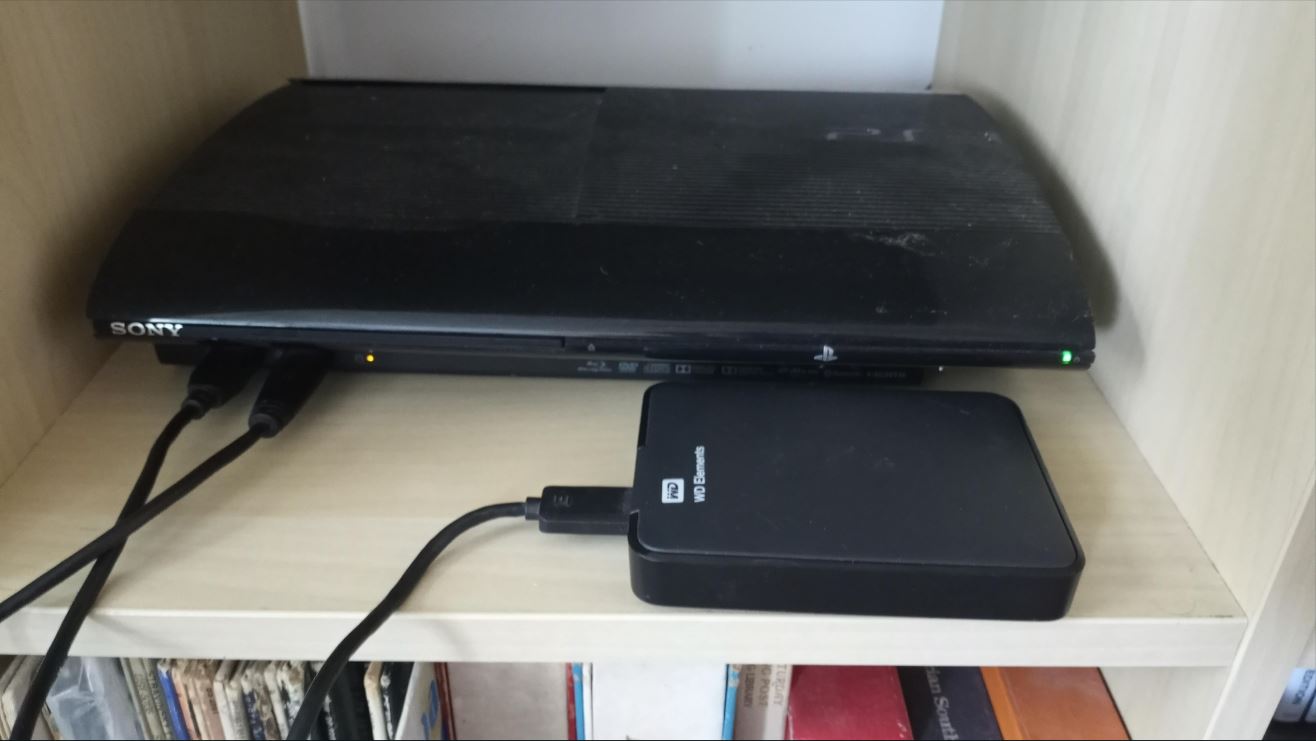
Step 6: Transferring Music to a USB Device
Transferring your downloaded music from your PS3 to a USB device allows you to have your favorite songs on the go or play them on other compatible devices. Follow these steps to transfer music to a USB device:
1. Insert your USB device: Plug your USB device into one of the available USB ports on your PS3. Ensure that the device is properly recognized by the console.
2. Access the music library: Navigate to the music library on your PS3. You can do this by going to the “Music” section on the console’s main menu or through the dedicated music app.
3. Select the desired music: Choose the music that you want to transfer to the USB device. You can select individual songs, entire albums, or playlists, depending on your preferences.
4. Copy the music to the USB device: Once you’ve selected the desired music, select the “Copy” or “Transfer” option. Choose the USB device as the destination for the transfer.
5. Monitor the transfer: The PS3 will initiate the transfer process, copying the selected music from the console’s internal storage to the USB device. You’ll see a progress bar indicating the status of the transfer. Avoid interrupting the process to ensure successful and complete transfers.
6. Eject the USB device: Once the transfer is complete, safely eject the USB device from your PS3. This ensures that the files are properly saved and prevents any data loss or corruption.
7. Verify the transferred music: After ejecting the USB device, you can plug it into a compatible device, such as a computer or a car audio system, to verify that the music has been successfully transferred. Use the device’s media player or file explorer to locate the music files and play them.
With your music successfully transferred to the USB device, you can now enjoy your favorite songs wherever you go. Remember to properly eject the USB device from other devices before removing it to avoid any data loss or corruption. By following these steps, you can easily transfer your downloaded music from your PS3 to a USB device with convenience and ease.
Conclusion
Congratulations! You have successfully learned how to download and transfer music onto your PS3. By setting up your PS3, creating a PlayStation Network account, accessing the PlayStation Store, browsing and selecting music, downloading it onto your console, and transferring it to a USB device, you can now enjoy your favorite tunes while gaming or on the go.
The PS3 offers a seamless and convenient way to expand your music library and create personalized playlists that enhance your gaming experience. Whether you’re into the latest hits, classic albums, or unique soundtracks, the PlayStation Store provides a diverse range of options to cater to your musical preferences.
Remember to explore different categories, read descriptions, and listen to previews to make well-informed decisions when selecting music. Additionally, don’t forget to take advantage of the PlayStation Store’s sorting and filtering options to easily find the music that suits your tastes.
Once you’ve downloaded your favorite songs, albums, or playlists, you can access them in your PS3’s music library for playback. If you want to enjoy your music on other devices or while on the move, simply transfer them to a USB device for easy portability and compatibility with various media players.
With these steps, you can truly maximize the entertainment potential of your PS3 by immersing yourself in a soundtrack that enhances your gaming experience and accompanies you on your musical journey.
So, turn up the volume, and get ready to enjoy your favorite tunes alongside your gaming adventures. Happy downloading and gaming!