Introduction
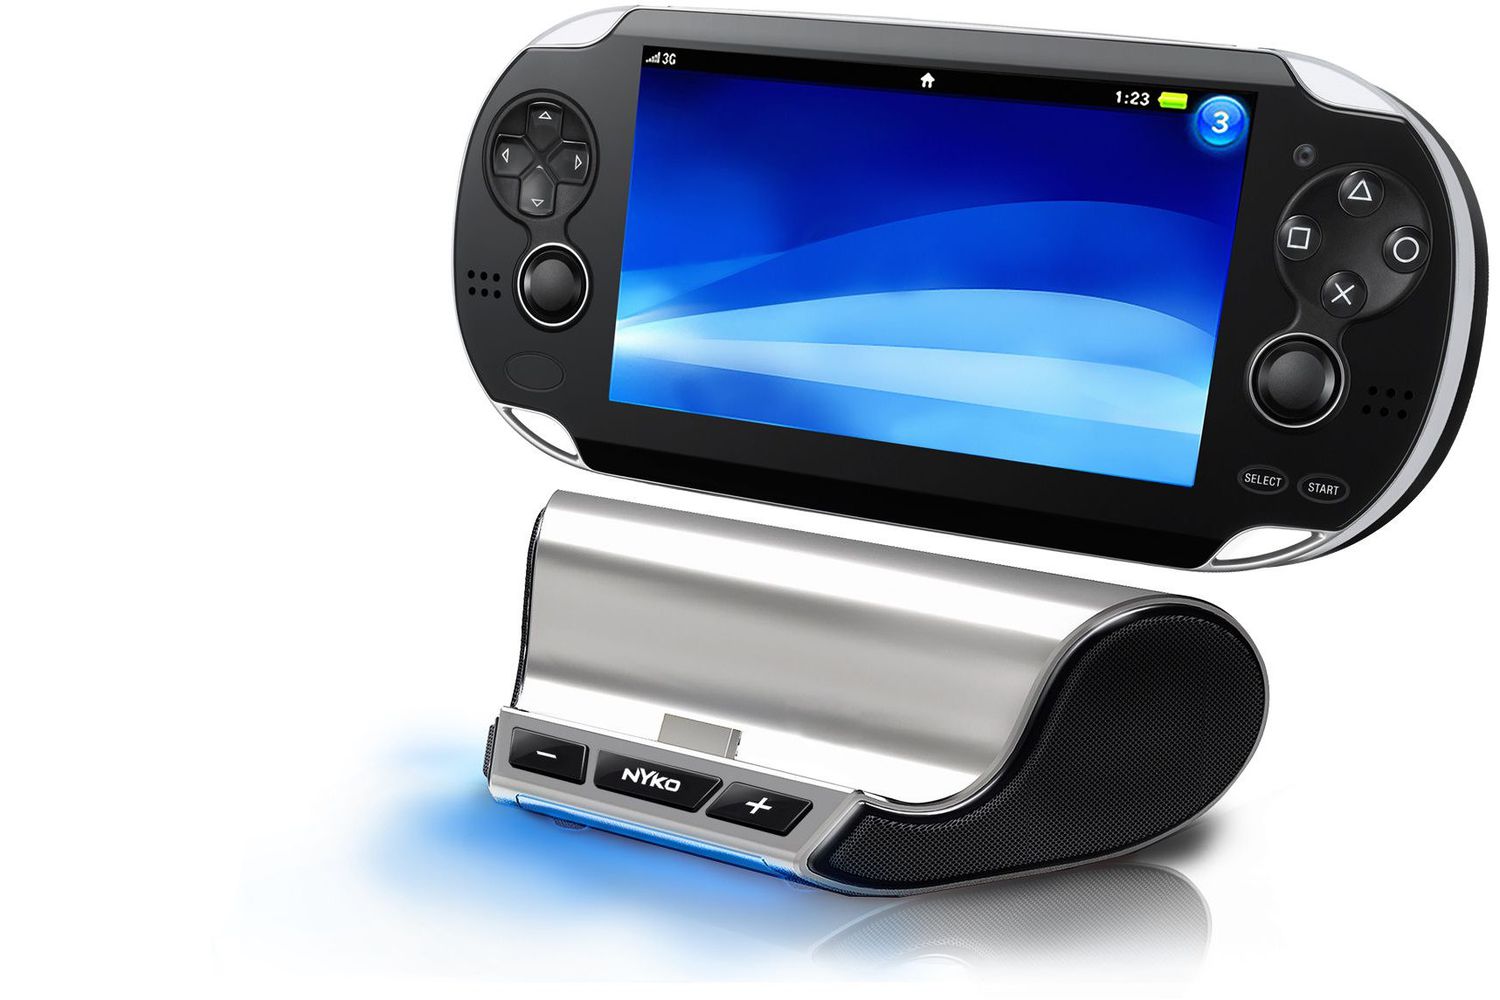
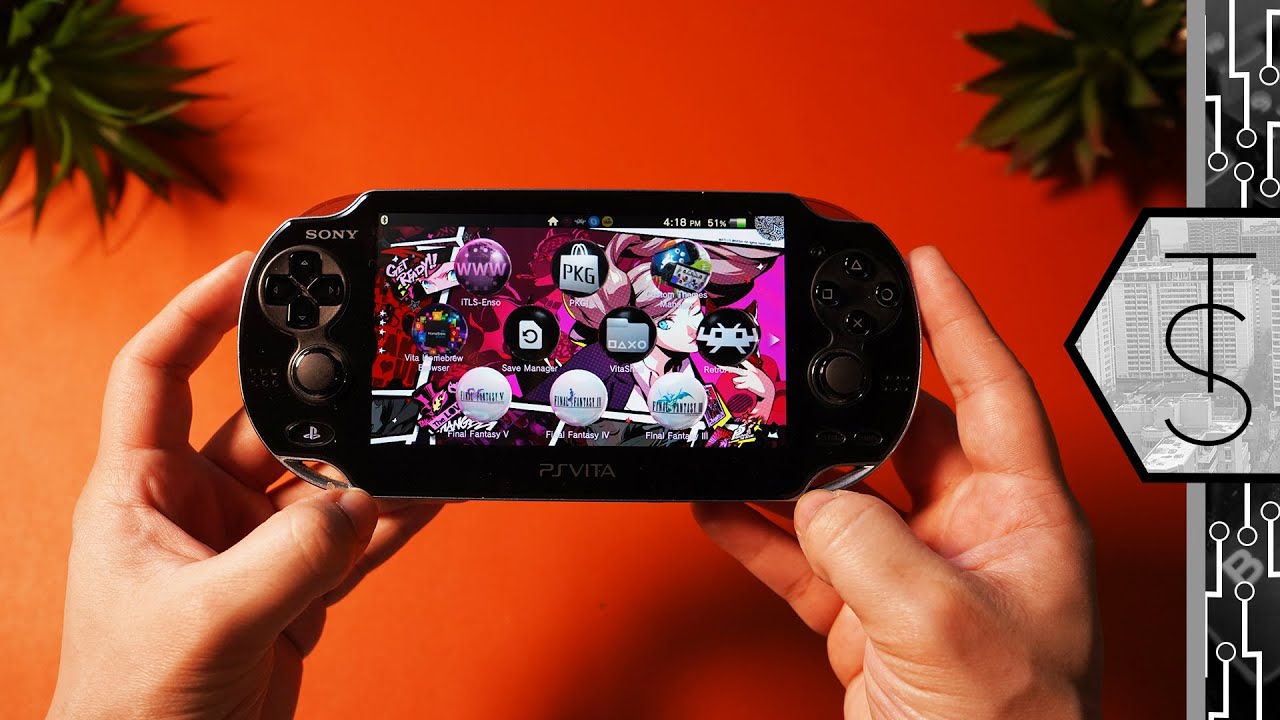
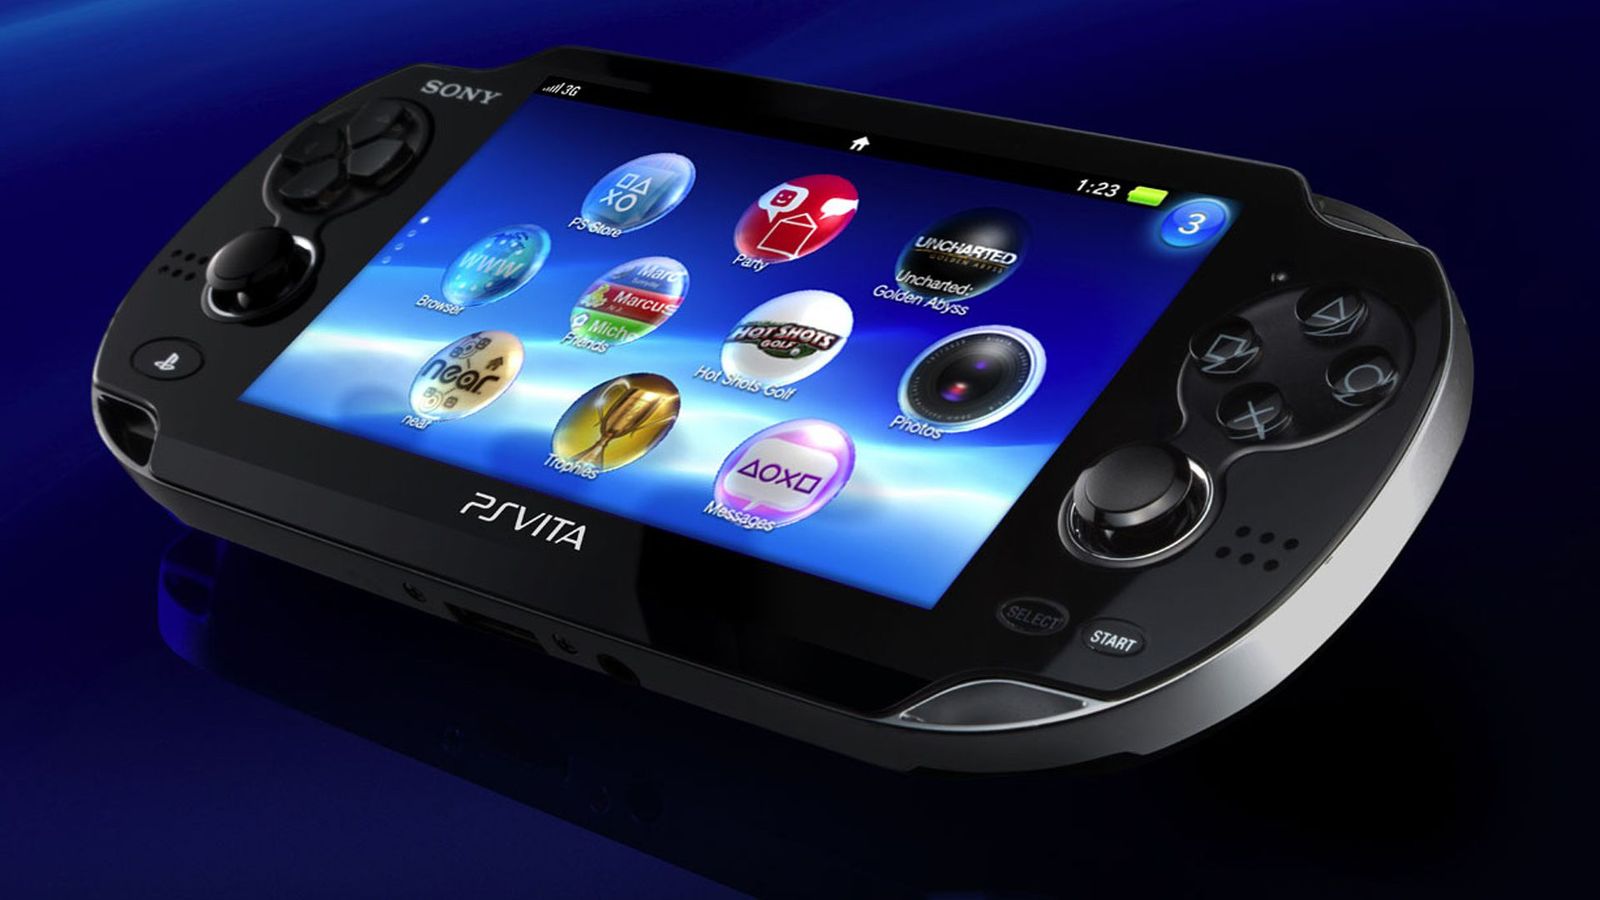
The PS Vita is a popular handheld gaming console developed by Sony that offers not only gaming but also a range of multimedia features. One of the standout features of the PS Vita is its ability to play and store music, allowing users to enjoy their favorite tunes on the go.
However, downloading music to the PS Vita can be a bit confusing for some users. Whether you want to transfer music from your computer, download songs from the PlayStation Store, or sync music from your PS3 or PS4, this guide will take you through the step-by-step process.
With the PS Vita’s music app, you can create playlists, shuffle songs, and customize your listening experience. Whether you’re a music lover or simply want to have some tunes to accompany your gaming sessions, this guide will show you how to download music to your PS Vita and enjoy your favorite tracks wherever you go.
Before we begin, it’s important to note that the PS Vita supports various audio formats, including MP3, AAC, and WAV. Make sure that your music files are in one of these formats to ensure compatibility with the PS Vita.
Now, let’s dive into the various methods of downloading music to your PS Vita, whether it’s from your computer, the PlayStation Store, or your PS3/PS4.
Getting Started with the PS Vita Music App
The PS Vita music app provides a user-friendly interface for managing and playing your music collection. To get started, follow these steps:
- Power on your PS Vita and navigate to the home screen.
- Locate and launch the Music app, which is represented by a musical note icon.
- Once the Music app is open, you’ll be presented with several options, including Library, Playlists, and Settings.
- The Library option allows you to access and browse the music files stored on your PS Vita’s memory card. You can organize your music by artist, album, or playlist.
- To add music to your PS Vita’s library, you’ll first need to transfer songs from your computer or download them from the PlayStation Store.
- The Playlists option allows you to create and manage custom playlists. You can add songs to playlists and arrange them in the desired order. This feature is handy if you have specific music preferences for different activities or moods.
- Lastly, the Settings option allows you to customize your music app experience. Here, you can adjust settings such as shuffle, repeat, and equalizer settings.
Now that you’re familiar with the basic navigation and features of the PS Vita music app, let’s explore how to transfer music from your computer to the PS Vita.
Transferring Music from Your Computer to PS Vita
To transfer music from your computer to your PS Vita, you’ll need to connect the device to your computer using a USB cable. Follow these steps:
- Connect your PS Vita to your computer using a USB cable. Ensure that both devices are powered on.
- On your PS Vita, navigate to the home screen and select the Content Manager app represented by an arrow icon.
- In the Content Manager, choose the “PC” option.
- On your computer, you’ll need to install the Content Manager Assistant software if you haven’t already done so. Visit the official PlayStation website and download the appropriate version for your operating system.
- After installing the Content Manager Assistant, launch the software on your computer and follow the on-screen instructions to connect your PS Vita to your computer.
- In the Content Manager Assistant, select the “Music” option. This will open the file explorer on your computer.
- Locate the music files you want to transfer to the PS Vita and drag them into the Content Manager Assistant window. You can select individual songs or entire folders.
- Once you’ve added the desired music files, click the “Copy” button to initiate the transfer process. The files will be copied to your PS Vita’s memory card.
- Once the transfer is complete, disconnect your PS Vita from your computer.
- On your PS Vita, open the Music app and navigate to the Library or Playlists section to access your transferred music.
Now you can enjoy your favorite music tracks on your PS Vita while on the go. In the next section, we’ll explore another method of downloading music to your PS Vita – directly from the PlayStation Store.
Downloading Music from the PlayStation Store to PS Vita
If you’re looking to expand your music collection, the PlayStation Store offers a wide selection of songs and albums available for download directly to your PS Vita. Follow these steps to download music from the PlayStation Store:
- Power on your PS Vita and navigate to the home screen.
- Locate and launch the PlayStation Store app, which is represented by a shopping bag icon.
- In the PlayStation Store, navigate to the “Music” section, usually found in the menu on the left-hand side.
- Browse through the available music options, including songs, albums, and playlists. You can search for specific artists or genres to find the music you’re interested in.
- Select the music you want to download by clicking on it. This will take you to the music’s details page.
- On the music’s details page, you’ll find information about the artist, album, duration, and pricing (if applicable).
- If the music is free, simply click the “Download” button to initiate the download. If the music has a price, you’ll need to complete the purchase using the payment method linked to your PSN account.
- Once the download is complete, the music will be available in your PS Vita’s Library or Playlists section, depending on your preference.
- You can now access and listen to the downloaded music directly from the PS Vita’s Music app.
Downloading music from the PlayStation Store is a convenient way to discover new artists and enjoy the latest releases. However, if you already have a collection of music on your PS3 or PS4, you can also sync it to your PS Vita. We’ll explore this method in the next section.
Syncing Music from Your PS3 or PS4 to PS Vita
If you have a collection of music on your PS3 or PS4 and want to enjoy it on your PS Vita, you can easily sync it to your handheld device. Here’s how to sync music from your PS3 or PS4 to your PS Vita:
- Ensure that your PS3 or PS4 is connected to the same Wi-Fi network as your PS Vita.
- Power on your PS Vita and navigate to the home screen.
- Locate and launch the Music app.
- In the Music app, select the “Options” button (usually represented by three dots or lines) to open the settings menu.
- In the settings menu, choose “Connect to PS3 or PS4”.
- On your PS3 or PS4, navigate to the Music app.
- In the Music app on your PS3 or PS4, select the “Options” button to open the settings menu.
- Choose the “Connect to PS Vita” option.
- On your PS Vita, you’ll see a prompt to confirm the connection. Select “Yes” to establish the connection between the two devices.
- Once the connection is established, you’ll be able to browse and access the music library on your PS3 or PS4 from your PS Vita.
- Select the songs or albums you want to sync to your PS Vita.
- Click the “Sync” or “Copy” button to transfer the selected music to your PS Vita’s memory card.
- Once the syncing process is complete, you can disconnect your PS Vita from your PS3 or PS4 and access the synced music from the Music app.
Syncing music from your PS3 or PS4 to your PS Vita is a convenient way to enjoy your existing music library on the go. Now that you know how to transfer music from various sources to your PS Vita, it’s essential to understand how to manage and organize your music collection. We’ll delve into this topic in the next section.
Managing and Organizing Your Music on PS Vita
Once you’ve downloaded or transferred music to your PS Vita, it’s important to have a system in place to manage and organize your music collection. Here are some tips for effectively managing and organizing your music on your PS Vita:
- Use playlists: Create customized playlists to group your favorite songs or organize your music based on different genres, moods, or activities. To create a playlist, open the Music app, go to the Playlists section, and select “New Playlist.”
- Edit playlist details: Customize your playlists by giving them meaningful names and adding album art. This will make it easier to identify and select specific playlists. To edit a playlist, go to the Playlists section, select the desired playlist, and choose “Edit Playlist.”
- Create folders: If you have a large music collection, organizing your songs into folders can help you navigate and find music more efficiently. To create a folder, connect your PS Vita to your computer, open the Content Manager Assistant, select “Music,” and create new folders as needed.
- Sort your music: Within the Library section of the Music app, you can sort your music by artist, album, or song title. This makes it easier to locate specific music files, especially if you have a vast collection.
- Delete unwanted music: To free up space on your PS Vita’s memory card, periodically review your music collection and delete any songs or albums that you no longer listen to or need. Simply navigate to the Library section, select the unwanted music, and choose “Delete.”
- Download album art: Album art not only adds visual appeal but also makes it easier to identify songs and albums at a glance. If your music files don’t have album art, consider downloading and adding it manually using software or online album artwork databases.
- Regularly update your music library: Keep your music collection up to date by adding new songs and albums that you enjoy. Whether it’s purchasing new music from the PlayStation Store or transferring songs from your computer, make it a habit to keep your PS Vita’s music library fresh.
By implementing these tips, you can efficiently manage and organize your music collection on your PS Vita, ensuring an enjoyable listening experience whenever you use the Music app.
Troubleshooting Common Issues when Downloading Music to PS Vita
While downloading music to your PS Vita is usually a straightforward process, you may occasionally encounter some issues. Here are some common problems you might face and their potential solutions:
- Compatibility issues: Make sure that the music files you are trying to transfer or download are in a compatible format, such as MP3, AAC, or WAV. If the files are in a different format, you may need to convert them using audio conversion software.
- Slow transfer speeds: If you’re experiencing slow transfer speeds when transferring music from your computer to your PS Vita, try using a different USB cable or connecting to a different USB port on your computer. Additionally, ensure that your computer’s USB drivers are up to date.
- Incomplete downloads: If your music downloads from the PlayStation Store are incomplete or interrupted, try restarting the download process. If the problem persists, check your internet connection and ensure that you have sufficient space on your PS Vita’s memory card.
- Error messages: If you encounter error messages while trying to transfer or download music, note down the specific error code and search for it on the official PlayStation support website. Often, error codes have specific troubleshooting steps or solutions provided by Sony.
- Corrupted files: In rare cases, music files may become corrupted during the transfer or download process. If you suspect that a file is corrupted, delete it from your PS Vita and try transferring or downloading it again.
- Memory card issues: If you’re unable to transfer or download music due to memory card issues, try formatting the memory card using your PS Vita. Keep in mind that formatting will erase all data on the memory card, so make sure to back up any important files before proceeding.
- Outdated firmware: Ensure that your PS Vita’s firmware is up to date. The latest firmware updates often include bug fixes and improvements that can resolve issues with downloading and transferring music.
If you’re unable to resolve an issue with downloading music to your PS Vita, it’s recommended to reach out to PlayStation support for further assistance. They can provide tailored solutions based on your specific situation.
Conclusion
Downloading music to your PS Vita allows you to enjoy your favorite tracks while on the go. Whether you transfer music from your computer, download songs from the PlayStation Store, or sync music from your PS3 or PS4, the process is relatively straightforward with the right guidance.
In this guide, we’ve covered various methods of downloading music to your PS Vita, including transferring music from your computer using the Content Manager Assistant, downloading music from the PlayStation Store, and syncing music from your PS3 or PS4.
We’ve also discussed the importance of managing and organizing your music collection on your PS Vita, including creating playlists, sorting music files, and deleting unwanted songs.
Furthermore, we addressed some common troubleshooting issues you may encounter when downloading music, such as compatibility problems, slow transfer speeds, incomplete downloads, error messages, file corruptions, memory card issues, and outdated firmware.
Remember to always ensure that your music files are in compatible formats, maintain a stable internet connection, and keep your PS Vita and associated software up to date for the best downloading experience.
By following the instructions and tips provided in this guide, you can easily download, manage, and enjoy your favorite music on your PS Vita. So why wait? Start grooving to the beats and enhancing your gaming sessions with your favorite tunes today!


