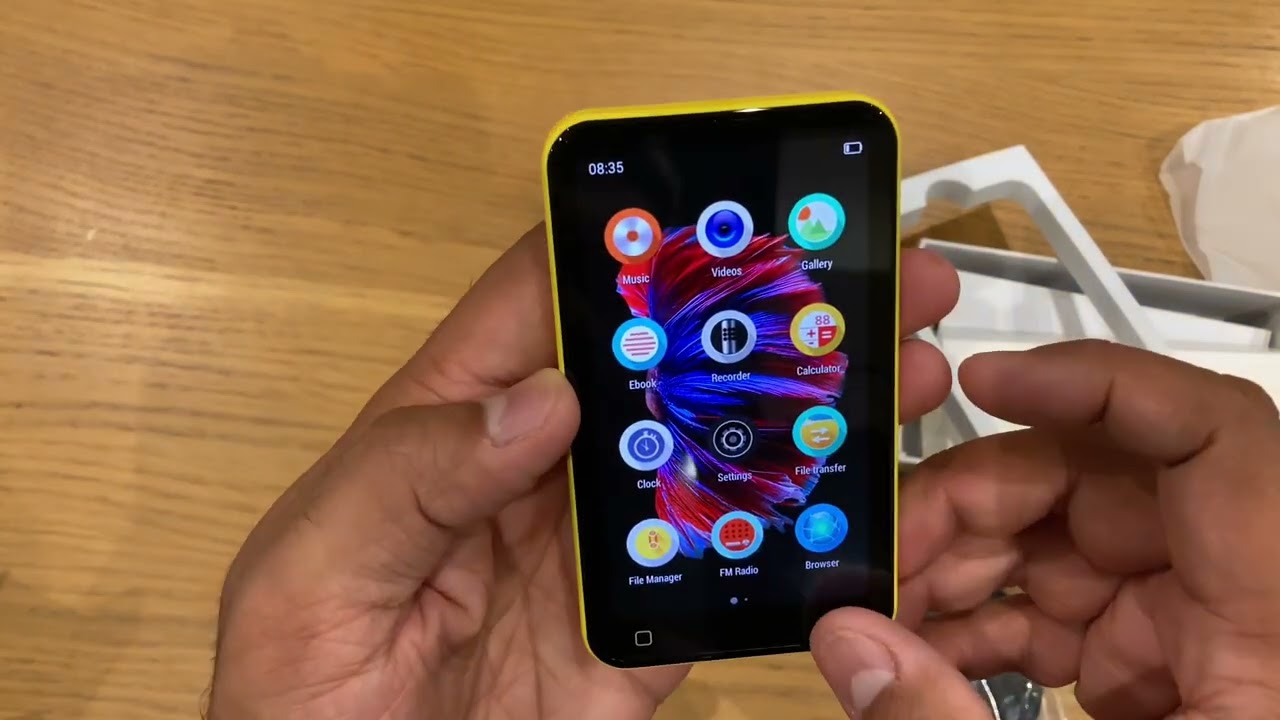
Introduction
Welcome to the world of music! Whether you’re a music enthusiast or simply looking to expand your music library, downloading music to your Eclipse MP3 Player is a fantastic way to enjoy your favorite tunes on the go. With its compact design and user-friendly interface, the Eclipse MP3 Player is a popular choice for music lovers of all ages.
In this article, we will guide you through the steps of how to download music to your Eclipse MP3 Player. It’s a straightforward process that requires just a few simple steps. You’ll be enjoying your favorite songs in no time!
Before we dive into the details, it’s important to note that downloading music should always be done from trusted sources to ensure the safety of your device and personal information. Additionally, ensure that you have the necessary rights to download and listen to the selected songs.
Now, let’s get started on this exciting musical journey!
Step 1: Connect your Eclipse MP3 Player to your computer
The first step in downloading music to your Eclipse MP3 Player is to establish a connection between your device and your computer. This will allow you to transfer music files from your computer to the MP3 player.
To begin, locate the USB cable that came with your Eclipse MP3 Player. Plug one end of the cable into the USB port of your computer and the other end into the MP3 player’s USB port. Ensure that both connections are secure.
Once the connection is established, your computer should recognize the Eclipse MP3 Player as a removable storage device. The device may appear as a new drive in your file explorer or be listed as a connected device.
If your computer does not automatically recognize the MP3 player, you may need to install the necessary drivers. These drivers can usually be found on the manufacturer’s website or in the documentation that came with your device. Install the drivers as instructed and try connecting the MP3 player again.
Once the connection is successful and your computer recognizes the MP3 player, you’re ready to move on to the next step: finding and downloading music files!
Step 2: Find and download music files from a trusted source
Now that your Eclipse MP3 Player is connected to your computer, it’s time to find and download music files. It’s important to emphasize the importance of downloading music from trusted sources to ensure the quality and legality of the files.
There are several ways to find and download music files:
- Purchase from online music stores: Popular online music stores such as iTunes, Amazon Music, or Google Play offer a wide range of songs for purchase. Browse through their catalogs, select the songs you want, and follow the instructions to complete the purchase and download process.
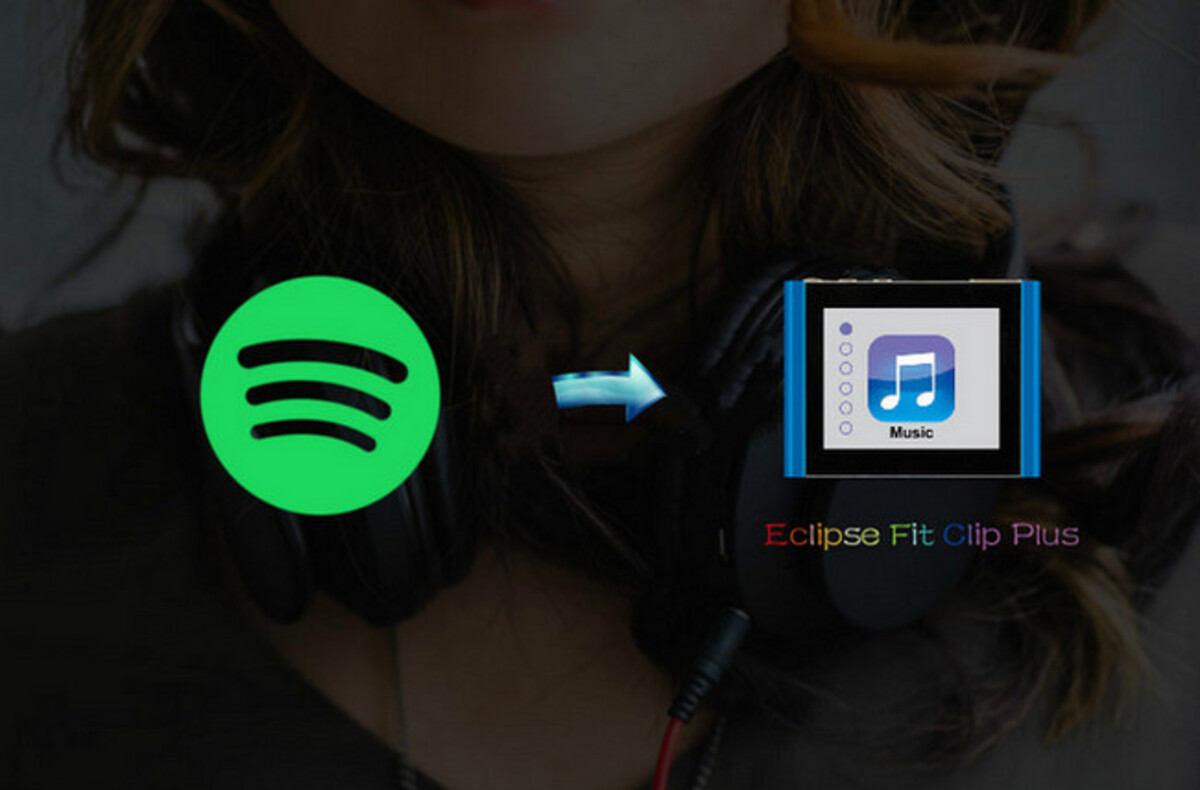
- Stream and download from music streaming platforms: Many music streaming platforms like Spotify, Apple Music, or Tidal allow you to download songs for offline listening. Simply create an account, search for your desired songs, and look for the option to download them to your device.
- Download from free and legal music websites: Some websites offer free and legal music downloads. These websites often distribute music under Creative Commons licenses or with the authorization of the artists. Examples include Jamendo, SoundCloud, or Bandcamp. Explore these platforms, search for your preferred genre or artist, and download the songs that catch your interest.
- Transfer music from your personal collection: If you have a collection of songs stored on your computer, you can also transfer them to your Eclipse MP3 Player. Locate the music files on your computer, select the ones you want to transfer, and copy them to a designated folder on your MP3 player. This allows you to enjoy your favorite songs on the go.
Remember to always check the quality and format of the music files you download. MP3, AAC, and WAV are common formats compatible with the Eclipse MP3 Player. Additionally, it’s essential to respect copyright laws and only download music for which you have the necessary rights.
Once you’ve found the music files you want to download, it’s time to transfer them to your Eclipse MP3 Player. Let’s move on to the next step!
Step 3: Transfer music files to your Eclipse MP3 Player
Now that you have downloaded or collected the music files you want to enjoy, it’s time to transfer them to your Eclipse MP3 Player. Here’s how you can do it:
- Create a music folder: Before transferring the music files, it’s a good idea to create a dedicated folder on your Eclipse MP3 Player to organize your music. This will make it easier to navigate and find your songs. Connect your MP3 player to your computer and locate its storage folder. Create a new folder within the MP3 player’s storage and name it something like “Music” or “Songs”.
- Select and copy the music files: Open the location where you have downloaded or stored the music files on your computer. Select the songs you want to transfer and copy them. You can either use the drag and drop method or right-click and select the “Copy” option.
- Paste the music files into the music folder: Navigate to the music folder you created on your Eclipse MP3 Player. Right-click inside the folder and select the “Paste” option to transfer the copied music files.
- Wait for the transfer to complete: Depending on the number and size of the files, the transfer process may take some time. It’s important to be patient and refrain from disconnecting your MP3 player during the transfer to avoid data corruption.
- Eject or safely disconnect your Eclipse MP3 Player: Once the transfer is complete, safely disconnect your Eclipse MP3 Player from your computer. This can usually be done by right-clicking on the MP3 player’s icon in the file explorer and selecting the “Eject” or “Safely Remove” option. This step ensures that all files are properly written to the device and prevents data loss.
With these simple steps, you have successfully transferred your music files to your Eclipse MP3 Player. You’re one step closer to enjoying your favorite tunes on the go!
Now, let’s move on to the final step: safely disconnecting your Eclipse MP3 Player from your computer.
Step 4: Safely disconnect your Eclipse MP3 Player from your computer
After successfully transferring your music files to your Eclipse MP3 Player, it is crucial to properly disconnect the device from your computer to prevent any potential data loss or corruption. Follow these simple steps to safely disconnect your MP3 player:
- Check if any file transfer processes are active: Before disconnecting your Eclipse MP3 Player, ensure that all file transfer processes have completed. Look for any progress bars or indicators on your computer that show ongoing transfers. Wait until these processes are finished.
- Locate the device icon: On your computer, look for the icon representing your Eclipse MP3 Player. This can typically be found in the file explorer or as a connected device in the taskbar or system tray.
- Right-click on the device icon: Once you have located the appropriate icon, right-click on it to access the context menu.
- Select the “Eject” or “Safely Remove” option: From the context menu, choose the “Eject” or “Safely Remove” option. This action ensures that all pending write operations are completed and that it is safe to disconnect your MP3 player from your computer.
- Wait for the confirmation message: After selecting the “Eject” or “Safely Remove” option, wait for a confirmation message to appear. This message usually indicates that it is safe to disconnect your Eclipse MP3 Player.
- Disconnect your MP3 player: Once you have received the confirmation message, you can now safely disconnect your Eclipse MP3 Player from your computer. Carefully remove the USB cable from both the MP3 player’s USB port and your computer’s USB port.
By following these steps, you ensure that all files have been properly written to your Eclipse MP3 Player and that there is no risk of data loss or corruption. Taking the time to disconnect your device safely is crucial for keeping your music files intact and ensuring trouble-free playback.
Now that you have safely disconnected your Eclipse MP3 Player, you are ready to enjoy your music on the go!
Conclusion
Congratulations! You have successfully learned how to download and transfer music to your Eclipse MP3 Player. By following these simple steps, you can now enjoy your favorite tunes wherever you go.
Remember to always download music files from trusted sources to ensure the quality and legality of the songs. Purchasing from online music stores, streaming platforms, or downloading from free and legal music websites are all great ways to find and acquire music files for your MP3 player. Additionally, transferring the music files to your Eclipse MP3 Player in an organized manner allows for easy navigation and an enhanced listening experience.
Once you have transferred the music files to your MP3 player, make sure to safely disconnect the device from your computer. This helps prevent any data loss or corruption and ensures that all files have been properly written to the device.
Now, it’s time to put your headphones on, press play, and immerse yourself in the world of music. Whether you’re on your daily commute, hitting the gym, or simply relaxing at home, your Eclipse MP3 Player will be your faithful companion, delivering your favorite songs right to your ears.
Enjoy the music and happy listening!


