Introduction
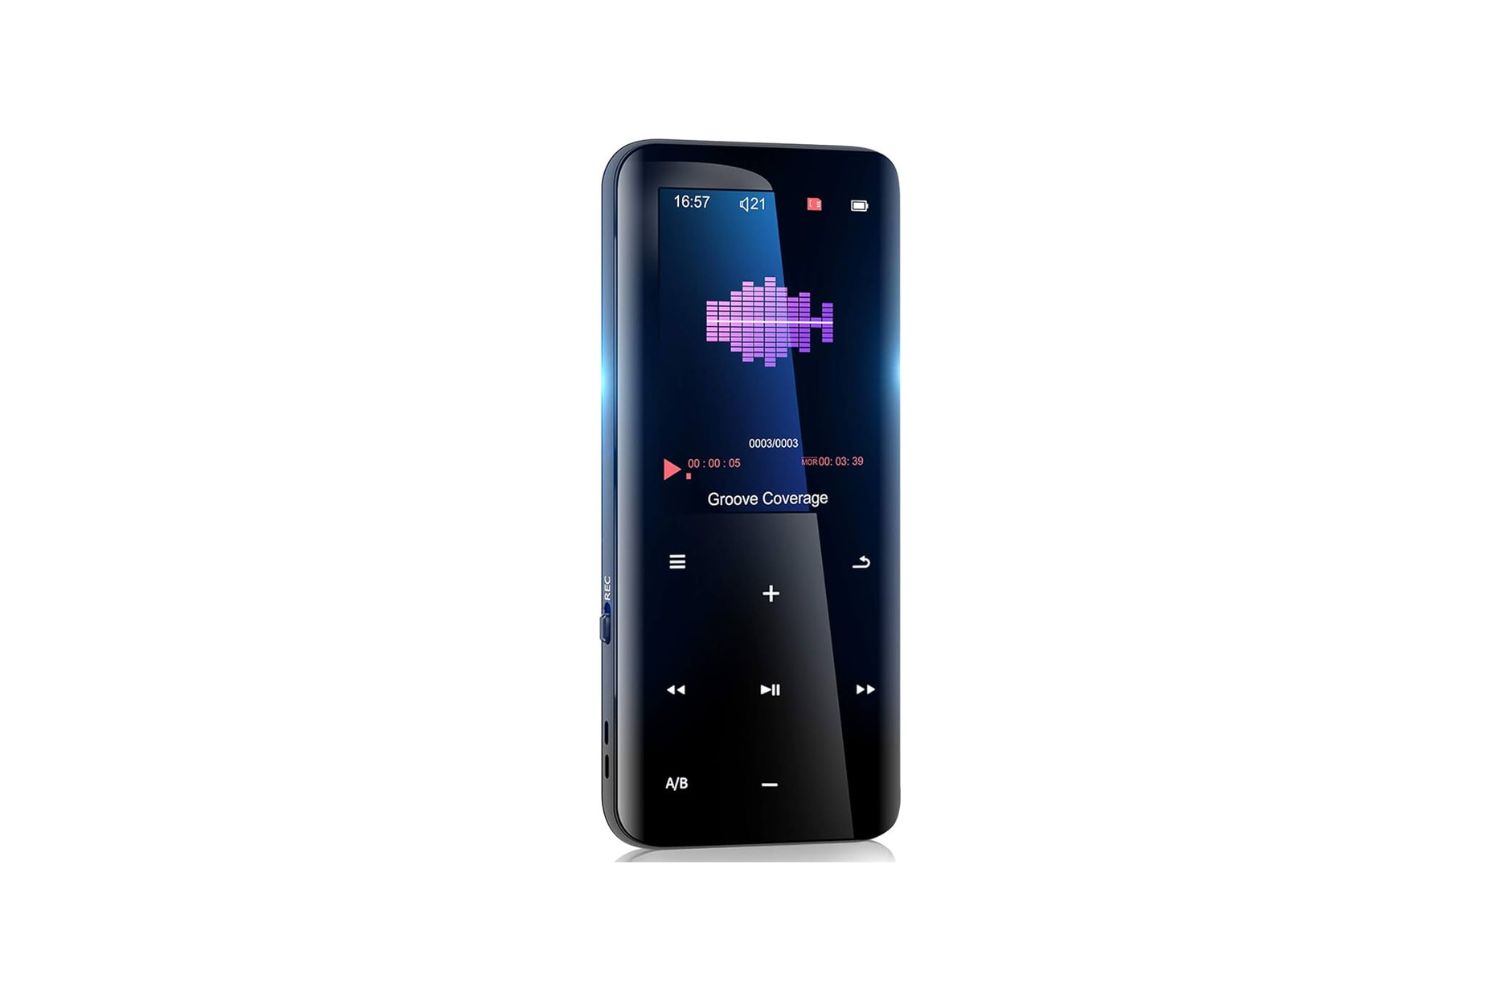
Welcome to the ultimate guide on how to download music to your Aiworth MP3 Player! Listening to music on the go has never been easier, and with the Aiworth MP3 Player, you can carry your favorite tunes with you wherever you go. Whether you’re a music enthusiast or simply looking to expand your music library, this step-by-step guide will walk you through the process of downloading and transferring music to your Aiworth MP3 Player.
With its sleek design, compact size, and user-friendly interface, the Aiworth MP3 Player is the perfect companion for music lovers who want to enjoy their favorite songs anytime, anywhere. Whether you’re commuting to work, hitting the gym, or simply relaxing at home, this versatile device allows you to have your music at your fingertips.
In this guide, we will cover everything you need to know to successfully download music to your Aiworth MP3 Player. We will guide you through each step, from connecting your MP3 Player to your computer, to locating and downloading music files, and finally, transferring them to your device. By following these easy steps, you can fully maximize the capabilities of your Aiworth MP3 Player and enjoy a personalized music experience.
Before we dive into the details, it’s important to note that the process may vary slightly depending on the specific model of your Aiworth MP3 Player and the operating system of your computer. However, the general steps outlined in this guide should apply to most Aiworth MP3 Players and computers. It’s always a good idea to refer to the user manual of your specific device for any additional instructions or troubleshooting tips.
Now, without further ado, let’s get started on the journey of downloading music to your Aiworth MP3 Player. Get ready to enhance your music library and enjoy an immersive audio experience with your favorite tracks!
Step 1: Connect your Aiworth MP3 Player to your computer
The first step to downloading music to your Aiworth MP3 Player is connecting it to your computer. This allows you to establish a connection between the two devices and transfer music files seamlessly. Follow the instructions below to ensure a successful connection:
- Locate the USB cable that came with your Aiworth MP3 Player. It should have a standard USB connector on one end and a smaller, proprietary connector on the other end.
- Plug the USB connector into an available USB port on your computer. Be sure to use a reliable USB port that provides stable connectivity.
- Connect the smaller, proprietary connector to the corresponding port on your Aiworth MP3 Player. The location of the port may vary depending on the model of your device, so refer to the user manual for specific instructions if needed.
- Once the two devices are physically connected, your computer should recognize the Aiworth MP3 Player as a removable storage device. It should appear as a new drive in your file explorer or desktop.
- If prompted, install any necessary drivers or software that may be required to establish a connection between your Aiworth MP3 Player and your computer. This step may not be necessary for all models, as some devices have plug-and-play functionality.
- Double-check that the connection is successful by navigating to the file explorer and verifying that the Aiworth MP3 Player is listed as a connected device.
Once you have successfully connected your Aiworth MP3 Player to your computer, you are ready to proceed to the next step: locating and downloading music files. This is where you will explore different sources to find the music you want to add to your device. So, let’s move on to Step 2 and start building your music library!
Step 2: Locate and download music files
Now that your Aiworth MP3 Player is successfully connected to your computer, it’s time to find and download music files to add to your device. There are several ways you can locate and download music, depending on your preferences and the resources available to you. Here are some options to consider:
- Online Music Stores: Many online platforms offer a wide selection of music for purchase or streaming. Popular options include iTunes, Amazon Music, Google Play Music, and Spotify. Simply visit the website or open the app of your preferred music store, browse through the available music, and select the songs or albums you want to download. Follow the prompts to complete the purchase or start streaming the music. Once downloaded, the files can be saved to your computer for later transfer to your Aiworth MP3 Player.
- Music Subscription Services: If you prefer unlimited access to a vast library of music, subscribing to a music streaming service might be the right choice for you. Services like Spotify, Apple Music, and Tidal offer millions of songs for a monthly fee. With these services, you can create playlists, explore curated recommendations, and discover new music. To download songs from these services, check if they offer an offline mode or download feature, which allows you to save songs to your device for offline listening.
- Free Music Websites: There are also websites that provide free and legal access to music. Platforms like SoundCloud, Jamendo, and Bandcamp offer a variety of independent and emerging artists’ music. You can search for specific songs, artists, or genres, and download them directly from the websites. Make sure to choose reputable sources to avoid copyright infringement or malware risks.
- Local Music Collection: If you already have a collection of music stored on your computer, you can transfer those files to your Aiworth MP3 Player. Locate the folder or directories where your music files are stored, and select the songs or albums you want to transfer. Copy and paste or drag and drop the files into a designated folder on your Aiworth MP3 Player’s storage. This method allows you to bring your existing music library with you wherever you go.
- Convert and Download YouTube Videos: If there’s a specific song or music video you want to download, you can use various online converters or software programs to extract the audio from YouTube videos and save it as an MP3 file. Just make sure to respect copyright laws and use this method only for your personal use or when allowed by the content creator.
Remember to always abide by copyright laws and respect the rights of artists and content creators when downloading music. Once you have successfully located and downloaded the music files, it’s time to organize your music library for easy access and navigation. This will be covered in the next step.
Step 3: Organize your music library
Now that you have downloaded your favorite music files, it’s essential to organize your music library for easy navigation and enjoyment on your Aiworth MP3 Player. An organized library allows you to find your desired songs quickly and create personalized playlists. Follow these tips to keep your music collection well-organized:
- Create Folders: Start by creating folders on your computer for different genres, artists, or albums. This way, you can categorize your music files based on your preferences. For example, you can have separate folders for rock, pop, classical, or specific artists. To create a folder, right-click in the location where you want to create it, select “New” and then “Folder” from the context menu, and give it a meaningful name.
- Rename Files: Renaming your music files can help you identify songs at a glance. By default, music files often have generic names like “Track01.mp3” or “Unknown Artist – Song Title.mp3.” Rename the files by right-clicking on a song, selecting “Rename” from the context menu, and entering a descriptive name, including the artist and song title. This will make it easier to find specific songs.
- Add Metadata: Metadata contains information about the music’s artist, album, genre, and other details. Use a music management software or media player like iTunes or Windows Media Player to add or edit metadata for your music files. This will help you organize and sort your music library based on specific criteria. To edit metadata, right-click on a song, select “Properties” or “Get Info,” and enter the relevant details.
- Create Playlists: Playlists allow you to create customized collections of songs for different moods, occasions, or preferences. Use your media player software to create playlists by selecting the desired songs and adding them to a new or existing playlist. You can arrange the songs in the order you prefer and give each playlist a unique name. This way, you can easily access your favorite selections without searching through your entire music library.
- Backup Your Library: To ensure the safety of your music collection, regularly create backup copies of your library. You can use external hard drives, cloud storage services, or online backup solutions to keep your music files protected. This way, even if your Aiworth MP3 Player gets lost or damaged, you still have your music library saved.
By organizing your music library, you can make the most out of your Aiworth MP3 Player’s features and easily navigate through your favorite songs. Now that your music is organized and ready, it’s time to transfer it to your Aiworth MP3 Player in the next step.
Step 4: Transfer music to your Aiworth MP3 Player
Now that you have organized your music library on your computer, it’s time to transfer the music files to your Aiworth MP3 Player for on-the-go listening. Follow these steps to successfully transfer your music:
- Open the file explorer on your computer and navigate to the folder where your music files are stored. You can access this folder by clicking on the folder icon located on your desktop or by pressing the “Windows + E” keys on your keyboard.
- Connect your Aiworth MP3 Player to your computer using the USB cable provided. Ensure that the connection is properly established and that your computer recognizes the device as a removable storage device.
- In the file explorer, locate the drive that represents your Aiworth MP3 Player. It may appear as a new drive letter or have the name of your device.
- Drag and drop the desired music files or folders from your computer’s music library to the corresponding folder on your Aiworth MP3 Player. You may have specific folders designated for music files on your device, such as “Music” or “Audio.” Consult your device’s user manual if you are unsure where to place the files.
- Wait for the transfer process to complete. The time taken will depend on the size and number of music files being transferred. Ensure that you do not disconnect the device during the transfer to avoid any file corruption.
- Once the transfer is complete, safely disconnect your Aiworth MP3 Player from your computer. This can typically be done by clicking on the “Eject” or “Safely Remove Hardware” icon in the taskbar notification area and selecting the appropriate option for your device.
- Disconnect the USB cable from your Aiworth MP3 Player and your computer. Your music files are now successfully transferred and ready to be enjoyed on your device.
It’s important to note that the exact steps and methods for transferring music may vary depending on your specific Aiworth MP3 Player model and software. Therefore, it’s always recommended to refer to your device’s user manual for any additional instructions or troubleshooting tips.
Now that you have successfully transferred your music to your Aiworth MP3 Player, you can disconnect it and start enjoying your favorite songs on the go. In the next step, we will discuss the safe disconnection of your device.
Step 5: Safely disconnect your Aiworth MP3 Player
After transferring your music to your Aiworth MP3 Player, it’s important to safely disconnect the device from your computer to prevent any potential data loss or file corruption. Following the proper procedure ensures the integrity of your music files and helps maintain the longevity of your Aiworth MP3 Player. Here’s how you can safely disconnect your device:
- Ensure that all file transfers and operations involving your Aiworth MP3 Player are complete. Make sure that no music files are being copied, moved, or edited at the moment.
- Locate the “Safely Remove Hardware” or “Eject” icon in the taskbar notification area on your computer. It may resemble a small USB connector or a green checkmark icon.
- Click on the icon to open the menu of available devices for safe removal. Look for the option corresponding to your Aiworth MP3 Player and select it.
- Wait for your computer to display a notification confirming that it is safe to remove the device. This may take a few seconds as the computer ensures all data transfers are completed.
- Gently disconnect the USB cable from your Aiworth MP3 Player and your computer. Be careful not to pull or yank on the cable to avoid potential damage.
- Ensure the Aiworth MP3 Player’s screen displays that it is no longer connected to the computer or in data transfer mode.
By following these steps, you minimize the risk of data loss or damage to your music files and your Aiworth MP3 Player. It’s important to note that abruptly disconnecting the device without going through the proper procedure could result in corrupted files or potential hardware issues.
Now that you have safely disconnected your Aiworth MP3 Player, you can enjoy your favorite music anytime, anywhere. Take your device with you, and let the music be the soundtrack to your daily adventures!
Conclusion
Congratulations! You’ve successfully learned how to download and transfer music to your Aiworth MP3 Player. With your favorite tunes now at your fingertips, you can enjoy a personalized music experience wherever you go.
Throughout this guide, we’ve covered the step-by-step process of connecting your Aiworth MP3 Player to your computer, locating and downloading music files, organizing your music library, transferring music to your device, and safely disconnecting it.
Remember to explore different sources for music, including online music stores, subscription services, free websites, and even your own local music collection. By organizing your music library with folders, renaming files, adding metadata, and creating playlists, you can easily navigate and enjoy your favorite songs.
Make sure to always follow the proper procedure for connecting and disconnecting your Aiworth MP3 Player to avoid any potential data loss or file corruption. By safely disconnecting your device, you can preserve the integrity of your music files and ensure the longevity of your device.
Now that you have the knowledge and skills to download music to your Aiworth MP3 Player, it’s time to embark on a musical journey. Fill your device with your favorite albums, artists, and genres, and let the rhythm accompany you in every step of your day.
Get ready to immerse yourself in the world of music and elevate your listening experience with the exceptional sound quality and portability of your Aiworth MP3 Player.
Happy listening!