Introduction
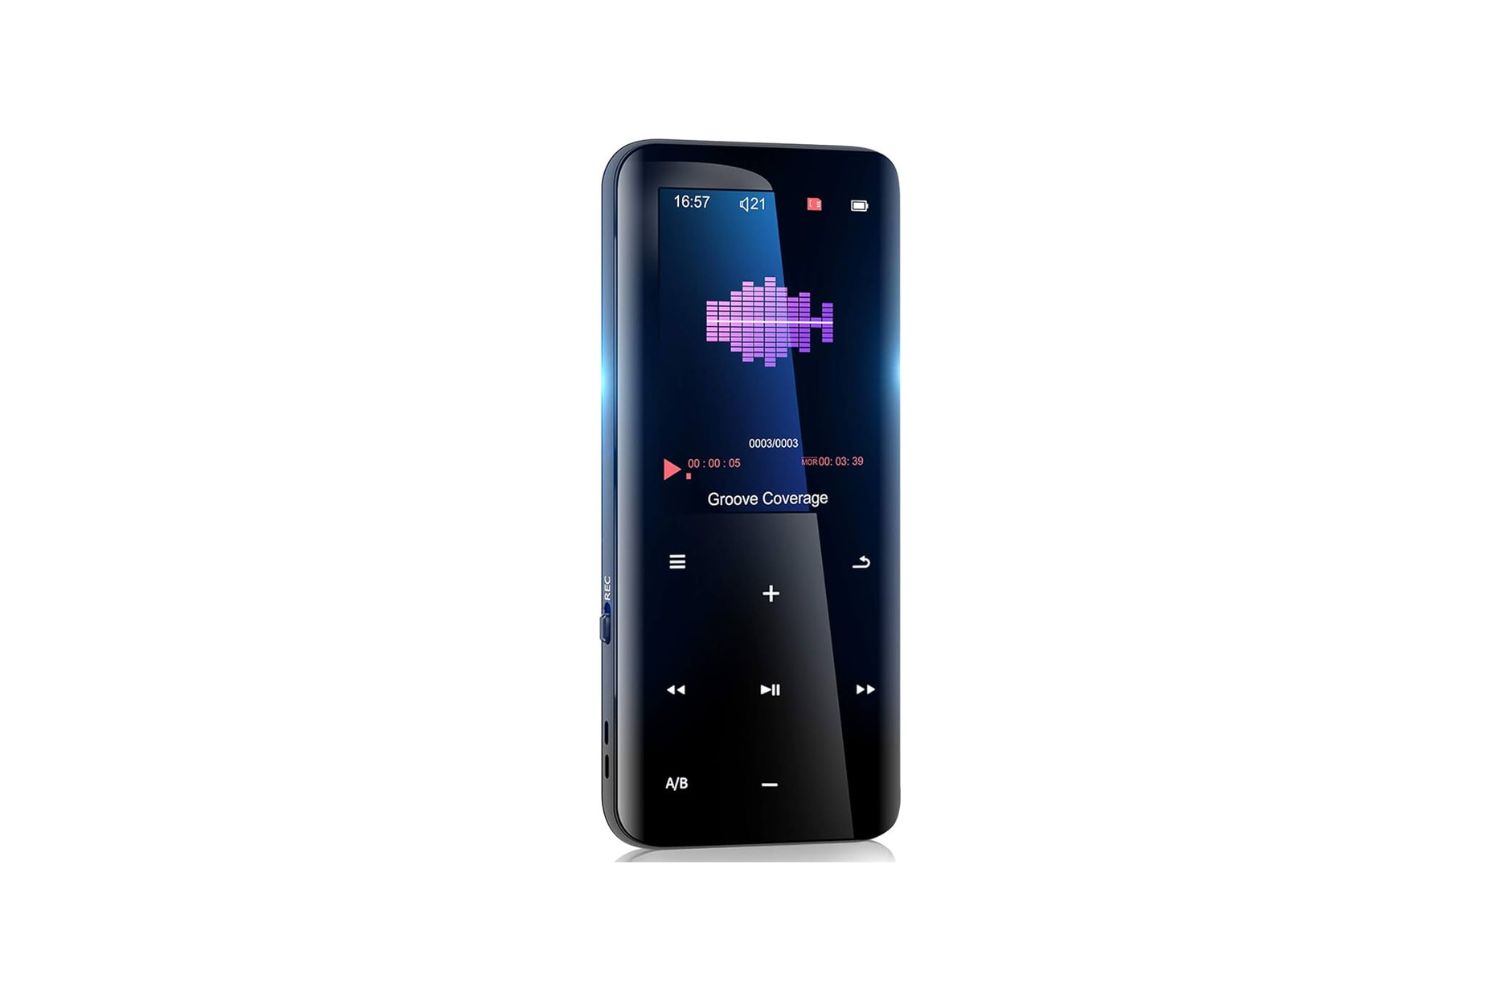
Welcome to the world of portable music! With the rise of technology, MP3 players have become a popular choice for music lovers who want to carry their favorite tunes with them wherever they go. Whether you’re a gym enthusiast, a frequent traveler, or simply enjoy listening to music on the go, an MP3 player is a convenient and compact device that allows you to enjoy your music library anytime, anywhere.
In this guide, we will walk you through the process of downloading songs onto your MP3 player. Whether you’re a beginner or simply need a refresher, we’ve got you covered. By the end of this guide, you’ll be ready to build your own personalized music playlist and enjoy it on your MP3 player. So, let’s dive in!
Before we get started, it’s important to note that the specific steps may vary slightly depending on the model and brand of your MP3 player. However, the overall process remains consistent, so you’ll be able to adapt the instructions accordingly. Now, without further ado, let’s proceed to the first step: preparing your MP3 player.
Step 1: Prepare your MP3 player
Before you can start downloading songs onto your MP3 player, you need to ensure that it is properly prepared for the task. Follow these simple steps to get your MP3 player ready:
- Charge your MP3 player: Make sure that your MP3 player has enough battery power to complete the download process. Connect it to a power source using the provided USB cable and let it charge until it reaches full capacity. This will ensure uninterrupted music playback.
- Clear storage space: Check the available storage space on your MP3 player and make sure it has enough room to store the songs you want to download. If the storage is nearly full, consider deleting unnecessary files or transferring them to another device to free up space.
- Update firmware: It’s a good idea to check if there are any firmware updates available for your MP3 player. Firmware updates often include bug fixes and performance improvements that can enhance the overall music downloading and playback experience. Visit the official website of your MP3 player’s manufacturer to find and download the latest firmware version, if applicable.
- Create playlists: While not mandatory, creating playlists is a great way to organize your music and easily access your favorite songs. You can create playlists based on genres, moods, or specific occasions. Take some time to curate your playlists before you start downloading songs.
Once you’ve completed these preparations, you’re now ready to connect your MP3 player to your computer and begin the process of downloading your favorite songs. Follow the next steps in this guide to learn how to connect your MP3 player and select and download songs.
Step 2: Connect your MP3 player to your computer
To download songs onto your MP3 player, you need to establish a connection between the device and your computer. Follow these steps to connect your MP3 player:
- Locate the USB port: Identify the USB port on your MP3 player. It is usually located on the bottom or side of the device. The USB port may be covered by a protective cap that needs to be removed before connecting.
- Connect the USB cable: Take the USB cable that came with your MP3 player and plug one end into the USB port on the device. Ensure that the connection is secure.
- Connect the other end to your computer: Take the other end of the USB cable and insert it into an available USB port on your computer. Make sure to use a USB port that provides a stable connection and sufficient power.
- Wait for the connection to be established: Once the MP3 player is connected to your computer, you may need to wait for a few seconds for the computer to recognize and establish a connection with the device. During this time, do not disconnect the MP3 player or remove the USB cable.
- Verify the connection: Once the connection is established, you should see a notification or icon on your computer indicating that a new device has been connected. You may also be prompted to install any necessary drivers or software for your MP3 player.
Once your MP3 player is successfully connected to your computer, you can proceed to the next step of selecting and downloading songs. Refer to the following section to learn how to choose and download your favorite tracks onto your MP3 player.
Step 3: Select and download songs
Now that your MP3 player is connected to your computer, it’s time to select and download the songs you want to enjoy on the go. Here’s how you can do it:
- Open your preferred music source: Launch the music source of your choice on your computer. It could be a music streaming service, a digital music store, or a collection of songs saved on your computer.
- Browse and search for songs: Use the search function or browse through different categories to find the songs you want to download. You can search by artist, song title, genre, or album. Take your time to explore different options and discover new music.
- Create a download queue: As you find songs that you want to download, create a download queue or playlist within your music source. This will help you organize your selections and ensure a smooth downloading process.
- Select and confirm the download: Once you have your download queue or playlist ready, select the songs you want to download onto your MP3 player. Depending on the music source, this can usually be done by clicking on a download button or selecting a “Save” or “Add to Library” option.
- Choose the download location: When prompted, choose your MP3 player as the download destination. This will ensure that the songs are saved directly onto your device and not just on your computer’s hard drive.
- Monitor the download progress: Keep an eye on the download progress to ensure that all selected songs are successfully downloaded onto your MP3 player. This may take some time depending on the size of the files and the speed of your internet connection.
Once the downloading process is complete, you are now one step closer to enjoying your favorite songs on the go. The next step involves transferring the downloaded songs from your computer to your MP3 player. Continue reading to learn how to proceed with the transfer process.
Step 4: Transfer songs to your MP3 player
After successfully downloading your desired songs onto your computer, it’s time to transfer them to your MP3 player. Here’s how you can do it:
- Open the file management system: Access the file management system on your computer. This can be done by opening the File Explorer on Windows or Finder on Mac.
- Locate the downloaded songs: Navigate to the folder or location where the downloaded songs are saved on your computer. This is typically in the “Downloads” folder or the music library of your music source application.
- Connect your MP3 player: Ensure that your MP3 player is still connected to your computer via the USB cable. If it has been disconnected, follow the steps outlined in the earlier section to reconnect it.
- Copy and paste the songs: Select the downloaded songs in your file management system and copy them. Then, navigate to your MP3 player in the file management system and paste the songs into the designated folder or location.
- Monitor the transfer progress: Keep an eye on the transfer progress to ensure that all selected songs are successfully transferred to your MP3 player. This may take some time depending on the size of the files and the speed of your computer.
- Safely eject your MP3 player: Once the transfer is complete, safely eject your MP3 player from your computer. This can usually be done by right-clicking on the device icon in your file management system and selecting the “Eject” or “Safely Remove” option.
Now, your MP3 player is loaded with your favorite songs and ready to accompany you wherever you go. Take a moment to disconnect and secure the USB cable, and then move on to the final step of safely disconnecting your MP3 player from your computer.
Step 5: Safely disconnect your MP3 player
Now that you have successfully transferred your favorite songs to your MP3 player, it’s important to follow the proper steps to safely disconnect it from your computer. Here’s how you can do it:
- Ensure all transfers are complete: Before disconnecting your MP3 player, double-check that all transfers have been successfully completed. Make sure that all songs have been properly copied and that there are no ongoing file transfers.
- Close any open applications: If you have any music management software or file management applications open on your computer, close them before proceeding with the disconnecting process. This will ensure that all communication between your MP3 player and the computer is finalized.
- Follow the operating system’s instructions: Different operating systems have different procedures for safely disconnecting external devices. Consult the user manual for your specific operating system to learn the appropriate steps. In general, you may need to click on the device icon in your file management system and select the “Eject” or “Safely Remove” option.
- Wait for confirmation: After initiating the safe disconnect process, wait for confirmation that it is safe to remove your MP3 player. This may be a notification on your computer screen or an on-screen message on your MP3 player. Do not disconnect the device until you receive the confirmation.
- Disconnect the USB cable: Once you have received confirmation, gently and carefully disconnect the USB cable from your MP3 player and your computer. Ensure that you do not forcefully pull or yank the cable as this may damage the ports or the cable itself.
Congratulations! You have now safely disconnected your MP3 player from your computer. Your device is now ready to be used independently to enjoy your favorite music wherever you go. Now you can take your MP3 player with you and enjoy your personalized music playlist on the go!
Conclusion
Congratulations! You have successfully learned how to download songs onto your MP3 player. By following the steps outlined in this guide, you can now enjoy your favorite music anytime, anywhere.
Starting from preparing your MP3 player, connecting it to your computer, selecting and downloading songs, transferring them to your device, and finally safely disconnecting it, you have mastered the process of downloading music onto your MP3 player.
Remember to regularly charge your MP3 player, create playlists to organize your music, and keep an eye on the available storage space. This way, you can continue expanding your music library and enjoy a seamless music experience on your MP3 player.
Whether you’re hitting the gym, going for a run, or simply relaxing, you now have the freedom to take your favorite tunes with you. Explore new genres, discover new artists, and curate the perfect soundtrack for every occasion.
Thank you for using this guide. Now it’s time to put your newly acquired knowledge into practice and enjoy the power of portable music with your MP3 player!