Introduction
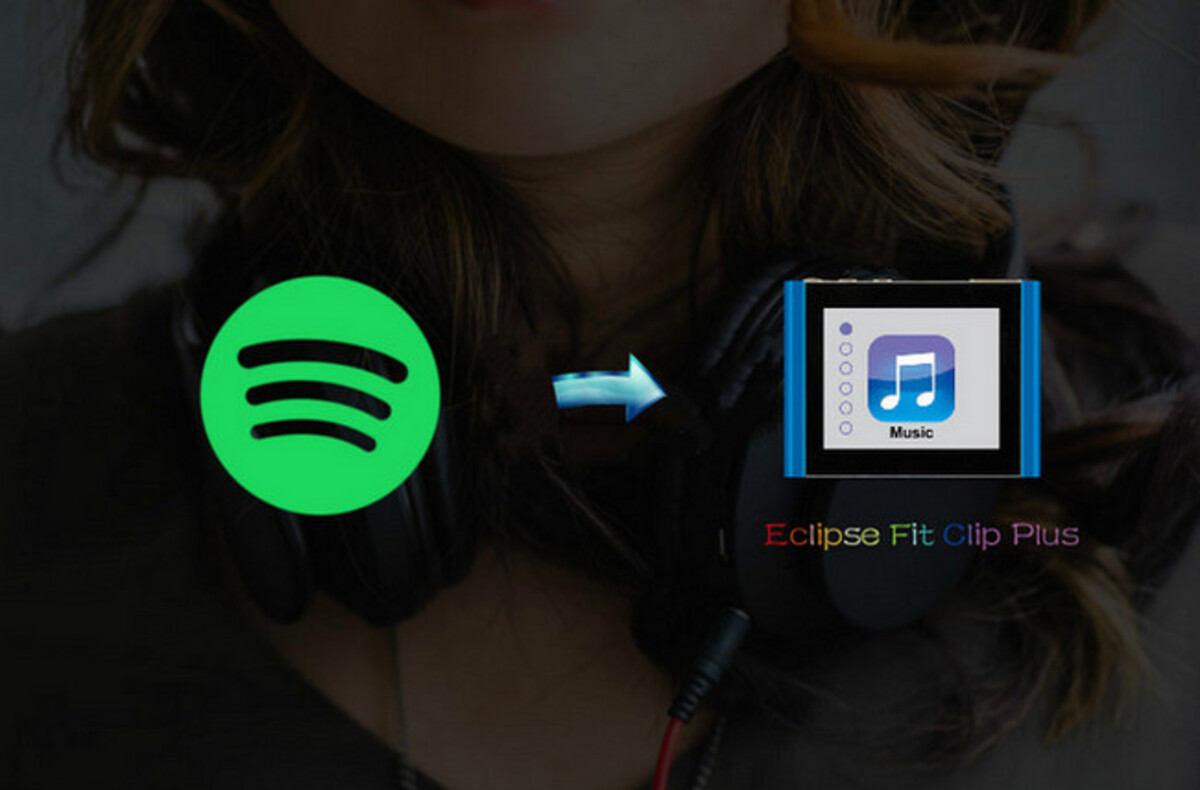
Welcome to this guide on how to download music to an Eclipse MP3 Player! If you’re a music lover and own one of these portable devices, you’ve come to the right place. The Eclipse MP3 Player offers a convenient and compact way to carry your favorite tunes with you wherever you go.
Downloading music to your Eclipse MP3 Player is a simple process that allows you to expand your music library and enjoy your favorite songs on the go. Whether you’re new to MP3 players or just need a refresher, this step-by-step guide will walk you through the process.
Before we delve into the steps, it’s important to note that there are various models of Eclipse MP3 Players available, each with its own unique features and specifications. However, the process of downloading music remains relatively similar across most models. Be sure to consult your device’s user manual for specific instructions tailored to your version of the Eclipse MP3 Player.
In this guide, we’ll cover the general steps you’ll need to follow to download music to your Eclipse MP3 Player. From connecting your device to your computer to selecting the music and transferring it, we’ll provide you with the necessary information to make the process seamless and enjoyable.
So, without further ado, let’s get started and learn how to download music to your Eclipse MP3 Player!
Step 1: Connect your Eclipse MP3 Player to your computer
The first step in downloading music to your Eclipse MP3 Player is to ensure that the device is properly connected to your computer. This connection will allow you to transfer the music files from your computer to the MP3 player.
To establish this connection, you will need a USB cable that is compatible with your Eclipse MP3 Player and your computer. Locate the USB port on your Eclipse MP3 Player and connect one end of the cable to it. Take the other end of the USB cable and plug it into a USB port on your computer.
Once the connection is made, your Eclipse MP3 Player should be recognized by your computer as a removable storage device. This means that you can now access and manage the files on your MP3 player through your computer.
It’s important to note that some Eclipse MP3 Players may have specific instructions for connecting to a computer. For example, there may be a specific mode you need to set your device to, such as “USB Mode” or “File Transfer Mode.” Be sure to consult your device’s user manual for any specific instructions.
After connecting your Eclipse MP3 Player to your computer, you should see a notification or prompt on your computer screen indicating that a new device has been connected. This is an indication that your MP3 player is successfully connected and ready to be accessed.
Before moving on to the next step, ensure that your Eclipse MP3 Player is securely connected to your computer and that both devices are powered on. This will ensure a stable connection throughout the music downloading process.
Step 2: Open the music downloading software
Once your Eclipse MP3 Player is connected to your computer, it’s time to open the music downloading software. The software will enable you to search for and download music files that you can then transfer to your MP3 player.
There are various software options available for downloading music, such as iTunes, Windows Media Player, or specific software provided by the Eclipse MP3 Player manufacturer. Make sure that you have the appropriate software installed on your computer.
To open the music downloading software, simply locate the software icon on your computer’s desktop, taskbar, or Start menu. Click on the icon to launch the program.
Once the software is open, you should see a user-friendly interface that allows you to navigate through your music library, search for songs, and manage your downloads.
If you are using software provided by the manufacturer of your Eclipse MP3 Player, be sure to familiarize yourself with its features and layout. This will help you navigate through the software more effectively and make the most of its capabilities.
Additionally, it’s worth mentioning that some music downloading software may require you to create an account or sign in before you can start using it. This step is usually straightforward and involves providing your email address, creating a password, and agreeing to the software’s terms of service.
Once you have successfully opened the music downloading software, you are now ready to search for and download your favorite music onto your computer.
Step 3: Find and select the music you want to download
Now that you have your music downloading software open, it’s time to find and select the music that you want to download to your Eclipse MP3 Player. This step allows you to browse through a vast selection of songs, albums, and artists, giving you the freedom to curate your own personalized music collection.
Most music downloading software provides multiple ways to search for music. You can use the search bar to type in specific song titles, artist names, or album names. Alternatively, you can browse through different genres, playlists, or charts to discover new music.
Once you perform a search or browse through the available options, the music downloading software will display the search results or listings that match your query. Take your time to explore the different options and listen to song previews if available.
When you find a song that you want to download, you typically have the option to select it by clicking on a download or purchase button. Some software may offer the option to download the song for free, while others may require a purchase or subscription to access certain tracks.
Besides individual songs, you may also have the opportunity to download full albums or create custom playlists. This allows you to maximize your music listening experience and have a collection of songs ready for your Eclipse MP3 Player.
It’s worth noting that the availability and pricing of songs may vary depending on the music downloading software and your location. Always ensure that you are legally obtaining the music and following the terms of service of the software you are using.
Once you have made your selections and added the desired music to your library or download queue, you are ready to move on to the next step: choosing the destination folder on your Eclipse MP3 Player.
Step 4: Choose the destination folder on your MP3 Player
After selecting the music you want to download, the next step is to choose the destination folder on your Eclipse MP3 Player where you want the downloaded music to be saved. This step ensures that the music files are organized and easily accessible on your device.
To choose the destination folder, you will typically have the option to select it within the music downloading software. The software may provide a default location for saving downloaded files, but you can usually customize this based on your preferences.
When selecting the destination folder, it’s important to consider the available storage space on your Eclipse MP3 Player. Depending on its model, the MP3 player may have a limited amount of internal storage or allow for expandable storage through a memory card.
If your Eclipse MP3 Player has an option to add a memory card, you can choose to save the downloaded music directly to the memory card. This can help maximize the storage capacity of your device and ensure that you have enough space for your favorite songs.
It’s recommended to create separate folders within the destination folder to better organize your music. For example, you can create folders based on genres, artists, albums, or any other categorization that makes sense to you.
By organizing your music into folders, you can easily navigate and find specific songs when using your Eclipse MP3 Player. Remember to give the folders descriptive names to make them easily identifiable.
Once you have chosen the destination folder on your Eclipse MP3 Player, make sure to double-check that the selected folder is correct before proceeding with the download. This will help ensure that the music files are saved in the desired location on your device.
With the destination folder set, you are now ready to proceed to the next step: starting the music download and transferring the files to your Eclipse MP3 Player.
Step 5: Start the music download
Now that you have selected the destination folder for your downloaded music on your Eclipse MP3 Player, it’s time to start the music download process. This step will initiate the transfer of the selected songs from your computer to your MP3 player.
In your music downloading software, there will usually be a designated button or option to begin the download process. This button might be labeled as “Download,” “Sync,” or “Transfer,” depending on the software you are using.
Click on the appropriate button to start the music download. The software will then begin transferring the selected songs from your computer to the destination folder on your Eclipse MP3 Player.
During the download process, it’s important to keep your Eclipse MP3 Player connected to your computer and ensure that it remains powered on. Interrupting the download or disconnecting the device prematurely may lead to incomplete transfers or corrupted files.
Depending on the size and number of songs you are downloading, the process may take some time. Patience is key during this step, as it’s essential to let the software complete the downloading and transferring process without interruptions.
While the music is being downloaded to your Eclipse MP3 Player, you can usually monitor the progress through a progress bar or a notification in the downloading software. This will give you an idea of how much longer the process will take.
Once the download is complete, you will receive a confirmation or notification indicating that the transfer was successful. At this point, the music files are now stored in the destination folder on your Eclipse MP3 Player and ready for you to enjoy.
Before disconnecting your MP3 player from your computer, it is a good practice to safely eject or disconnect the device from your computer. This will ensure that the files are properly saved and prevent any potential data loss or corruption.
With the music successfully downloaded and transferred, you can now disconnect your Eclipse MP3 Player from your computer and start enjoying your favorite songs on the go.
Step 6: Disconnect your Eclipse MP3 Player from your computer
After successfully downloading and transferring your desired music to your Eclipse MP3 Player, it’s important to properly disconnect the device from your computer. This step ensures that all data is saved and prevents potential damage to both your MP3 player and your computer.
Before disconnecting, ensure that all file transfers have completed and that there are no ongoing processes involving your Eclipse MP3 Player. It’s best to wait for the music downloading software to indicate that all transfers have finished, or for any progress bars or notifications to disappear.
To safely disconnect your Eclipse MP3 Player from your computer, follow these steps:
- Locate the “Safely Remove Hardware” icon on your computer’s taskbar, typically found in the bottom right corner of the screen. If you don’t see the icon, you can also access it through the computer’s system tray or control panel.
- Click on the “Safely Remove Hardware” icon to open the options menu.
- Select the Eclipse MP3 Player from the list of connected devices. It may be listed as a “USB Device” or with the specific model name of your MP3 player.
- After selecting the device, you will usually see a confirmation message indicating that it is safe to disconnect. This message assures you that all transfers have been completed and that the device is ready to be disconnected.
- Once you receive the confirmation message, you can safely unplug the USB cable from your Eclipse MP3 Player and your computer.
It’s crucial not to abruptly disconnect the device without following these steps, as it may lead to data loss, file corruption, or damage to your Eclipse MP3 Player. By safely disconnecting the device, you ensure that all downloaded music files are intact and ready to be enjoyed on your MP3 player.
After disconnecting, you can now use your Eclipse MP3 Player independently to listen to your favorite songs anywhere, anytime. Carry your music library with you and enjoy the convenience of having your favorite tunes at your fingertips.
Conclusion
Congratulations! You have successfully learned how to download music to your Eclipse MP3 Player. By following the steps outlined in this guide, you can expand your music library and enjoy your favorite songs on the go.
Remember, the process begins with connecting your Eclipse MP3 Player to your computer using a USB cable. Then, open the music downloading software of your choice and find the music you want to download. Once you have made your selections, choose the destination folder on your MP3 Player to save the downloaded music.
Afterward, start the music download and let the software transfer the selected songs to your device. Once the transfer is complete, safely disconnect your Eclipse MP3 Player from your computer. Now, you can enjoy your favorite music on your MP3 Player wherever you go.
It’s important to note that while this guide provides general steps, variations may apply depending on your specific Eclipse MP3 Player model and the software you use to download music. Always refer to the user manual and instructions provided by the manufacturer for detailed guidance tailored to your device.
Now that you’re equipped with the knowledge to download music to your Eclipse MP3 Player, explore different genres, discover new artists, and build a personalized music library that reflects your unique taste.
Enjoy the freedom and convenience of having your favorite songs at your fingertips, making every moment more enjoyable with the music you love!