Introduction
Welcome to our guide on how to download music to an MP3 player from a Chromebook. Chromebooks are known for their simplicity and efficiency, but when it comes to transferring music to an MP3 player, it can be a bit tricky. However, fret not! We have put together a comprehensive guide to help you navigate through this process seamlessly.
Whether you’re an avid music lover or simply want to have your favorite tunes on the go, we will explore different methods to transfer music from your Chromebook to an MP3 player. From direct downloading to using a USB cable and even uploading music to an online storage service, we’ve got you covered!
It’s worth noting that every method has its advantages and may suit different needs. So, grab your Chromebook and MP3 player, and let’s dive into the various options available to get your music collection onto your portable device!
Before we get started, make sure you have a compatible MP3 player and a USB cable, if necessary. It’s also a good idea to have your music files ready and stored in a location that is easily accessible from your Chromebook.
Now that you’re all set, let’s explore the different options for downloading music to an MP3 player from a Chromebook!
Option 1: Downloading Music Directly to the MP3 Player
If you want a straightforward and quick method to get music onto your MP3 player from your Chromebook, downloading music directly to your device is the way to go. Keep in mind that this option requires an MP3 player that supports downloading music and has built-in Wi-Fi or internet connectivity.
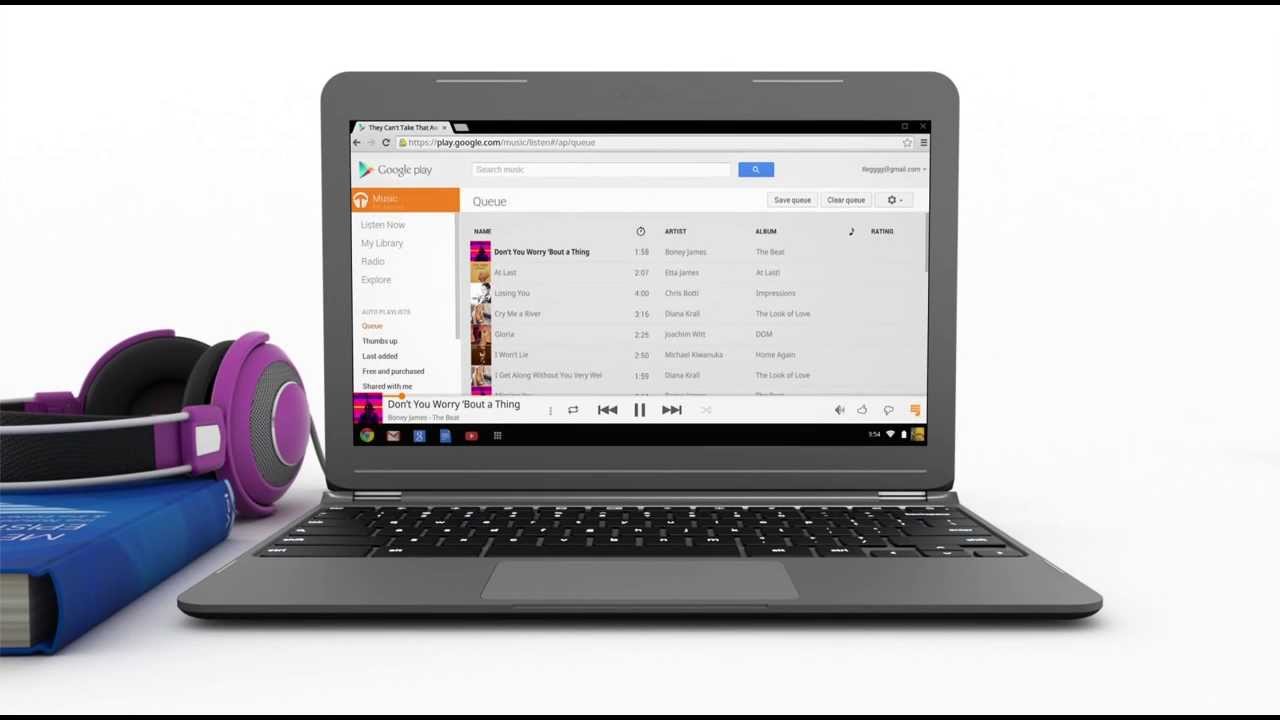
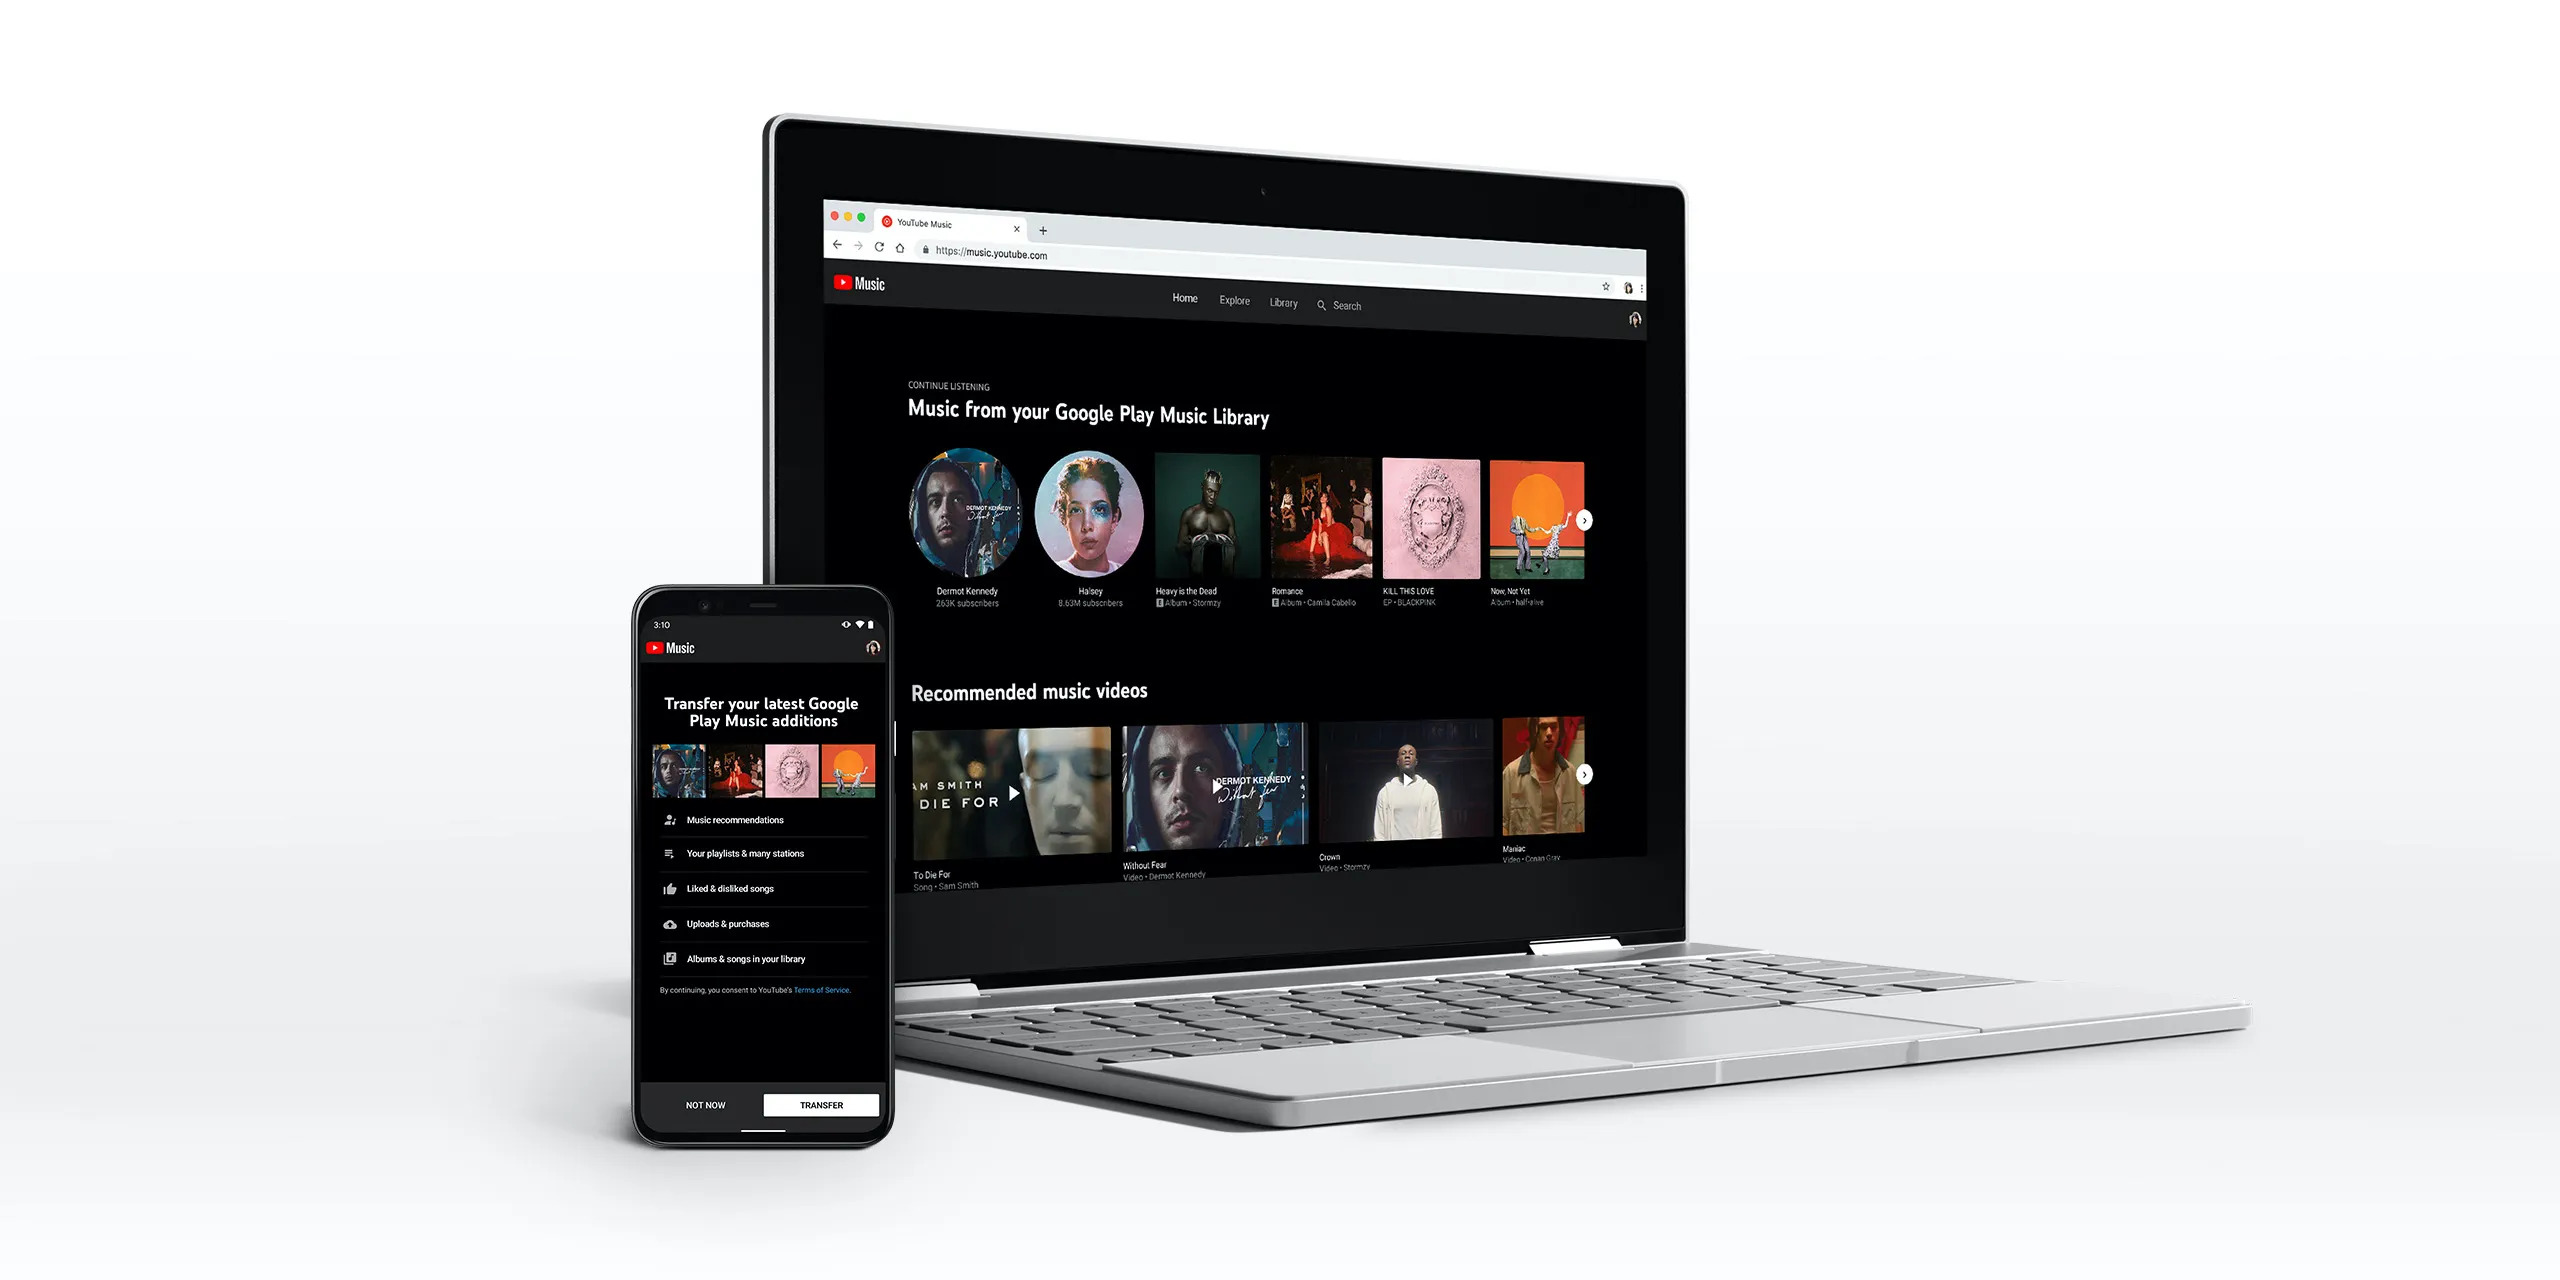
To begin, open the web browser on your Chromebook and navigate to a website or online music platform where you can legally download music. Some popular options include Amazon Music, Google Play Music, or Bandcamp.
Once you have found the website, search for the desired songs or albums, and look for the download option. Typically, you can download music in MP3 format, which is compatible with most MP3 players.
Click on the download button for the song or album you wish to add to your MP3 player. A prompt will appear asking you to select a location to save the file. Make sure to choose the folder or directory that corresponds to your MP3 player. If your MP3 player appears as a removable drive, select it as the destination.
Once the download is complete, you can safely disconnect your MP3 player from your Chromebook and enjoy your newly added music. Note that depending on the MP3 player model, the location or method for accessing the downloaded music might vary. Consult your MP3 player’s user manual for specific instructions.
It’s important to mention that downloading music directly to the MP3 player gives you the advantage of being able to listen to your favorite tracks without the need for an internet connection. This method also allows you to bypass the need for a computer or additional software, making it convenient and hassle-free.
Now that you’re familiar with downloading music directly to your MP3 player from your Chromebook, let’s explore another option for transferring music using a USB cable.
Option 2: Using a USB Cable to Transfer Music from Chromebook to MP3 Player
If your MP3 player doesn’t support downloading music directly or if you prefer a more traditional method, using a USB cable to transfer music from your Chromebook is an excellent option. This method requires a USB cable that is compatible with both your Chromebook and MP3 player.
Begin by ensuring that your MP3 player is turned off. Then, connect one end of the USB cable to the USB port on your Chromebook and the other end to the corresponding USB port on your MP3 player.
Once connected, your Chromebook should recognize the MP3 player as a removable storage device. You may receive a notification on your Chromebook confirming the connection. If prompted, select the option to open the device or access its storage.
Next, navigate to the folder on your Chromebook where your music files are stored. This could be your Downloads folder or any other directory where you have saved your music files.
Select the music files or folders you wish to transfer to your MP3 player. You can do this by clicking and dragging your mouse to select multiple files or by holding down the Shift key while clicking on individual files.
After selecting the desired files, right-click on them and choose the “Copy” option from the context menu. Alternatively, you can use the keyboard shortcut Ctrl+C to copy the files.
Now, locate the MP3 player’s storage device on your Chromebook. It should appear as a removable drive or device. Double-click on it to open the MP3 player’s storage.
Once inside the MP3 player’s storage, right-click anywhere in the folder and choose the “Paste” option from the context menu. Alternatively, you can use the keyboard shortcut Ctrl+V to paste the copied music files.
The selected music files will begin transferring from your Chromebook to your MP3 player. The time it takes depends on the size of the files and the speed of your USB connection.
Once the transfer is complete, safely disconnect your MP3 player from your Chromebook by clicking on the eject icon next to the device’s name in the file manager. Then, unplug the USB cable from both devices.
Now, you can turn on your MP3 player and start listening to your favorite tunes on the go. With the USB cable method, you have the advantage of transferring a large amount of music files at once, making it convenient for managing a vast music collection.
In the next section, we will explore an alternative method that involves uploading music to an online storage service and then downloading it to your MP3 player.
Option 3: Uploading Music to an Online Storage Service and Downloading to MP3 Player
If you prefer a cloud-based approach to manage your music library and have access to your songs from any device, uploading music to an online storage service and then downloading it to your MP3 player is a convenient option. This method requires an internet connection and an account with a compatible online storage service such as Google Drive, Dropbox, or OneDrive.
To begin, open your preferred online storage service on your Chromebook and sign in to your account. If you don’t have an account, create one following the service’s registration process.
Once logged in, locate the option to upload files or folders. This is typically represented by an “Upload” or a cloud-shaped arrow icon. Click on this option to initiate the upload process.
Navigate to the folder on your Chromebook where your music files are stored. Select the desired music files or folders, and click on the “Open” button to begin uploading them to the online storage service. The time it takes to upload depends on the size of the files and the speed of your internet connection.
After the upload is complete, access the online storage service on your MP3 player. This may involve installing a corresponding app or accessing the service through a web browser on your MP3 player, depending on its capabilities.
Login to your account on the MP3 player app or website and locate the uploaded music files. Typically, they will be stored in a designated folder or playlist. Select the songs or albums you wish to download to your MP3 player.
Look for the download or save option within the online storage service’s interface. This can usually be found by right-clicking on the selected files and choosing the “Download” or “Save” option from the context menu. Alternatively, there may be a dedicated download button or icon.
Choose the location on your MP3 player where you want to save the downloaded music. This can be the device’s internal storage or a designated folder specific to music files. Follow any on-screen instructions to complete the download process.
Once the download is complete, you can disconnect from the online storage service, and your MP3 player will have the newly downloaded music ready for you to enjoy.
The advantage of using this method is that your music collection remains accessible from any device with internet connectivity. You can easily add, remove, or manage your music files within the online storage service, and they will reflect on your MP3 player when you download them.
Now that you’re familiar with the option of uploading music to an online storage service and then downloading it to your MP3 player, let’s summarize what we’ve covered in this guide.
Conclusion
Transferring music from a Chromebook to an MP3 player may seem like a challenge, but with the right methods, it can be a seamless process. In this guide, we explored three options to help you get your favorite tunes onto your portable MP3 player.
Option 1 involved downloading music directly to the MP3 player from websites or online music platforms. This method allows you to enjoy your music offline without the need for a computer or additional software.
Option 2 focused on using a USB cable to transfer music from your Chromebook to the MP3 player. With this method, you can transfer a large amount of music at once, making it convenient for managing a vast music collection.
Option 3 explored the cloud-based approach of uploading music to an online storage service and then downloading it to the MP3 player. This method offers the advantage of easy access to your music library from any device with internet connectivity.
Each method has its own benefits and considerations, so choose the one that best suits your needs and preferences. Remember to ensure compatibility between your Chromebook, MP3 player, and the music formats supported.
By following the steps outlined in this guide, you’ll be able to enjoy your favorite music tracks on your MP3 player, whether you’re on the go or simply relaxing at home.
We hope this guide has been helpful in assisting you with the process of downloading music to an MP3 player from your Chromebook. Now, plug in your headphones, hit play, and enjoy the rhythm wherever life takes you!