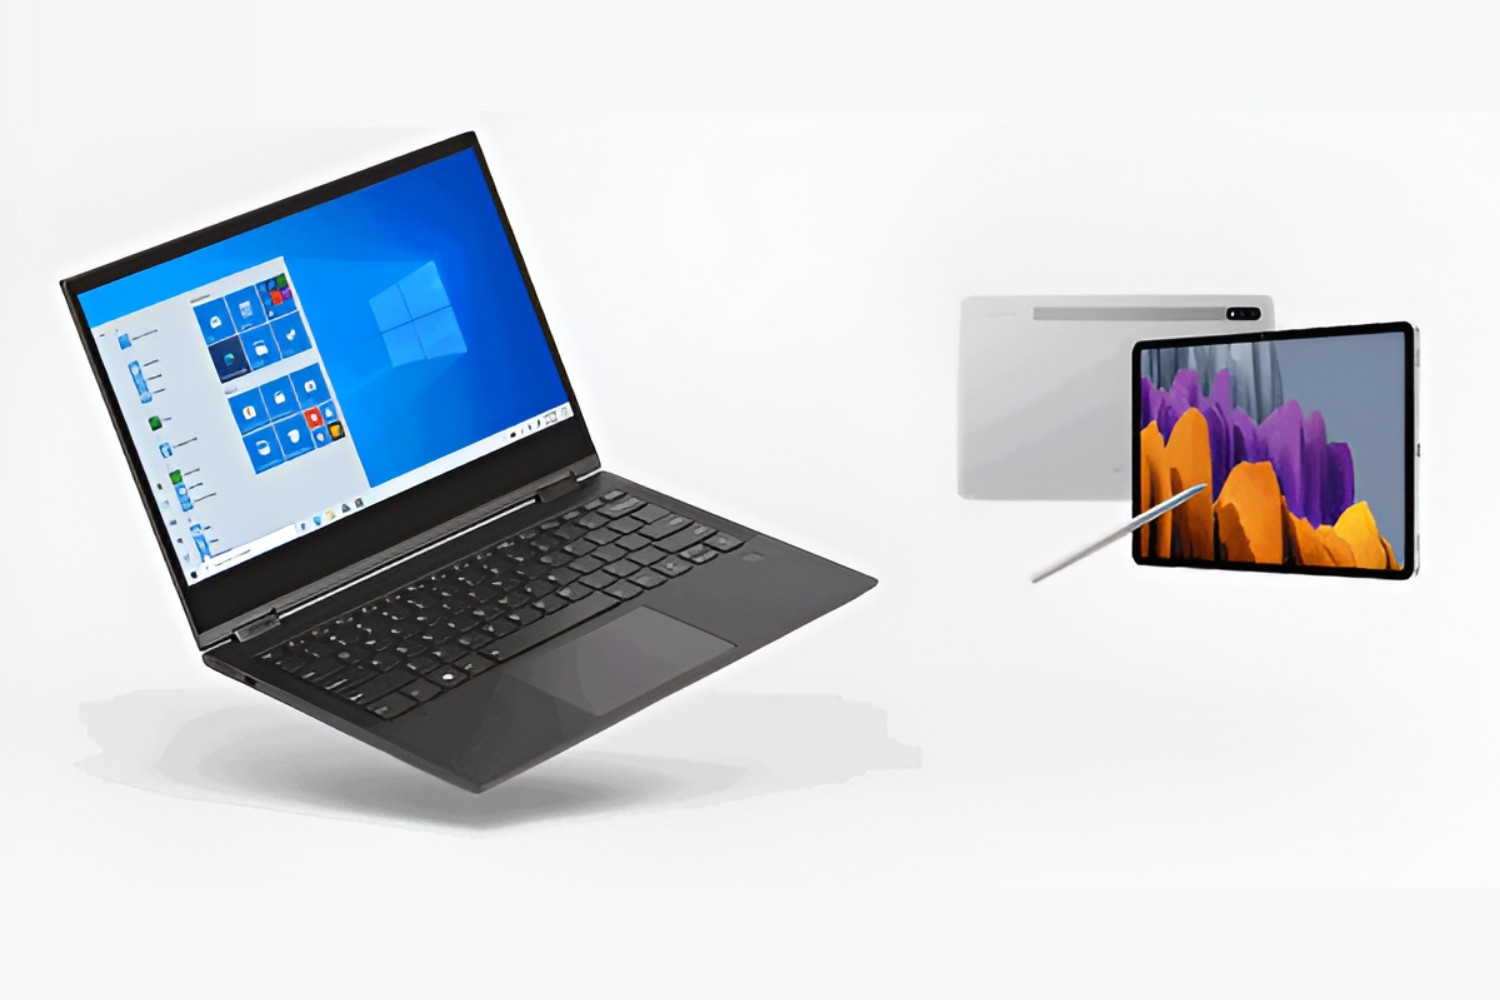
The fastest way to transfer music to an Android tablet is to connect it to your Windows PC with a USB cable, switch the tablet to file transfer mode, and drag your music files into its Music folder. For Mac users, the official Android File Transfer app provides the same drag-and-drop experience, while cloud services like YouTube Music or Dropbox offer wireless alternatives that keep your library accessible across devices. You can use a similar USB connection to transfer pictures from Android phone to tablet without relying on mobile data, and you can also transfer files from Android phone to tablet to consolidate your entire media collection in one place.
Before you begin: what to know about transferring music to your Android tablet
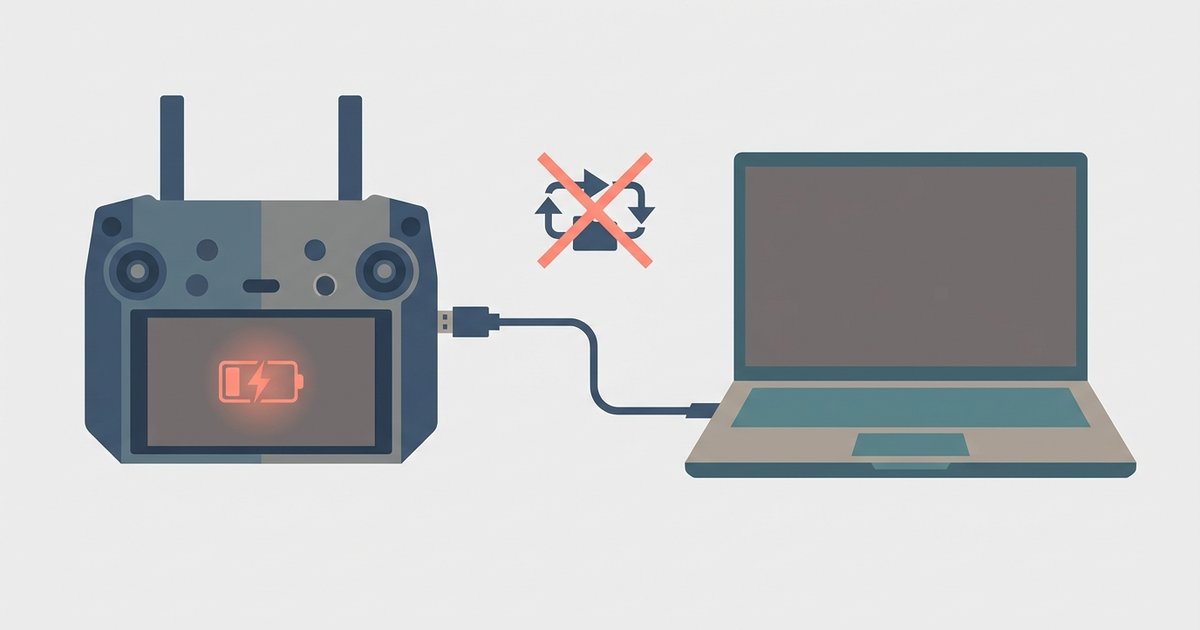
Before you start, check that your music files are not protected by Digital Rights Management (DRM). Purchased tracks from stores that use DRM may not play on your Android tablet, even after a successful transfer. Organize your music on your computer first, create folders by artist or album so you can drag them over in one go. Also, make sure your tablet is fully charged or plugged in, and that you have a USB cable that supports data transfer (not just charging). Finally, ensure your tablet's screen is unlocked when you connect it, as some devices require you to approve the connection before the computer can see the storage.
Method 1: Transfer music from a Windows PC using a USB cable
This is the most common and direct method, and it works with any Android tablet. You don't need extra software, and the transfer speed is fast, even for large music libraries.
- Connect your Android tablet to your Windows PC using a USB cable.
- On your tablet, swipe down from the top of the screen to open the notification panel.
- Tap the notification that says "USB charging this device" or similar.
- Select "File Transfer" or "Transfer files" from the options that appear.
- On your PC, open File Explorer and navigate to the folder where your music is stored.
- Select the music files or folders you want to copy.
- Open the "Music" folder on your tablet.
- Wait for the files to finish copying, then safely eject your tablet from the PC.
If you have a large collection, copying entire folders keeps everything organized exactly as it was on your computer.
Method 2: Transfer music from a Mac using Android File Transfer
Mac computers don't natively recognize Android tablets as storage devices, so you need the official Android File Transfer app. This method is applicable to Samsung Galaxy devices and other Android devices alike.
- Download and install Android File Transfer on your Mac.
- Open the Android File Transfer program on your Mac.
- Use a USB cable to connect your Android tablet to your Mac.
- On your tablet, tap "Allow" to grant the computer access.
- On your Mac, a file directory will appear in the Android File Transfer window.
- Click the option for "Music" within the Android File Transfer window.
- Drag and drop your music files from your Mac's Finder window into the Android File Transfer window.
- Wait for the files to copy, then disconnect your tablet.
Android File Transfer is a simple, one-window interface that shows your tablet's internal storage. If you have many files, drag entire folders to keep your music organized. Note that purchased music protected by DRM may not be compatible with your device.
Method 3: Restore a music backup with Samsung Smart Switch
If you own a Samsung Galaxy tablet and have previously backed up your device using Smart Switch on your PC, you can restore your music directly from that backup. This method is exclusively for Samsung Galaxy devices and requires a previous backup made with Smart Switch on your computer.
- Ensure Smart Switch is installed on your PC.
- Connect your PC and Galaxy device using a USB cable.
- Launch Smart Switch on your PC.
- If you have already created a backup, select "Restore" in the Smart Switch window.
- On the next page, select "Manually select file" and then "Find file" to locate your backup, or select "+ Add backup data."
- Navigate to and select your backup file, then select "Open."
- To choose specific files, deselect "Select all" and then choose "Music" under "Multimedia and apps," and select "OK."
- Select "Restore" (or "Restore now"), and then select "OK" when the restore has finished.
- You can then disconnect your Galaxy device from your PC.
This method is ideal if you already maintain Smart Switch backups and want to pull only your music back without re-transferring everything. It also works for restoring music after a factory reset or when switching to a new Galaxy tablet.
Method 4: Upload and access music with YouTube Music
YouTube Music lets you upload your personal music files to the cloud and then stream them on your tablet. This method is applicable to any Android device with Google services, and it's a great option if you want your music available without using a cable.
- On your computer, upload your music files and folders to Google Drive.
- Open the YouTube Music app on your Android tablet and sign in with the same Google account.
- Tap your profile icon in the top left.
- Tap "Library & downloads," and then tap the switch next to "Show device files."
- Tap "Allow" on the pop-up to give YouTube Music access to your storage.
- Navigate back to "Songs," and tap the "DEVICE FILES" tab to view your music.
The "DEVICE FILES" tab in YouTube Music will not appear unless "Show device files" is enabled. Once you turn it on, you'll see all the music you uploaded to Google Drive, plus any files stored locally on your tablet. You can stream them over Wi-Fi or download them for offline listening.
Method 5: Use Dropbox for a simple cloud transfer
Dropbox offers a straightforward way to move music from your computer to your tablet without any cables. You upload once, and then download the files directly to your tablet's storage via the Dropbox app.
- Sign up for a Dropbox account if you don't have one already.
- Install the Dropbox app on your computer and your Android tablet.
- On your computer, open the Dropbox folder and create a new folder for your music.
- Copy and paste or drag and drop your music files into that folder.
- Wait for the files to sync and upload to your Dropbox account.
- On your Android tablet, open the Dropbox app and sign in.
- Navigate to the folder where you stored your music files.
- Select the songs you want to transfer.
- Tap the "Download" or "Save" option to save them to your tablet.
Dropbox is useful for moving files between phone and tablet because the same account works on both devices. Just be aware that free Dropbox accounts have storage limits, so large music libraries may require a paid plan. Downloaded files are stored locally on your tablet, so you can play them even without an internet connection.
Method 6: Go wireless with a Wi-Fi transfer app
If you prefer to avoid cables entirely, Wi-Fi transfer apps let you send music files directly from your computer to your tablet over your local network. These apps are especially handy for quick transfers when you're already connected to the same Wi-Fi.
- Search for a Wi-Fi transfer app in the Google Play Store that is compatible with both your computer and Android tablet.
- Download and install the Wi-Fi transfer app on your Android tablet.
- On your computer, open a web browser and visit the website provided by the Wi-Fi transfer app.
- Follow the on-screen instructions to connect your computer and Android tablet through the Wi-Fi transfer app.
- Once the connection is established, browse and select the music files you want to transfer from your computer.
- Initiate the transfer process within the Wi-Fi transfer app.
- Wait for the selected files to transfer wirelessly to your tablet.
Wi-Fi transfer apps typically create a local web page on your computer, so you don't need to install anything on your PC. The transfer speed depends on your Wi-Fi network, but for a handful of albums it's quick and convenient. Make sure both devices are on the same network, and choose a reputable app to keep your files secure. After the transfer, your music will appear in your tablet's music player just like any other file.