Introduction
Transferring music from one platform to another can be a daunting task, especially when you have a vast music library. If you’re an Amazon Music user looking to switch to iTunes, you may be wondering how to transfer your music seamlessly between the two platforms. Fortunately, with a few simple steps, you can easily move your favorite tracks from Amazon Music to iTunes and enjoy them on your Apple devices.
In this article, we will guide you through the process of transferring music from Amazon Music to iTunes effortlessly. Whether you want to access your music offline, convert the files to a compatible format, or organize your library within iTunes, we’ve got you covered. So, let’s get started and learn how to transfer your beloved tunes from Amazon Music to iTunes.
We’ll begin by downloading the Amazon Music app and signing in to your account. Next, we’ll enable the offline music mode and download your Amazon Music library to your device. Once you have the music files on your computer, we’ll guide you through the process of converting them to a more universally compatible format like MP3. Finally, we’ll show you how to import the converted music into iTunes and organize it to streamline your music listening experience.
By following these steps, you’ll be able to seamlessly transition your music collection from Amazon Music to iTunes, ensuring that you can continue enjoying your favorite tunes across all your Apple devices. So without further ado, let’s dive into the process of transferring your music from Amazon Music to iTunes.
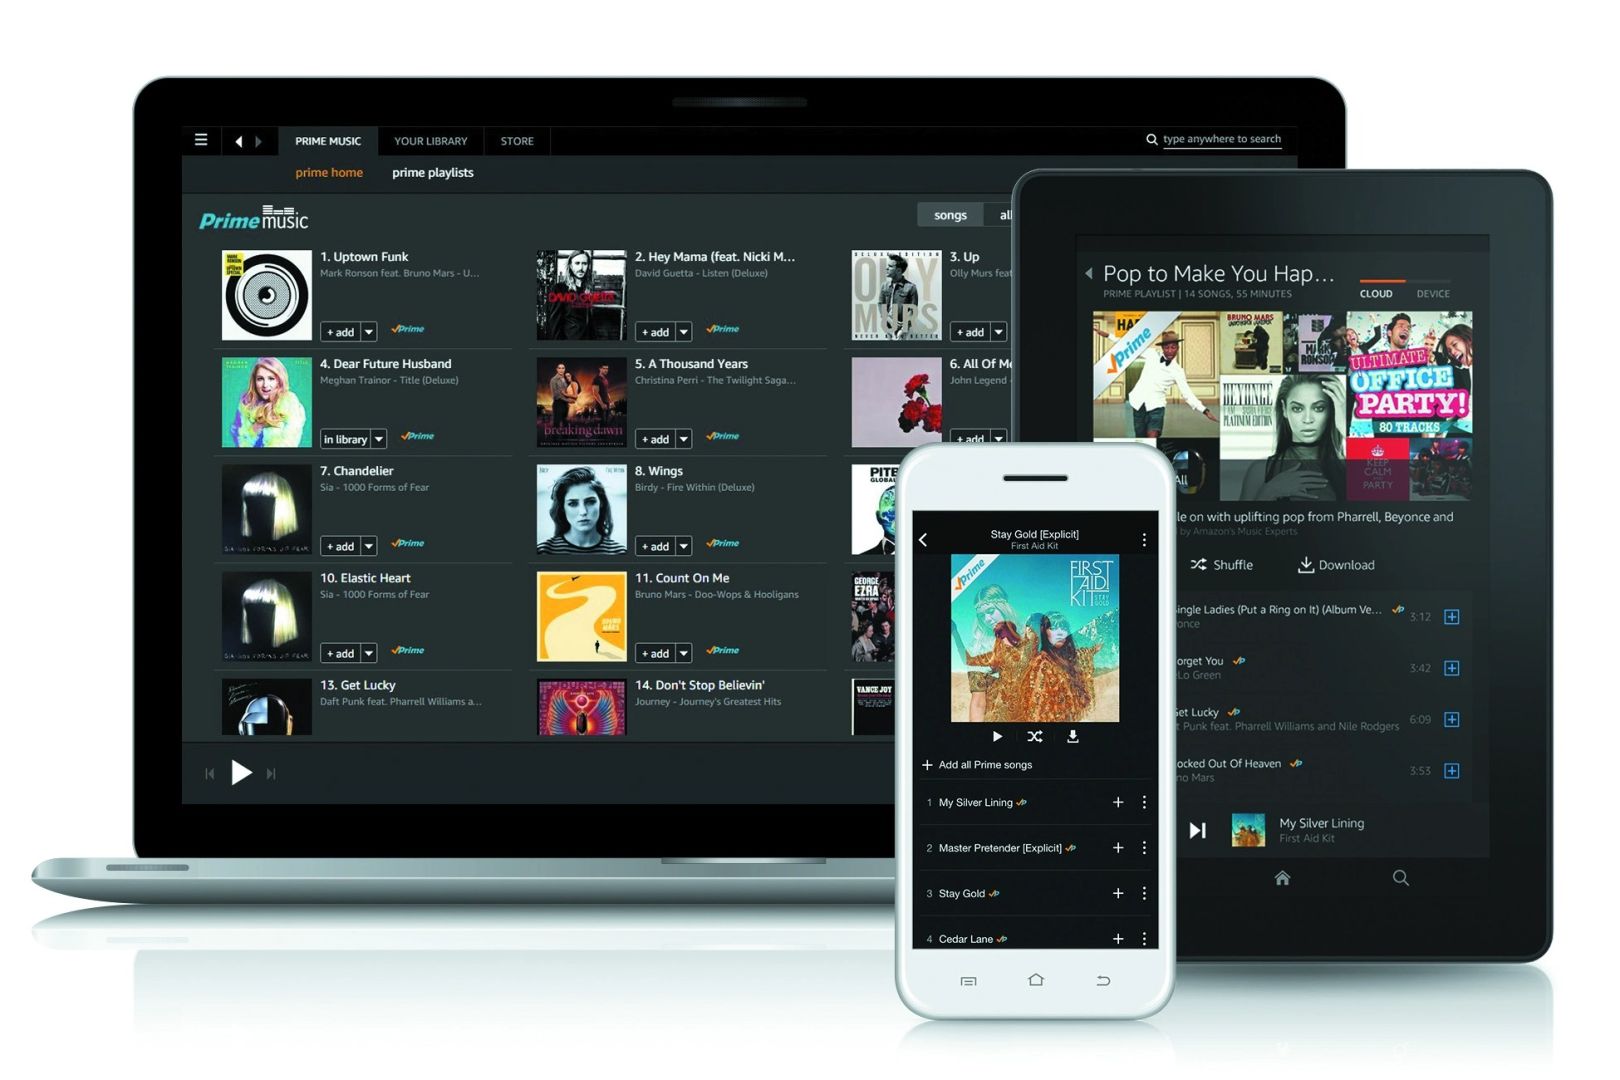
Step 1: Download the Amazon Music App
The first step in transferring your music from Amazon Music to iTunes is to download the Amazon Music app. This app allows you to access your entire music library and provides the necessary tools to download your music for offline listening.
To download the Amazon Music app, follow these simple instructions:
- Open the app store on your device (App Store for iOS devices or Google Play Store for Android devices).
- Search for “Amazon Music” in the search bar.
- Select the Amazon Music app from the search results.
- Tap on the “Install” or “Get” button to begin the download and installation process.
- Wait for the app to download and install on your device. This may take a few minutes depending on your internet connection and device speed.
Once the Amazon Music app is successfully installed on your device, you can proceed to the next step of signing in to your Amazon Music account.
It’s important to note that the Amazon Music app is available for both iOS and Android devices. Make sure you’re downloading the correct version for your device to ensure compatibility.
Downloading the Amazon Music app is a crucial first step in the process of transferring your music from Amazon Music to iTunes. With the app installed on your device, you’ll have easy access to your music library and the ability to download your music for offline listening, which will be necessary for the following steps.
Step 2: Sign in to your Amazon Music Account
Once you have downloaded the Amazon Music app, the next step is to sign in to your Amazon Music account. By signing in, you will be able to access your personalized music library and prepare for the music transfer process.
Here’s how you can sign in to your Amazon Music account:
- Open the Amazon Music app on your device.
- On the sign-up screen, tap on the “Sign in” or “Log in” button.
- Enter your Amazon account email address and password.
- Select the “Sign in” or “Log in” option to proceed.
After you have successfully signed in to your Amazon Music account, you will have access to all your purchased music, personalized playlists, and saved albums. This is important because you will need to download your music library to your device for offline listening in the following steps.
If you don’t have an existing Amazon Music account, you can create one by following the prompts on the sign-up screen. It’s important to note that you may need to have an Amazon Prime membership or a separate Amazon Music Unlimited subscription to access certain features and content within the app.
By signing in to your Amazon Music account, you ensure that you have the necessary credentials to access your music library and proceed with the transfer process. Once you have successfully signed in, you’re ready to move on to the next step of enabling the offline music mode.
Step 3: Enable the Offline Music Mode
In order to transfer your music from Amazon Music to iTunes, you’ll need to enable the offline music mode within the Amazon Music app. This will allow you to download your music library to your device, ensuring that you have the necessary files for the transfer process.
Here’s how you can enable the offline music mode:
- Open the Amazon Music app on your device.
- Navigate to the settings menu. This is typically represented by a gear icon, located in the top-right corner of the screen.
- Within the settings menu, look for the “Offline Music Mode” or “Download Options” section.
- Toggle the switch or select the option to enable the offline music mode.
Enabling the offline music mode will allow you to download your music library to your device for offline listening. This is a crucial step as it ensures that you have the necessary music files accessible when you transfer them to iTunes.
It’s important to note that the availability of the offline music mode may depend on your Amazon Music subscription level. Some subscription plans may restrict the ability to download music for offline use. Ensure that you have a subscription that includes the offline music feature in order to proceed with the transfer.
Once you have enabled the offline music mode, you can proceed to the next step of downloading your Amazon Music library to your device. This will ensure that you have all the necessary files ready for the later stages of the transfer process.
Step 4: Download your Amazon Music Library
Now that you have enabled the offline music mode, it’s time to download your Amazon Music library to your device. This step will ensure that you have all your favorite songs ready for the transfer to iTunes.
Follow these steps to download your Amazon Music library:
- Open the Amazon Music app on your device.
- Navigate to the music section, where you can find your playlists, albums, and songs.
- Select the music you want to download. You can choose individual songs, albums, or playlists by tapping on the three-dot menu icon next to each item and selecting the “Download” option.
- Alternatively, you can choose to download your entire music library by selecting the “Download All” option, typically located at the top of the library page.
- Wait for the app to download your selected music. The length of this process will depend on the size of your library and the speed of your internet connection.
By downloading your Amazon Music library, you ensure that the music files are stored on your device and ready for the transfer to iTunes. This step is crucial because iTunes will need access to the downloaded files to import them into its library.
Keep in mind that downloaded music will take up storage space on your device. Ensure you have enough free space for your selected music before starting the download process.
Once your Amazon Music library is downloaded to your device, you’re ready to move on to the next step: locating the downloaded music files on your device. This will allow you to access the files and proceed with the transfer process.
Step 5: Locate the Downloaded Music Files
After downloading your Amazon Music library to your device, the next step is to locate the downloaded music files. This is important because you’ll need to access these files in order to convert them to a compatible format for iTunes.
Here’s how you can locate the downloaded music files on your device:
- Open the file manager or file explorer app on your device. This is typically pre-installed on your device or can be downloaded from the app store.
- Navigate to the location where the Amazon Music app stores downloaded music files. This location may vary depending on the device and operating system.
- Look for a folder named “Amazon Music” or a similar name, and open it.
- Within the folder, you should find subfolders organized by artist, album, or playlist. These subfolders contain the downloaded music files.
Once you have located the downloaded music files, you can proceed to the next step of converting these files to a compatible format for iTunes, such as MP3.
It’s important to note that the file names and organization may differ depending on your device and the settings you have chosen within the Amazon Music app. If you’re having trouble finding the downloaded files, refer to the app settings or consult the app’s support documentation for specific instructions.
Locating the downloaded music files is a crucial step as it allows you to access the files and prepare them for the transfer to iTunes. Once you have successfully located the files, you’re ready to convert them to a compatible format in the next step.
Step 6: Convert the Amazon Music Files to MP3
Now that you have located the downloaded music files from Amazon Music, it’s time to convert them to a compatible format for iTunes, such as MP3. This step is necessary as iTunes has its own file format requirements and may not be able to recognize certain file types.
Here’s how you can convert the Amazon Music files to MP3:
- Open a file conversion tool or audio converter software on your computer. There are several reliable options available, both free and paid, such as iTunes itself, Audacity, or Freemake Audio Converter.
- Import the downloaded music files into the conversion tool. This is usually done by dragging and dropping the files into the software interface or using the “Import” or “Add File” option.
- Select the MP3 format as the output format for the conversion. In most audio conversion tools, you can choose the desired output format from a dropdown menu or by selecting the appropriate option.
- Configure any additional settings or preferences for the conversion, such as the bitrate or audio quality. These options may vary depending on the software you’re using.
- Start the conversion process by clicking on the “Convert” or “Start” button. The time it takes to convert the files will depend on the number and size of the files, as well as the speed of your computer.
Once the conversion is complete, you will have a new set of music files in the MP3 format. These converted files are ready to be imported into iTunes and added to your iTunes library.
Make sure to keep the original downloaded files from Amazon Music intact as a backup, just in case. You can choose to delete the downloaded files after the conversion process is complete to free up storage space on your device.
By converting the Amazon Music files to MP3, you ensure compatibility with iTunes and pave the way for a smooth transfer to your iTunes library in the next step.
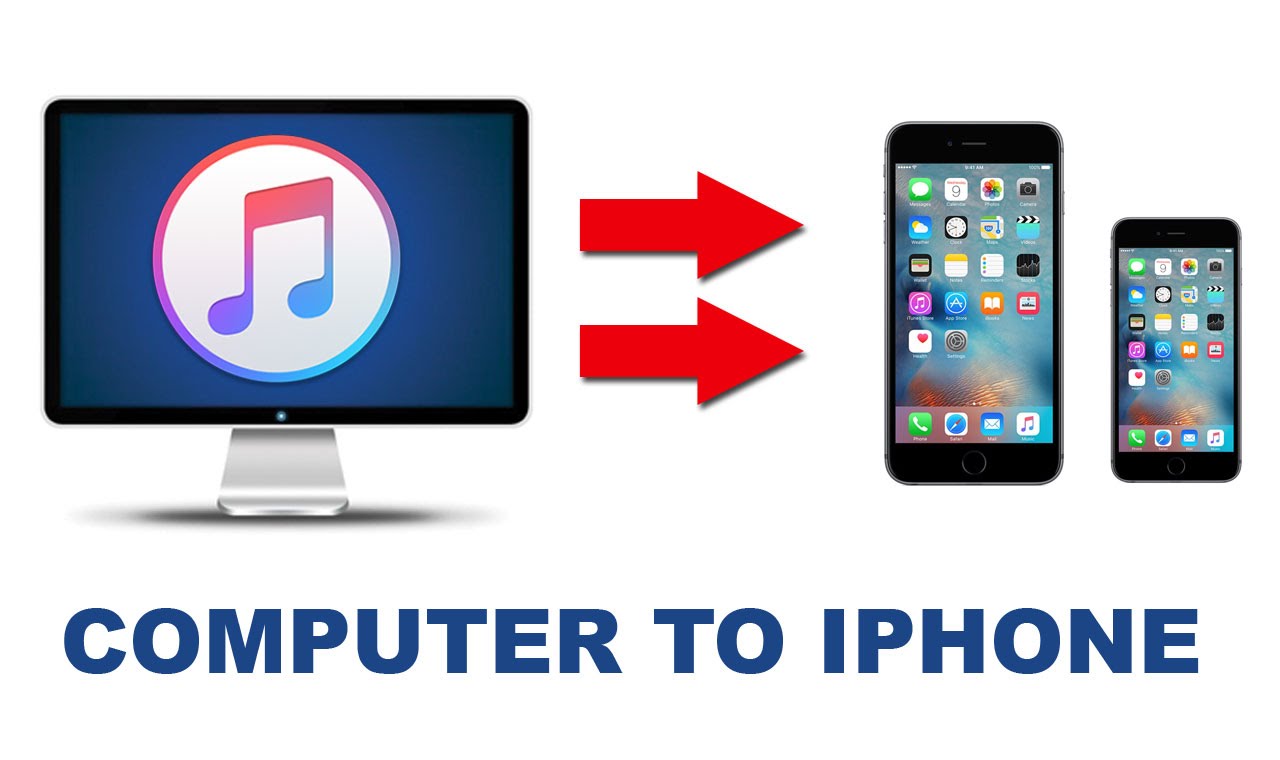
Step 7: Import the Converted Music to iTunes
After converting the Amazon Music files to the MP3 format, the next step is to import these converted files into iTunes. This will allow you to add the music to your iTunes library and seamlessly integrate it with your existing iTunes collection.
Follow these steps to import the converted music into iTunes:
- Open iTunes on your computer. If you don’t have iTunes installed, you can download it for free from the Apple website.
- Click on the “File” menu at the top left of the iTunes window.
- Select the “Add File to Library” or “Add Folder to Library” option, depending on whether you want to import individual files or a whole folder of music.
- Navigate to the location where you have saved the converted Amazon Music MP3 files.
- Select the files or folder you want to import and click on the “Open” button.
iTunes will then start importing the selected music files into your iTunes library. You will be able to see the progress in the iTunes status bar. The time it takes to import the files will depend on the number and size of the files.
Once the import process is complete, the converted Amazon Music files will be added to your iTunes library. You can view them by clicking on the “Music” tab in the iTunes sidebar.
Alternatively, you can also enable the option to automatically import any new music files added to a specific folder on your computer. To do this, go to the iTunes preferences, click on the “Advanced” tab, and select the option to “Copy files to iTunes Media folder when adding to library.” This will ensure that any newly converted or downloaded music files are automatically imported into your iTunes library.
By importing the converted music into iTunes, you will have seamlessly integrated your Amazon Music collection with your existing iTunes library, allowing you to enjoy all your favorite tunes in one convenient location.
Step 8: Organize and Sync Music with iTunes
Once you have imported the converted music into iTunes, the final step is to organize and sync your music library to ensure a seamless listening experience across your Apple devices. This step involves organizing your music, creating playlists, and syncing the music with your iPhone, iPad, or iPod.
Follow these steps to organize and sync your music with iTunes:
- Create playlists: To organize your music, you can create playlists in iTunes by selecting the songs you want to include and choosing “New Playlist” from the “File” or “Edit” menu. Give your playlist a name and drag and drop the desired songs into it.
- Edit song information: You can edit the details of your songs, such as the artist, album, and genre. Right-click on a song, select “Get Info,” and make the necessary changes in the song information window.
- Manage album artwork: iTunes allows you to add or update album artwork for your music. Right-click on an album, select “Get Info,” and go to the “Artwork” tab. You can add artwork by dragging and dropping an image file onto the artwork panel.
- Sync with Apple devices: Connect your iPhone, iPad, or iPod to your computer using the appropriate USB cable. In iTunes, click on the device icon located at the top left of the iTunes window. Configure your sync settings, such as which playlists or artists to sync, and click on the “Apply” or “Sync” button to start the syncing process.
- Enjoy your music: Once the syncing process is complete, you can disconnect your Apple device and enjoy your organized and synced music library on the go.
Organizing and syncing your music with iTunes not only helps you locate and play your favorite songs easily but also ensures that your music is available on all your Apple devices whenever you need it.
Remember to regularly update and sync your music library to keep it up to date with any new additions or changes you make in iTunes. You can repeat the sync process whenever you want to add or remove music from your devices.
With your music organized and synced with iTunes, you can enjoy a seamless and synchronized music experience across all your Apple devices.
Conclusion
Transferring your music from Amazon Music to iTunes might initially appear to be a complex task, but by following the step-by-step process outlined in this guide, you can seamlessly transfer your favorite tracks and enjoy them on your Apple devices.
We began by downloading the Amazon Music app and signing in to our Amazon Music account to access our music library. Then, we enabled the offline music mode and downloaded our Amazon Music library to our devices. After locating the downloaded music files, we converted them to the universally compatible MP3 format.
Next, we imported the converted music files into iTunes, ensuring their seamless integration with the iTunes library. Lastly, we organized our music, created playlists, and synced the library with our Apple devices for a synchronized music experience on the go.
By following these steps, you can not only transfer your music but also enhance your overall music listening experience. With iTunes, you gain access to a wide range of features and customization options that make managing and enjoying your music effortless.
Remember to regularly update and sync your music library to ensure that any changes or new additions are reflected across all your Apple devices. By staying organized and keeping your music collection up to date, you can enjoy your favorite tunes wherever you go.
In conclusion, transferring your music from Amazon Music to iTunes is a straightforward process that involves downloading, converting, importing, organizing, and syncing your music files. Follow these steps, and you’ll be able to seamlessly enjoy your music library on iTunes and across your Apple devices.