Introduction
Welcome to the digital age where everything is just a few clicks away. Gone are the days of carrying around a stack of CDs or cassette tapes to enjoy your favorite music. Now, with just a few simple steps, you can easily download and listen to your favorite tunes directly on your iPhone. Whether you have a vast music library on your computer or you want to explore new songs online, there are multiple methods to transfer music from your computer to your iPhone.
In this article, we will explore various methods that allow you to download music from your computer to your iPhone. From using iTunes, the tried and true method, to utilizing cloud-based services like iCloud Music Library, Dropbox, Google Play Music, Spotify, and Amazon Music, we will guide you through the process of getting your favorite tracks onto your iPhone.
No matter which method you choose, it’s important to note that these instructions are applicable for both Windows and Mac users. So, whether you have a PC or a Mac, rest assured that you can follow along with ease.
Ready to sync your music and bring it with you wherever you go? Let’s dive into the various methods and find the one that works best for you.
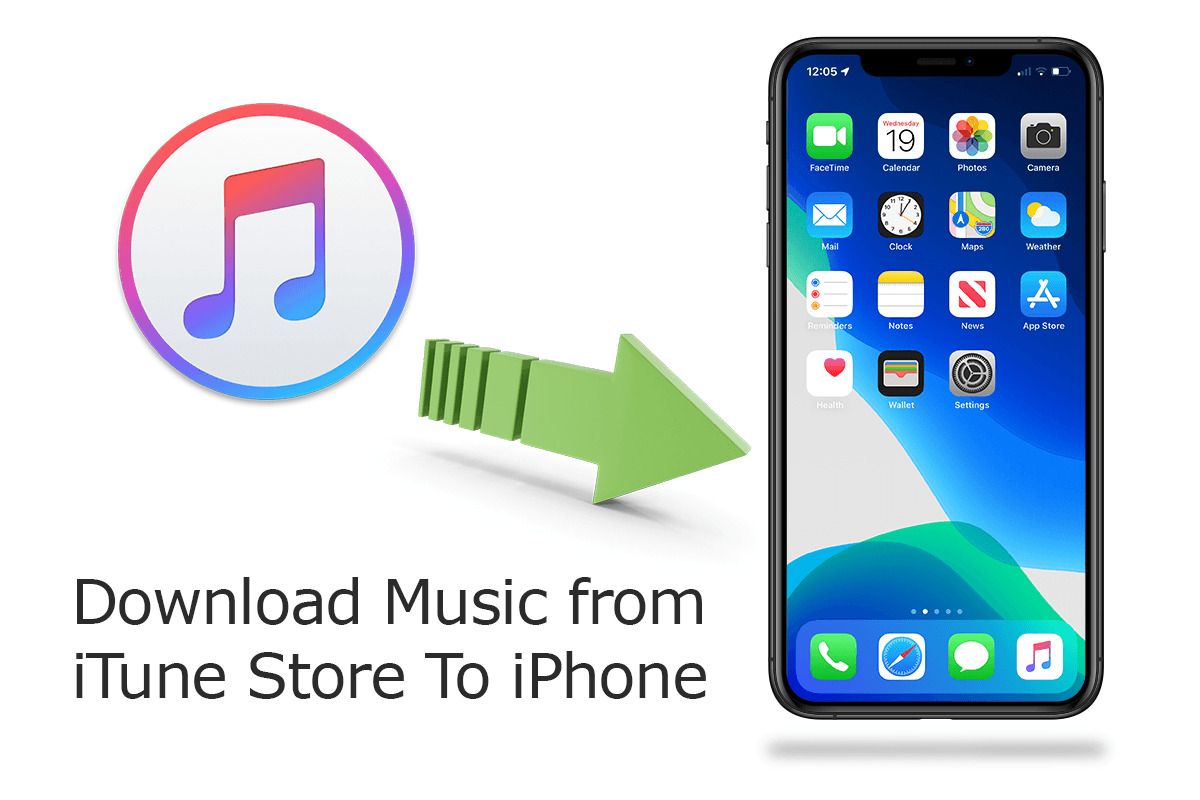
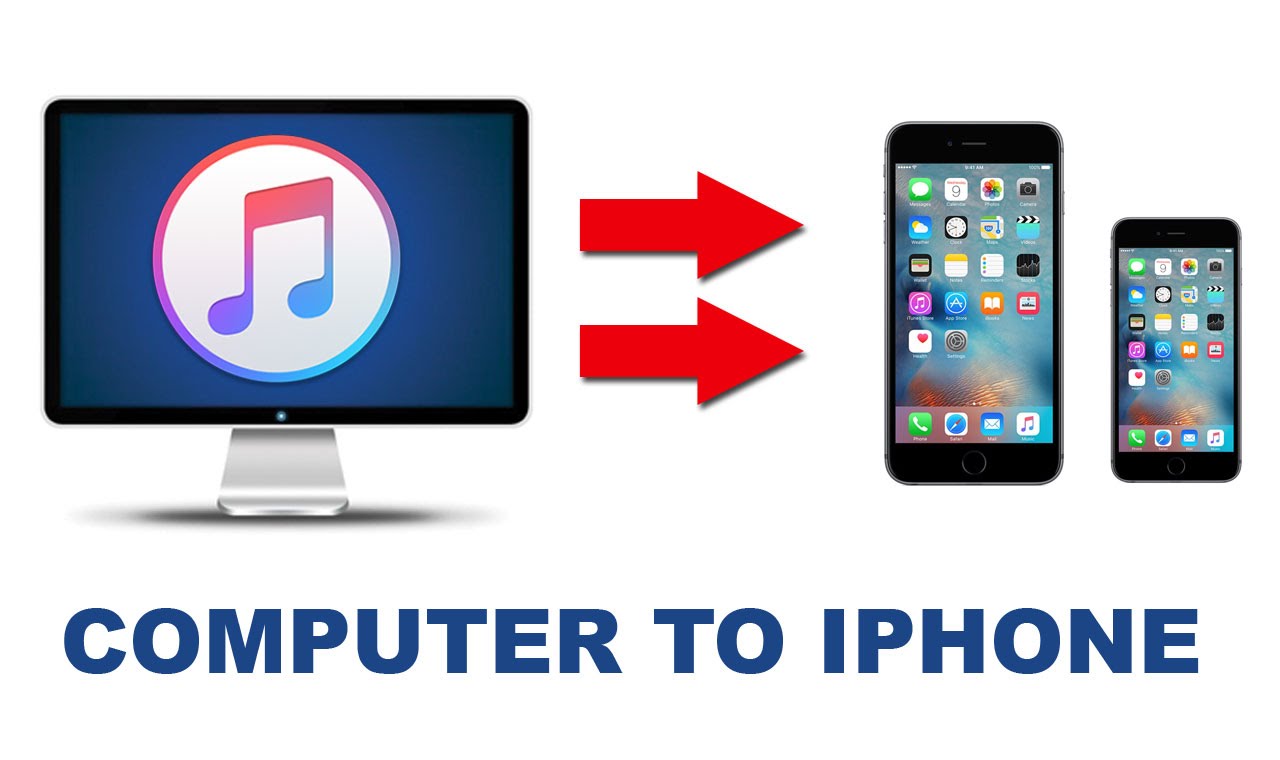
Method 1: Using iTunes
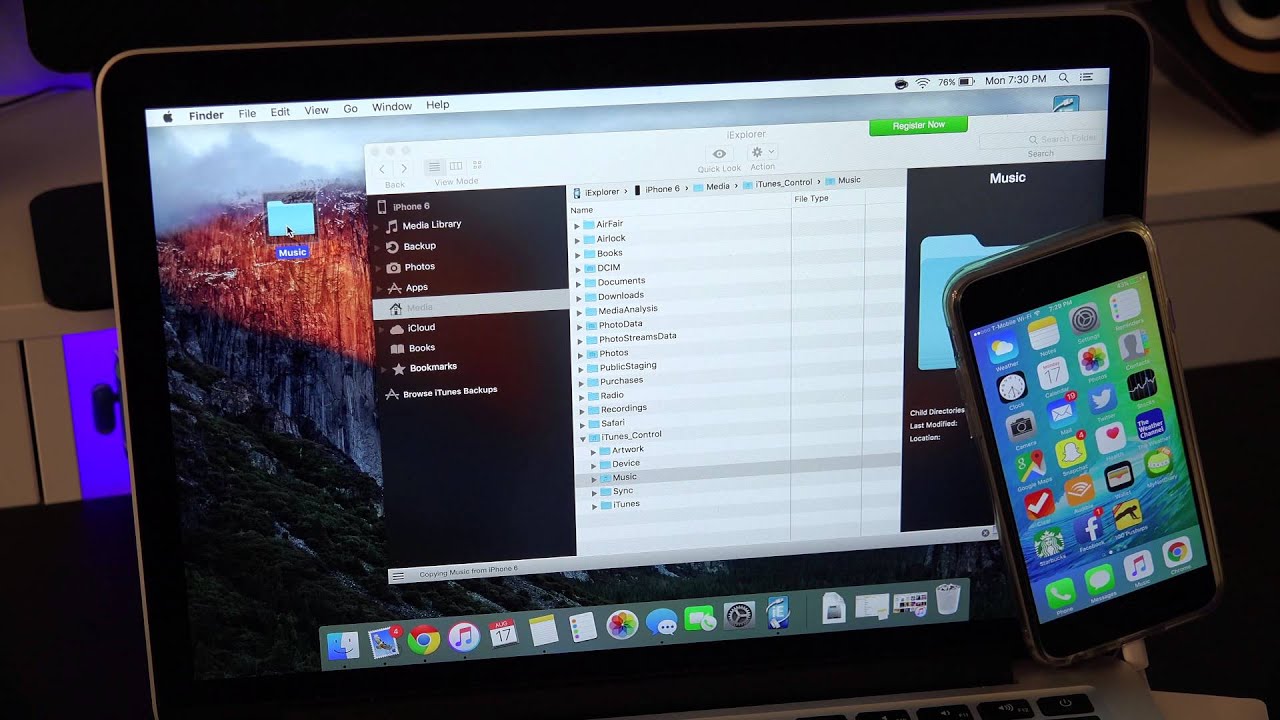
When it comes to managing your music library, iTunes is the go-to application for many iPhone users. It allows you to not only organize your music collection but also sync it with your iPhone effortlessly. Here’s how you can use iTunes to download music from your computer to your iPhone:
- First, make sure you have the latest version of iTunes installed on your computer. You can download it from the Apple website if you don’t have it already.
- Connect your iPhone to your computer using a USB cable. iTunes should automatically launch, but if it doesn’t, open it manually.
- In iTunes, click on the device icon that appears at the top left corner of the window to access your iPhone’s settings.
- On the left-hand sidebar, click on “Music” to view your music library.
- Now, depending on whether you want to transfer individual songs or entire albums, you can either select specific tracks or albums by ticking the checkboxes next to their names or click on the “Sync Music” option to transfer your entire library to your iPhone.
- Once you have selected the songs or albums you want to transfer, click on the “Apply” or “Sync” button in the bottom right corner of the screen. This initiates the transfer process.
- Wait for iTunes to sync your selected music files with your iPhone. The time it takes will depend on the size of the files and the speed of your computer.
- Once the transfer is complete, disconnect your iPhone from your computer. You will now find your downloaded music in the “Music” app on your iPhone.
Using iTunes is a reliable method for transferring music, especially if you prefer to have more control over your music library. However, it can be a bit cumbersome if you have a large collection and prefer to manage your music directly on your iPhone. In that case, you might consider using cloud-based services like iCloud Music Library or third-party apps that offer more flexibility in downloading and organizing your music.
Method 2: Using iCloud Music Library
If you’re subscribed to Apple Music or iTunes Match, you have the option to use iCloud Music Library to download music from your computer to your iPhone. iCloud Music Library allows you to access your entire music library across all your Apple devices seamlessly. Here’s how to use it:
- Open the iTunes application on your computer and sign in with your Apple ID.
- In the iTunes menu, go to “Preferences” (on Mac) or “Edit” > “Preferences” (on Windows).
- Click on the “General” tab and enable the “iCloud Music Library” option.
- Click on “File” > “Library” > “Update iCloud Music Library” to ensure that your music library is up to date.
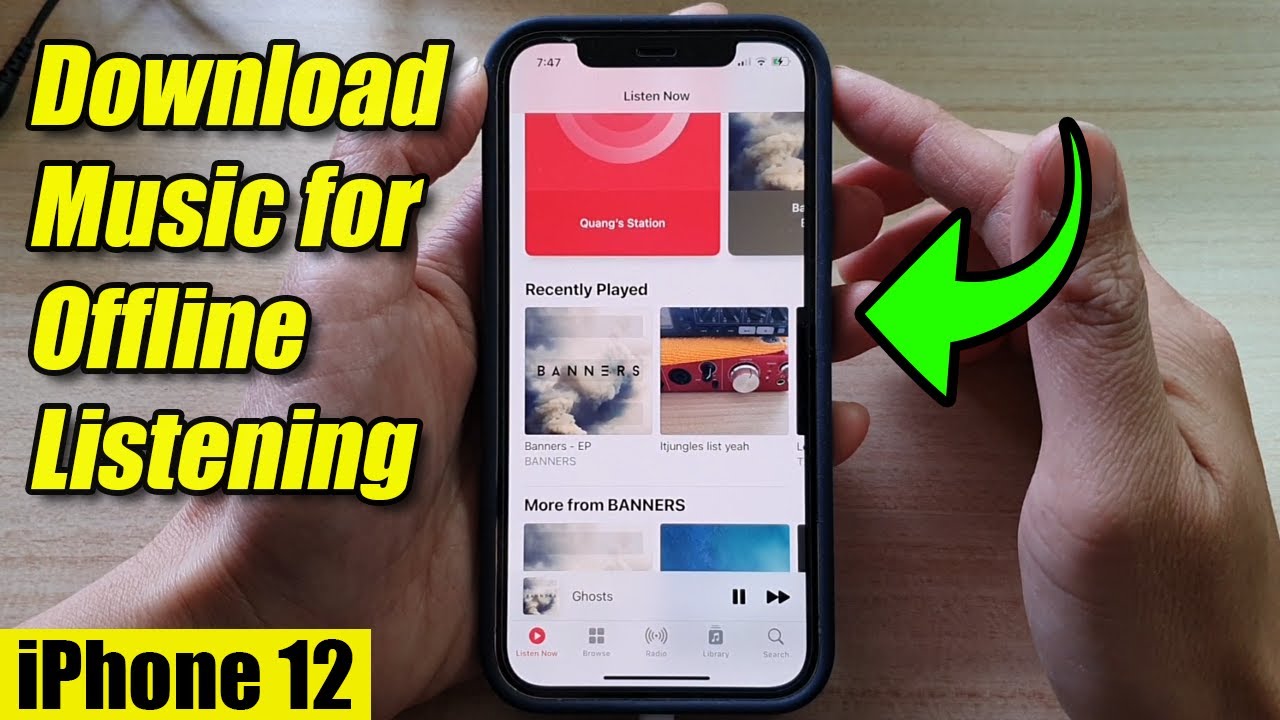
- On your iPhone, go to “Settings” > “Music” and toggle on “iCloud Music Library”.
- Now, on your iPhone, open the “Music” app and tap on the “Library” tab at the bottom.
- Your music library will start syncing with iCloud. Depending on the size of your library and the speed of your internet connection, this process may take some time.
- Once the syncing is complete, you can access your entire music library on your iPhone by tapping on any song, album, or playlist.
- If you want to download specific songs or albums to listen to offline, simply tap on the “…” (three dots) next to the item and select “Download”.
Using iCloud Music Library provides you with the convenience of having your music available on all your Apple devices without the need for physical storage. It’s a great option for those who have a large music collection and want to access it seamlessly across multiple devices. However, please note that iCloud Music Library requires a subscription to Apple Music or iTunes Match.
Method 3: Using Dropbox
If you prefer to store your music files in the cloud and have easy access to them on your iPhone, using Dropbox is a convenient option. Dropbox is a popular cloud storage service that allows you to store and share files across devices. Here’s how you can use Dropbox to download music from your computer to your iPhone:
- First, make sure you have the Dropbox app installed on both your computer and your iPhone. You can download it from the Dropbox website or the App Store.
- On your computer, open the Dropbox app and sign in to your Dropbox account.
- Create a new folder in Dropbox specifically for your music files, or open an existing folder where you want to store your music.
- Copy or move the music files you want to transfer to your iPhone into the Dropbox folder. These can be individual songs or entire albums.
- Once the files are in the Dropbox folder, they will automatically sync to the cloud.
- Now, on your iPhone, open the Dropbox app and sign in to your Dropbox account.
- Navigate to the folder where you stored your music files.
- Tap on the music file you want to download. The file will begin downloading to your iPhone.
- Once the download is complete, you can access the music file in the Dropbox app or use another music player app on your iPhone to play the downloaded music.
Using Dropbox offers the advantage of accessing your music files from anywhere with an internet connection. It eliminates the need for physical transfer or storage and allows you to stream or download your music directly to your iPhone. Keep in mind that Dropbox offers a limited amount of free storage, and if you require more space, you may need to upgrade to a premium subscription plan.
Method 4: Using Google Play Music
If you’re an avid user of Google services, using Google Play Music to download music from your computer to your iPhone is a convenient option. Here’s how you can use Google Play Music to transfer your music:
- Make sure you have the Google Play Music Manager app installed on your computer. You can download it from the Google Play Music website.
- Open the Google Play Music Manager app and sign in with your Google account.
- Follow the prompts to upload your music library from your computer to your Google Play Music account. This process may take some time, depending on the size of your library and the speed of your internet connection.
- Once your music library is uploaded to Google Play Music, open the Google Play Music app on your iPhone.
- Sign in with the same Google account you used in the previous step.
- Navigate to your library and select the songs or albums you want to download to your iPhone.
- Tap on the three dots next to the item and select “Download” to start the download process.
- Your selected music will be downloaded and stored on your iPhone, accessible through the Google Play Music app.
Using Google Play Music allows you to take advantage of cloud storage and access your music library on multiple devices. It offers the convenience of syncing your music across platforms, making it an ideal choice for users who have diverse devices and want seamless integration with their Google services. However, keep in mind that Google Play Music is a subscription-based service, and you may need to subscribe for additional features and benefits.
Method 5: Using Spotify
If you’re a fan of streaming music and prefer to use Spotify as your go-to music app, you’ll be pleased to know that you can also use it to download music from your computer to your iPhone. Here’s how you can do it:
- First, make sure you have the Spotify app installed on both your computer and your iPhone. You can download it from the Spotify website or the App Store.
- Open the Spotify app on your computer and sign in to your Spotify account.
- Create a new playlist in Spotify specifically for the songs you want to download to your iPhone, or use an existing playlist.
- Add the desired songs to your playlist by searching for them in Spotify’s extensive music library and clicking the “Add to Playlist” button for each song.
- Next, open the Spotify app on your iPhone and sign in to your Spotify account.
- Find the playlist you created or the existing playlist where you added the songs.
- Toggle the “Download” button at the top of the playlist to enable the offline mode for the playlist.
- Spotify will now start downloading the songs in the playlist to your iPhone. Depending on the number of songs and your internet connection speed, this process may take a few minutes.
- Once the download is complete, you can access the songs in the playlist on your iPhone, even without an internet connection.
Using Spotify to download music offers the advantage of having a vast library of songs at your fingertips, along with personalized recommendations and playlists. It’s a popular choice for music enthusiasts who prefer streaming over manually managing their music collections. With Spotify’s offline mode, you can enjoy your favorite songs on your iPhone wherever you go, without worrying about data usage or internet connectivity.
Method 6: Using Amazon Music
If you’re an Amazon Prime member or a subscriber to Amazon Music Unlimited, you have access to a vast library of music through the Amazon Music app. Here’s how you can use Amazon Music to download music from your computer to your iPhone:
- First, make sure you have the Amazon Music app installed on both your computer and your iPhone. You can download it from the Amazon website or the App Store.
- Open the Amazon Music app on your computer and sign in to your Amazon account.
- Using the Amazon Music app, upload your music library from your computer to your Amazon Music account. This will allow you to access your personal collection from the app.
- Next, open the Amazon Music app on your iPhone and sign in to your Amazon account.
- Navigate to your music library and locate the songs or albums you want to download to your iPhone.
- Tap on the “Download” button next to each song or album to start the download process.
- The selected music will be downloaded to your iPhone and stored within the Amazon Music app, ready to be played offline whenever you want.
Using Amazon Music offers the advantage of having a vast music library at your fingertips, including personalized recommendations based on your listening habits. If you’re an Amazon Prime member, you can also enjoy ad-free streaming and access to exclusive content. With the ability to download music from your computer to your iPhone, you can take your favorite tunes with you wherever you go, even when you don’t have an internet connection.
Conclusion
Downloading music from your computer to your iPhone is easier than ever, thanks to various methods and apps available to suit your preferences. Whether you choose to use iTunes, iCloud Music Library, Dropbox, Google Play Music, Spotify, or Amazon Music, you can enjoy your favorite songs on the go without the need for an internet connection.
If you prefer a traditional approach and want full control over your music library, iTunes is a reliable option. It allows you to sync your music directly from your computer to your iPhone. On the other hand, if you prefer a cloud-based solution and want seamless integration across all your Apple devices, iCloud Music Library is a great choice.
For those who want to store their music in the cloud and access it from anywhere, Dropbox provides a convenient solution. It allows you to upload your music files and download them to your iPhone whenever you want. Google Play Music and Spotify are popular options for streaming music enthusiasts, offering vast libraries and personalized recommendations.
Lastly, Amazon Music caters to Amazon Prime members and offers a rich selection of songs, allowing you to download your favorite tracks for offline listening.
Choose the method that best suits your needs and preferences, and say goodbye to the hassle of carrying around physical media. With just a few simple steps, you can quickly and easily transfer your music collection from your computer to your iPhone, enabling you to enjoy your favorite tunes wherever you go.