Introduction
Music is an integral part of our lives, and having a collection of our favorite songs on our iPhone allows us to enjoy music on the go. Whether you’re a fan of the latest hits or have a passion for discovering new artists, being able to download music directly into your iPhone can give you instant access to your favorite tunes anytime, anywhere.
In this article, we will explore different methods to download music into your iPhone. We’ll discuss downloading music from popular platforms like iTunes Store and Apple Music, as well as downloading music from other online sources. Additionally, we’ll cover how to transfer music from your computer to your iPhone and provide tips on organizing and managing your downloaded music.
Downloading music from the iTunes Store is a straightforward and reliable option for adding music to your iPhone. iTunes Store offers an extensive collection of songs, albums, and playlists across various genres. By purchasing and downloading music directly from the iTunes Store, you can legally acquire high-quality tracks that are compatible with your iPhone’s music library.
If you’re an Apple Music subscriber, you have the option to download music from the Apple Music streaming service. Apple Music provides a vast library of songs that you can listen to offline, making it an excellent choice for music enthusiasts who want access to a vast collection without the need to purchase individual tracks.
In addition to the aforementioned methods, there are also other online sources where you can download music for free or for a small fee. These sources range from music blogs and independent artist websites to online music stores and libraries. We’ll provide you with tips on how to find and safely download music from these platforms.
Transferring music from your computer to your iPhone allows you to add personal music collection or tracks downloaded from other sources that may not be available on iTunes or Apple Music. We’ll guide you through the process of transferring music files to your iPhone via iTunes or third-party software.
Lastly, we’ll discuss techniques for organizing and managing your downloaded music on your iPhone. This includes creating playlists, using music organization apps, and utilizing built-in features like Apple’s Music app. Proper organization ensures that you can easily find and enjoy your favorite music without any hassle.
So, whether you’re an avid music lover or simply enjoy having a few songs at your fingertips, follow along as we explore the various methods to download music into your iPhone. Let’s dive in!
Part 1: Downloading Music from iTunes Store
When it comes to downloading music for your iPhone, the iTunes Store is a go-to platform. It offers a vast collection of songs, albums, and playlists across different genres. Here’s how you can download music from the iTunes Store directly into your iPhone:
1. Open the iTunes Store app on your iPhone. If you don’t have it, you can download it from the App Store.
2. Browse or search for the music you want to download. You can explore the top charts, new releases, or use the search bar to find specific songs or artists.
3. Once you’ve found the music you want, tap on the price button next to the song or album to purchase it. Note that some content may be available for free as well.
4. If prompted, sign in with your Apple ID and confirm the purchase by entering your password or using Touch ID/Face ID.
5. The music will start downloading automatically and will be added to your iPhone’s music library.
6. To access the downloaded music, open the Music app on your iPhone. You can find it on your home screen or by swiping down and searching for “Music”.
7. In the Music app, tap on the “Library” tab at the bottom of the screen. Here, you’ll find all the music that is downloaded to your iPhone.
8. From your music library, you can create playlists, organize your music by artist or album, or simply play your favorite songs.
9. If you have enabled the iCloud Music Library feature, you can also access your purchased music on other devices logged in with the same Apple ID.
By downloading music from the iTunes Store, you not only get access to a wide array of songs and albums, but you also support the artists by purchasing their music legally. Remember to regularly update your music library and explore new releases to keep your iPhone filled with fresh tunes.
Now that you know how to download music from the iTunes Store, let’s move on to the next method of downloading music from Apple Music.
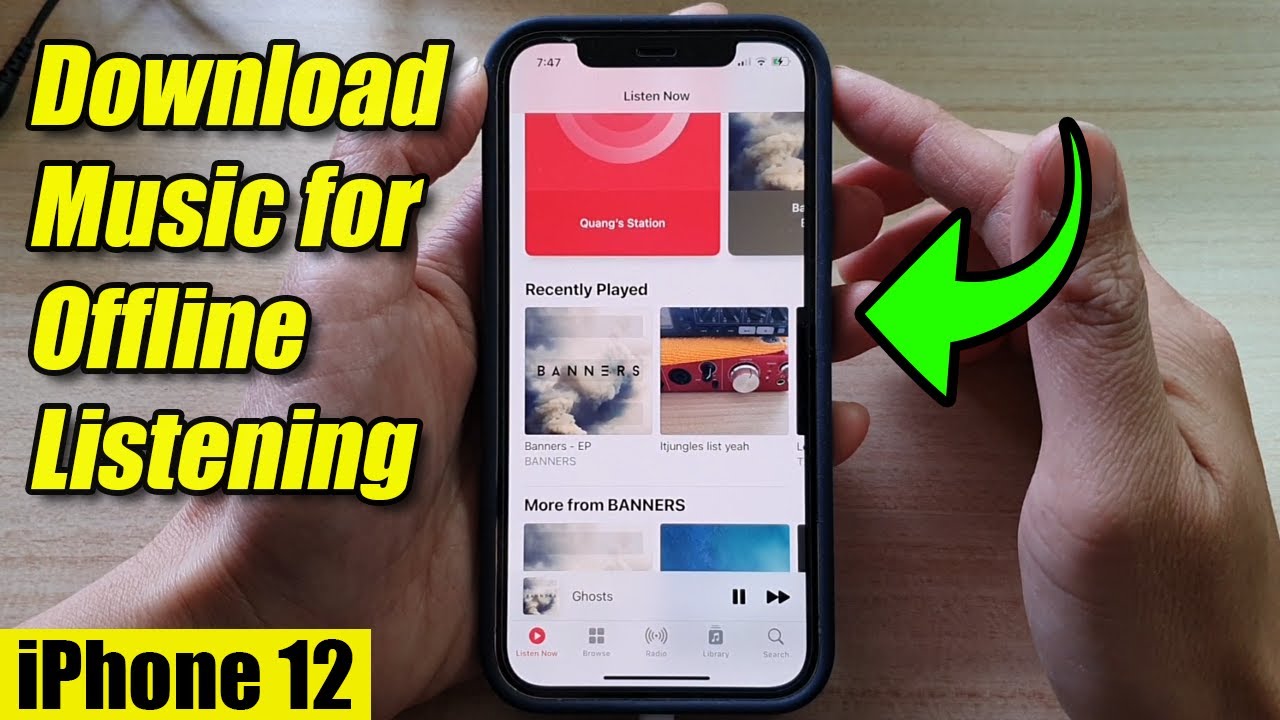
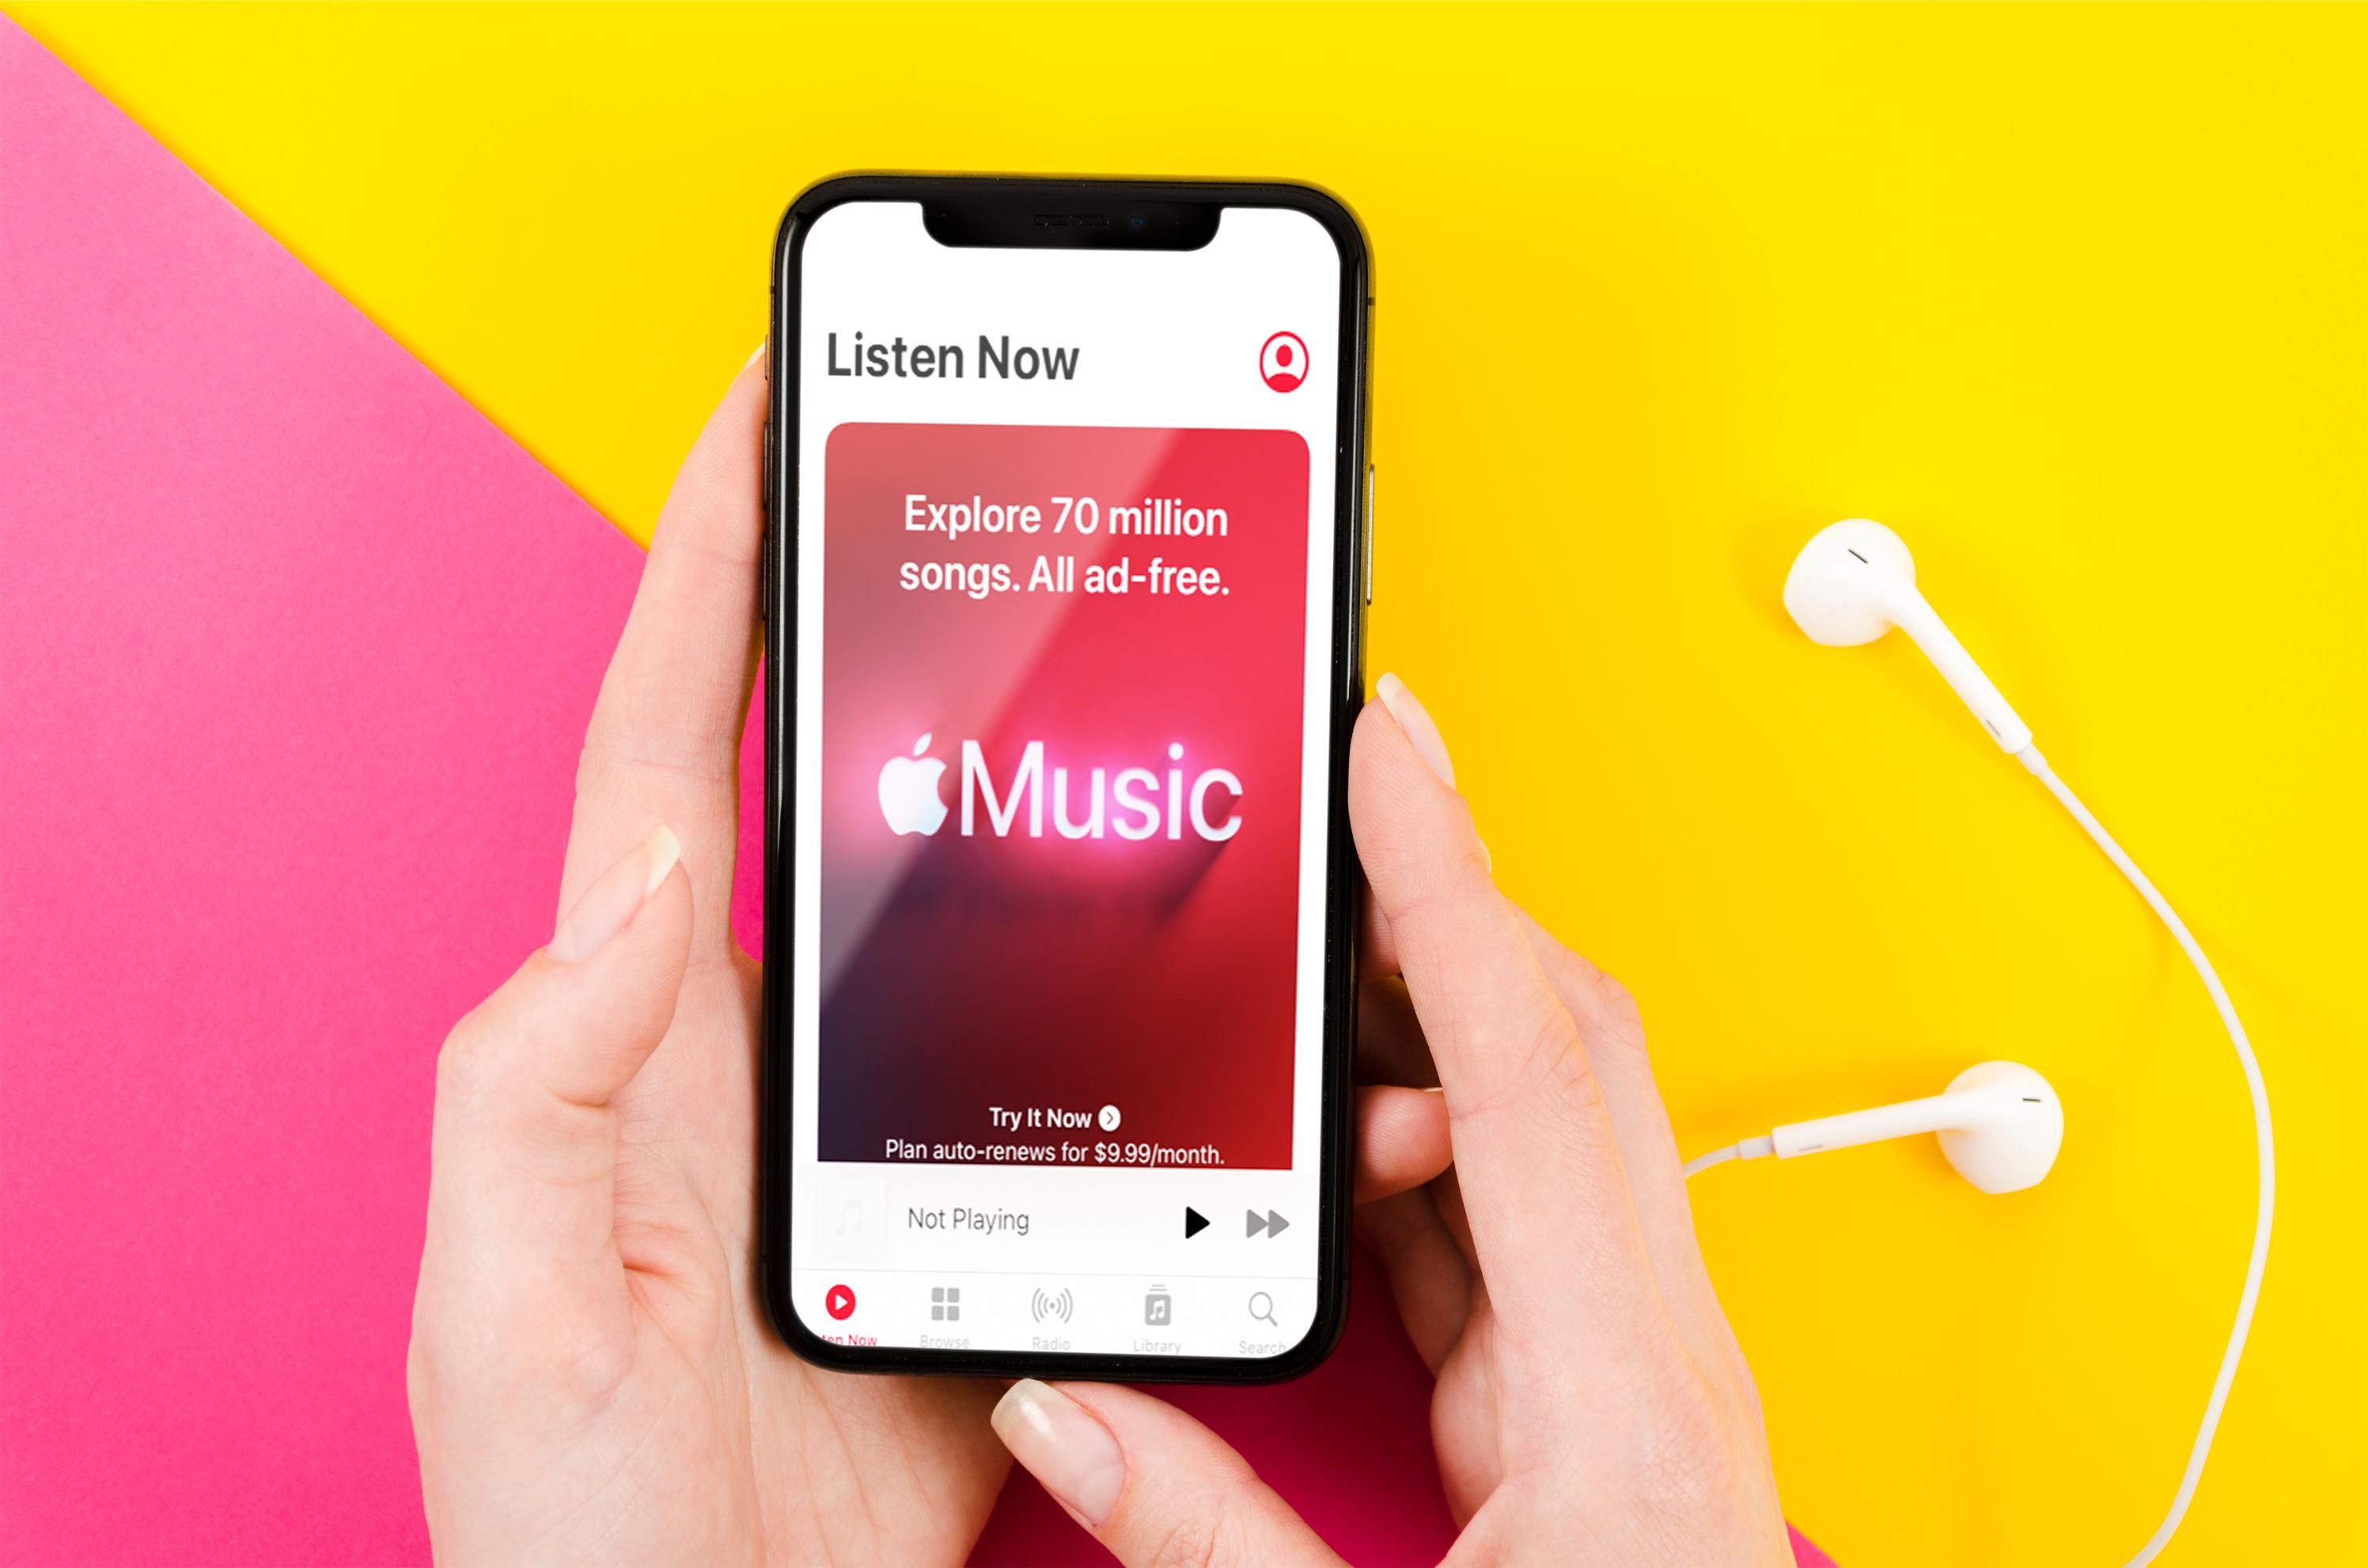
Part 2: Downloading Music from Apple Music
If you’re an Apple Music subscriber, you have access to a vast library of songs that you can download to your iPhone and listen to offline. Here’s how you can download music from Apple Music:
1. Ensure that you have an active Apple Music subscription. If you don’t have a subscription, you can sign up for one through the Music app.
2. Open the Music app on your iPhone. You can find it on your home screen or by swiping down and searching for “Music”.
3. Search for the song, album, or artist you want to download. You can use the search bar at the top of the screen or explore curated playlists and recommendations.
4. Once you’ve found the music you want, tap on the “+” or “+Add” button next to the song or album to add it to your library.
5. The music will begin downloading to your iPhone and will be available for offline listening.
6. To access your downloaded music, go to the “Library” tab at the bottom of the Music app.
7. Under the “Downloaded Music” section, you’ll find all the songs and albums that you have downloaded to your iPhone.
8. From here, you can create playlists, organize your music, or simply tap on a song to start playing.
9. Remember to periodically connect to the internet and open the Music app to refresh and validate your Apple Music subscription. This ensures that the downloaded music remains available on your device.
Downloading music from Apple Music allows you to enjoy a massive collection of songs at your fingertips, even if you don’t have an active internet connection. Whether you’re going on a road trip or flying on a plane, you can still listen to your favorite tunes without worrying about data usage.
Now that you know how to download music from Apple Music, let’s explore the next method of downloading music from other online sources.
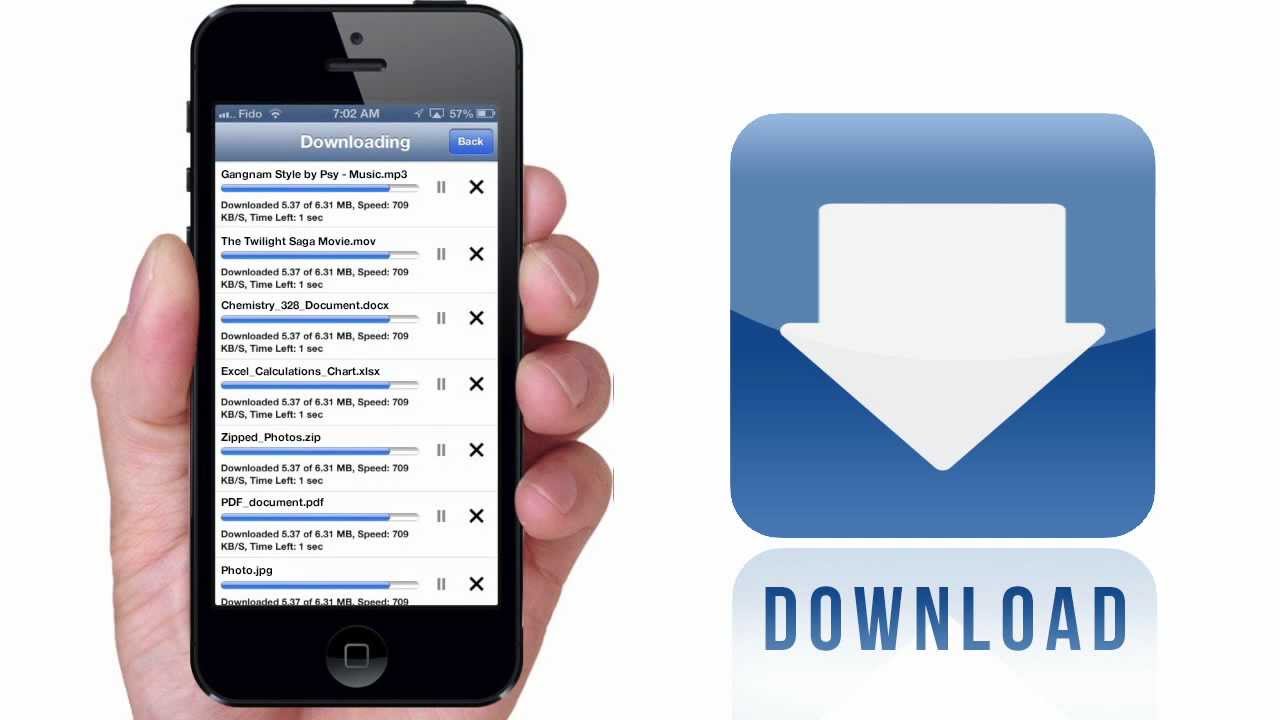
Part 3: Downloading Music from Other Online Sources
In addition to the iTunes Store and Apple Music, there are other online sources where you can download music for your iPhone. These sources provide a wide range of options, including free downloads, independent artists, music blogs, and more. Here’s how you can download music from other online sources:
1. Identify the online source from where you want to download music. This can be a music blog, an artist’s website, a digital music store, or a platform that offers free downloads.
2. Visit the website or platform and navigate to the section or page where the music is available for download. Look for a “download” or “purchase” button.
3. Click on the download button or follow the instructions provided on the website to start the download process. Depending on the source, you may be asked to create an account, provide your email address, or agree to terms and conditions.
4. Once the download is complete, the music file will be saved to your iPhone’s local storage. You can typically find downloaded music files in the “Downloads” or “Files” app, or in your iPhone’s default music library.
5. To access your downloaded music, open the music app on your iPhone and navigate to the appropriate section or playlist where the downloaded music is located. The location may vary depending on the app you are using.
6. Enjoy listening to your downloaded music from other online sources on your iPhone at any time, with or without an internet connection.
It’s important to note that when downloading music from other online sources, especially those that offer free or independent artist music, you should ensure that you are acquiring the music legally and respecting copyright laws. Always support artists by purchasing their music when possible.
Keep in mind that downloading music from other online sources may have variations in the downloading process depending on the platform or website you are using. It’s essential to follow the instructions provided by the source to successfully download and access the music on your iPhone.
Now that you know how to download music from other online sources, let’s move on to the next section, where we will explore transferring music from your computer to your iPhone.
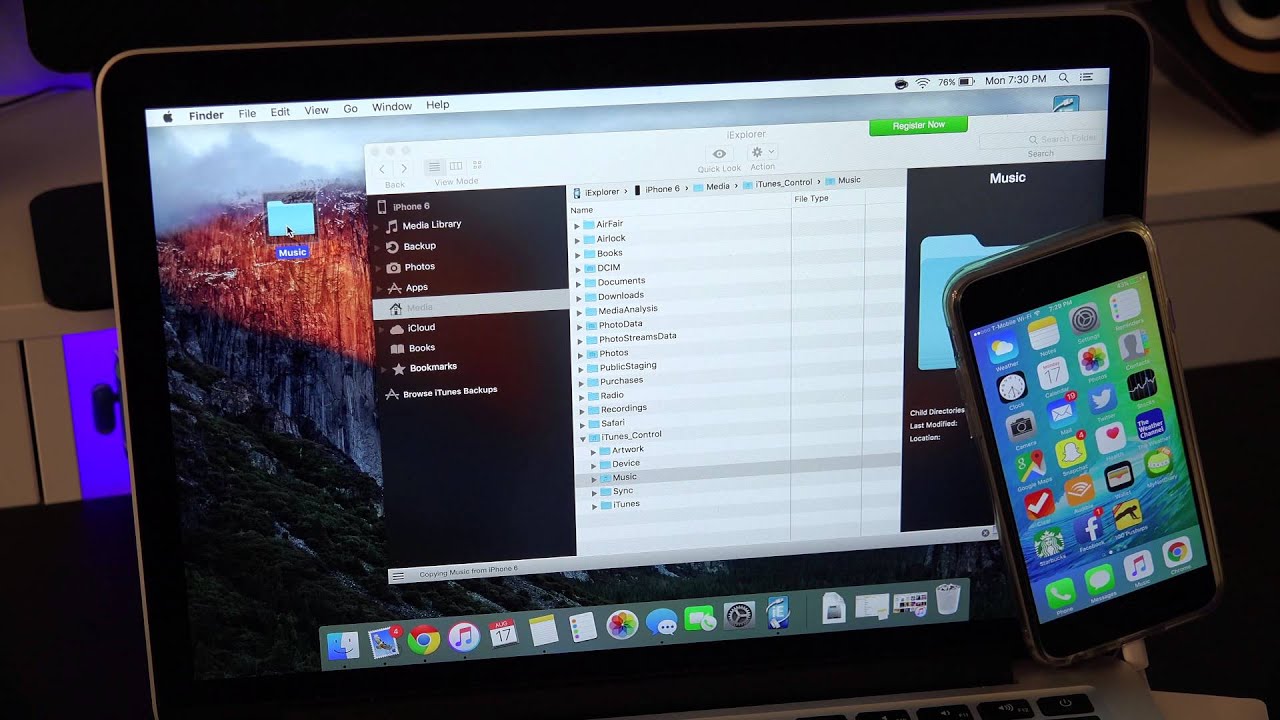
Part 4: Transferring Music from Computer to iPhone
Transferring music from your computer to your iPhone allows you to add your personal music collection or songs downloaded from other sources that may not be available on iTunes or Apple Music. Here’s how you can transfer music from your computer to your iPhone:
1. Connect your iPhone to your computer using a USB cable. Make sure to use the cable that came with your iPhone or a certified third-party cable.
2. On your computer, open iTunes. If you don’t have iTunes installed, you can download it for free from the Apple website.
3. In iTunes, click on the device icon that appears in the top-left corner of the screen. This will take you to your iPhone’s details page.
4. From the options on the left sidebar, click on “Music” to access the synchronization settings for music.
5. Ensure that the “Sync Music” option is enabled. You can choose to sync your entire music library or selected playlists, artists, albums, or genres.
6. If you prefer to manually manage your music, you can disable the “Sync Music” option and use the “Add File to Library” or “Add Folder to Library” options to select specific songs or folders on your computer to transfer to your iPhone.
7. Once you have selected your preferred music synchronization settings, click on the “Apply” or “Sync” button to start transferring the music from your computer to your iPhone.
8. Depending on the size of your music library and the speed of your connection, the synchronization process may take some time. Ensure that your iPhone remains connected to your computer until the transfer is complete.
9. Once the transfer is finished, you can safely disconnect your iPhone from your computer. The transferred music will be available in the Music app on your iPhone.
In addition to iTunes, there are also third-party software and apps that can help you transfer music from your computer to your iPhone. These tools offer additional features and flexibility in managing your music files. Examples of such software include iMazing, Syncios, and Waltr.
Now that you know how to transfer music from your computer to your iPhone, let’s move on to the next section, where we’ll discuss organizing and managing your downloaded music on your iPhone.
Part 5: Organizing and Managing Downloaded Music on iPhone
Once you’ve downloaded music to your iPhone, it’s essential to organize and manage your collection effectively. This ensures that you can easily find and enjoy your favorite songs without any hassle. Here are some tips for organizing and managing downloaded music on your iPhone:
1. Create playlists: One of the easiest ways to organize your music is by creating playlists. You can group songs based on genres, moods, artists, or any other criteria that you prefer. To create a playlist, open the Music app, go to the Library section, and tap on the “New Playlist” option. Give your playlist a name and start adding songs to it.
2. Use music organization apps: There are several music organization apps available on the App Store that can help you manage your downloaded music efficiently. These apps provide features like smart playlists, automatic song categorization, and advanced search options. Examples of popular music organization apps include TuneUp, MyMusic, and Evermusic.
3. Utilize built-in features: The default Music app on your iPhone offers built-in features to assist you in managing your downloaded music. You can sort your music by song title, artist, album, or genre. You can also use the search bar to quickly find specific songs or artists in your library.
4. Delete unwanted songs: Over time, your music library may accumulate songs that you no longer listen to. It’s a good practice to periodically go through your library and delete any unwanted songs to free up space and keep your library organized. To delete a song, swipe left on the song in the Music app and tap on the “Delete” button.
5. Keep your library updated: Regularly update your music library by adding new songs and removing outdated ones. This ensures that you always have fresh and relevant music on your iPhone. You can sync your iPhone with iTunes or use third-party software to manage your music library on your computer and then transfer the updated library to your iPhone.
6. Take advantage of cloud storage: If you have limited storage space on your iPhone, consider using cloud storage services like iCloud or Google Drive to store your music. You can upload your music files to the cloud and stream them directly to your iPhone without taking up local storage.
By organizing and managing your downloaded music, you can create a personalized and seamless music experience on your iPhone. Take the time to explore different methods and find the approach that works best for you.
Now that you have learned how to organize and manage downloaded music on your iPhone, let’s conclude our guide on downloading music into your iPhone.
Conclusion
Downloading music into your iPhone allows you to have your favorite tunes readily available at your fingertips, wherever you go. In this article, we explored various methods for downloading music into your iPhone. We discussed downloading music from the iTunes Store, Apple Music, and other online sources. We also delved into transferring music from your computer to your iPhone and provided tips on organizing and managing your downloaded music.
The iTunes Store and Apple Music offer extensive libraries of songs, albums, and playlists to cater to your musical preferences. By purchasing or subscribing to these services, you can access a wide range of music directly on your iPhone. Additionally, downloading music from other online sources provides an avenue to explore independent artists and discover music beyond mainstream platforms.
Transferring music from your computer to your iPhone enables you to add personal music collections and songs from various sources to your device. This gives you the freedom to enjoy a diverse selection of music that may not be available through official channels.
Organizing and managing your downloaded music is crucial for easy navigation and enjoyment. Creating playlists, utilizing music organization apps, and taking advantage of built-in features in the Music app enhance your music listening experience on your iPhone.
Remember, when downloading music, it’s important to ensure that you acquire it legally and respect copyright laws. Supporting artists by purchasing their music and using authorized platforms not only gives you access to high-quality content but also supports the music industry as a whole.
Now that you have a solid understanding of the various methods for downloading music into your iPhone, take the time to explore and enjoy your favorite songs on the go. Whether you’re jamming to the latest hits or delving into undiscovered artists, having a well-curated music library on your iPhone adds a whole new level of entertainment to your daily life.
So go ahead, start downloading music into your iPhone and let the beats accompany you on your journey!