Introduction
Welcome to this guide on how to download your purchased music from iTunes. If you’re a music enthusiast who has bought songs or albums from iTunes, you might be wondering how to access and download them onto your device. Fortunately, iTunes provides a straightforward process to retrieve your purchased music, allowing you to enjoy your favorite tunes anytime, anywhere.
iTunes, developed by Apple Inc., is a popular media player, media library, and online store for digital music, movies, and TV shows. It offers a vast collection of songs from various genres, allowing users to purchase and download music to their devices. Whether you’ve bought a single track or an entire album, you can easily retrieve your purchased music from iTunes.
This guide will walk you through the step-by-step process of downloading your purchased music. We’ll cover everything from signing in to your Apple ID, locating the “Purchased” section, finding your purchased music, and finally, downloading it to your device. So, let’s dive in and get your music library up and running!
Step 1: Open iTunes
The first step in downloading your purchased music from iTunes is to open the iTunes application on your device. Whether you’re using a Windows computer or a Mac, the process is relatively similar.
For Windows users, you can open iTunes by clicking on the Start menu, locating the iTunes icon, and clicking on it. Alternatively, you can search for iTunes in the search bar and click on it to open the application.
If you’re using a Mac, you can find the iTunes application in your Applications folder. Simply click on Spotlight (the magnifying glass icon in the upper-right corner of your screen), type in “iTunes,” and press Enter to open the application.
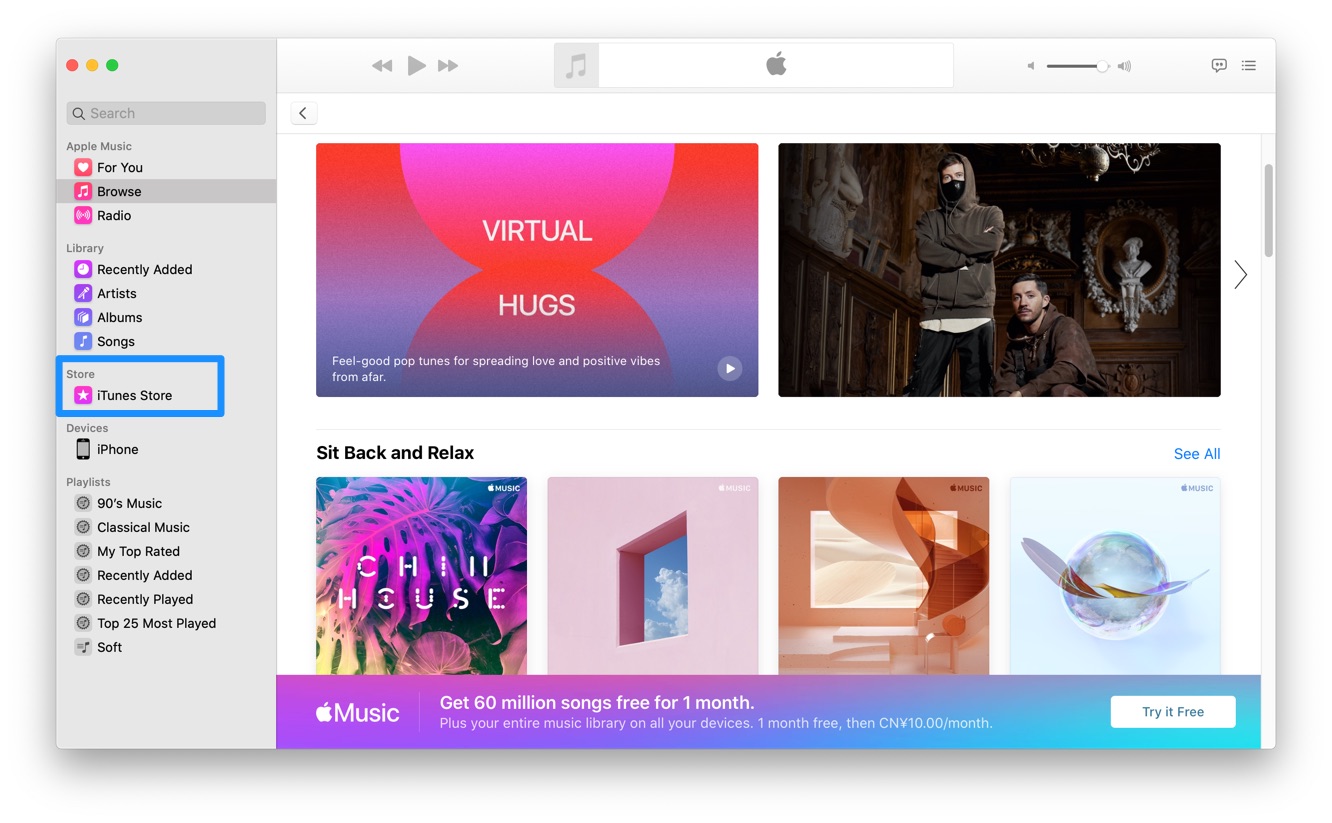
Once iTunes is open, you will be greeted with a user-friendly interface that allows you to access your music library, browse the iTunes Store, and manage your downloads.
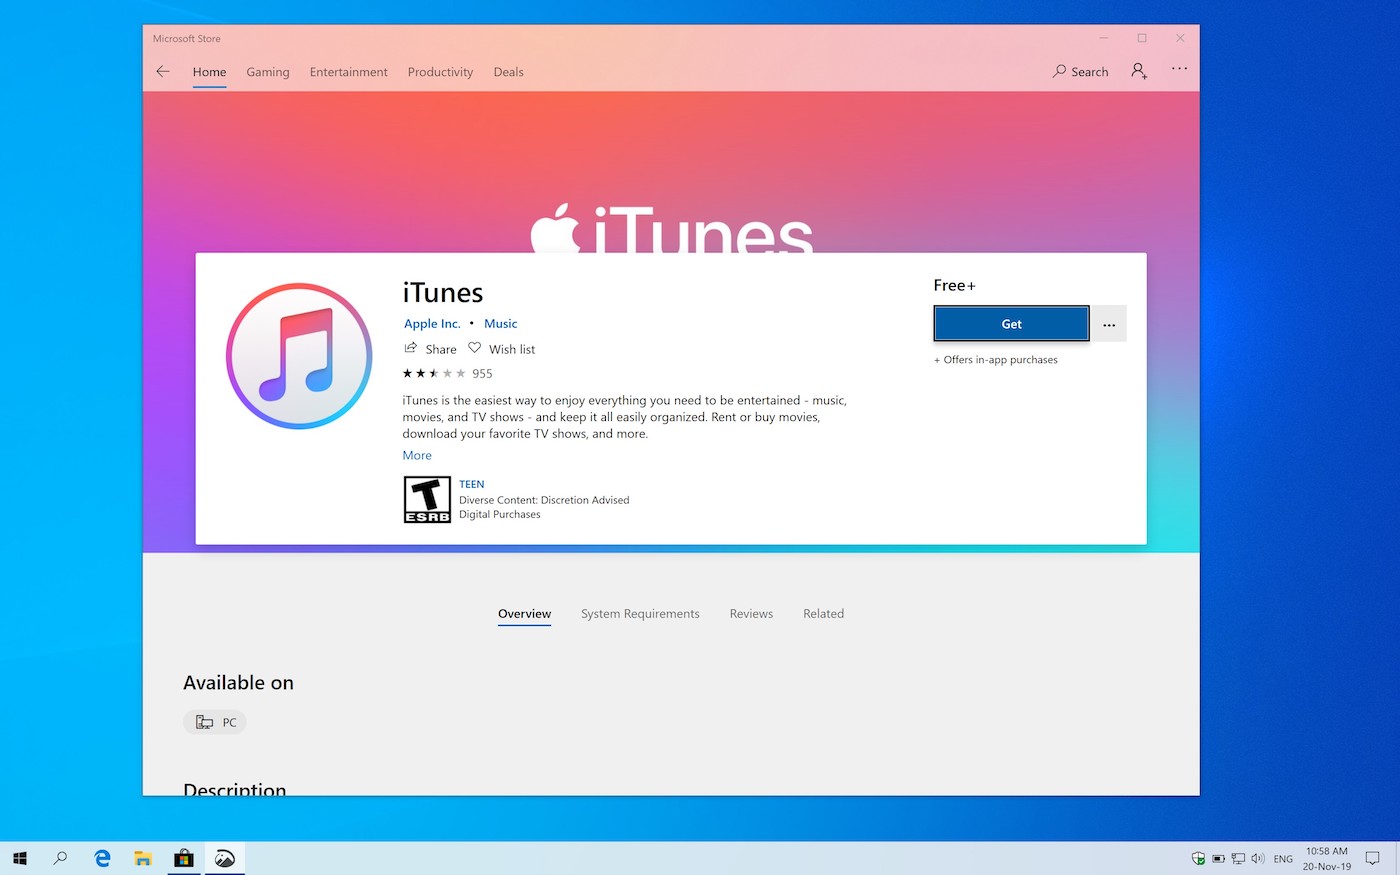
Note: If you don’t have iTunes installed on your device, you can download and install it from the Apple website. Follow the instructions provided on the website to complete the installation process.
Now that you’ve successfully opened iTunes, you’re ready to move on to the next step: signing in to your Apple ID. This will allow you to access your purchased music and start the download process.
Step 2: Sign in to your Apple ID
In order to access your purchased music from iTunes, you’ll need to sign in to your Apple ID. This ID is associated with your iTunes account and allows you to manage your purchases, preferences, and personal information.
If you already have an Apple ID, you can sign in by clicking on the “Account” tab at the top of the iTunes window and selecting “Sign In” from the drop-down menu. Enter your Apple ID and password in the provided fields and click “Sign In” to proceed.
On the other hand, if you don’t have an Apple ID yet, you can create one by clicking on the “Account” tab and selecting “Create New Apple ID.” Follow the on-screen instructions to enter your personal details, agree to the terms and conditions, and create your Apple ID and password.
Remember to use a strong, unique password to protect your account and ensure the security of your purchased music and other personal information.
Signing in to your Apple ID is crucial to accessing your purchased music as it allows iTunes to verify your ownership and grant you access to your content. Once you’ve successfully signed in, you’re one step closer to downloading your music.
Now that you’re signed in to your Apple ID, it’s time to move on to the next step: navigating to the “Purchased” section in iTunes. This will help you locate and access your purchased music collection.
Step 3: Navigate to the “Purchased” section
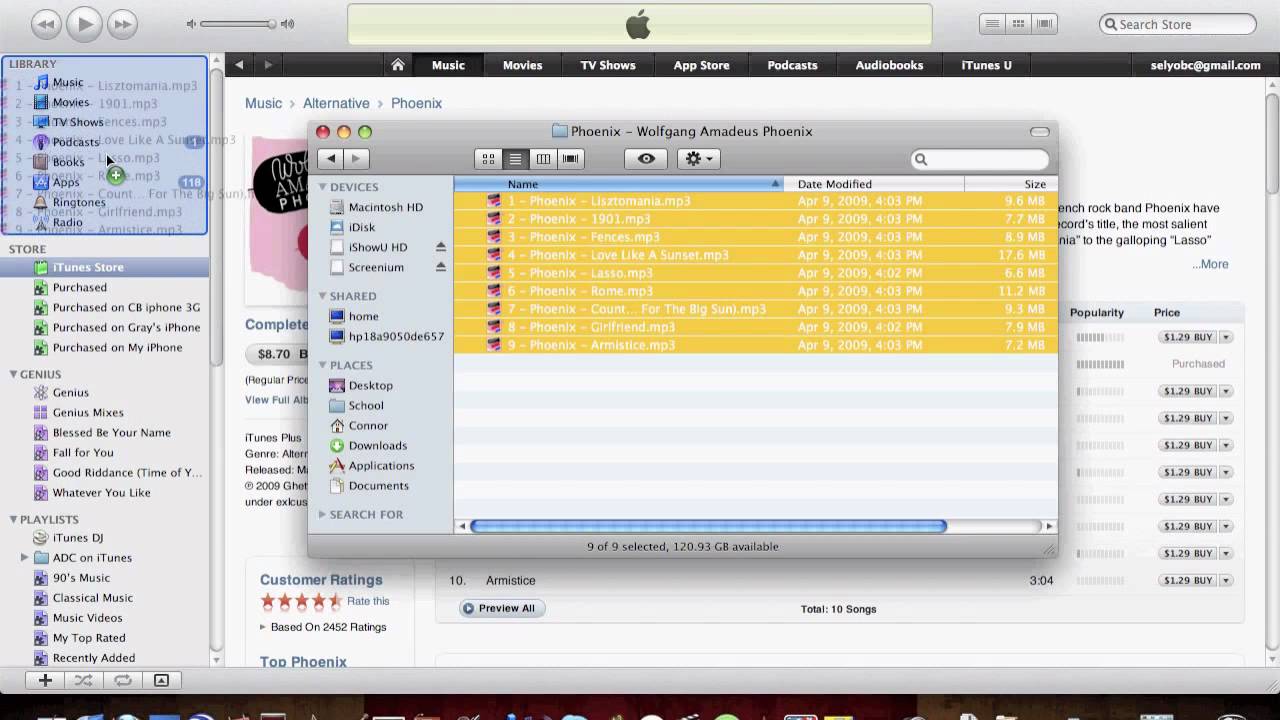
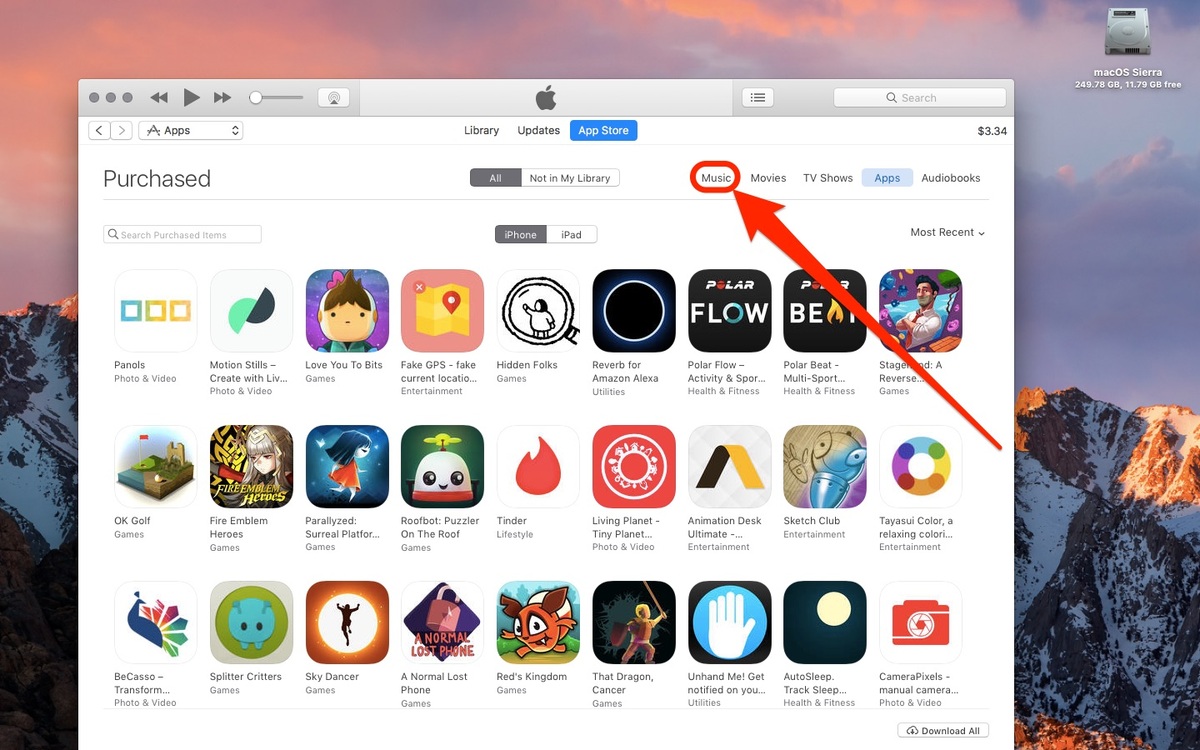
After signing in to your Apple ID, the next step is to navigate to the “Purchased” section in iTunes. This section allows you to view and manage all of your previously purchased music.
To access the “Purchased” section, you need to locate the “Account” tab at the top of the iTunes window. Click on it, and a drop-down menu will appear. From the menu, select “Purchased” to proceed.
Once you’ve selected “Purchased,” you will be presented with a list of all the music you’ve purchased through your Apple ID. The list may include individual songs, albums, music videos, and more, depending on your purchase history.
By default, the “Purchased” section will display all of your music sorted by date of purchase. However, you can customize the view by clicking on the various sorting options, such as by artist, album, or song name.
In addition to sorting, you can also filter the “Purchased” section using the filter options located at the top of the page. These filters allow you to narrow down your music selection based on criteria such as genre, release date, or whether the item has been downloaded to your device.
Exploring the “Purchased” section is a great way to rediscover your favorite music and easily keep track of your purchased content. Once you’ve located the music you want to download, you’re ready to move on to the next step: downloading the music to your device.
Step 4: Locate the purchased music
Now that you’re in the “Purchased” section of iTunes, it’s time to locate the specific music you want to download. Whether you’re looking for a specific song, album, or artist, iTunes provides various tools to help you find and access your purchased music easily.
First, you can use the search bar located at the top right of the iTunes window. Simply type in the name of the song or artist you’re looking for, and iTunes will display relevant results in real-time. This is especially useful if you have a large library and need to find specific tracks quickly.
If you prefer to browse your collection, you can use the sorting and filtering options available in the “Purchased” section. Sort your music by artist, album, or song name to organize your library in a way that makes sense to you. Additionally, you can apply filters based on genre, release date, or download status to refine your search.
As you locate your purchased music, you may notice different symbols or icons indicating the download status. For example, a cloud icon represents that the item is available for download, while a checkmark symbol indicates that the item has already been downloaded to your device.
Take your time to explore your purchased music collection and find the songs you want to download. Feel free to scroll through your music library, listen to song previews, and relish the joy of having an extensive collection of your favorite tunes at your fingertips.
Once you have located the specific music you want to download, you’re ready to move on to the final step: downloading the music to your device and enjoying it wherever you go.
Step 5: Download the music
Now that you’ve successfully located the specific music you want to download from your purchased collection in iTunes, it’s time to download it to your device. Follow the simple steps below to start enjoying your purchased music wherever you go.
1. Click on the cloud icon: When you’ve found the song or album you want to download, click on the cloud icon next to it. This icon indicates that the item is available for download. iTunes will initiate the download process, and you will see the progress bar indicating the download status.
2. Wait for the download to complete: Depending on the size of the file and your internet connection speed, the download process may take a few moments to complete. Ensure that you have a stable internet connection and be patient while the download finishes.
3. Access the downloaded music: Once the download is complete, the cloud icon will be replaced with a checkmark symbol. This indicates that the item has been successfully downloaded to your device and is ready to be enjoyed. You can now access your downloaded music from the appropriate section in your iTunes library.
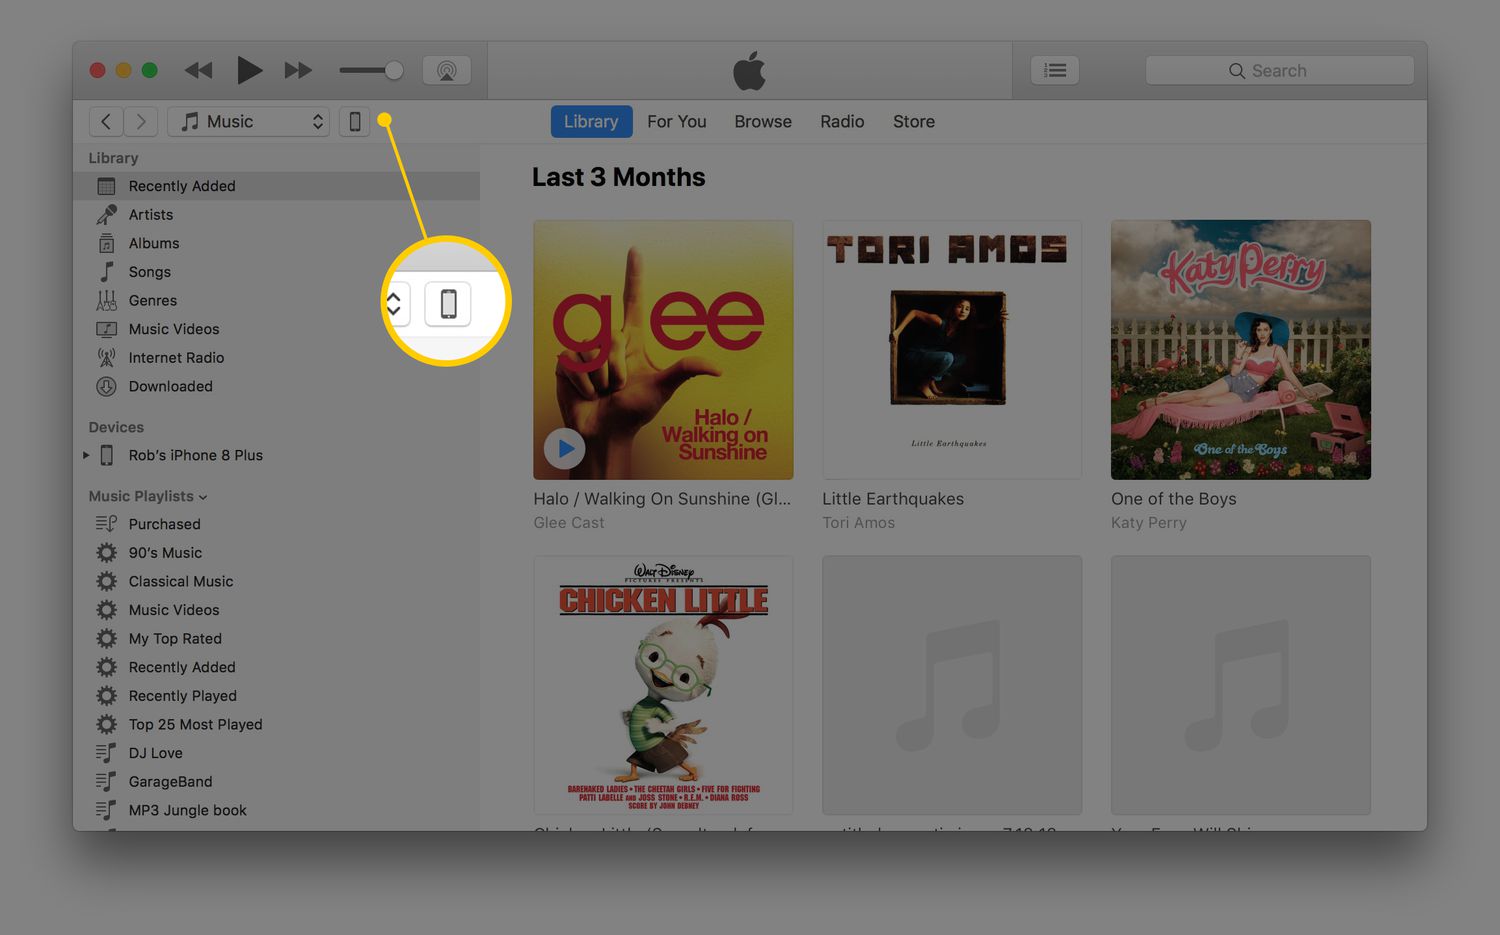
4. Sync the music to your devices: If you have multiple devices, such as an iPhone or iPad, you may want to sync the downloaded music to these devices so that you can enjoy your music on the go. Connect your device to your computer, open iTunes, and follow the steps to sync your music library with your device.
Congratulations! You have successfully downloaded your purchased music from iTunes and can now listen to your favorite songs anytime, anywhere. Whether you’re on a road trip, at the gym, or simply relaxing at home, your music library is now at your fingertips.
Remember to keep your iTunes library organized and regularly back up your music library to ensure that your purchased music is safe and secure. With this knowledge, you can continue to expand your music collection and enjoy the seamless experience that iTunes provides.
Conclusion
Congratulations on successfully downloading your purchased music from iTunes! The process of accessing and downloading your favorite songs has been made easy with the help of iTunes and your Apple ID. Now, you can enjoy your music collection on your device anytime, anywhere.
We started by opening iTunes and signing in to your Apple ID, which is crucial for accessing your purchased content. Then, we navigated to the “Purchased” section and located our desired music using the search, sorting, and filtering options provided by iTunes.
Finally, we learned how to download the music by clicking on the cloud icon and waiting for the download to complete. Once downloaded, we can now access our music library and sync it to our other devices for a seamless listening experience on the go.
Remember to explore the other features of iTunes, such as playlist creation, music recommendations, and personalized preferences, to enhance your overall music experience. Additionally, make sure to keep your iTunes library organized and regularly back up your purchases to safeguard your cherished music collection.
Now that you have the knowledge and skills to download your purchased music, feel free to expand your music library, discover new artists, and enjoy the wonderful world of music that iTunes has to offer.
Thank you for following this guide, and happy listening!