Introduction
Downloading music to an iPod is a simple and enjoyable process that allows you to have all your favorite songs with you on the go. Whether you’re a music enthusiast or just want to have a personalized soundtrack for your daily activities, knowing how to download music onto your iPod can bring you hours of entertainment.
Back in the day, iPods were primarily used for storing and playing digital music files. However, with the rise of smartphones and streaming services, the demand for dedicated music players like the iPod has diminished. Nevertheless, if you still have an iPod or prefer a dedicated device for your music, downloading music onto it can be a breeze.
In this article, we will guide you through the process of downloading music onto your iPod using iTunes, the official application developed by Apple. We will also explore alternative methods that can be used if you don’t have access to iTunes. So, grab your iPod, connect it to your computer, and let’s get started!
Please note that the instructions provided in this article are specifically for iPods that support music playback. If you have a different model or want to download music to an iPhone or iPad, the process may vary.
Now, without further ado, let’s dive into the exciting world of downloading music onto your iPod!
Getting Started
Before you can start downloading music onto your iPod, you’ll need a few things. Here’s what you’ll need to get started:
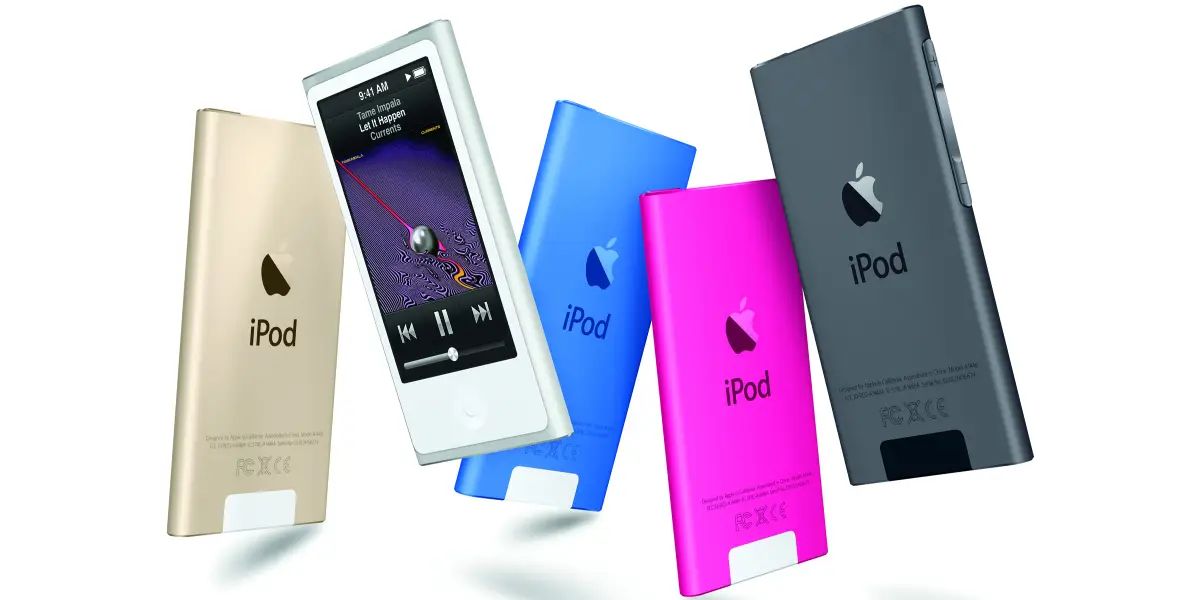
- 1. iPod: Make sure you have your iPod handy and that it’s charged or connected to a power source. If you’re using a newer iPod model, such as an iPod touch, make sure it’s connected to the internet.
- 2. Computer: You’ll need a computer that’s compatible with iTunes. iTunes is available for both Mac and Windows operating systems, so make sure you have the appropriate version installed on your computer.
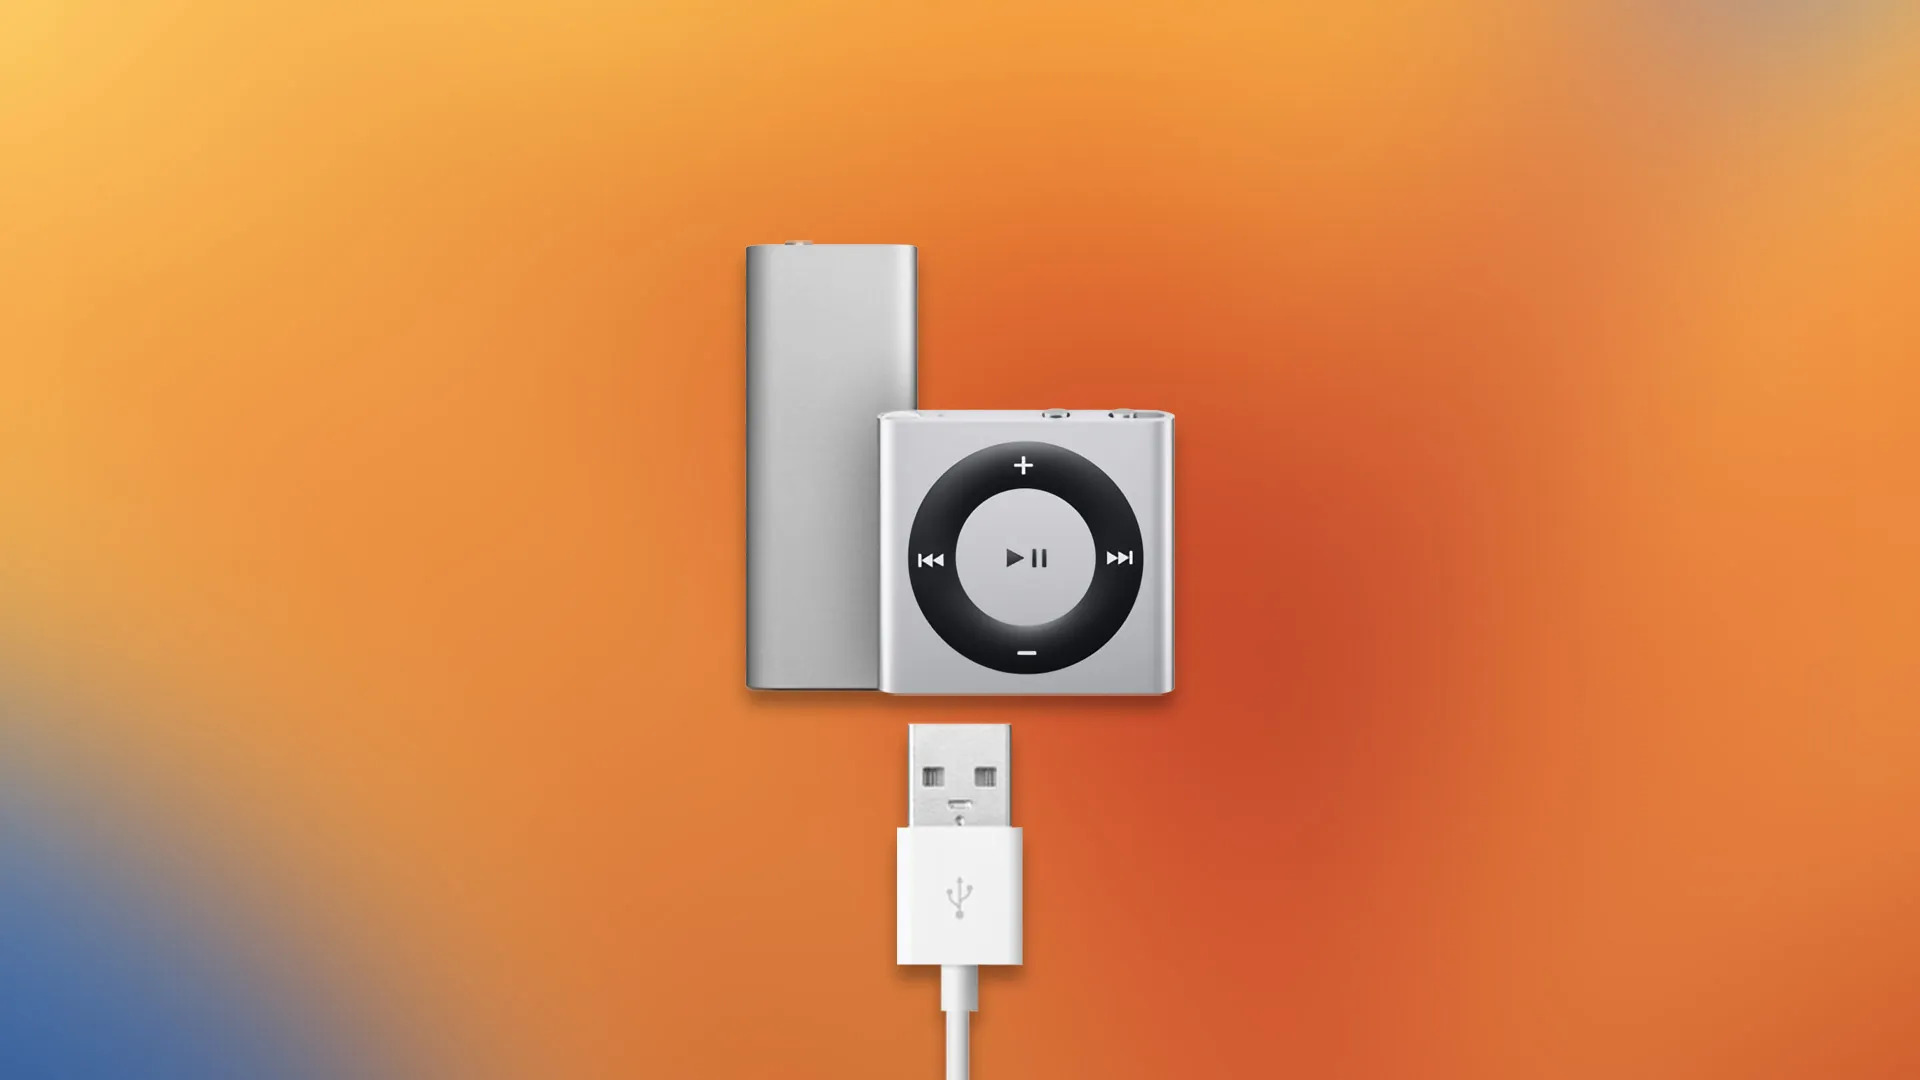
- 3. USB cable: You’ll need a USB cable to connect your iPod to your computer. This cable is usually included when you purchase your iPod, but if you don’t have one, make sure to get a compatible USB cable.
- 4. iTunes: As mentioned earlier, iTunes is the official application developed by Apple for managing your iPod and downloading music. Make sure you have the latest version of iTunes installed on your computer. If you don’t have it, you can download it for free from the Apple website or the Microsoft Store.
Once you have all the necessary items, you’re ready to start downloading music onto your iPod. In the next sections, we’ll guide you through the step-by-step process using iTunes. If you prefer to explore alternative methods, we’ll cover those as well.
Now that you have everything you need, let’s move on to the first step: connecting your iPod to your computer!
Step 1: Connect Your iPod to Your Computer
The first step in downloading music onto your iPod is connecting it to your computer using a USB cable. Follow these simple instructions to connect your iPod:
- Locate the USB port on your computer. It is usually located on the front or back of your computer tower or on the side of your laptop.
- Take one end of the USB cable and insert it into the USB port on your computer.
- Take the other end of the cable and connect it to the charging port on your iPod. It is usually located at the bottom of the device.
- Once the cable is securely connected to both your computer and iPod, you should see a notification on your iPod’s screen indicating that it is connected. On your computer, you may hear a sound or see a pop-up notification.
After successfully connecting your iPod to your computer, you can proceed to the next step, which involves opening iTunes.
It’s important to note that some newer iPod models, such as the iPod touch, require an internet connection for certain functionalities. If you’re using one of these models, make sure your iPod is connected to a Wi-Fi network to access the internet and download music directly onto the device.
Now that your iPod is connected to your computer, let’s move on to the next step: opening iTunes!
Step 2: Open iTunes
Once you’ve successfully connected your iPod to your computer, the next step is to open iTunes, the official application for managing your iPod and accessing the iTunes Store. Follow these steps to open iTunes:
- Locate the iTunes icon on your computer. On a Windows computer, you can find it in the Start menu or on the desktop if you’ve created a shortcut. On a Mac, you can typically find it in the Applications folder or the Dock.
- Double-click on the iTunes icon to launch the application.
- If this is your first time opening iTunes, you may be prompted to accept the terms and conditions. Read through the terms and conditions and click on “Agree” or “Accept” to proceed.
- After accepting the terms and conditions, iTunes will open and display the main interface, which consists of several tabs and sidebar options.
Once iTunes is open, you’re ready to start navigating the application and accessing the various features it offers. From this point, you can choose between purchasing music directly from the iTunes Store or importing music from your computer. The next section will guide you through these options in more detail.
Opening iTunes is an essential step as it acts as the gateway to downloading music onto your iPod. With iTunes open, let’s move on to the next step: purchasing or importing music!
Step 3: Purchase or Import Music
Now that you have iTunes open, you have two main options for adding music to your iPod: purchasing music directly from the iTunes Store or importing music from your computer. Let’s explore both options in more detail:
Purchasing Music from the iTunes Store:
- In the iTunes application, click on the “iTunes Store” tab, which is located in the top right corner of the screen.
- Browse or search for the music you want to download onto your iPod. You can explore the featured music, top charts, genres, and more.
- When you find a song or album you want to purchase, click on the price or the “Buy” button next to it. If the item is free, click on the “Get” button instead.
- Follow the prompts to complete the purchase. You may be asked to enter your Apple ID and password or provide payment information if you haven’t already done so.
Once you’ve successfully purchased the music, it will be automatically added to your iTunes library. From there, you can proceed to the next step to sync your iPod with your music library.
Importing Music from Your Computer:
- If you already have music files on your computer that you want to add to your iPod, open the iTunes application.
- Click on “File” in the top left corner of the screen and select “Add File to Library” or “Add Folder to Library” from the dropdown menu. Alternatively, you can drag and drop the music files directly into the iTunes window.
- Navigate to the location where your music files are saved and select the files or folder you want to import. Click on “Open” to add the selected music to your iTunes library.
After importing the music files, they will be available in your iTunes library. Now, you’re ready to proceed to the next step and sync your iPod with your music library.
Whether you choose to purchase music from the iTunes Store or import music from your computer, the key is to have a collection of songs ready to be transferred to your iPod. Once you’ve purchased or imported the music, it’s time to move on to the next step: syncing your iPod!
Step 4: Sync Your iPod with Your Music Library
With your music properly organized in your iTunes library, the next step is to sync your iPod with that library. Syncing your iPod allows you to transfer your selected music and other media files from your computer to your device. Follow these steps to sync your iPod:
- Ensure that your iPod is still connected to your computer via the USB cable.
- In the iTunes application, look for your iPod’s icon in the top left corner of the screen. It should appear in the sidebar under the “Devices” section.
- Click on your iPod’s icon to access the device’s summary page.
- In the main window, you’ll see several tabs at the top, including “Music,” “Movies,” “TV Shows,” and more. Click on the appropriate tab to select the type of media you want to sync with your iPod.
- Choose whether you want to sync your entire music library or select specific playlists, artists, albums, or genres. You can make these selections under the “Sync Music” section.
- Once you have made your desired selections, click on the “Apply” or “Sync” button in the bottom right corner of the screen. iTunes will start syncing your selected content to your iPod.
- Depending on the amount of content you’re syncing, the process may take a few moments or longer. Be patient and avoid disconnecting your iPod during the syncing process.
- Once the syncing is complete, you will see a message indicating that your iPod is ready to be disconnected. At this point, you can safely eject your iPod from your computer.
After syncing your iPod with your music library, you should now have all your desired music on your device. You can disconnect your iPod from your computer and enjoy your favorite tunes wherever you go!
Please note that the syncing process can also be customized further by adjusting additional settings, such as the inclusion of album artwork, audiobooks, or podcasts. You can explore these options within the respective tabs in iTunes while your iPod is connected.
Now that you’ve successfully synced your iPod with your music library, let’s move on to the final step: safely ejecting your iPod from your computer!
Step 5: Eject Your iPod Safely
Once you have completed syncing your iPod with your music library and ensured that all your desired content is successfully transferred, it’s crucial to properly eject your iPod from your computer to avoid data loss or corruption. Follow these steps to safely eject your iPod:
- Locate the eject icon or symbol next to your iPod’s name in the iTunes sidebar or on your computer’s desktop if your iPod is displayed as a removable device.
- Click on the eject icon or right-click on your iPod’s name and select ‘Eject’ from the context menu. Alternatively, you can use the eject button on the USB cable if it has one.
- Wait for a message or notification indicating that it is safe to disconnect your iPod. This message signifies that any ongoing operations or data transfers have completed.
- Once you receive the confirmation, gently remove the USB cable from your iPod and then detach it from your computer. Be sure to grip the USB connector and not the cable itself to avoid any damage.
By properly ejecting your iPod, you ensure that the syncing process is completed, and all data is saved correctly. This step helps prevent any potential data loss or file corruption that may occur when removing the device abruptly.
Keep in mind that immediately after ejecting your iPod, it is ready to be used independently, allowing you to enjoy your favorite music on the go. Make sure your iPod is charged or connected to a power source, and you’re all set!
Congratulations! You have successfully learned how to download music onto your iPod. It’s time to enjoy your personalized music experience with your portable device.
If you encounter any issues or have any further questions, consult the Apple support website or refer to the user manual that came with your iPod for more detailed instructions specific to your device.
Now, grab your headphones and start reveling in the world of music with your iPod!
Alternatives to iTunes
While iTunes is the official application for managing and downloading music onto your iPod, there are alternative methods available if you prefer not to use iTunes or if you encounter any issues with the application. Here are some popular alternatives:
1. Third-Party Media Players:
There are various third-party media players available that can be used to manage and transfer music to your iPod. Some popular choices include Winamp, MediaMonkey, and Foobar2000. These media players offer similar features to iTunes and allow you to sync your music library with your iPod.
2. Cloud Storage and Streaming Services:
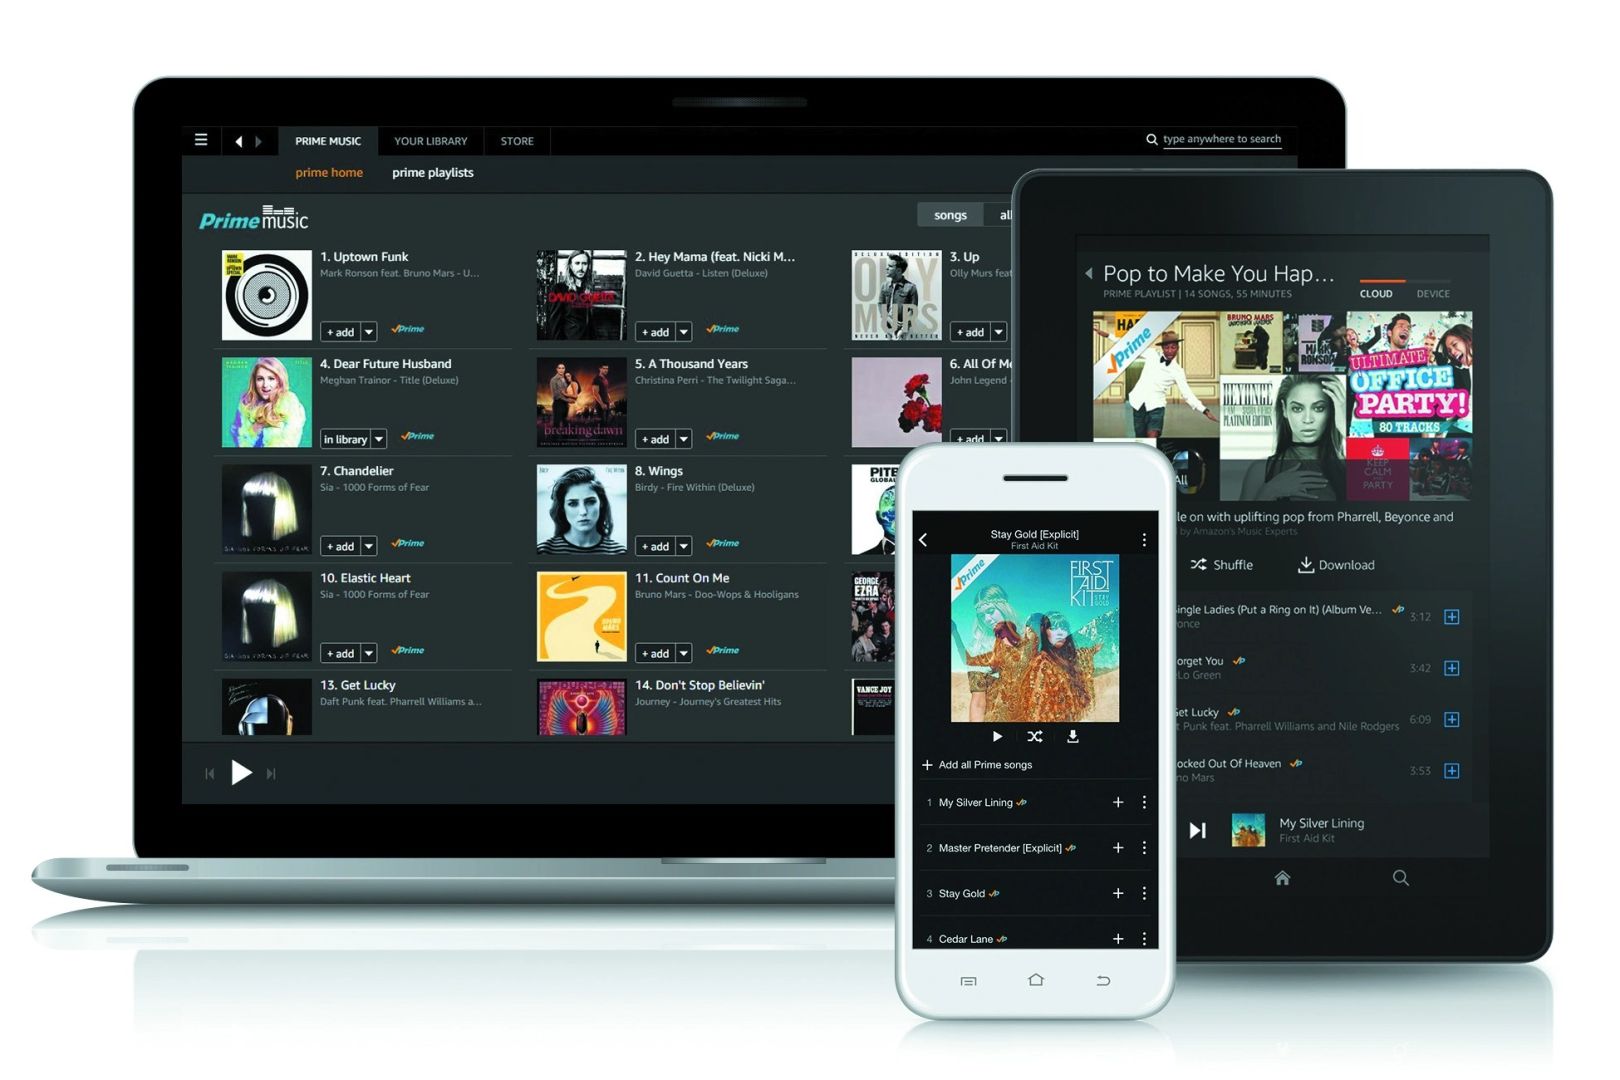
If you prefer not to store music directly on your iPod, you can utilize cloud storage and streaming services. Platforms like Apple Music, Spotify, and Google Play Music allow you to access a vast collection of music and stream it directly to your iPod, as long as you have an active internet connection.
3. Transfer Apps:
There are several transfer apps available on the App Store that can help you transfer music from your computer to your iPod without using iTunes. Applications such as iMazing, WALTR, and AnyTrans provide easy-to-use interfaces for transferring music files directly to your iPod.
4. Drag-and-Drop Method:
If you want a simple and straightforward method, you can use the drag-and-drop method. Connect your iPod to your computer and navigate to your music files. Open the folder containing your music and select the desired songs or playlists. Drag and drop them into your iPod’s music folder, and they will be transferred without the need for iTunes.
These alternatives provide flexibility and options for managing your music library and transferring music to your iPod. Choose the method that best suits your preferences and needs.
Remember that the compatibility of these alternatives may vary depending on the model and generation of your iPod. Make sure to check the compatibility requirements before using any alternative method.
Now that you’re aware of these alternatives, you have more options to explore when it comes to downloading music onto your iPod.
Conclusion
Downloading music onto your iPod is a straightforward process that allows you to enjoy your favorite songs wherever you go. In this article, we have covered the step-by-step process of how to download music onto your iPod using iTunes, the official application developed by Apple.
We began by discussing the essentials of getting started, including the necessary items such as your iPod, computer, USB cable, and iTunes. We then delved into each step, from connecting your iPod to your computer to syncing your iPod with your music library. Additionally, we highlighted alternative methods for downloading music if you prefer not to use iTunes.
By following the outlined steps, you can successfully download and synchronize your music library, ensuring that all your favorite songs are readily available on your iPod.
Remember to safely eject your iPod from your computer to avoid any data loss or corruption, and consult any device-specific instructions or the Apple support website if needed.
Whether you choose to purchase music from the iTunes Store or import music from your computer, the process offers you a personalized music experience, tailored to your preferences.
Lastly, we explored alternative methods such as third-party media players, cloud storage and streaming services, transfer apps, and the drag-and-drop method to provide you with additional options for managing and transferring music to your iPod.
Now that you have the knowledge and tools, it’s time to connect your iPod to your computer, open iTunes, and start downloading your favorite music. Enjoy the endless hours of music on your iPod and let the melodies accompany you throughout your day!