Introduction
Welcome to the world of digital music! If you’re wondering how to download music to your iPod, you’ve come to the right place. With the advancement of technology, portable music players like the iPod have become a popular way to enjoy your favorite tunes on the go. Whether you’re a music aficionado or simply want to have your favorite songs at your fingertips, this guide will walk you through the process step-by-step.
Before we dive in, it’s important to note that downloading music to your iPod requires the use of iTunes. iTunes is a media player and library application developed by Apple that serves as the primary way to manage and sync your music to your iPod. So, make sure you have iTunes installed on your computer before proceeding further.
In this guide, we will cover the essential steps to download music to your iPod. We’ll start by checking your iPod’s compatibility and ensuring that it’s capable of playing the music you want to download. Then, we’ll walk you through the process of downloading and setting up iTunes on your computer. Once that’s done, we’ll guide you on how to connect your iPod to your computer and add music to your iTunes library. Finally, we’ll discuss how to sync your iPod with iTunes and safely eject it to enjoy your downloaded music on the go.
By following these steps, you’ll be able to load up your iPod with your favorite songs, albums, and playlists. Whether you’re a fan of the latest chart-toppers, classic rock, hip hop, or anything in between, your iPod will become a portable music powerhouse that accompanies you on all your adventures.
So, let’s dive in and get you started on the journey of downloading music to your iPod!
Step 1: Check Your iPod’s Compatibility
Before you start downloading music to your iPod, it’s crucial to ensure that your iPod is compatible with the types of files you plan to download. Different iPod models support different file formats, so it’s essential to check your device’s specifications.
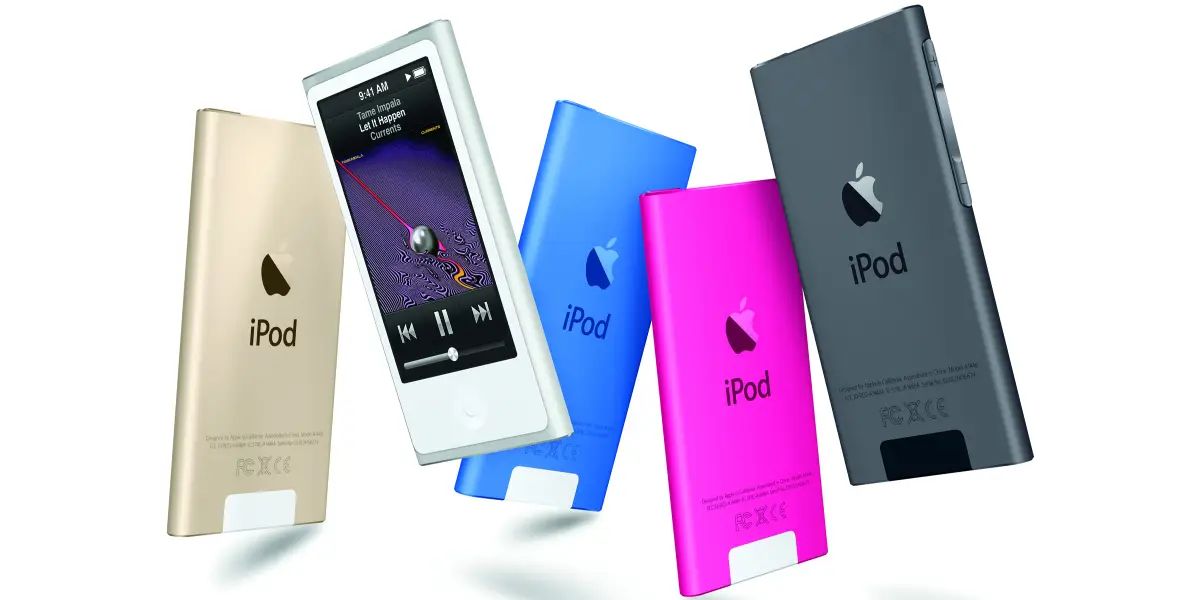
First, determine which iPod model you own. iPods come in various generations, such as iPod Classic, iPod Touch, iPod Nano, and iPod Shuffle. Each model has its own capabilities and limitations when it comes to file formats and storage capacity.
Next, check the supported audio file formats for your iPod model. The most common audio formats include MP3, AAC, and WAV. These formats are widely compatible with most iPod models. However, if you plan to download music from a specific source, such as a music streaming service or online store, make sure your iPod supports the file format offered by that source.
Additionally, consider the storage capacity of your iPod. Older models may have limited storage space compared to newer ones. If you have a vast music collection, you may want to opt for a higher-capacity iPod to accommodate your entire library.
Once you’ve determined your iPod model and checked its compatibility, you’ll have a better understanding of the types of music files you can download. This is an important step to ensure that the music you download will be playable on your iPod without any issues.
Remember, compatibility is key to a smooth music downloading experience. Now that you’re aware of your iPod’s capabilities, it’s time to move on to the next step: downloading iTunes on your computer. We’ll cover that in the following section.
Step 2: Download iTunes on Your Computer
To download music to your iPod, you’ll need to have iTunes installed on your computer. iTunes is a free software developed by Apple that serves as a media player and library for managing your music collection. Follow these steps to download iTunes:
- Visit Apple’s website: Open your preferred web browser and go to Apple’s official website.
- Navigate to the iTunes download page: On Apple’s website, find the iTunes section and locate the download page. It is usually found under the “Music” or “Support” section of the website.
- Choose your operating system: Once you’re on the iTunes download page, you’ll see options to download iTunes for different operating systems. Select the version compatible with your computer, whether it’s Windows or macOS.
- Start the download: Click on the download button to begin the download process. The file size of iTunes may vary, so it might take a few minutes depending on your internet connection speed.
- Install iTunes: Once the download is complete, locate the downloaded file on your computer and double-click on it to start the installation process. Follow the prompts to install iTunes on your computer.
- Launch iTunes: After the installation is complete, launch iTunes on your computer. You may need to restart your computer, depending on the installation process.
That’s it! You now have iTunes installed on your computer, which will serve as the platform for managing and syncing your music with your iPod.
Note that iTunes is not only a music player but also a media management tool. It allows you to organize your music library, create playlists, and even purchase music from the iTunes Store. With iTunes, you have complete control over your music collection and can easily transfer your favorite tracks to your iPod.
Now that you have iTunes installed and ready to go, let’s move on to the next step: connecting your iPod to your computer. We’ll cover that in the following section.
Step 3: Connect Your iPod to Your Computer
Now that you have iTunes installed on your computer, it’s time to connect your iPod and establish a connection between the two devices. Follow these steps to connect your iPod to your computer:
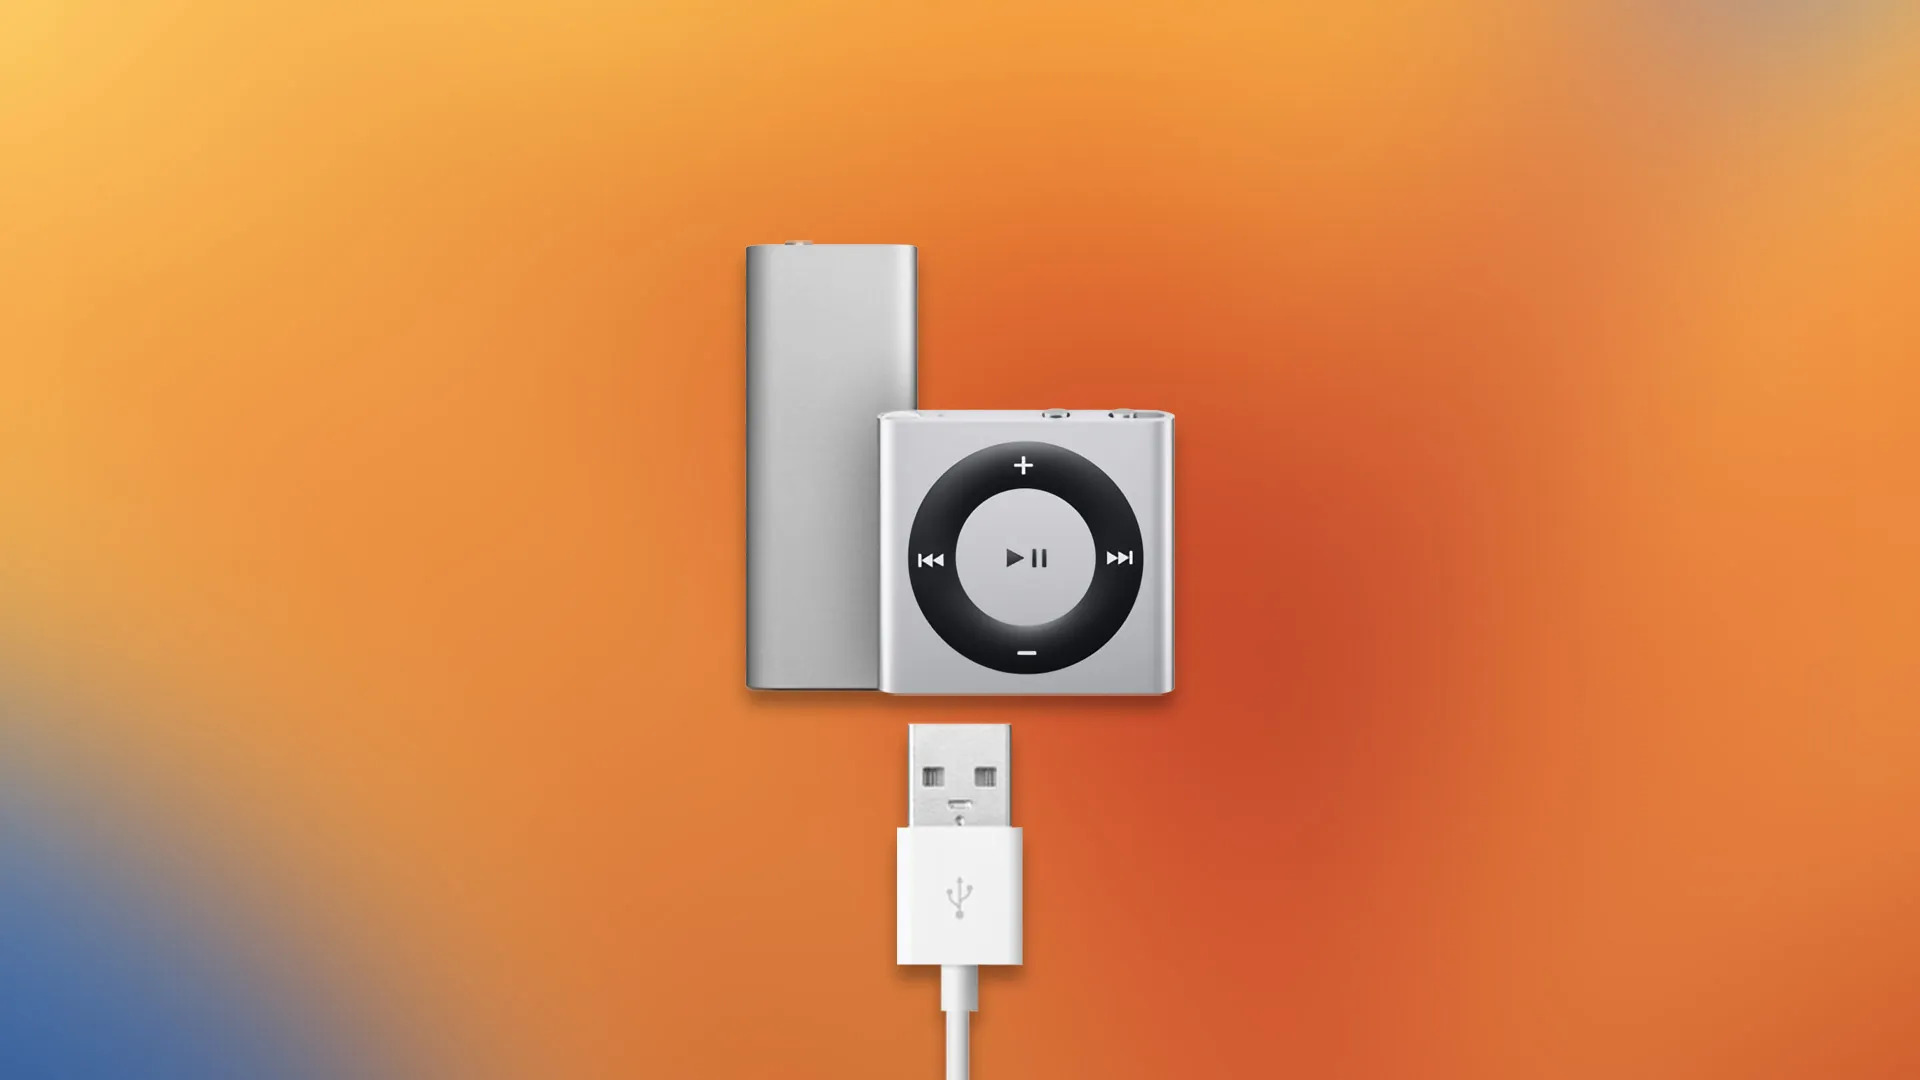
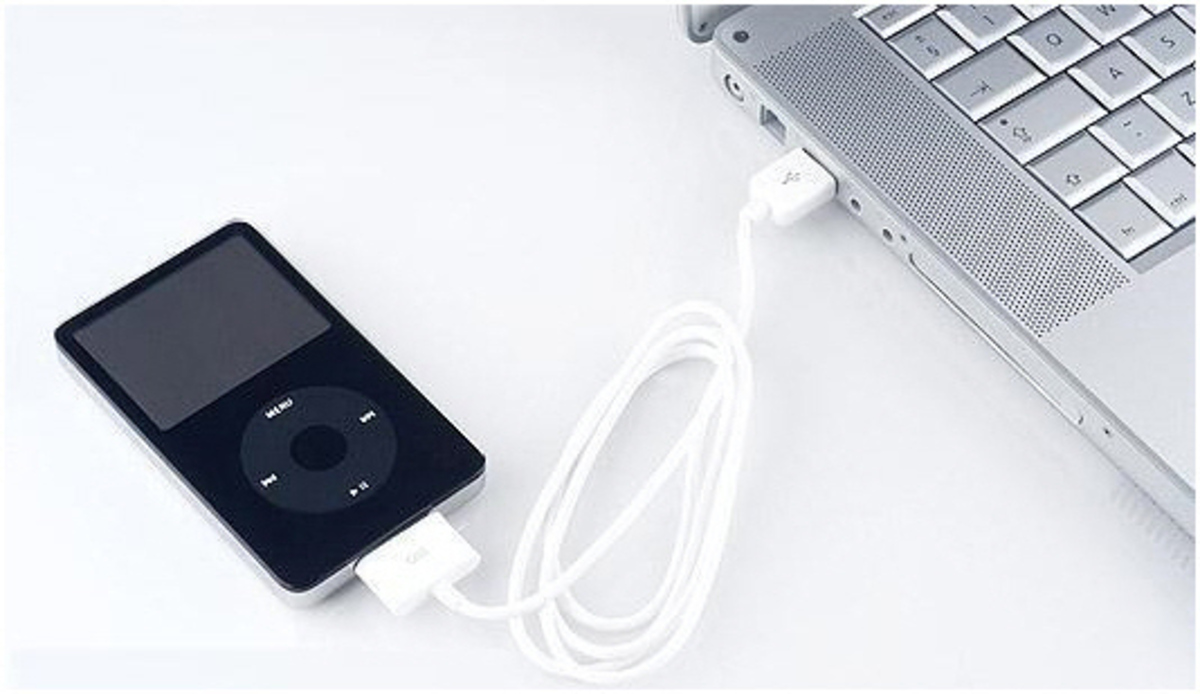
- Grab your iPod’s USB cable: Locate the USB cable that came with your iPod. This cable is used to connect your iPod to your computer.
- Plug in the USB cable: Take one end of the USB cable and insert it into the charging port or dock connector of your iPod. Make sure it is firmly connected.
- Connect the USB cable to your computer: Take the other end of the USB cable and insert it into a USB port on your computer. You may have multiple USB ports to choose from. Select any available port.
- Wait for the connection: Once you have connected your iPod to your computer, wait for a moment. Your computer should recognize the device and establish a connection.
When your iPod is successfully connected to your computer, you will see it appear in iTunes under the “Devices” section. This indicates that your iPod and iTunes are now synchronized and ready to transfer music files.
If your iPod doesn’t appear in iTunes, make sure that it is properly connected and that you have installed the necessary drivers on your computer. You may need to troubleshoot any connection issues or consult the user manual of your specific iPod model for further instructions.
Now that your iPod is connected to your computer, it’s time to move on to the next step: opening iTunes and setting up your iPod. We’ll cover that in the following section.
Step 4: Open iTunes and Set Up Your iPod
Now that your iPod is connected to your computer, it’s time to open iTunes and set up your iPod. Follow these steps to get started:
- Launch iTunes: On your computer, locate the iTunes application and open it. If you’ve just installed iTunes, it may automatically open after the installation process is complete.
- Locate your iPod: In the iTunes interface, you should see your iPod listed under the “Devices” section. Click on your iPod’s name to select it.
- Configure your iPod settings: Once your iPod is selected, you can access its settings and preferences in iTunes. Here, you can customize various aspects of your iPod, such as the language, date and time settings, and display preferences.
- Create an Apple ID (if necessary): If you don’t already have an Apple ID, you may be prompted to create one during the setup process. An Apple ID is required to access the iTunes Store and download music, apps, and other media.
- Sign in to iTunes: If you already have an Apple ID, sign in to iTunes using your credentials. This will allow you to access your previous purchases and sync your iPod with your existing iTunes library.
- Authorize your computer (if necessary): In some cases, you may need to authorize your computer to access your iTunes Store purchases. This is usually limited to a maximum of five authorized computers per Apple ID.
By setting up your iPod in iTunes, you can personalize its settings and preferences to suit your needs. This includes customizing the display, setting up syncing options, and managing your music library.
Once you’ve finished setting up your iPod in iTunes, you’re ready to start adding music to your iTunes library. In the next step, we’ll cover how to add music to your iTunes library. This will allow you to sync your favorite songs and albums with your iPod. Stay tuned!
Step 5: Add Music to Your iTunes Library
With iTunes set up and your iPod connected to your computer, it’s time to start adding music to your iTunes library. Follow these steps to add music to your library:
- Locate your music files: Find the music files you want to add to your iTunes library. These can be MP3 files, AAC files, or other supported formats. You can have your music files stored in various locations on your computer, such as your Downloads folder or a dedicated music folder.
- Import music to iTunes: In iTunes, go to the “File” menu and select “Add File to Library” or “Add Folder to Library,” depending on whether you want to add individual files or an entire folder of music.
- Select your music files: A file browser window will open. Navigate to the location where your music files are stored and select the files you want to add. You can select multiple files by holding down the Ctrl (Windows) or Command (Mac) key while selecting.
- Click “Open” or “Choose” to import: After selecting your music files, click the “Open” or “Choose” button to import them into your iTunes library. iTunes will begin to process and organize the music files.
- Wait for the import to complete: Depending on the number of files and their size, the import process may take a few moments. iTunes will display a progress bar to indicate the progress.
Once the music files are imported into your iTunes library, you can arrange them into playlists, add album artwork, and edit song information if needed. This allows you to have a well-organized and personalized library that reflects your music taste.
Remember that it’s essential to have legal access to the music files you add to your iTunes library. Purchase music from online stores, subscribe to music streaming services, or use your own legally obtained music files for a seamless and legal music experience.
Now that you have added music to your iTunes library, it’s time to proceed to the next step: syncing your iPod with iTunes. This will transfer the music from your library onto your iPod. Keep reading to learn how!
Step 6: Sync Your iPod with iTunes
Now that you have added music to your iTunes library, it’s time to sync your iPod with iTunes to transfer the music onto your device. Follow these steps to sync your iPod:
- Select your iPod in iTunes: In the iTunes interface, click on your iPod’s name under the “Devices” section to select it. This ensures that any changes you make in iTunes will be applied to your iPod during the syncing process.
- Choose what to sync: In the main iTunes window, you’ll see several tabs: Summary, Music, Movies, TV Shows, Podcasts, and more. Select the specific tab for the type of media you want to sync with your iPod.
- Select specific content: In each tab, you can choose to sync your entire library or select specific content. For example, in the Music tab, you can choose to sync all music or create playlists and select individual songs or albums.
- Apply changes: After selecting the content you want to sync, click on the “Apply” or “Sync” button in iTunes. This will initiate the synchronization process and begin transferring the selected music to your iPod.
- Wait for the sync to complete: The syncing process may take some time, depending on the number of songs and the size of your music library. You can monitor the progress in the iTunes interface, and a progress bar will indicate how much content is being synced.
During the sync process, iTunes will also update any changes you’ve made to your library, such as adding new songs or playlists, and reflect them on your iPod. This ensures that your iPod stays up to date and matches the content in your iTunes library.
It’s important to note that syncing your iPod with iTunes will erase any existing music or media on your iPod that’s not present in your iTunes library. If you have important data on your iPod that is not in your iTunes library, make sure to back it up before starting the sync process.
Once the sync is complete, you can disconnect your iPod from your computer, and you’ll have all your selected music available to enjoy on the go. Your iPod is now fully loaded with the music from your iTunes library!
Now that you’ve successfully synced your iPod with iTunes, it’s time for the final step: safely ejecting your iPod. We’ll cover that in the next section.
Step 7: Eject Your iPod Safely
After syncing your iPod with iTunes and ensuring that all the music you want is transferred, it’s important to safely eject your iPod from your computer. This ensures that no data is lost during the disconnecting process. Follow these steps to safely eject your iPod:
- Check for sync completion: Before ejecting your iPod, make sure that the synchronization process in iTunes is complete. You can do this by looking at the progress bar in iTunes or waiting for any syncing-related activity to finish.
- Locate the eject icon: In the iTunes interface, find the eject icon next to your iPod’s name under the “Devices” section. This icon resembles a small triangle or an upward-pointing arrow.
- Click on the eject icon: Click on the eject icon to safely disconnect your iPod from your computer. This ensures that all data is written and saved before removing the device.
- Wait for confirmation: After clicking the eject icon, wait for a message in iTunes or your computer’s operating system confirming that it’s safe to remove the iPod. This may take a few moments.
It’s crucial to follow the proper ejecting procedure to avoid any potential data loss or corruption on your iPod. Abruptly disconnecting your iPod without properly ejecting it can result in missing files, damaged data, or even a corrupted file system on your device.
Once you receive the confirmation that it’s safe to remove your iPod, you can safely disconnect the USB cable from your iPod and your computer. Your iPod is now ready to be used independently and enjoy your favorite music wherever you go.
Remember, it’s always recommended to safely eject any external devices, including your iPod, to ensure the integrity of the data and avoid any potential issues in the future.
Now that you’ve learned how to safely eject your iPod, it’s time to enjoy the music you have downloaded onto your device. Get ready to immerse yourself in your favorite melodies and enjoy the freedom and convenience that your iPod provides!
Step 8: Enjoy Your Downloaded Music on Your iPod
Congratulations! You’ve successfully downloaded and synced your favorite music onto your iPod. Now it’s time to sit back, relax, and enjoy the music on your device. Here’s how you can make the most of your downloaded music on your iPod:
- Unplug your headphones: If your iPod is not connected to external speakers or Bluetooth devices, unplug your headphones to start listening to your music.
- Navigate through your music: Use the navigation controls on your iPod to browse through your music library. You can choose to play all your songs, shuffle your music collection, or create playlists for specific moods or occasions.
- Adjust the volume: Adjust the volume on your iPod according to your preference. Carefully set the volume to a comfortable level that allows you to enjoy the music without damaging your hearing.
- Explore additional features: Aside from playing music, your iPod may have additional features such as podcasts, audiobooks, radio, or apps. Take the time to explore these features and make the most of your device.
- Organize your playlists: If you want to have easy access to specific genres, artists, or mood-based playlists, spend some time organizing your music into various playlists on your iPod.
- Keep your iPod charged: To ensure uninterrupted music playback, charge your iPod regularly. This will keep the battery life optimal and allow you to enjoy music on the go without any power limitations.
With your downloaded music on your iPod, you now have a portable music library at your fingertips. Whether you’re commuting, working out, or simply relaxing at home, your iPod provides the perfect accompaniment for any moment.
Remember to continue exploring new music, adding more songs to your iTunes library, and periodically syncing your iPod to keep your music collection up to date. This way, you can always discover new favorites and enjoy a fresh listening experience.
Now that you’re all set to enjoy your downloaded music on your iPod, go ahead and dive into your personalized library of melodies. Let the rhythm guide your mood, elicit emotions, and transport you to your favorite musical landscapes. Enjoy!
Conclusion
Congratulations on successfully learning how to download music to your iPod! By following the step-by-step guide outlined in this article, you now have the knowledge and skills to fill your iPod with your favorite songs, albums, and playlists.
Starting from checking your iPod’s compatibility to safely ejecting it after syncing with iTunes, you have gained a comprehensive understanding of the entire process. You have learned how to download and set up iTunes on your computer, connect your iPod, add music to your iTunes library, and sync your iPod to transfer the music.
Now, with your iPod ready to go, you can enjoy your music wherever you are. With a vast selection of songs at your fingertips, you can create personalized playlists, shuffle your music collection, and explore new genres and artists.
Remember, as you continue to build your music library, it’s important to support artists and obtain music legally. There are various platforms, including online stores and music streaming services, where you can purchase and stream music legally, ensuring that artists receive the recognition and compensation they deserve.
With your iPod, you have the freedom and convenience to take your music with you on the go. Whether you’re traveling, working out, or simply relaxing, your iPod can enhance your experience and provide a soundtrack for every moment.
Keep in mind that technology is constantly evolving, and new ways to access and enjoy music may emerge. Stay updated with the latest advancements in digital music and continue to explore new ways to enhance your musical experience.
Now, it’s time to put your knowledge into action and start downloading music to your iPod. Enjoy the journey, and may your iPod always be filled with the melodies that bring you joy and make life more vibrant!