Introduction
Welcome to the world of portable music! With advancements in technology, it has become easier than ever to carry your favorite tunes wherever you go. If you own an iPod, you may be wondering how to download music from your computer onto this iconic device. Whether you’re a music enthusiast, a podcast lover, or simply enjoy listening to audio books, this guide will walk you through the steps to transfer music files effortlessly.
Having your music library on your iPod grants you the freedom to enjoy your favorite tracks on the go, without relying on an internet connection. You can create playlists, shuffle songs, and even listen to music in specific genres or moods, creating a personalized audio experience.
In this comprehensive guide, we will cover the process of transferring music from your computer to your iPod. Not only will you learn how to sync your iPod with iTunes, but also how to add music to your iTunes library and select the specific tracks you want to transfer. So, grab your iPod, connect it to your computer, and get ready to fill it with your favorite songs!
Before we dive into the details, make sure you have the necessary components: an iPod (any model) and a computer with the latest version of iTunes installed. If you don’t have iTunes on your computer, you can download and install it easily from the Apple website. Once you’re all set up, let’s get started on downloading music to your iPod!
Step 1: Connect Your iPod to Your Computer
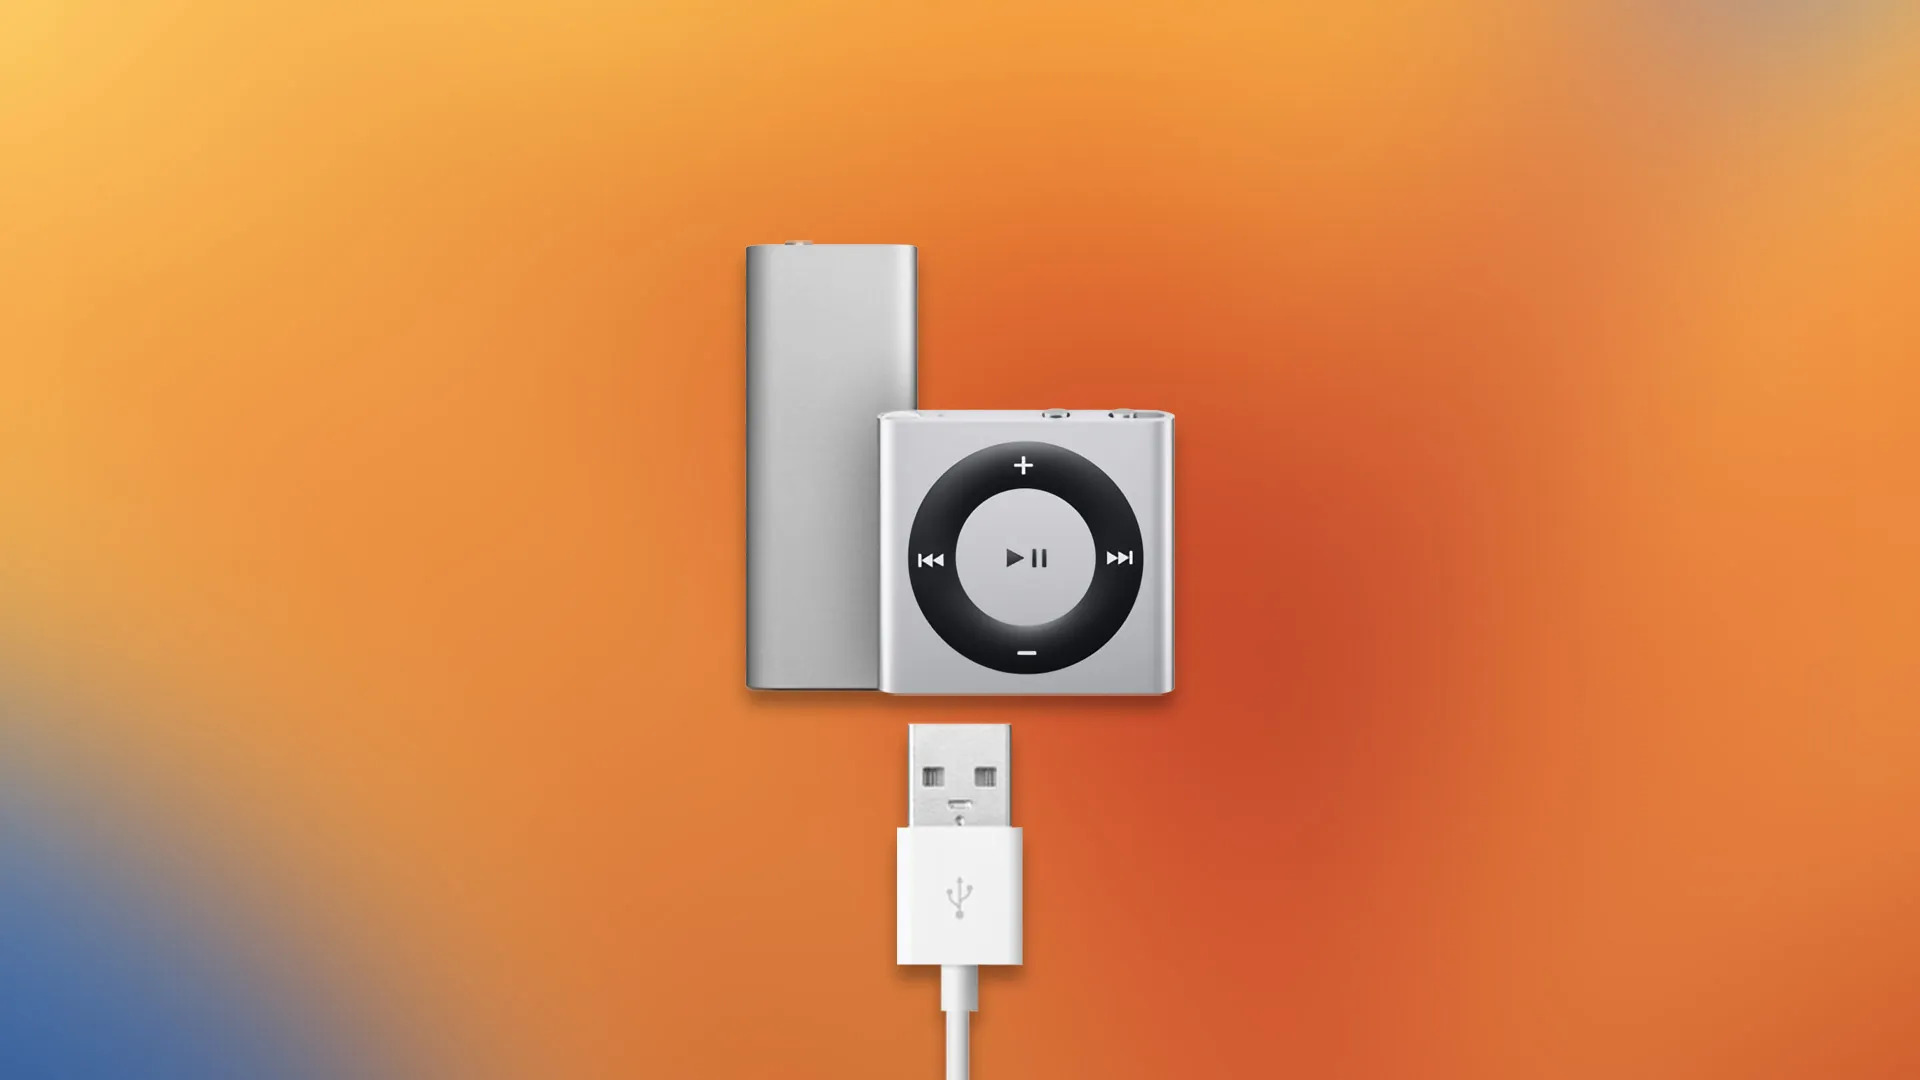
The first step in transferring music from your computer to your iPod is to establish a physical connection between the two devices. To do this, locate the charging cable that came with your iPod. The cable will have a USB connector on one end and a connector specific to your iPod model on the other end.
Take the USB end of the cable and plug it into an available USB port on your computer. Then, take the other end of the cable and connect it to the corresponding port on your iPod. The location of the port will vary depending on the iPod model, but it is usually located on the bottom or side of the device.
Once your iPod is connected, you may see a notification on your computer that a new device has been detected. This indicates that your computer recognizes the iPod and is ready to establish a connection.
Note: If your iPod has a passcode or requires authentication, you may need to unlock it or enter your passcode to proceed. Make sure to follow the on-screen instructions to complete the connection process.
Now that your iPod is physically connected to your computer, you are ready to move on to the next step: syncing your iPod with iTunes. This will ensure that any changes or additions made to your iTunes library will be reflected on your iPod as well.
Stay tuned for the next step on how to sync your iPod with iTunes!
Step 2: Sync Your iPod with iTunes
After connecting your iPod to your computer, the next step is to synchronize it with iTunes. iTunes is a media player and library management software developed by Apple, which allows you to organize, play, and transfer media files between your computer and your iPod.
To begin the syncing process, launch the iTunes software on your computer. If you don’t have iTunes installed, you can download it from the Apple website and follow the installation instructions.
Once iTunes is open, you will see your iPod listed under the “Devices” section in the left-hand sidebar. Click on your iPod to select it.
In the main window, you will find several tabs at the top of the screen. These tabs represent different categories of media files, such as music, movies, podcasts, and more.
In order to sync your iPod with iTunes, you’ll need to select the specific content you want to transfer. To do this, navigate to the appropriate tab based on the media files you wish to sync with your iPod.
For example, if you want to sync music, click on the “Music” tab. Here you can choose to sync your entire music library or select specific playlists, albums, or individual songs by checking the respective boxes.
To sync other types of media files, such as podcasts or audiobooks, simply select the corresponding tab and make your desired selections.
Once you have chosen the content you want to sync, click on the “Apply” or “Sync” button at the bottom right-hand corner of the iTunes window. This will initiate the synchronization process, transferring the selected media files from your iTunes library to your iPod.
Depending on the amount of content being synced and the speed of your computer, the process may take a few minutes to complete. You can monitor the progress in the status bar at the top of the iTunes window.
Once the sync is complete, a notification will appear, indicating that your iPod is now synced with iTunes.
Congratulations! You have successfully synced your iPod with iTunes. Now it’s time to move on to the next step: adding music to your iTunes library. Stay tuned!
Step 3: Add Music to iTunes Library
In order to transfer music from your computer to your iPod, you first need to add the desired songs to your iTunes library. Your iTunes library acts as a centralized hub for all your music, allowing you to manage and organize your music collection.
Here’s how you can add music to your iTunes library:
- Launch the iTunes software on your computer if it’s not already open.
- In the top menu bar, click on “File” and then select “Add File to Library” or “Add Folder to Library”, depending on whether you want to add individual songs or an entire folder of music.
- A window will appear, allowing you to browse your computer’s directories. Locate the music files or folder you want to add, select them, and then click “Open”.
- iTunes will then begin importing the selected music files into your library. The progress can be monitored in the top menu bar under “Library” and “Songs”.
- Once the music files have been added to your iTunes library, you can organize them using features such as creating playlists, adding tags, or applying album covers.
It’s important to note that iTunes supports various audio file formats, including MP3, AAC, and WAV. However, it’s recommended to use the MP3 format for compatibility purposes, as it is widely supported by iPods.
Additionally, if you have music CDs that you want to transfer to your iTunes library, you can insert the CD into your computer’s optical drive and follow the prompts from iTunes to import the tracks.
Take some time to explore iTunes and familiarize yourself with its features. This will greatly enhance your music management experience and make it easier to select and transfer songs to your iPod.
Now that you have successfully added music to your iTunes library, you’re one step closer to transferring it to your iPod. In the next step, we’ll discuss how to select the music you want to transfer. Stay tuned!
Step 4: Select the Music You Want to Transfer
Now that you have added music to your iTunes library, it’s time to select the specific songs or playlists you want to transfer to your iPod. Being able to choose the music you want gives you control over the content that will be available on your portable device.
Here’s how you can select the music you want to transfer:
- Open the iTunes software on your computer if it’s not already open.
- In the left-hand sidebar, under the “Library” section, click on the specific category you want to select music from, such as “Music”, “Albums”, or “Playlists”.
- Browse through your music collection and locate the songs or playlists you want to transfer to your iPod.
- If you want to select individual songs, click on the song titles while holding down the Ctrl (Windows) or Command (Mac) key on your keyboard.
- If you prefer to transfer entire playlists, click on the playlist name. To select multiple playlists, hold down the Ctrl (Windows) or Command (Mac) key while clicking on each playlist.
As you select songs or playlists, they will be highlighted or marked in iTunes, indicating that they have been chosen for transfer. This way, you can easily keep track of your selection.
While making your choices, it’s important to consider the storage capacity of your iPod. Each iPod model has a specific limit to the amount of music it can hold. You can check the available space on your iPod by connecting it to your computer and selecting it in iTunes. The available space will be displayed under the “Summary” tab.
If you find that your selection exceeds the available space, you may need to remove some songs or playlists from your transfer list. Simply deselect the desired items by clicking on them again or using the Ctrl (Windows) or Command (Mac) key.
Once you have finalized your selection, you are ready to proceed with the transfer process in the next step. We will walk you through how to drag and drop the selected music onto your iPod. Stay tuned!
Step 5: Drag and Drop Music onto Your iPod
Now that you have selected the music you want to transfer, it’s time to drag and drop the chosen songs or playlists onto your iPod. This method offers a simple and straightforward way to transfer files from your iTunes library to your iPod.
Follow these steps to drag and drop music onto your iPod:
- Ensure that your iPod is still connected to your computer.
- In the iTunes software on your computer, locate your iPod under the “Devices” section in the left-hand sidebar and click on it to select it.
- Now, go to your iTunes library and find the songs or playlists you want to transfer to your iPod.
- Click and hold the selected songs or playlists, and then drag them to your iPod in the left-hand sidebar.
- A green “+” icon will appear next to your iPod’s name, indicating that you can drop the music onto your device.
- Release the mouse button or trackpad to drop the music onto your iPod. The transfer process will begin.
- Depending on the size of the files and the speed of your computer, it may take some time for the transfer to complete. You can monitor the progress in the status bar at the top of the iTunes window.
While dragging and dropping music onto your iPod, you can also rearrange the order of the songs or playlists by dragging them within the iPod section in the left-hand sidebar. This allows you to customize the playback sequence as per your preferences.
It’s important to note that when you drag and drop music onto your iPod, it replaces any existing content on your device. Therefore, make sure you have a backup of any important files before proceeding with the transfer.
Once the transfer is complete, you can disconnect your iPod from your computer and enjoy your newly added music on the go!
Now that you have successfully transferred the chosen music onto your iPod, it’s time to wait for the transfer process to complete in the next step. Stay tuned!
Step 6: Wait for the Transfer to Complete
After dragging and dropping the selected music onto your iPod, it’s important to allow the transfer process to complete before disconnecting your device. Waiting for the transfer to finish ensures that all the chosen songs or playlists are successfully transferred and ready to be enjoyed on your iPod.
Here’s what you need to do:
- Once you have finished dragging and dropping the desired music onto your iPod, check the status bar at the top of the iTunes window.
- The status bar will display the progress of the transfer, indicating the number of items being transferred and the remaining time.
- Depending on the size of the files and the speed of your computer, the transfer process may take a few minutes to complete. It’s important to be patient during this time.
- Do not disconnect your iPod from your computer or close iTunes until the transfer is complete.
- You can continue to use your computer for other tasks while the transfer is in progress. However, it’s recommended to avoid performing any resource-intensive activities that may slow down the transfer process.
- Once the transfer is complete, you will receive a notification indicating that your iPod is ready to be safely disconnected from your computer.
It’s important to ensure that the transfer process is fully completed before disconnecting your iPod. This helps avoid any data corruption or loss that may occur if the transfer is interrupted prematurely.
During the transfer, you may notice that your iPod’s screen displays a “Sync in Progress” or similar message. This is a normal part of the syncing process, indicating that the files are being transferred to your iPod.
Once the transfer is finished, you can safely disconnect your iPod from your computer and enjoy your newly added music on the go!
Congratulations! You have successfully waited for the transfer process to complete. Now it’s time to safely disconnect your iPod from your computer in the next step. Stay tuned!
Step 7: Safely Disconnect Your iPod from Your Computer
Now that the music transfer process is complete, it’s crucial to disconnect your iPod from your computer safely. By following the proper disconnecting procedure, you can prevent any potential data corruption or damage to your iPod.
Here are the steps to safely disconnect your iPod from your computer:
- Ensure that the transfer process is complete and that iTunes displays a notification indicating that it’s safe to disconnect your device.
- On your computer’s taskbar or system tray, locate the icon for safely removing hardware. This icon is represented by a USB plug or a downwards arrow, depending on your operating system.
- Click on the safely remove hardware icon to open the menu of removable devices.
- Within the menu, locate your iPod and click on it to select it for removal.
- A confirmation message may appear, asking you to confirm the removal of your iPod. Follow the prompts to complete the process.
- Once the removal process is complete, you will receive a notification indicating that it’s safe to disconnect your iPod.
Once you have safely disconnected your iPod from your computer, you can unplug the USB cable from both the computer and your iPod. You are now free to enjoy your favorite tunes on your iPod wherever you go!
It’s important to note that abruptly disconnecting your iPod from your computer without following the proper procedure can potentially lead to data loss, software issues, or even physical damage to your device. Therefore, always ensure that you safely disconnect your iPod to protect your valuable music collection.
Congratulations! You have successfully completed the process of safely disconnecting your iPod from your computer. You can now embark on your musical journey with your favorite songs readily available on your portable device.
Conclusion
Congratulations! You have successfully learned how to download music from your computer to your iPod. By following these step-by-step instructions, you can now enjoy your favorite songs, playlists, podcasts, and audiobooks on the go.
We started by connecting your iPod to your computer, establishing a physical connection that allows for seamless data transfer. Then, we discussed the importance of syncing your iPod with iTunes to ensure that any changes or additions made to your library are reflected on your device.
You learned how to add music to your iTunes library, whether by importing files or ripping audio CDs. This gave you the flexibility to choose the music you want to transfer to your iPod.
Next, we explored how to select the specific songs, playlists, or albums you wished to transfer. This personalization allows you to curate your iPod’s content to suit your musical preferences.
Using the drag and drop method, you then learned how to transfer the selected music from your iTunes library onto your iPod. This straightforward process ensures a smooth transfer without any complications.
After patiently waiting for the transfer to complete, we emphasized the significance of safely disconnecting your iPod from your computer. This step helps protect your data and preserve the integrity of your device.
Now that you have successfully followed these steps, you can enjoy endless hours of music on your iPod. Take it with you wherever you go, creating your own musical soundtrack to accompany your daily activities.
Remember to regularly update your iTunes library with fresh music and stay connected to seamlessly add new content to your iPod. Enjoy the convenience and freedom of having your favorite music at your fingertips.
Thank you for using this guide to learn how to download music from your computer to your iPod. We hope you found it informative and easy to follow. Now, grab your iPod, put on your favorite song, and let the music take you on a journey!